
![]()
![]()
![]()
![]()
![]()
![]()
|
|
|
|
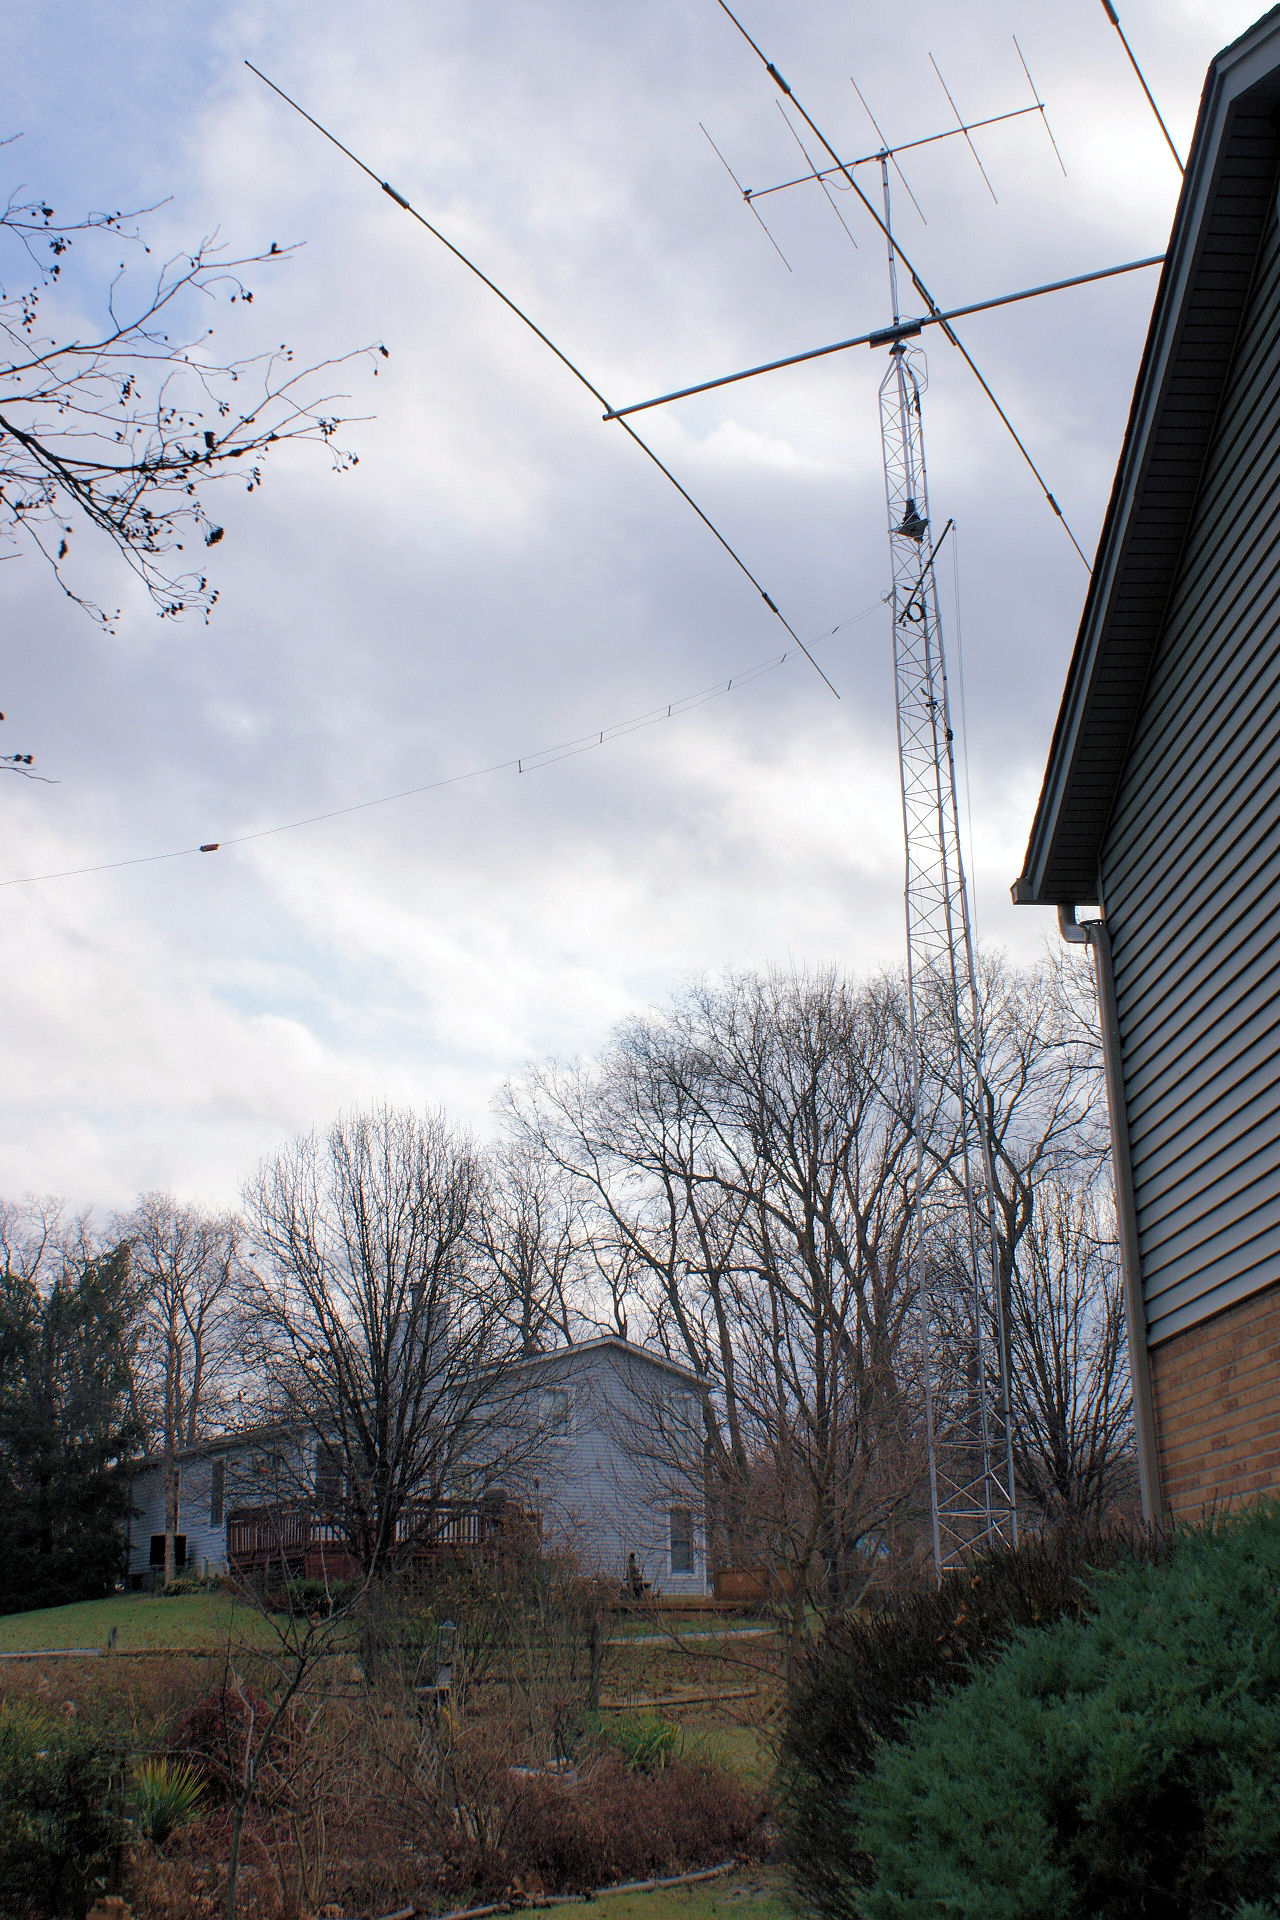
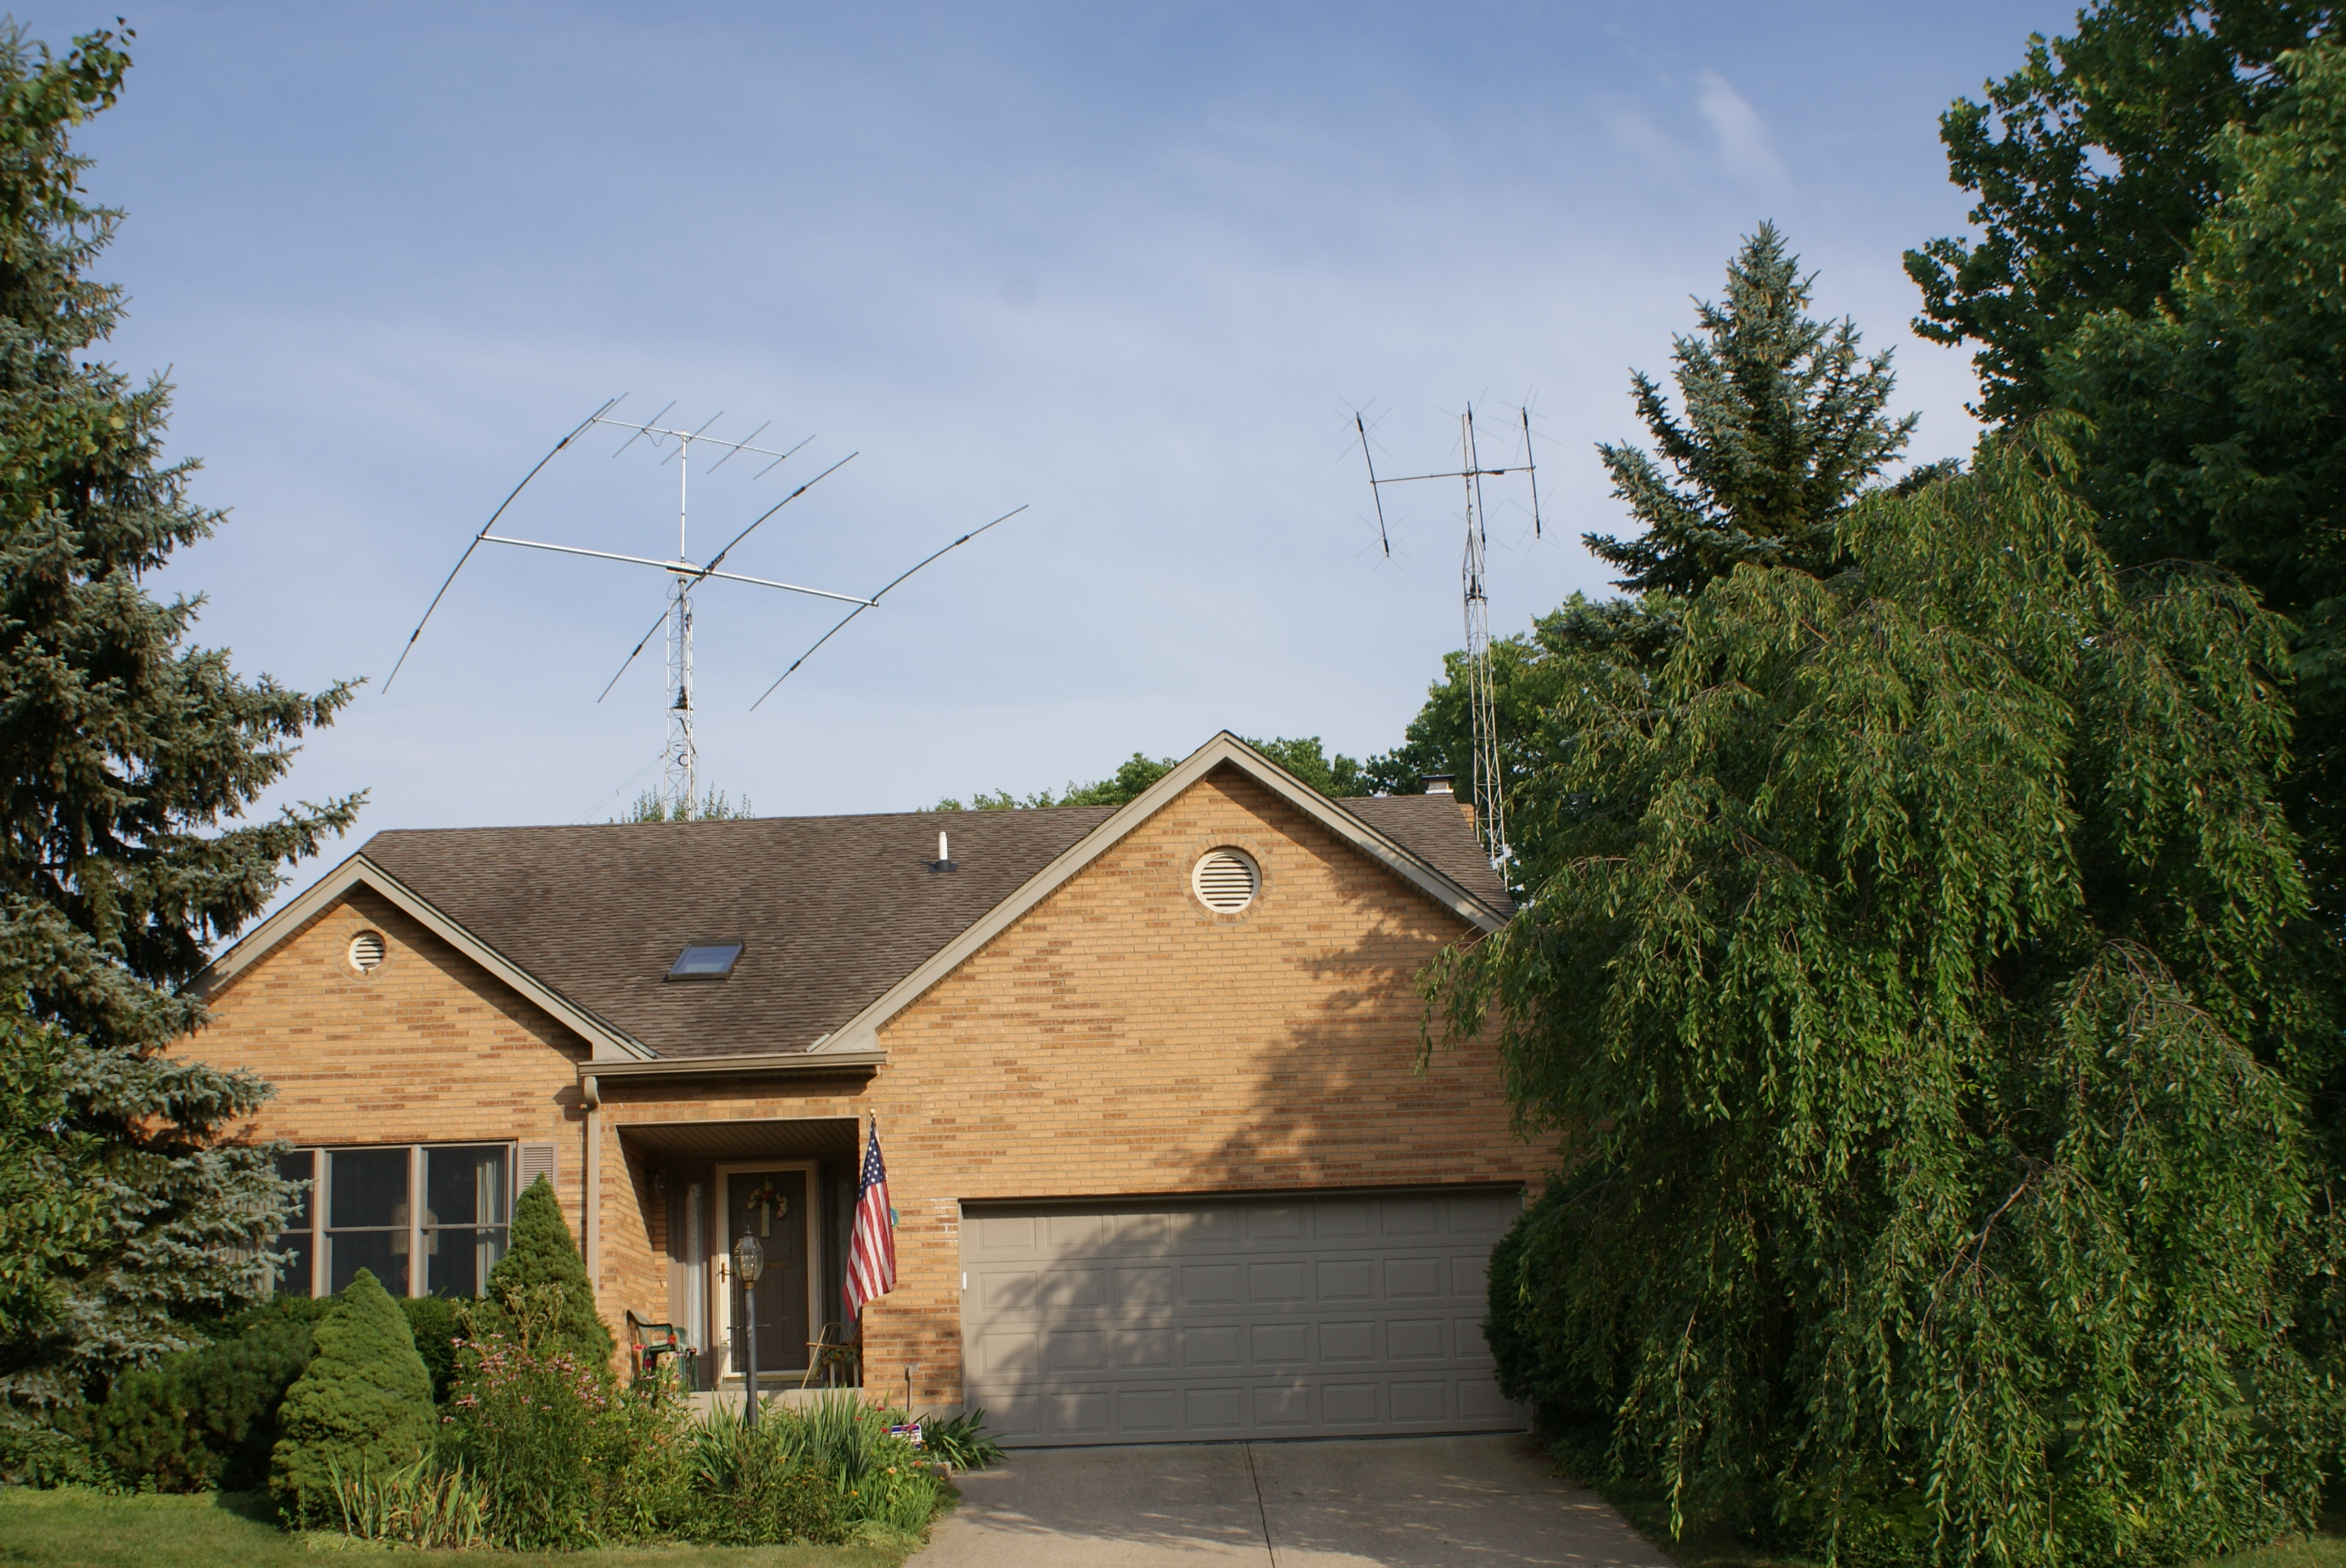
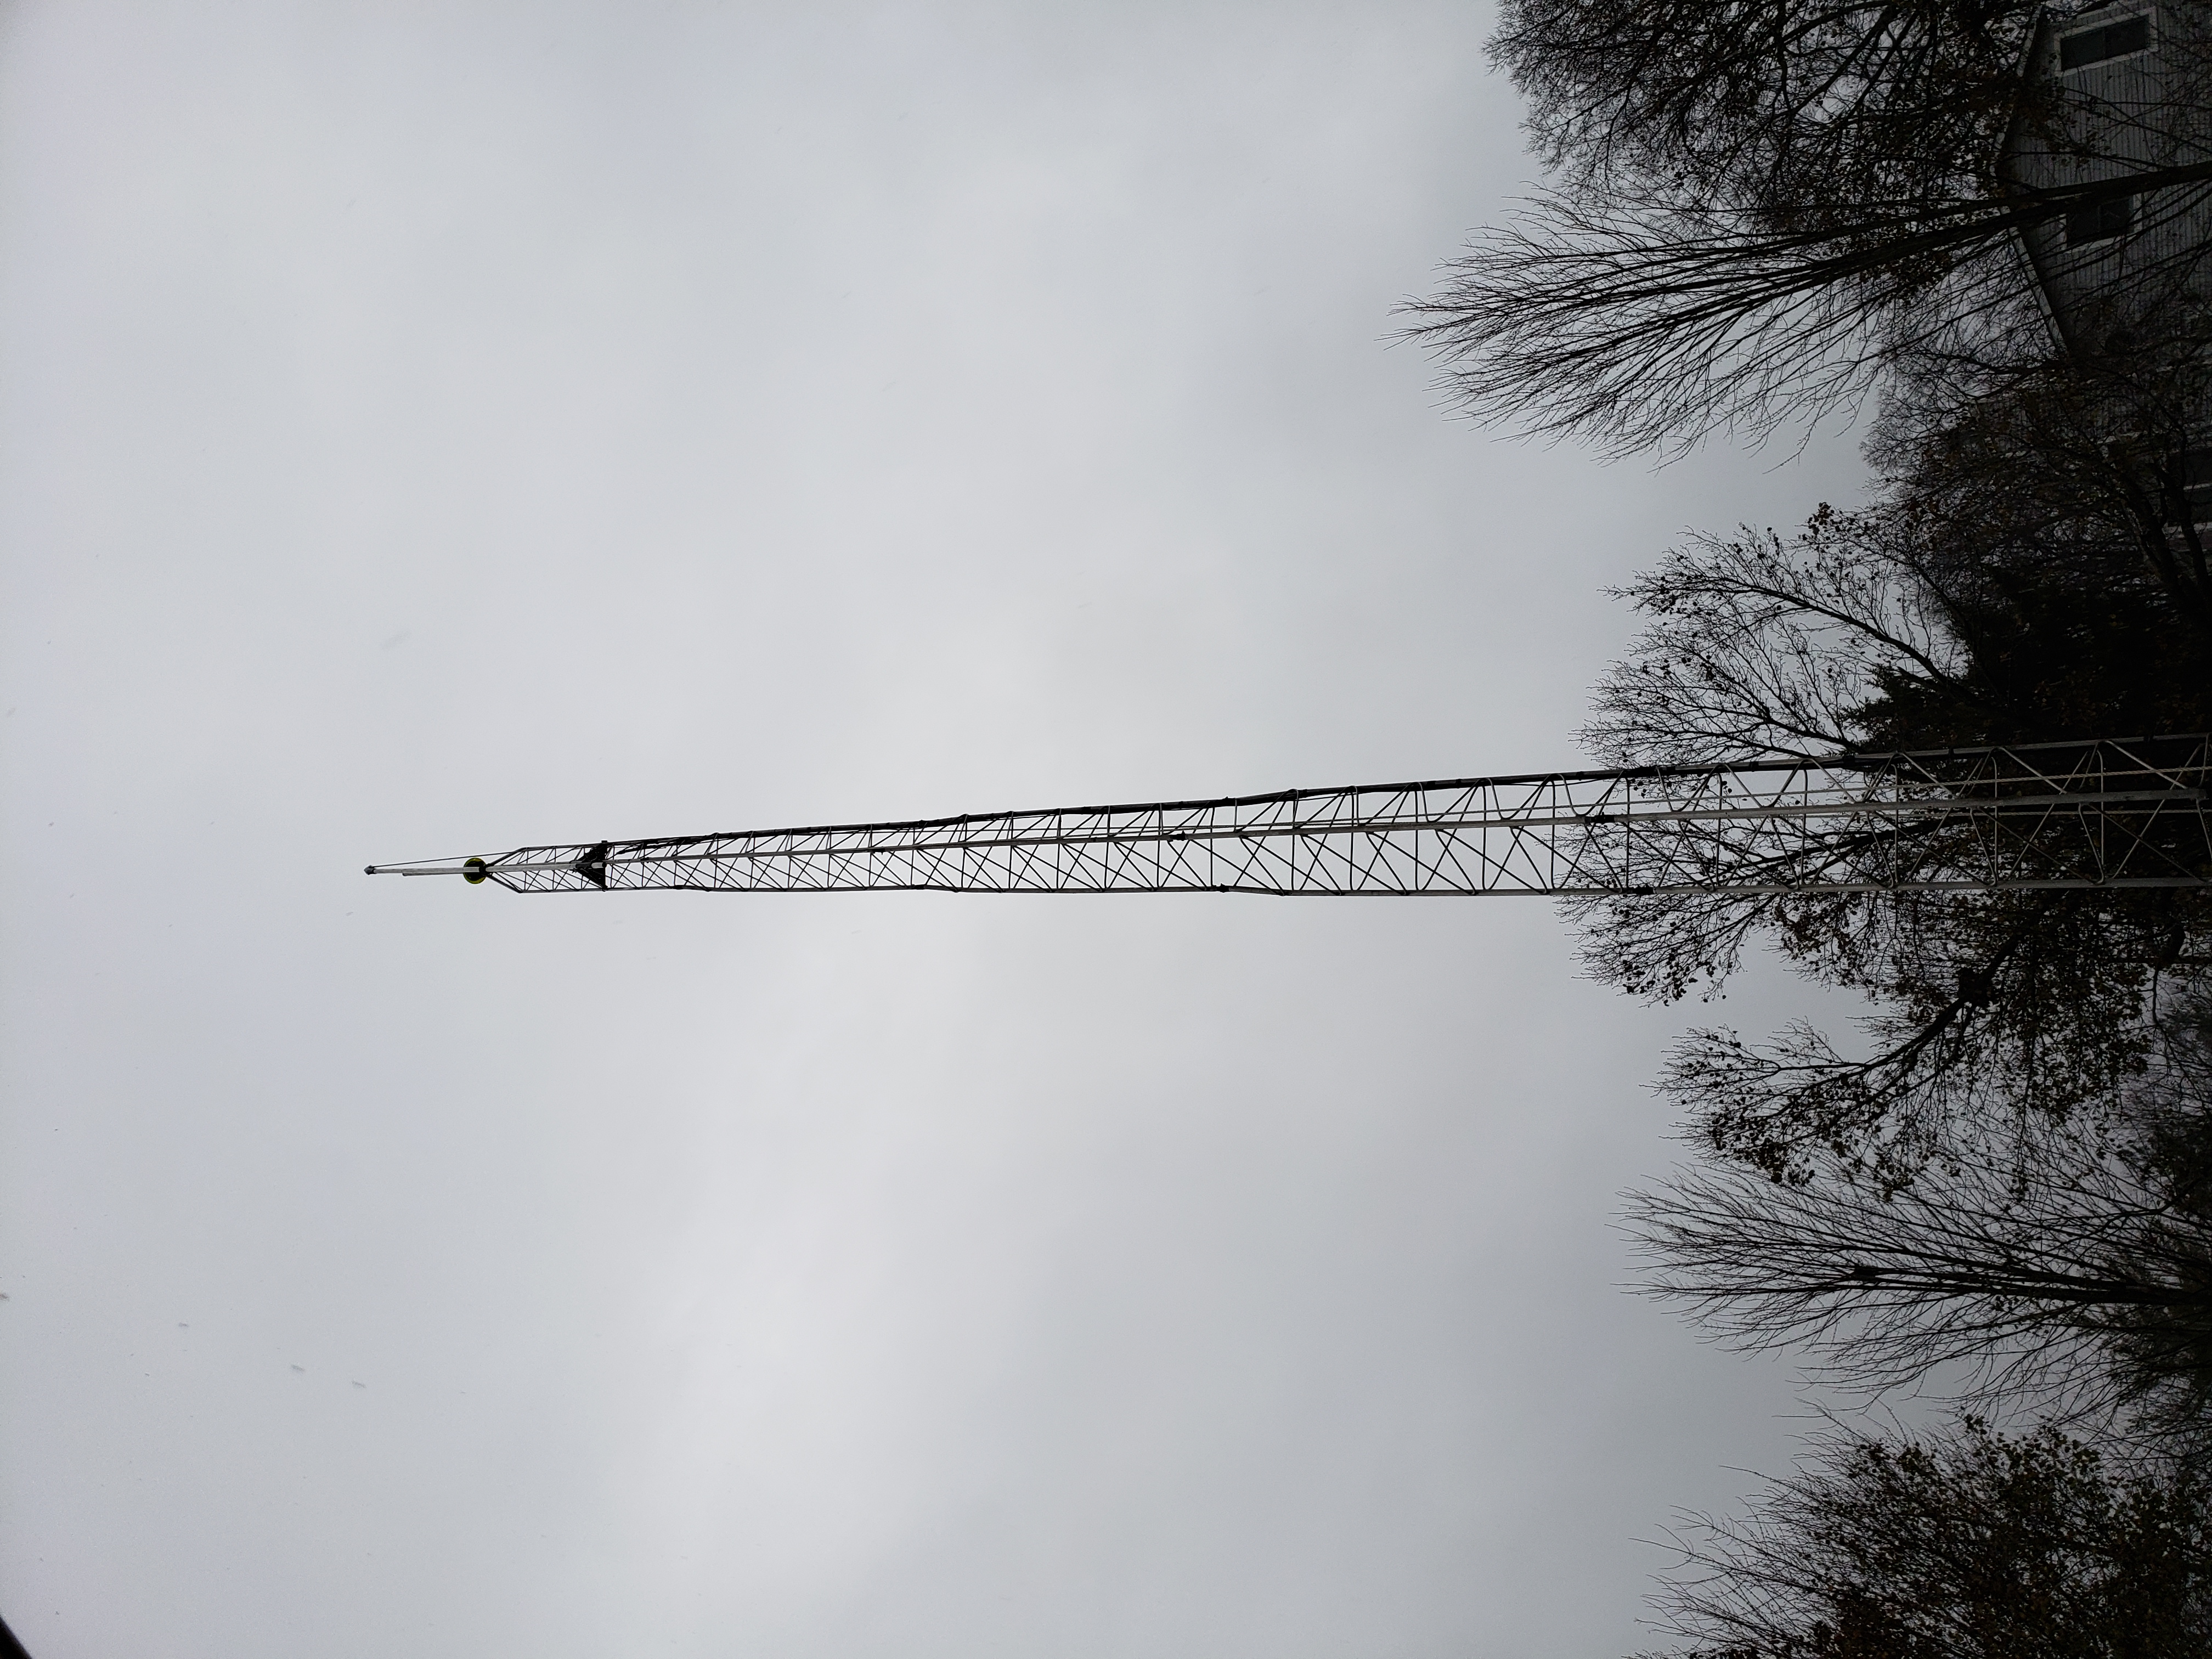
Our tower Construction - This is a
Universal 50' tower with two
30" base sections tapered to an 18" top section. The tower should be able to
support 30 square feet of antenna. I am using a 15' aluminum 2" mast with a
Cushcraft A505S 5 element 6 meter beam at the top. The
Mosley is a Super 33
which covers 40, 20 and 17 meters. The beams are turned by a
Yaesu G-2800DXA rotator. Work began on August 20th 2008 and finished on
November 22nd 2008. I removed the S-33 and 6M beam with intentions of
putting up a Pro 67C but through a series of disasters that did not happen
as can be seen below.
You can click on most all the pictures on this page for a larger view.
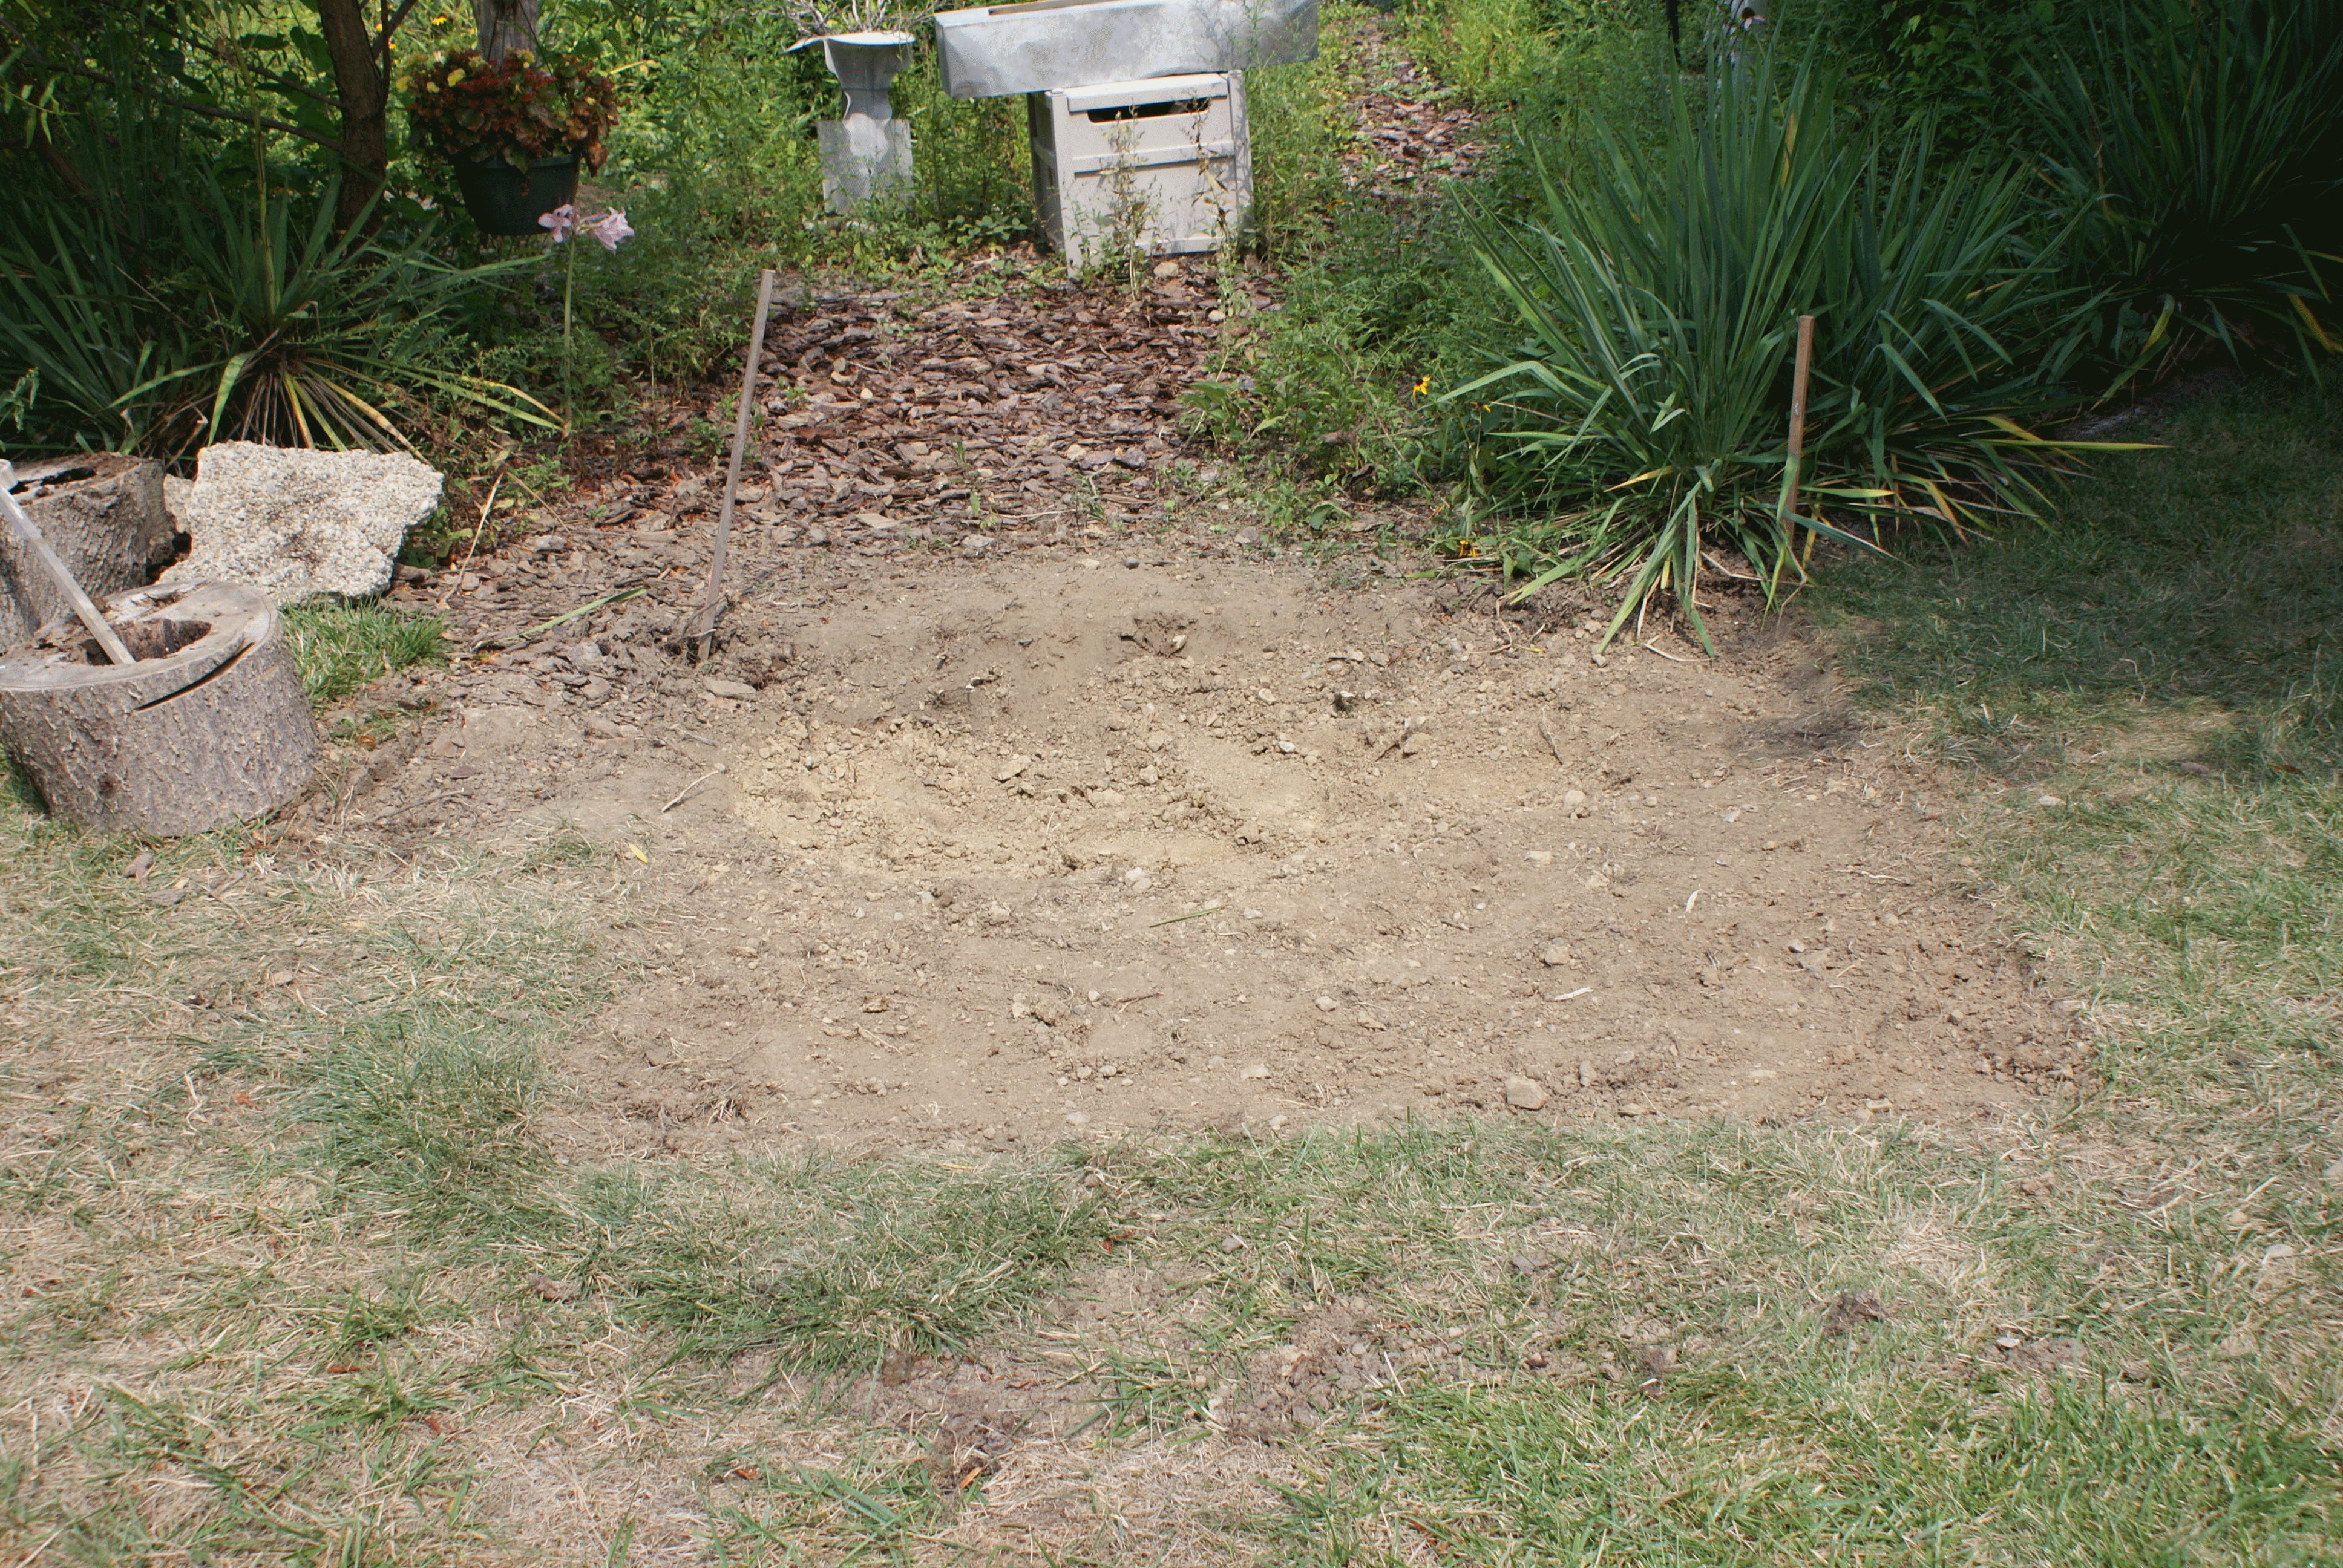
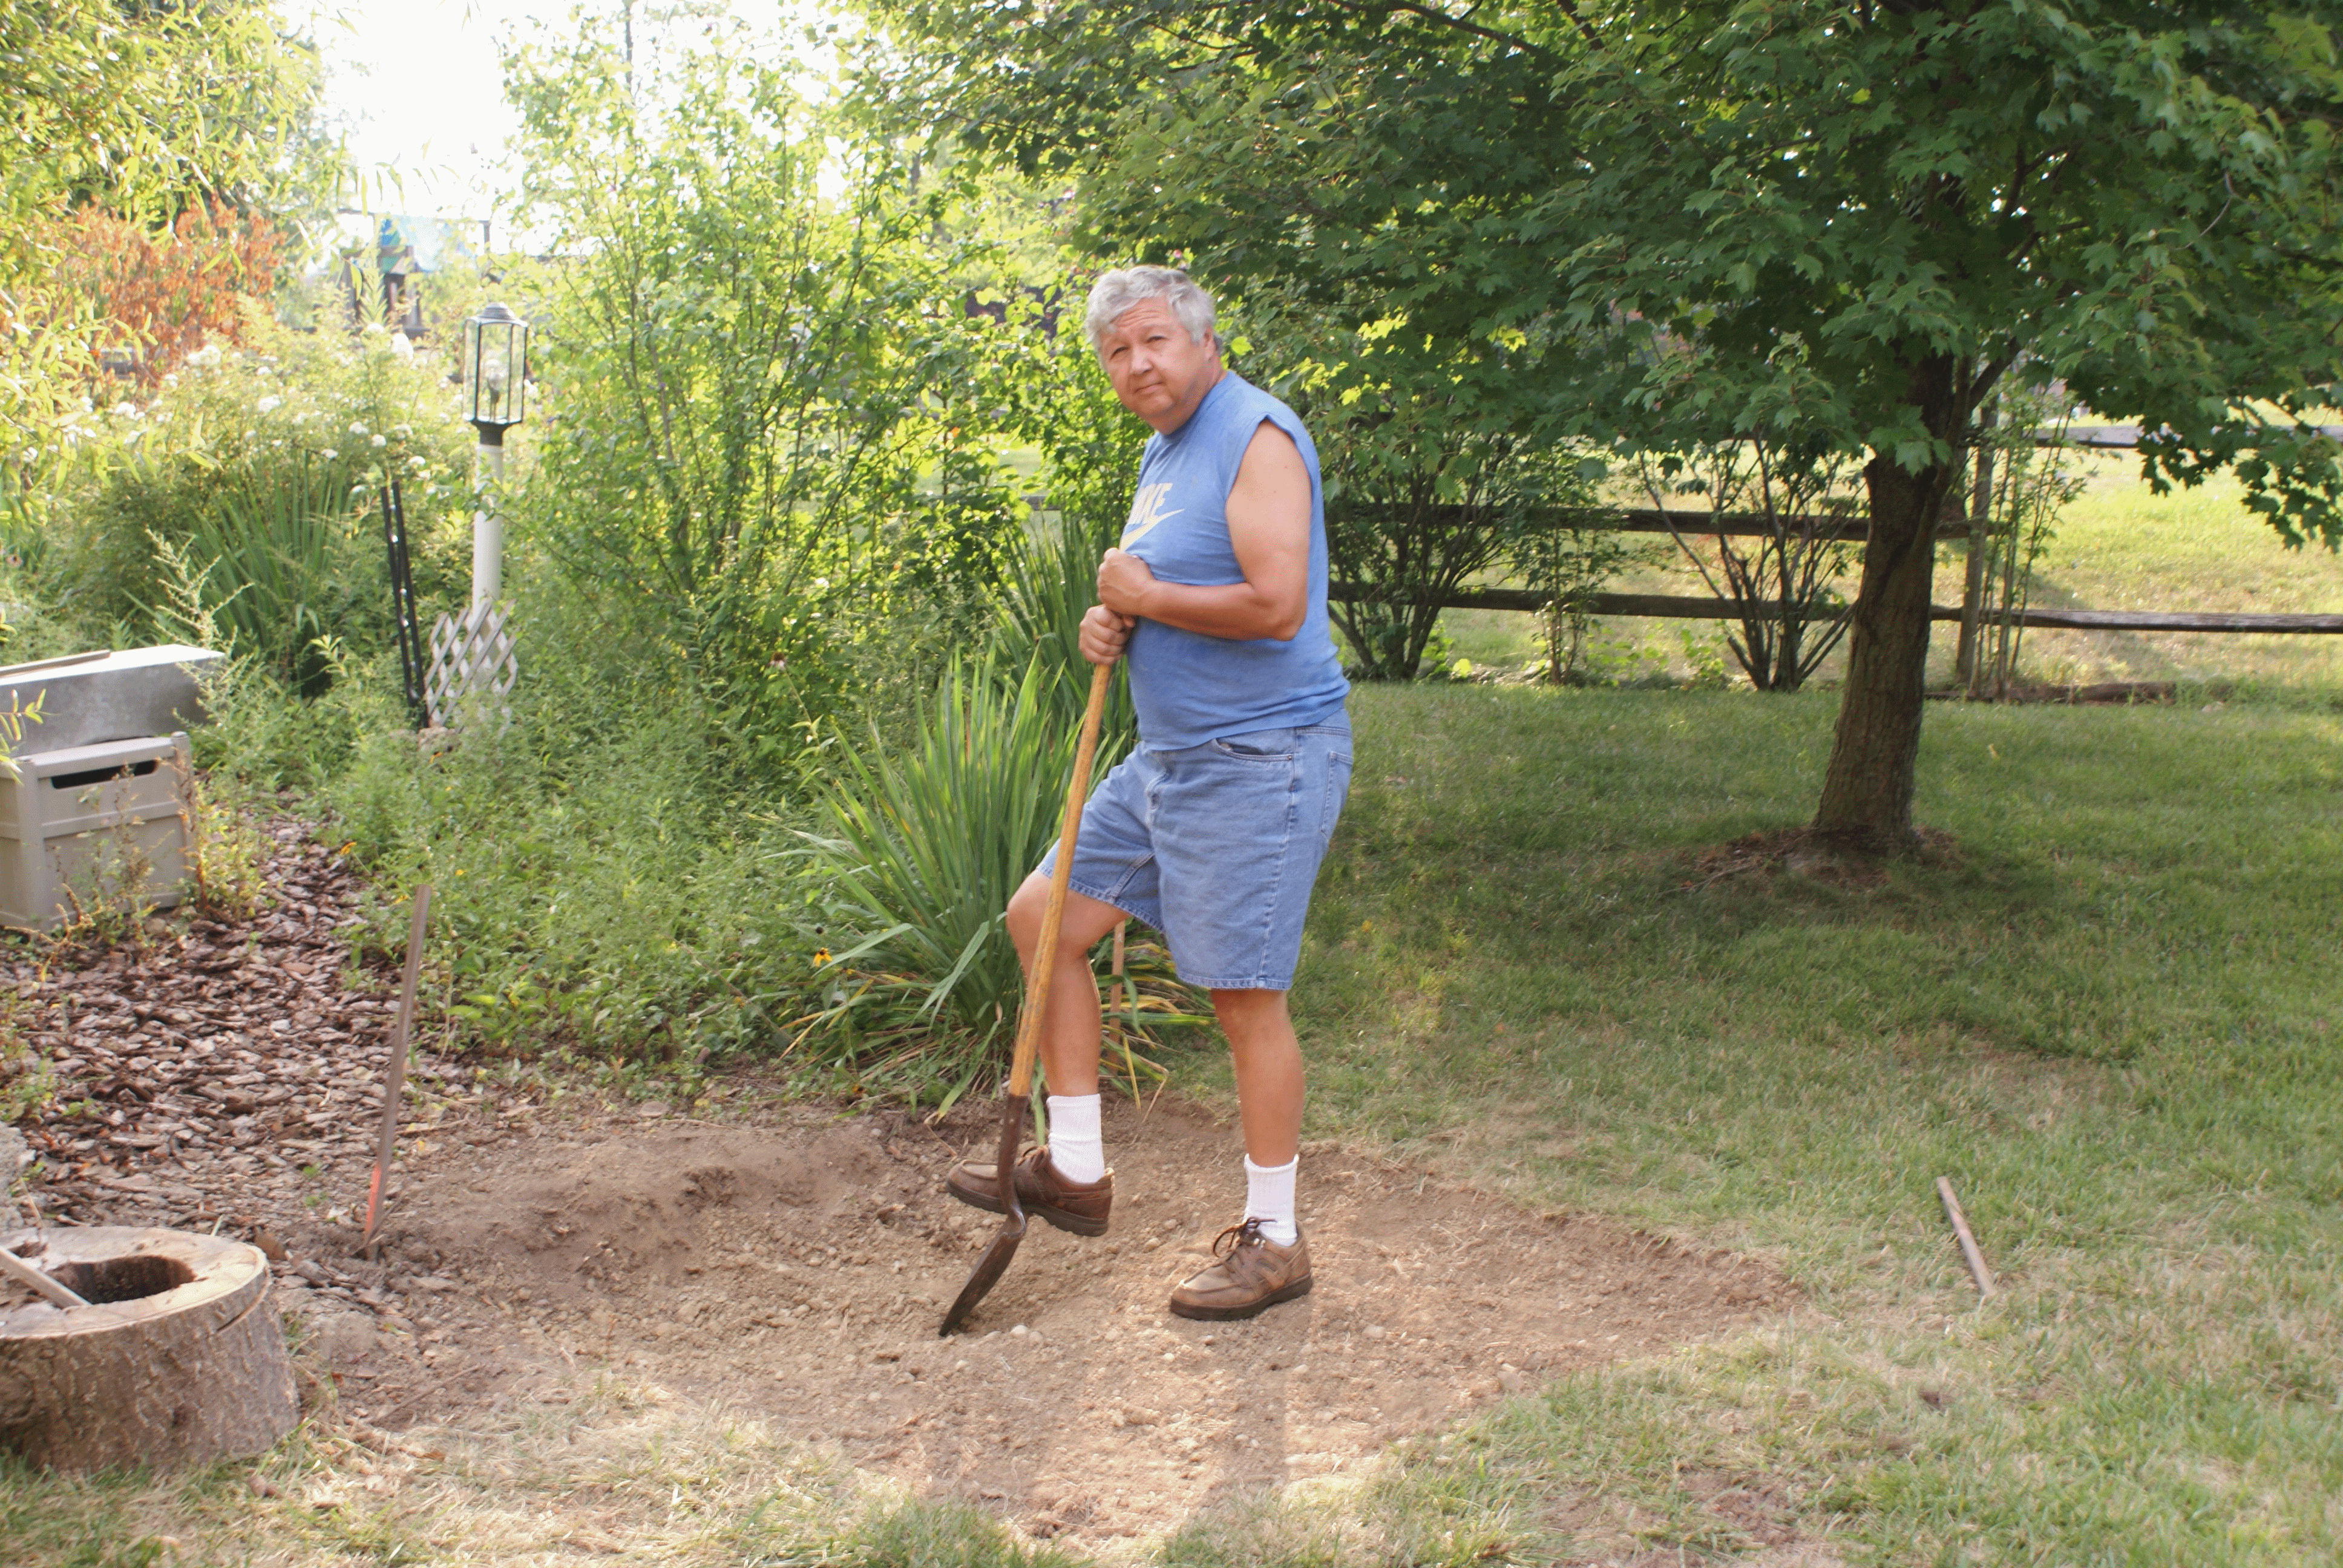
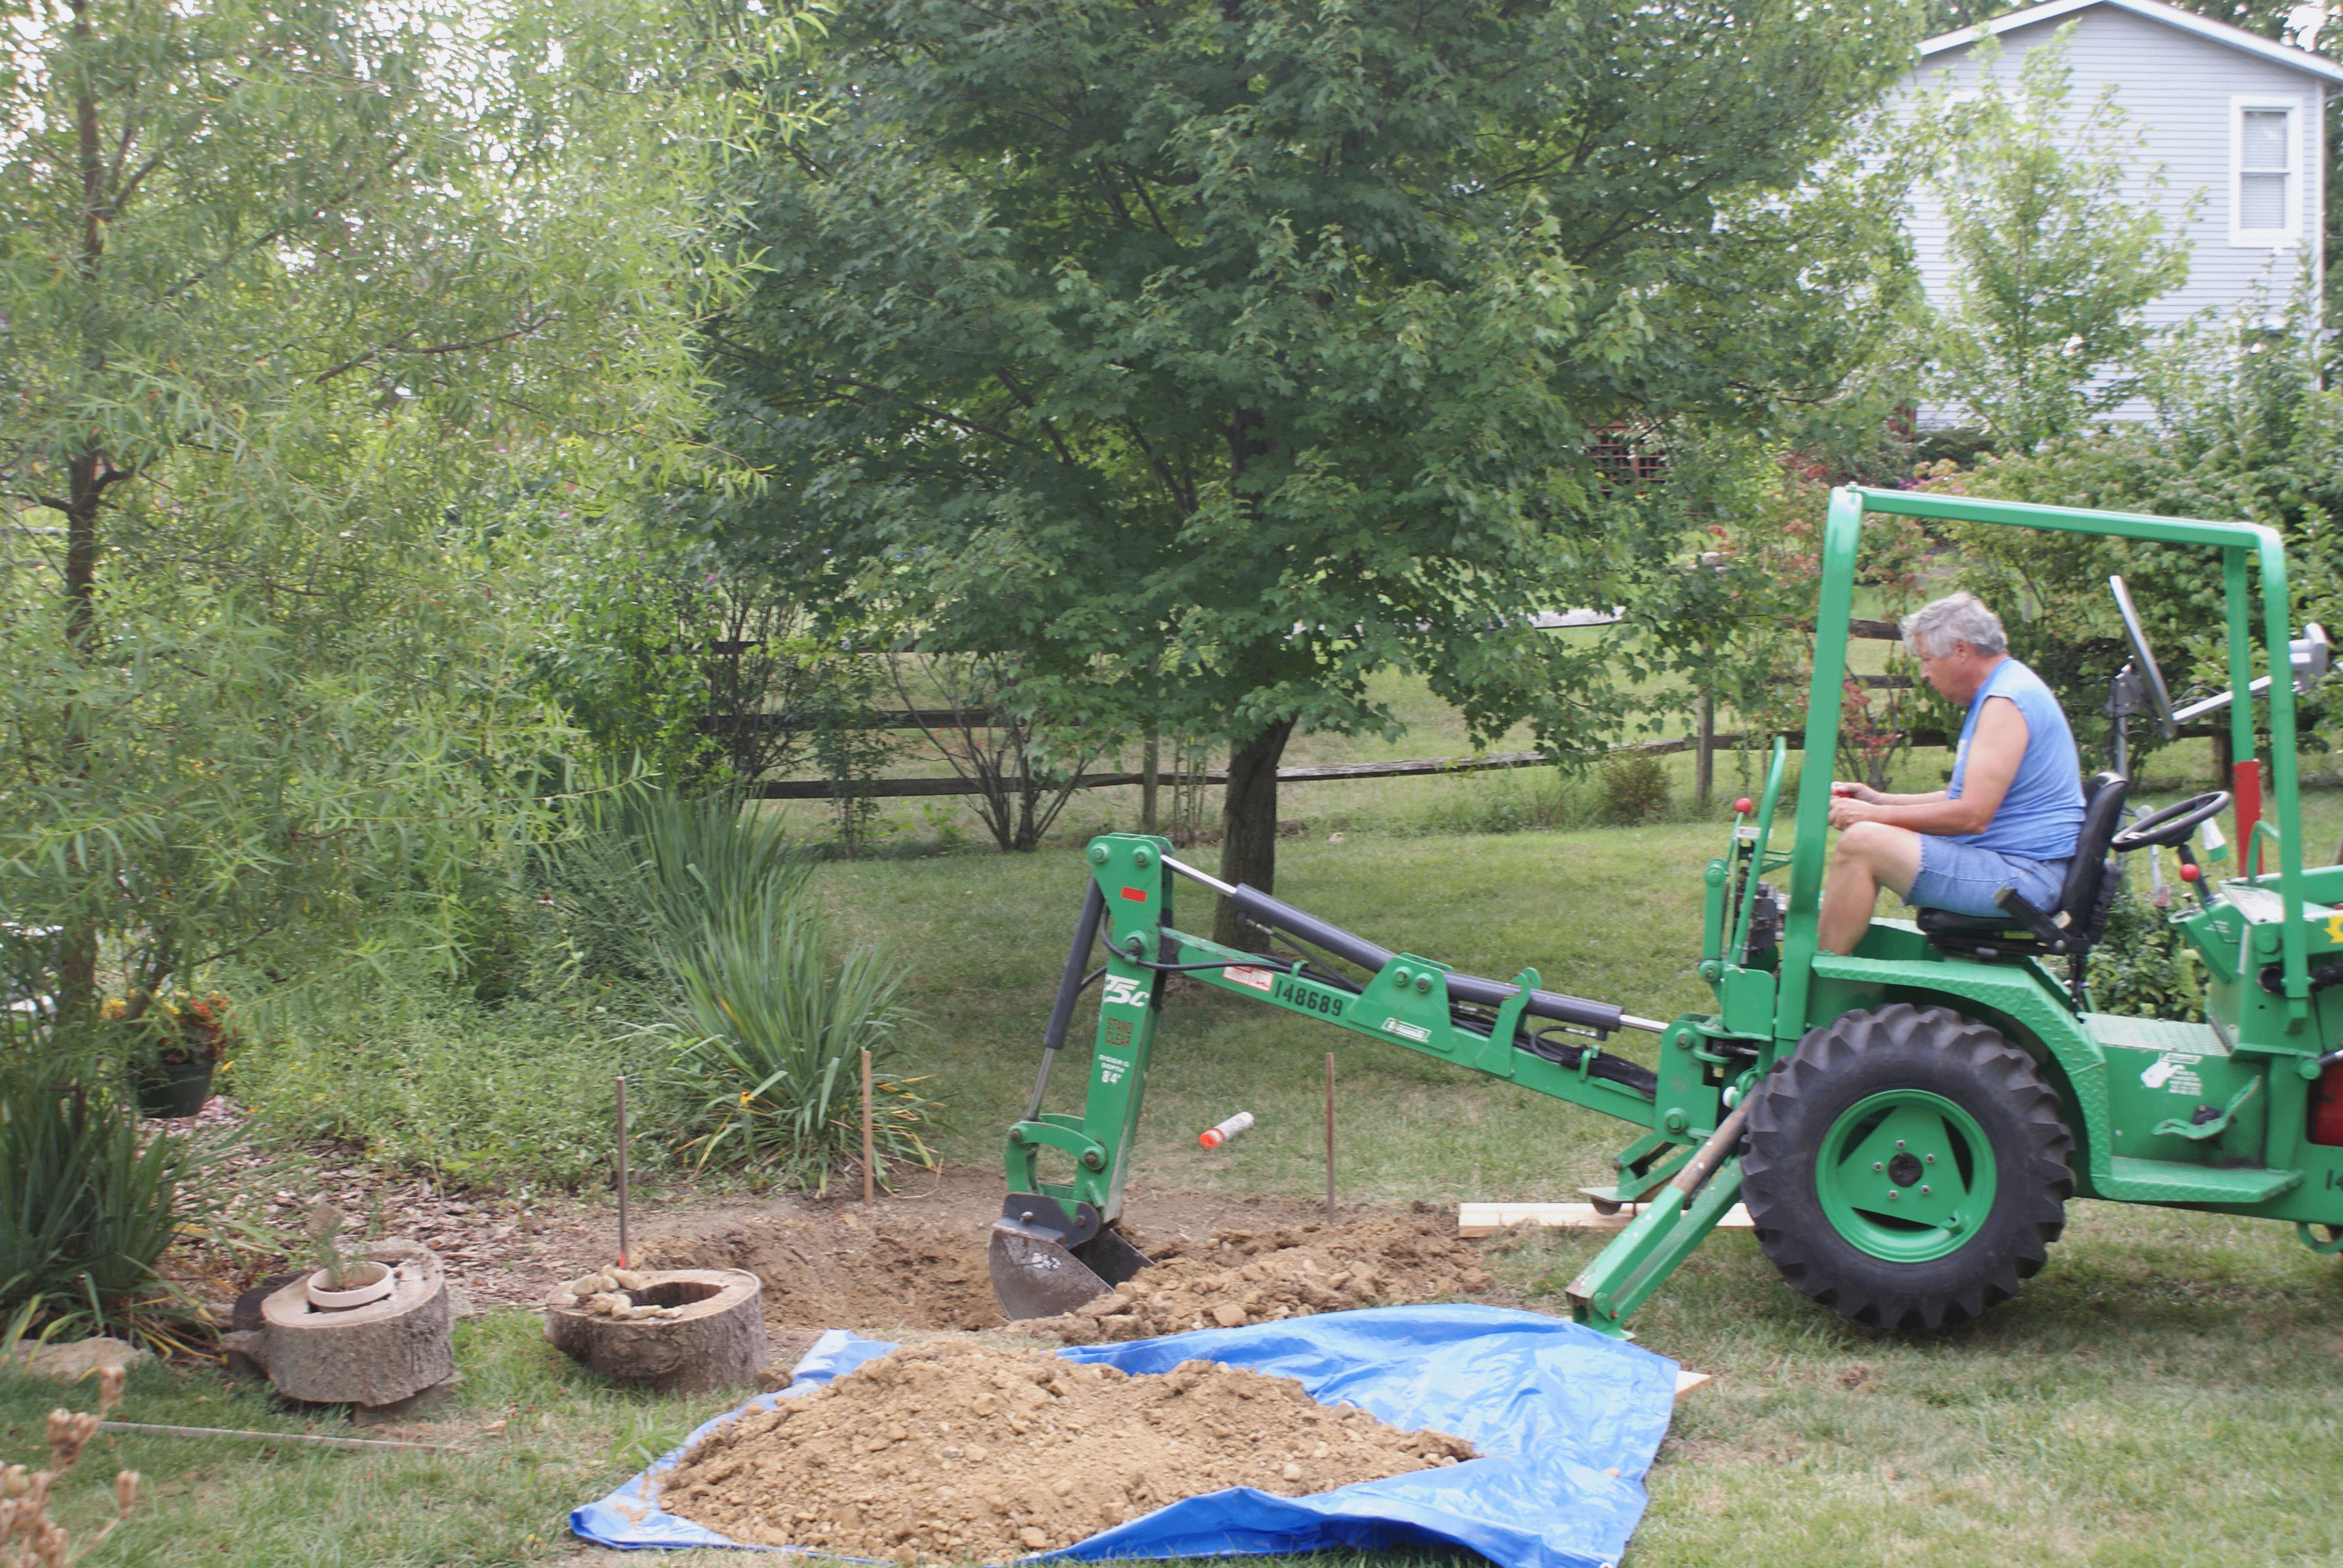
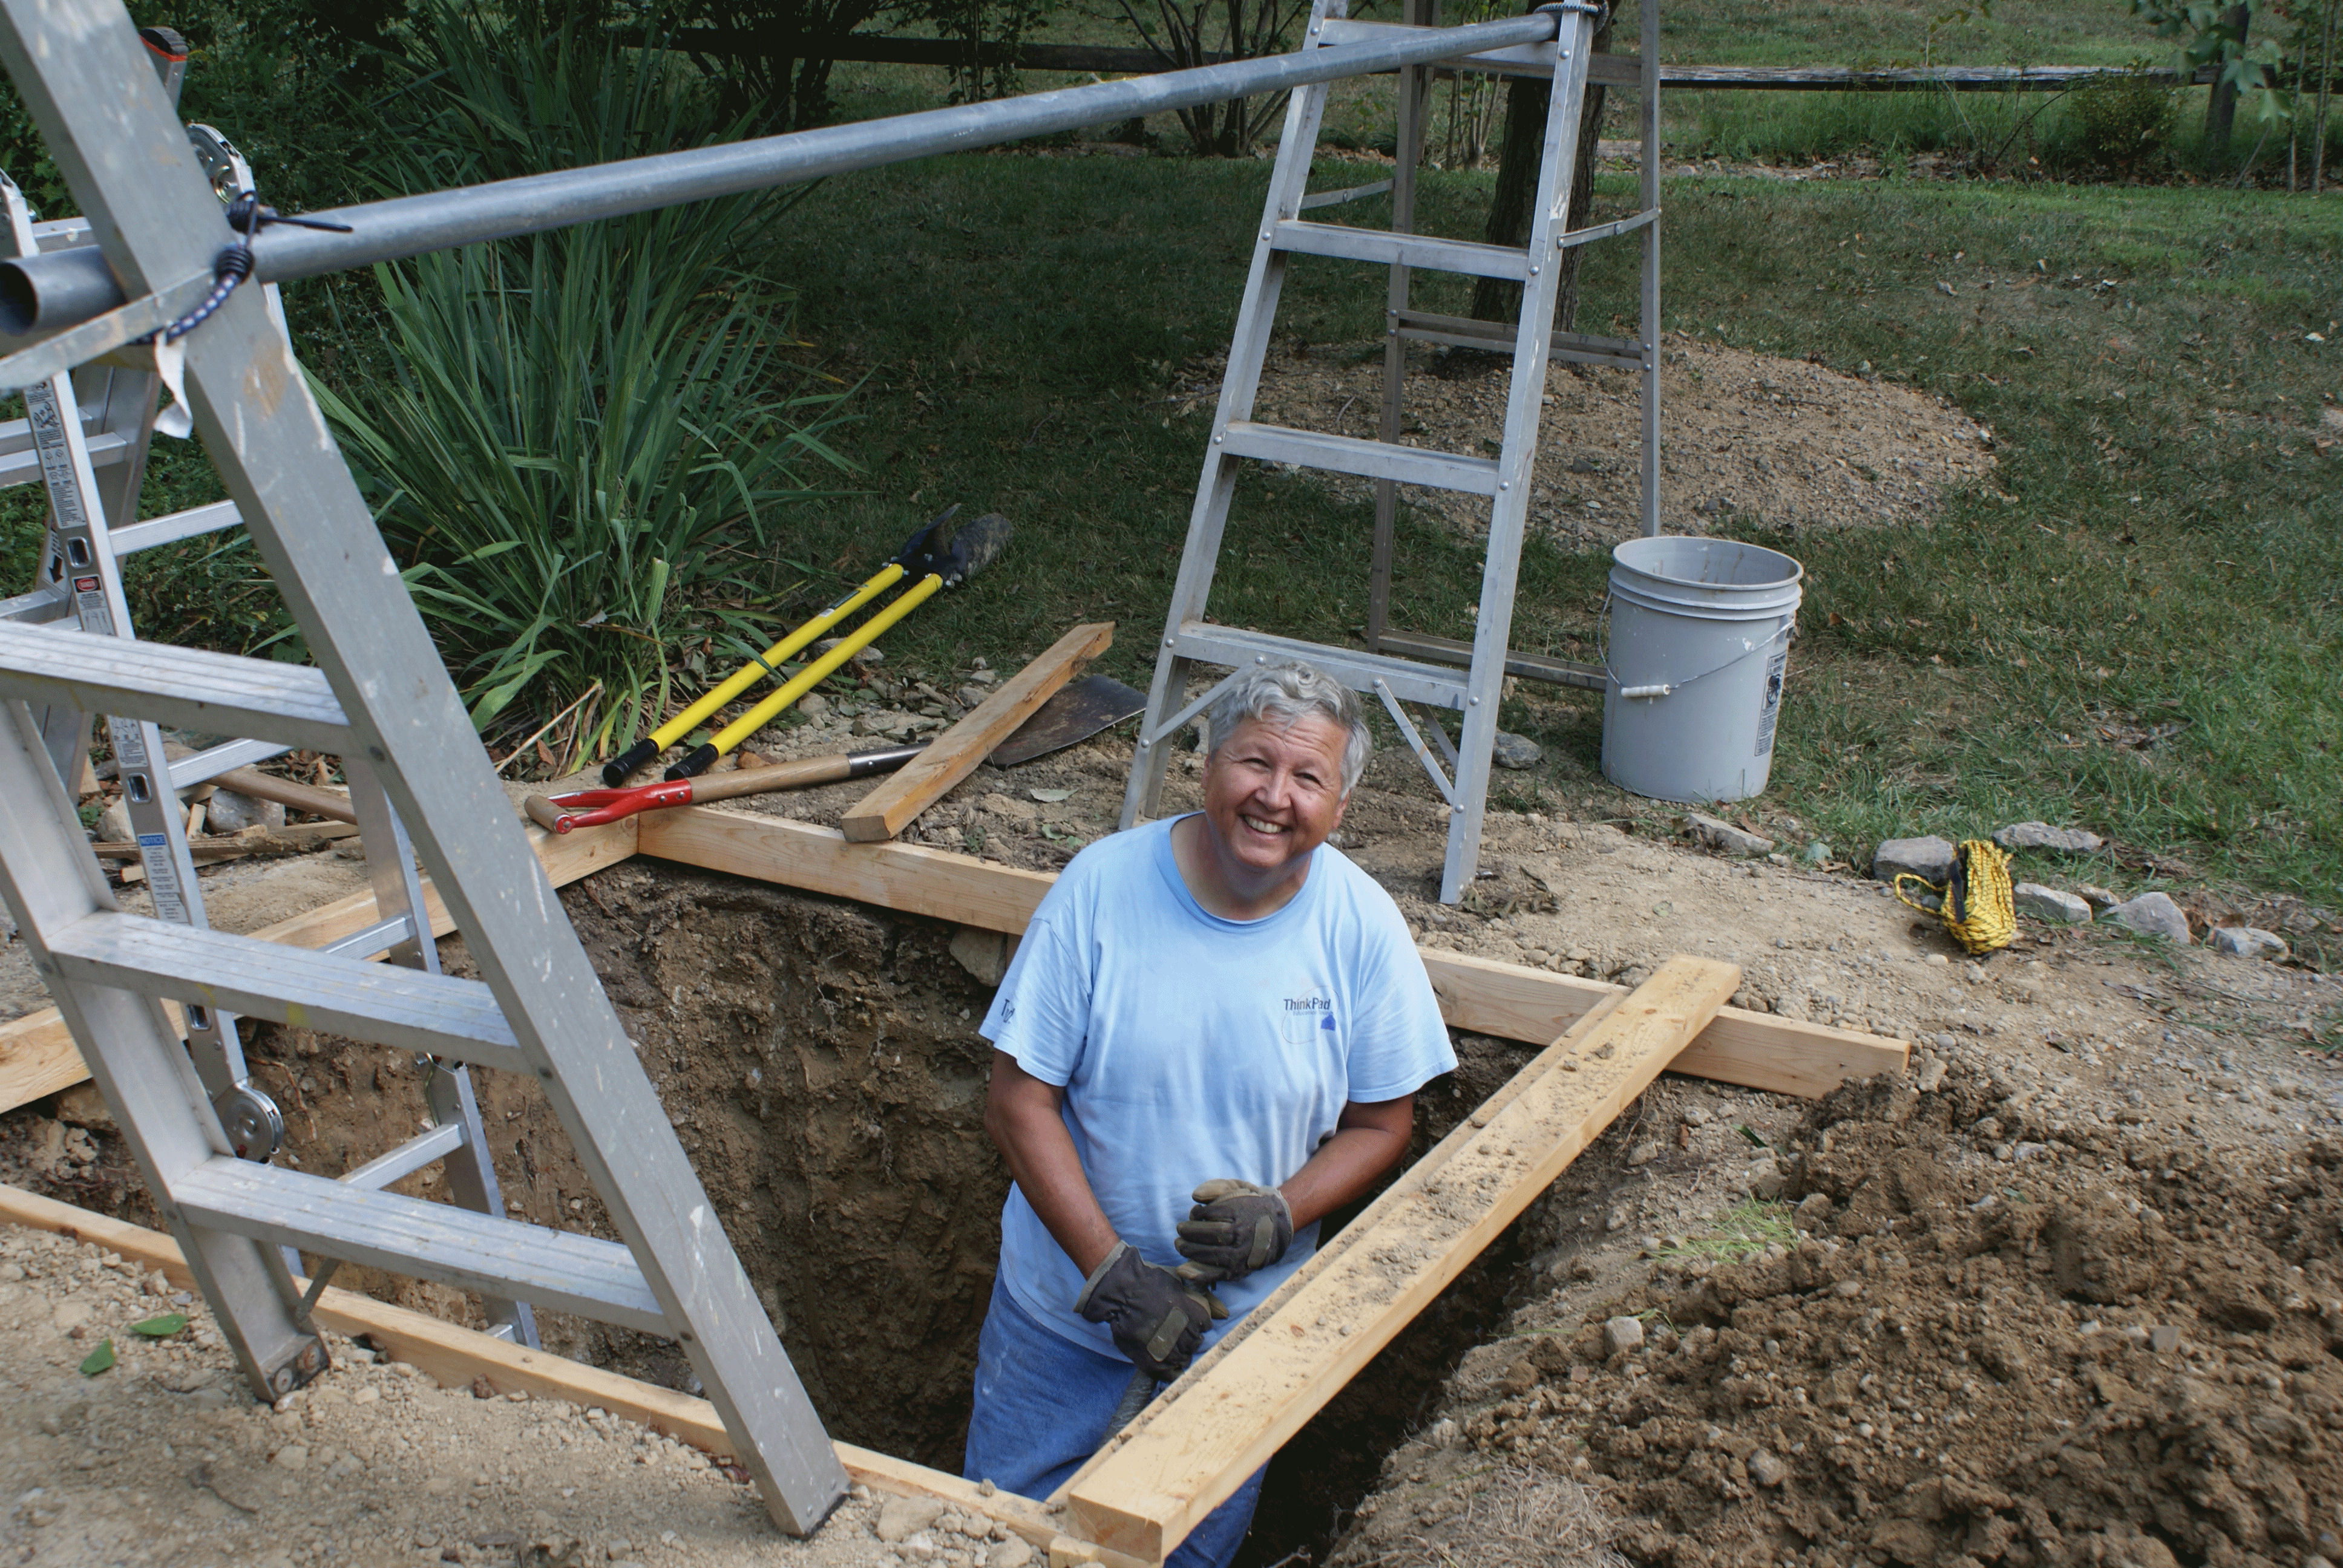
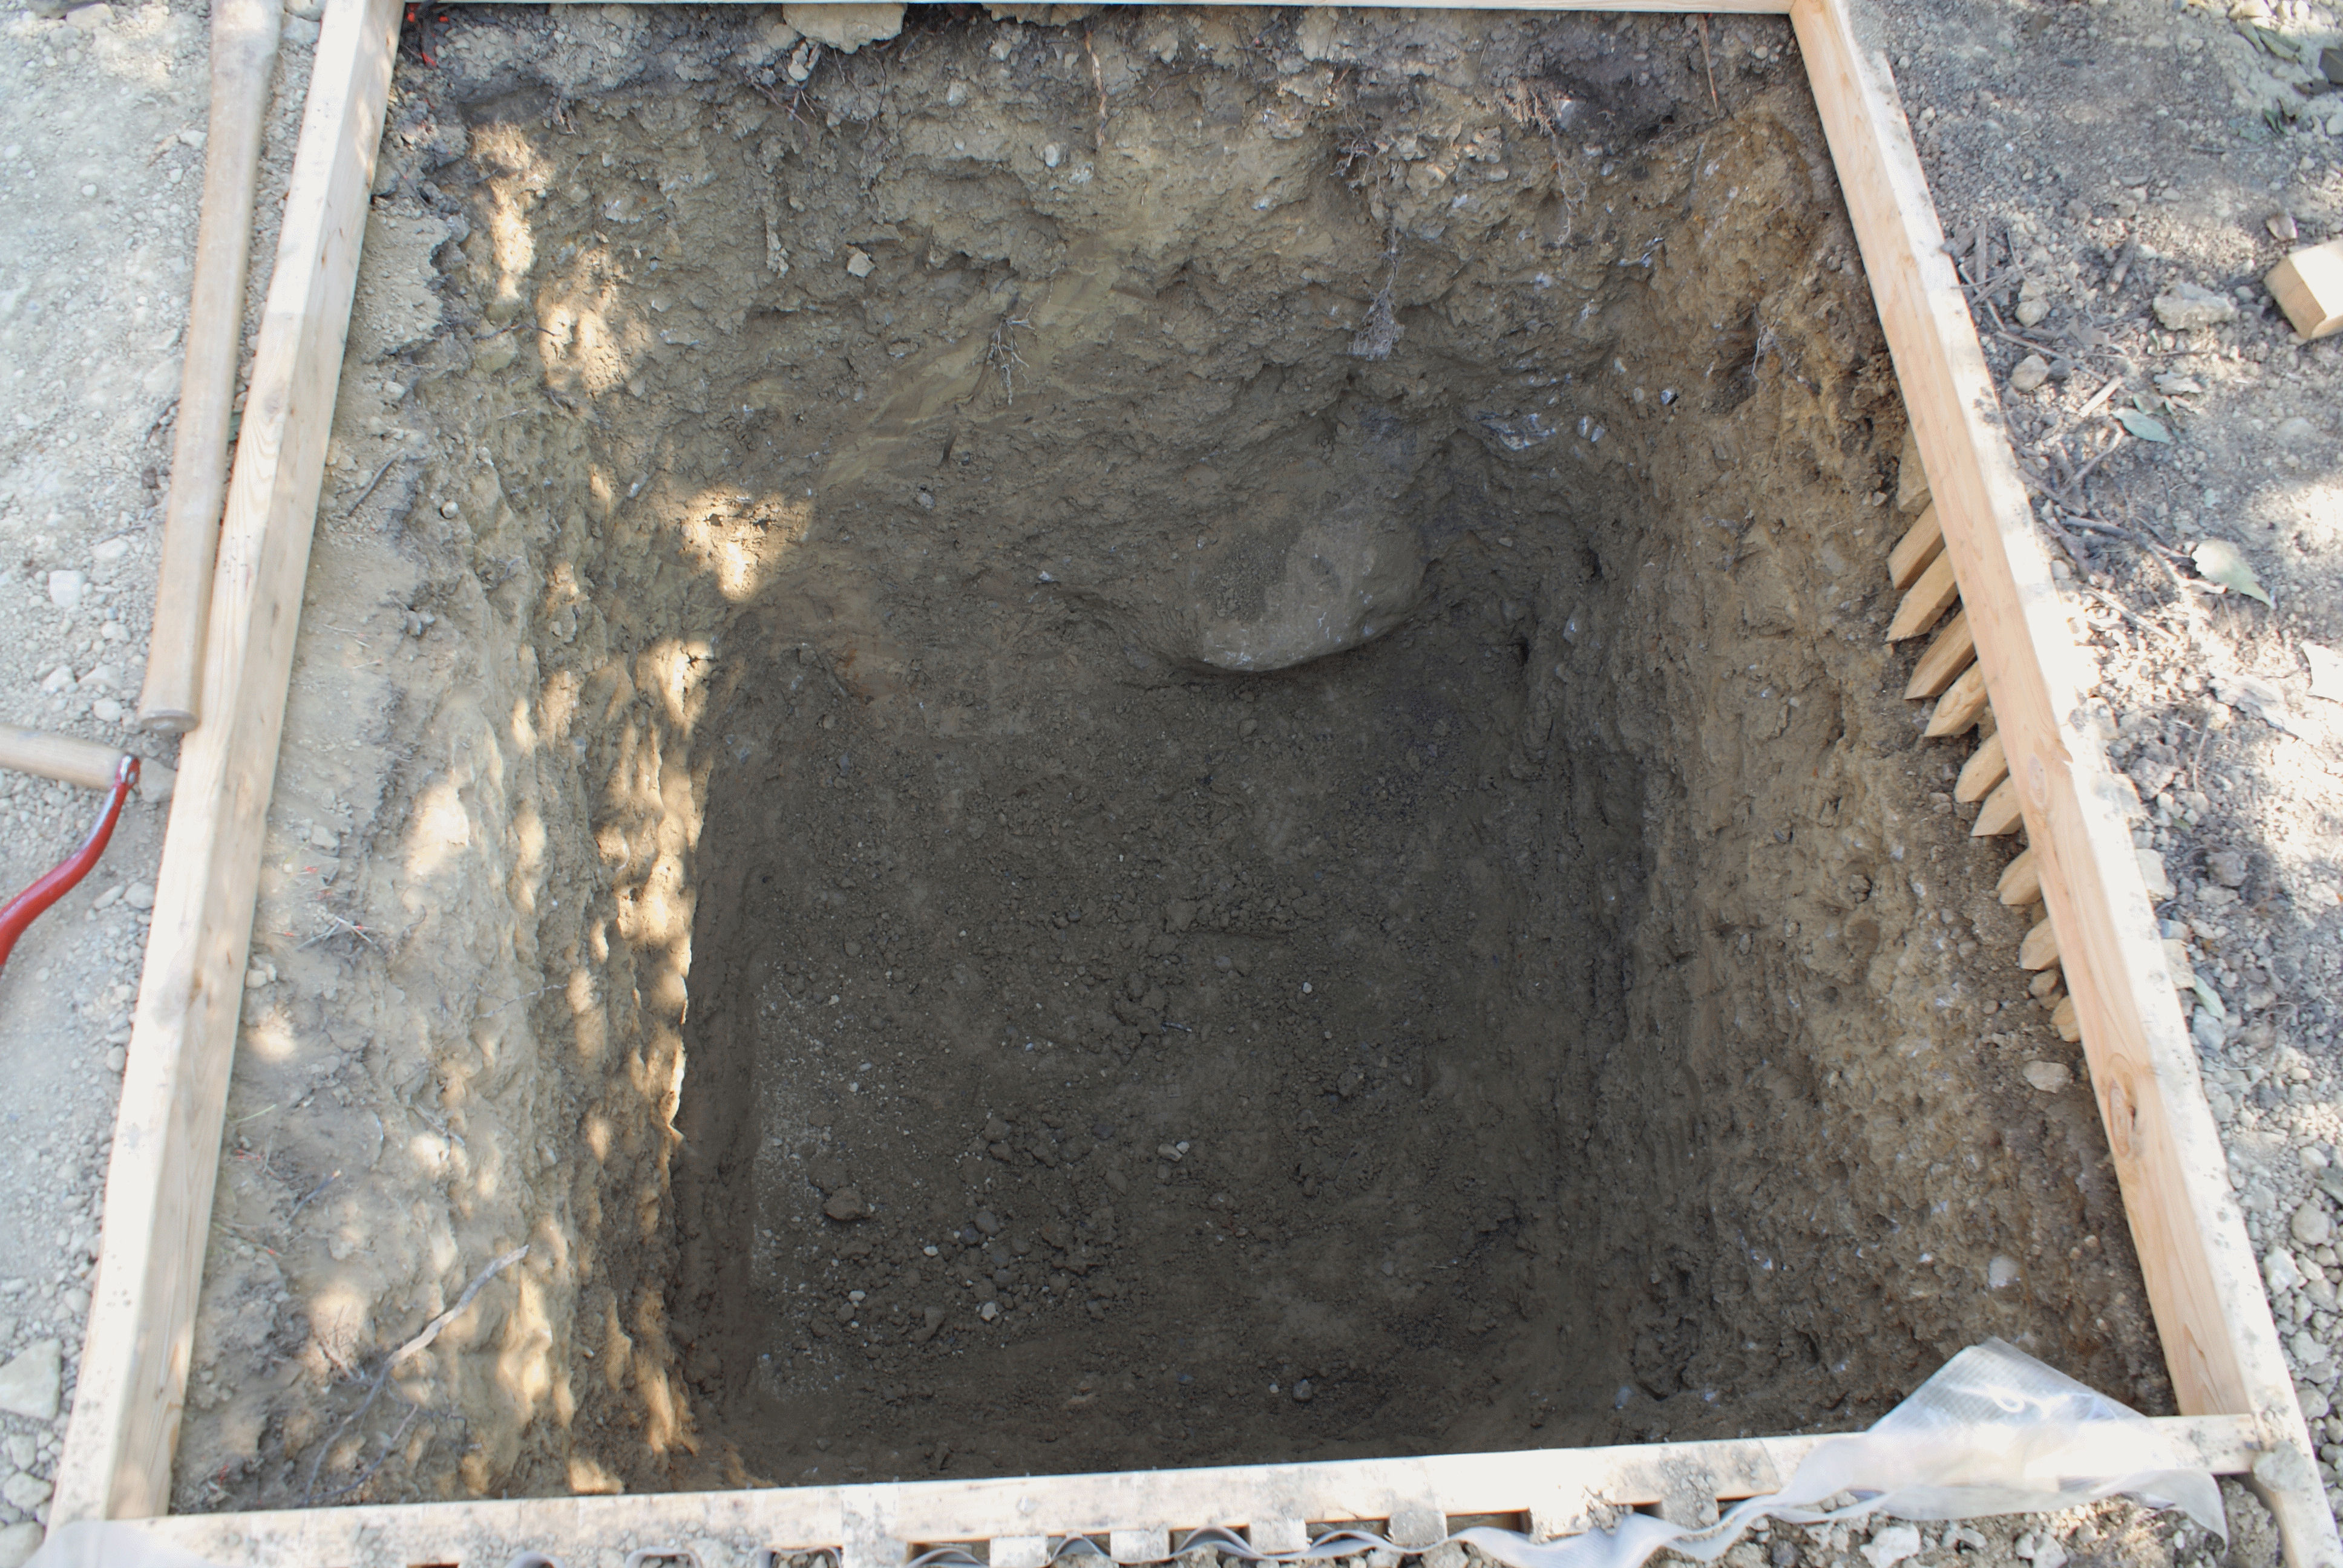
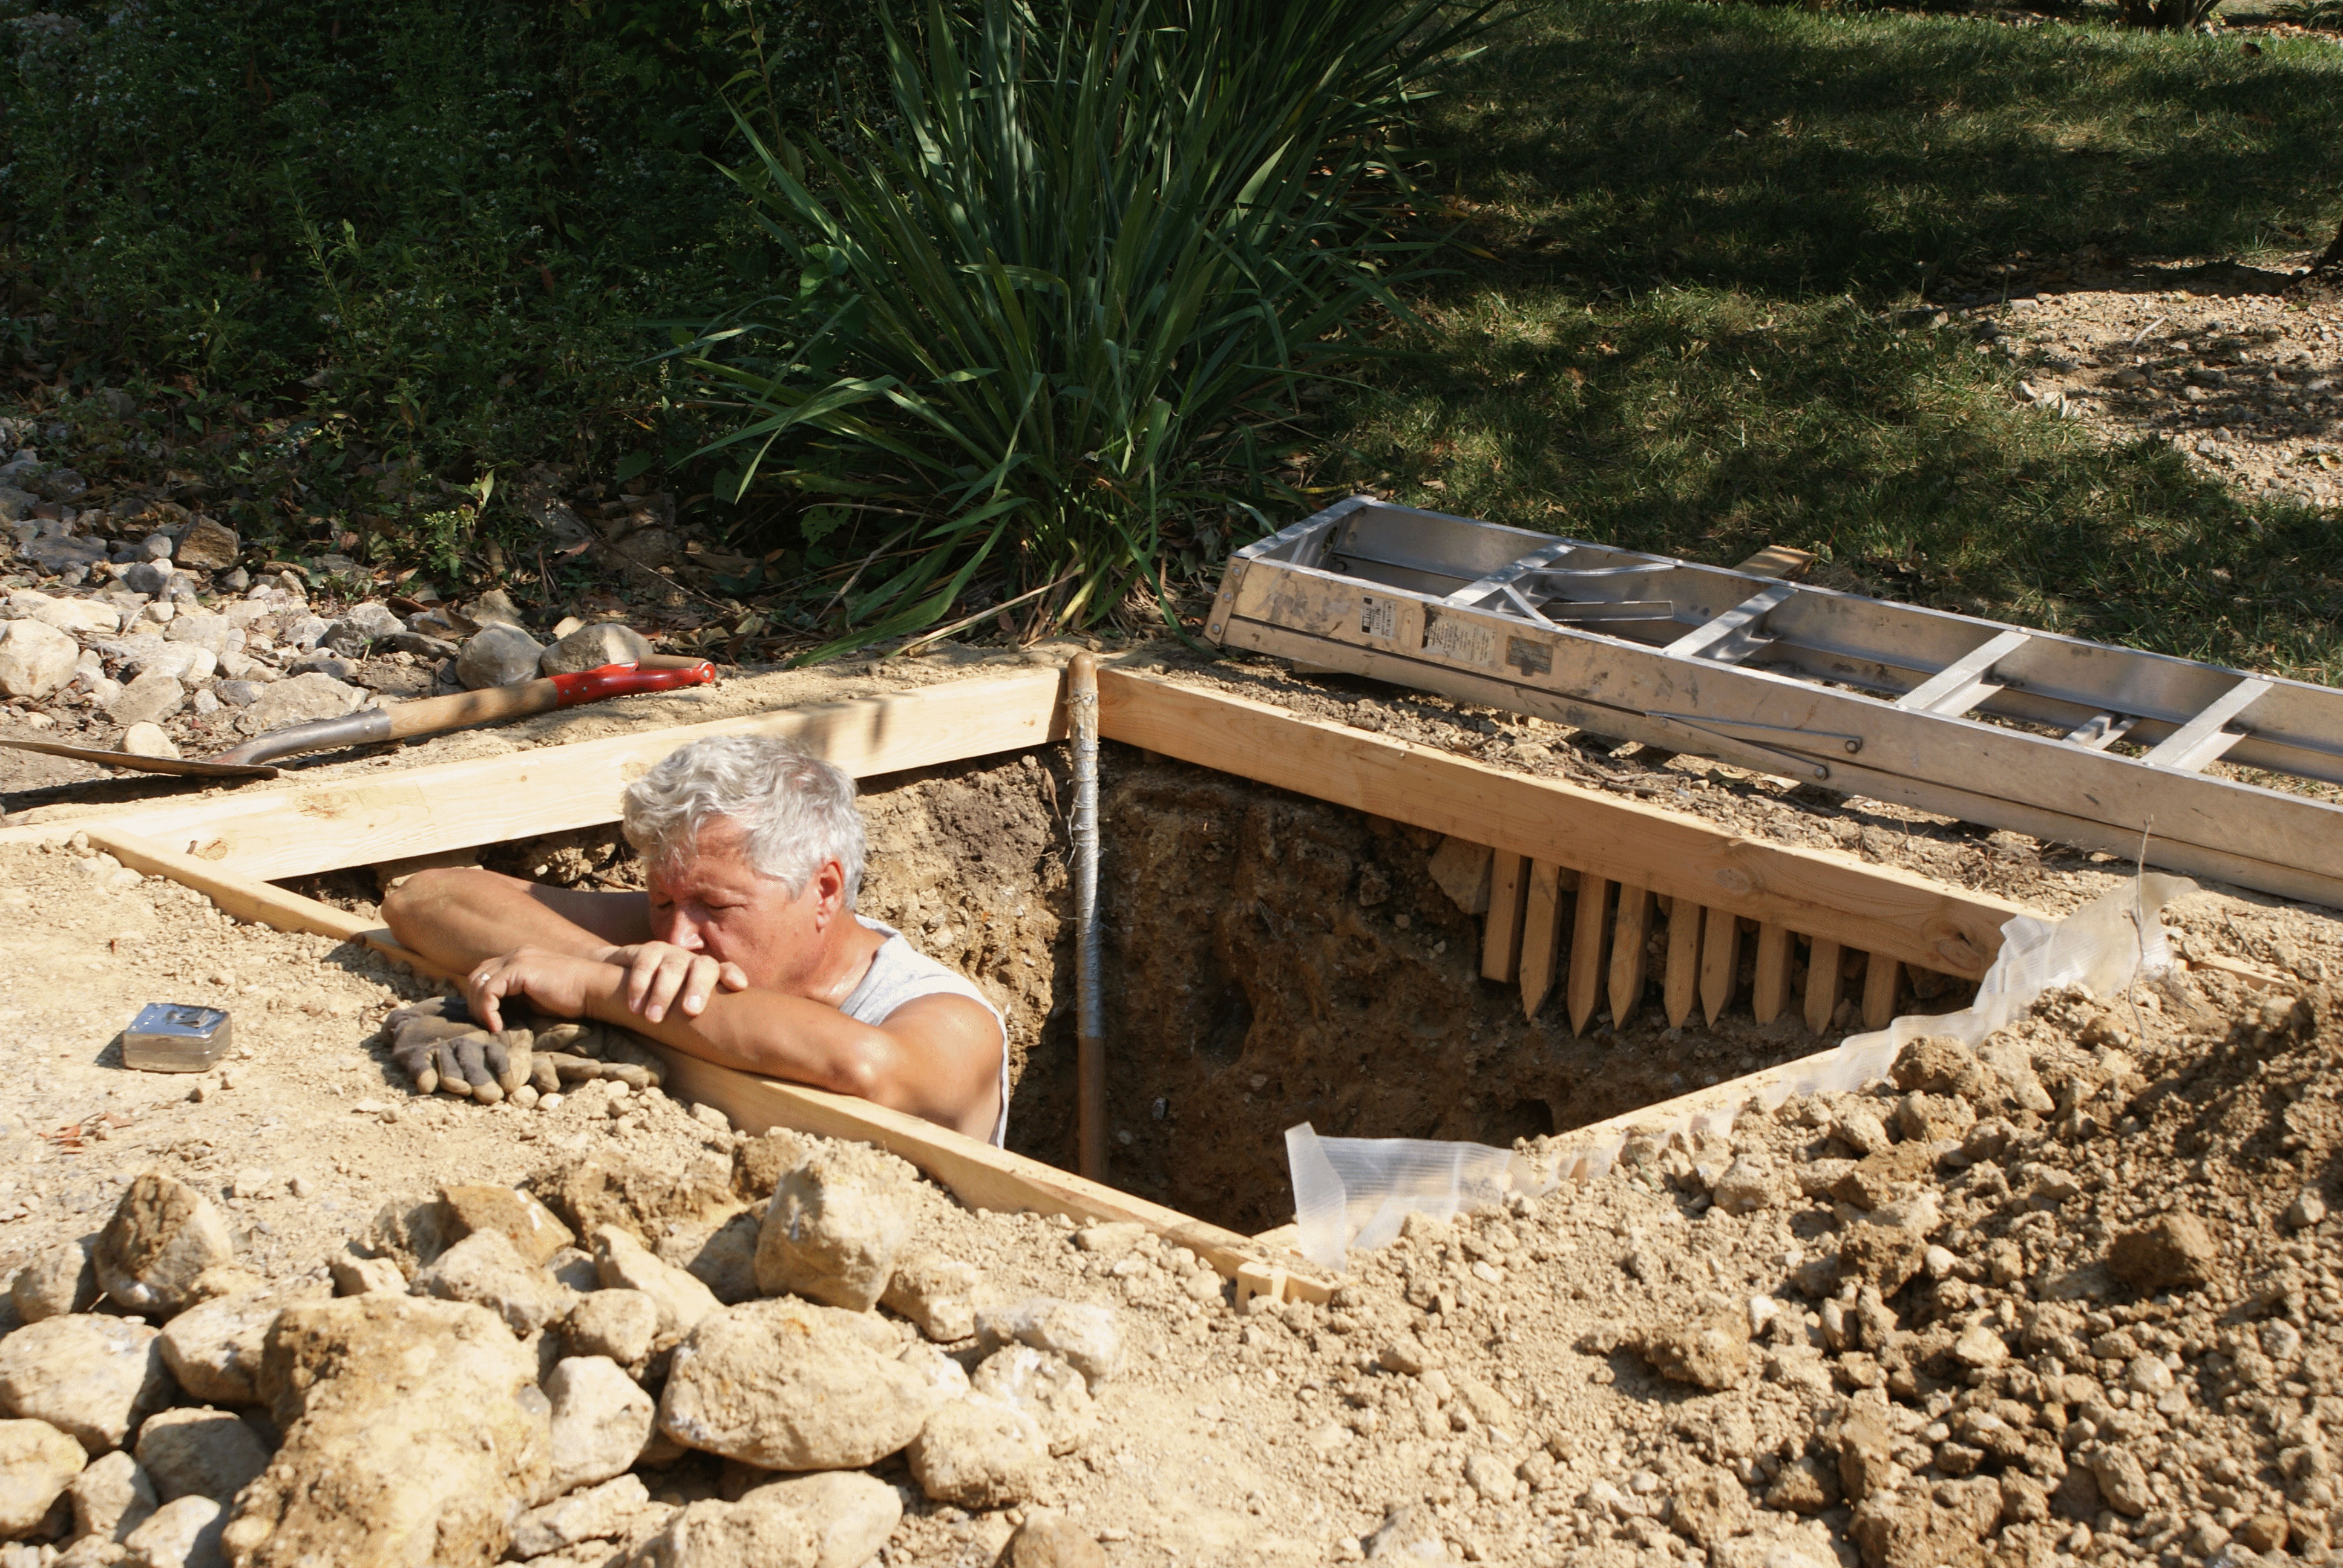
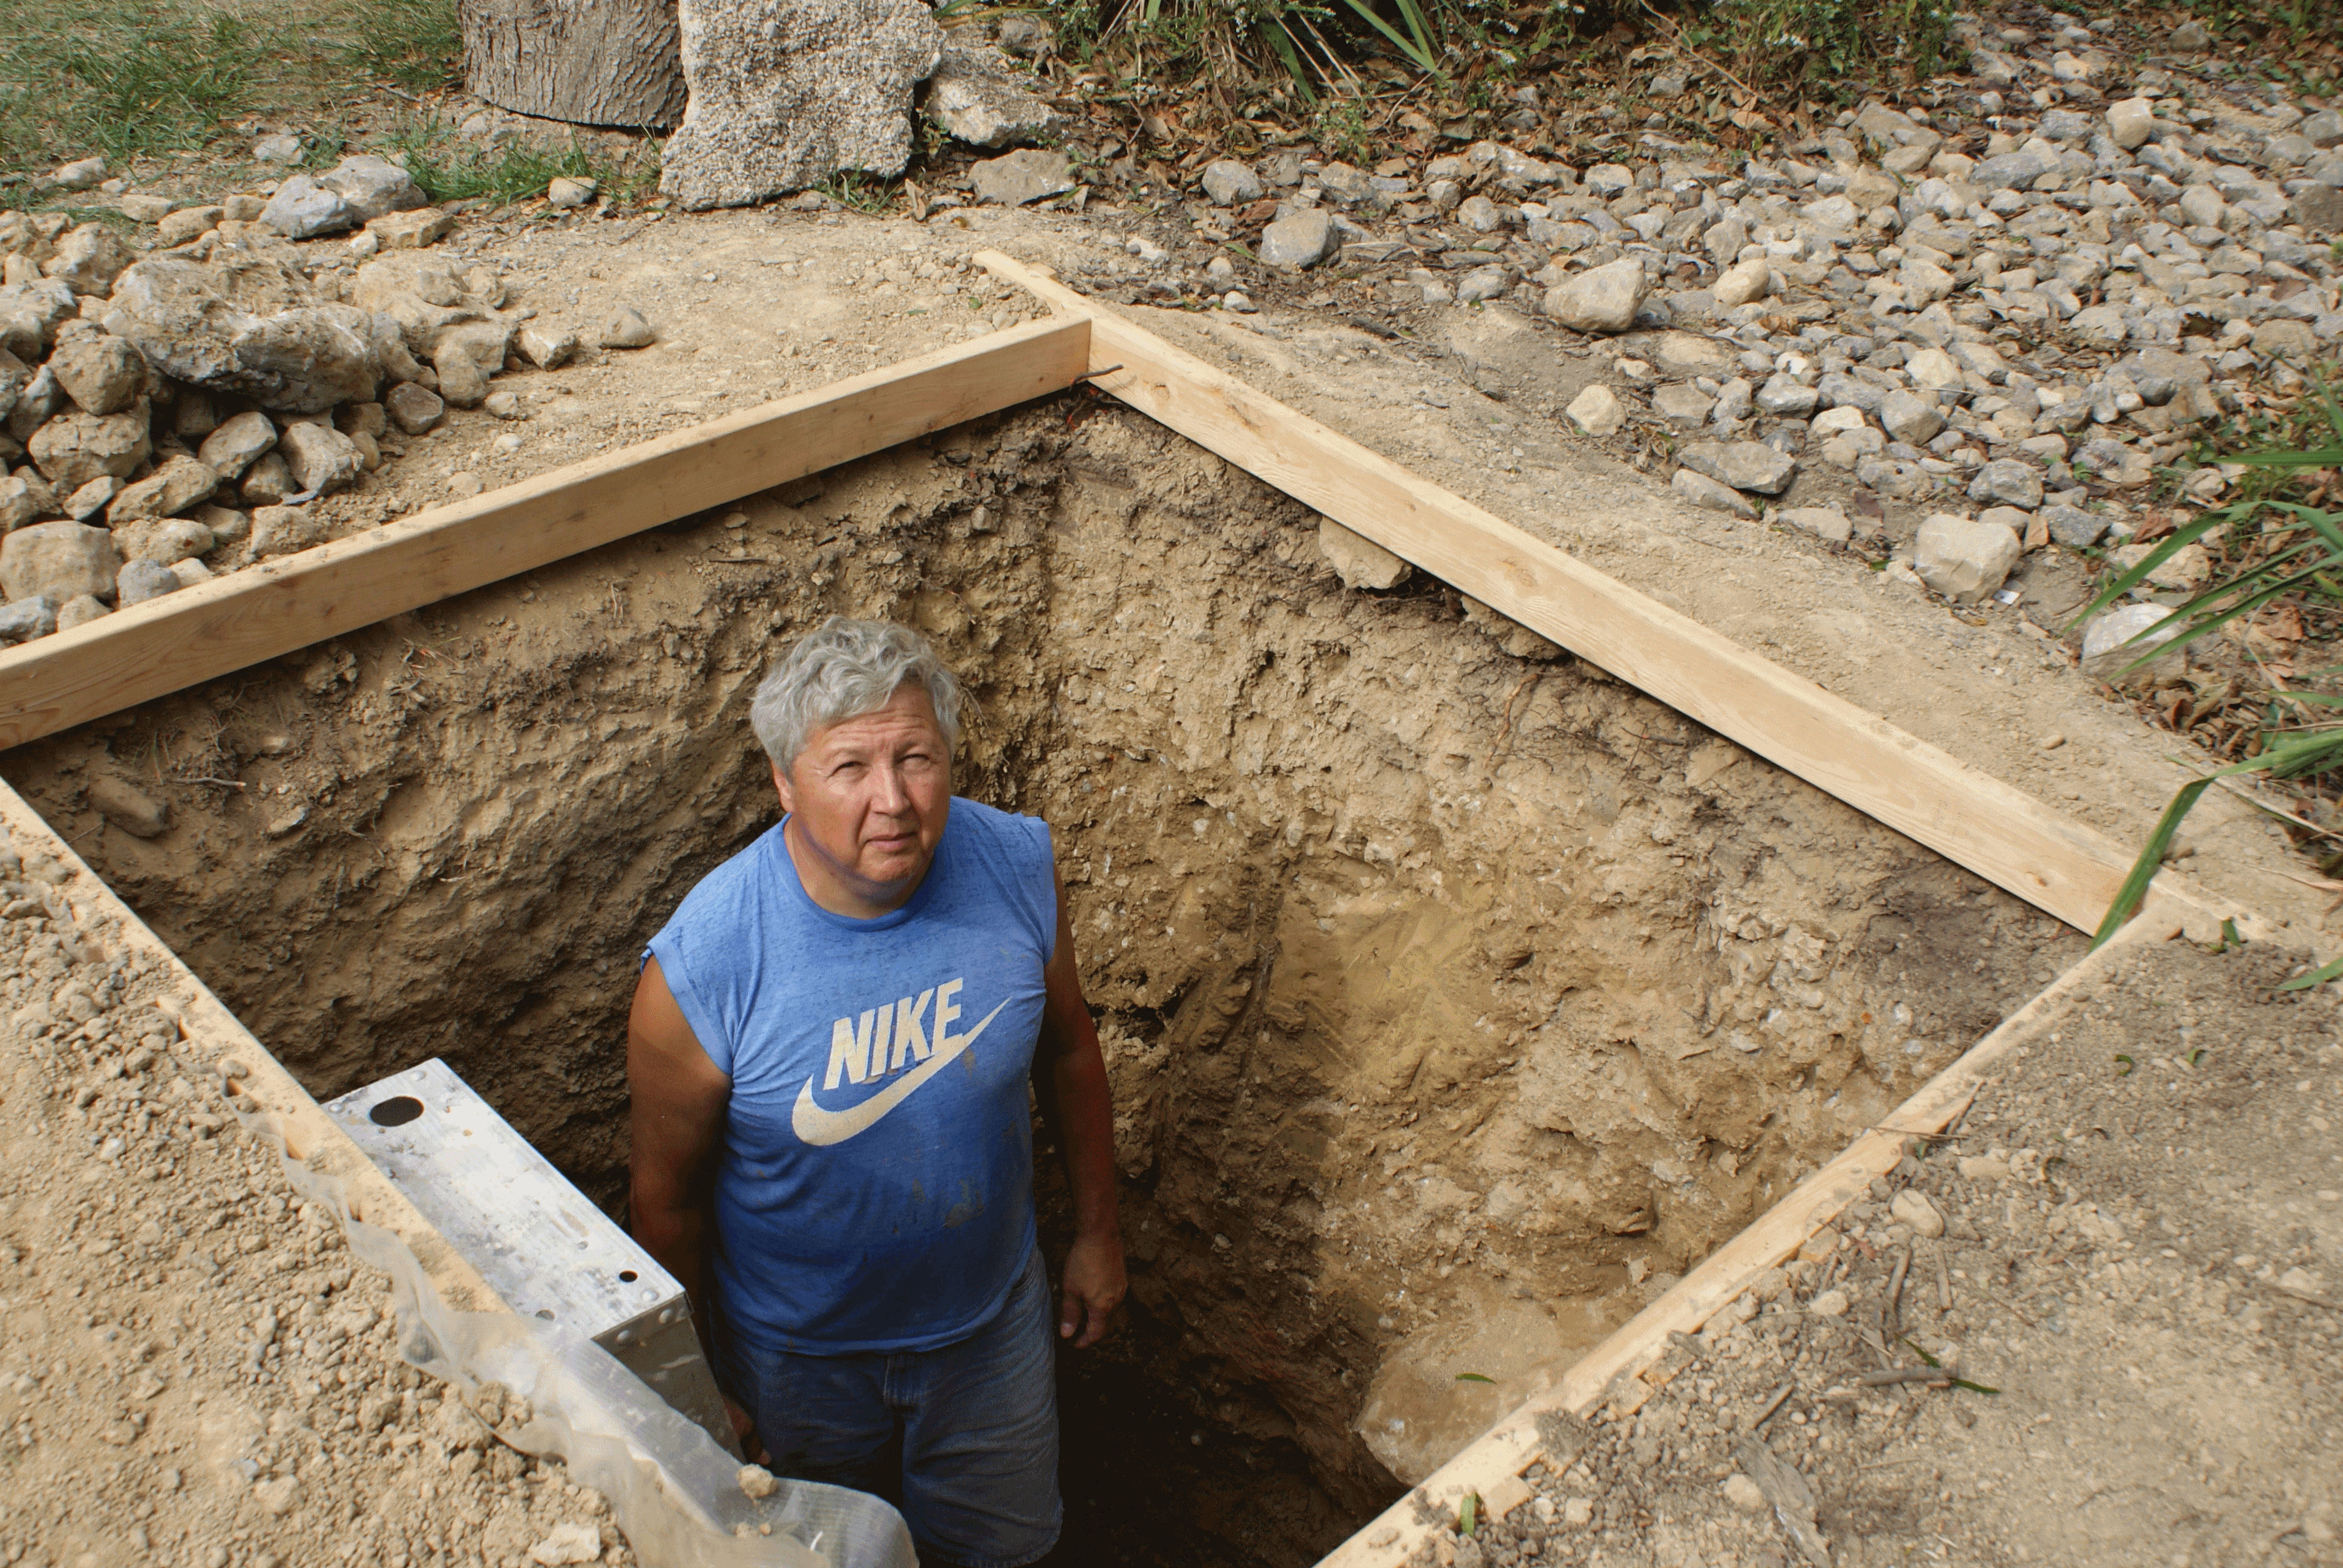
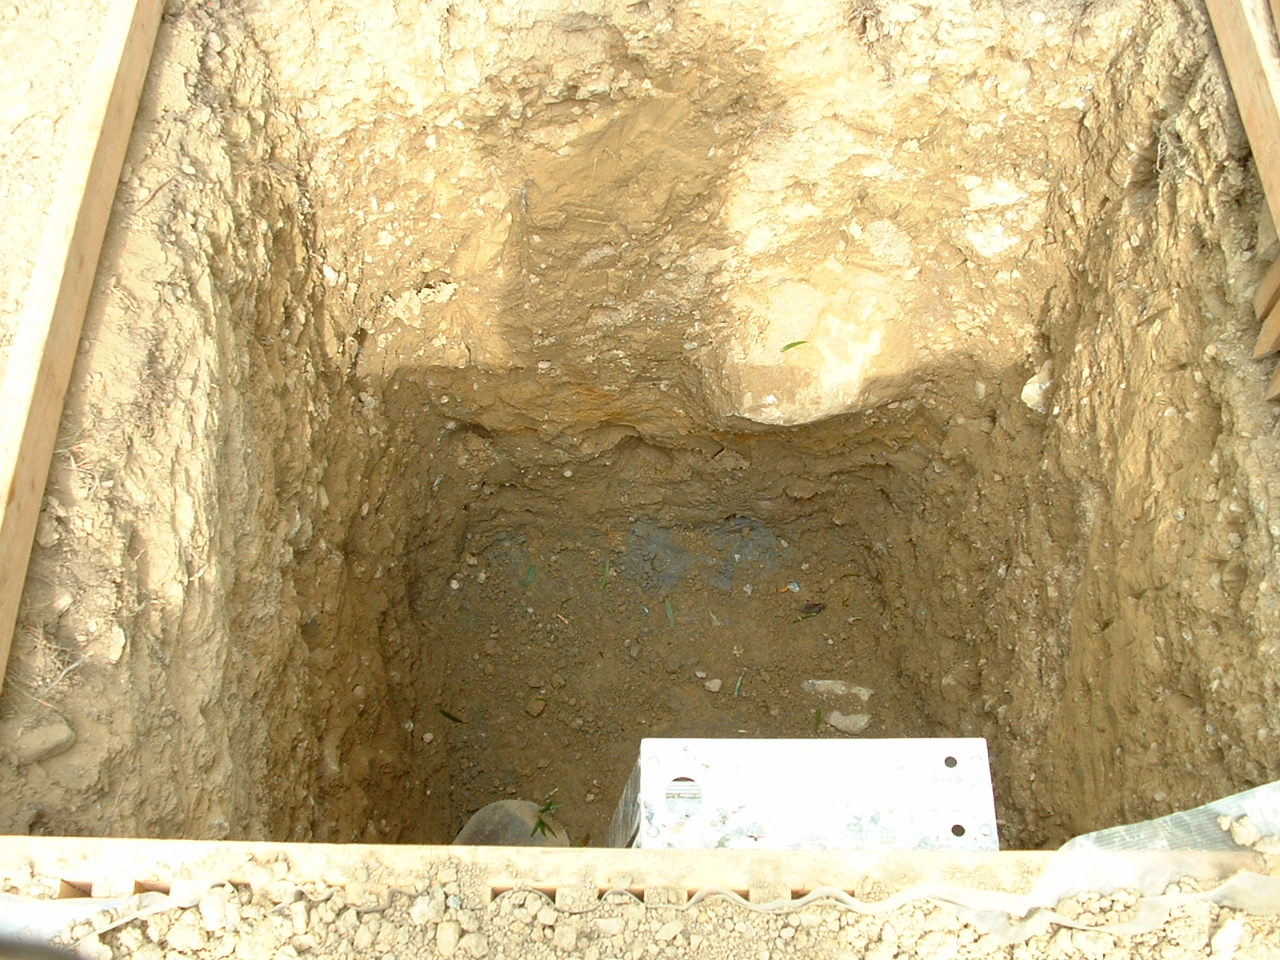
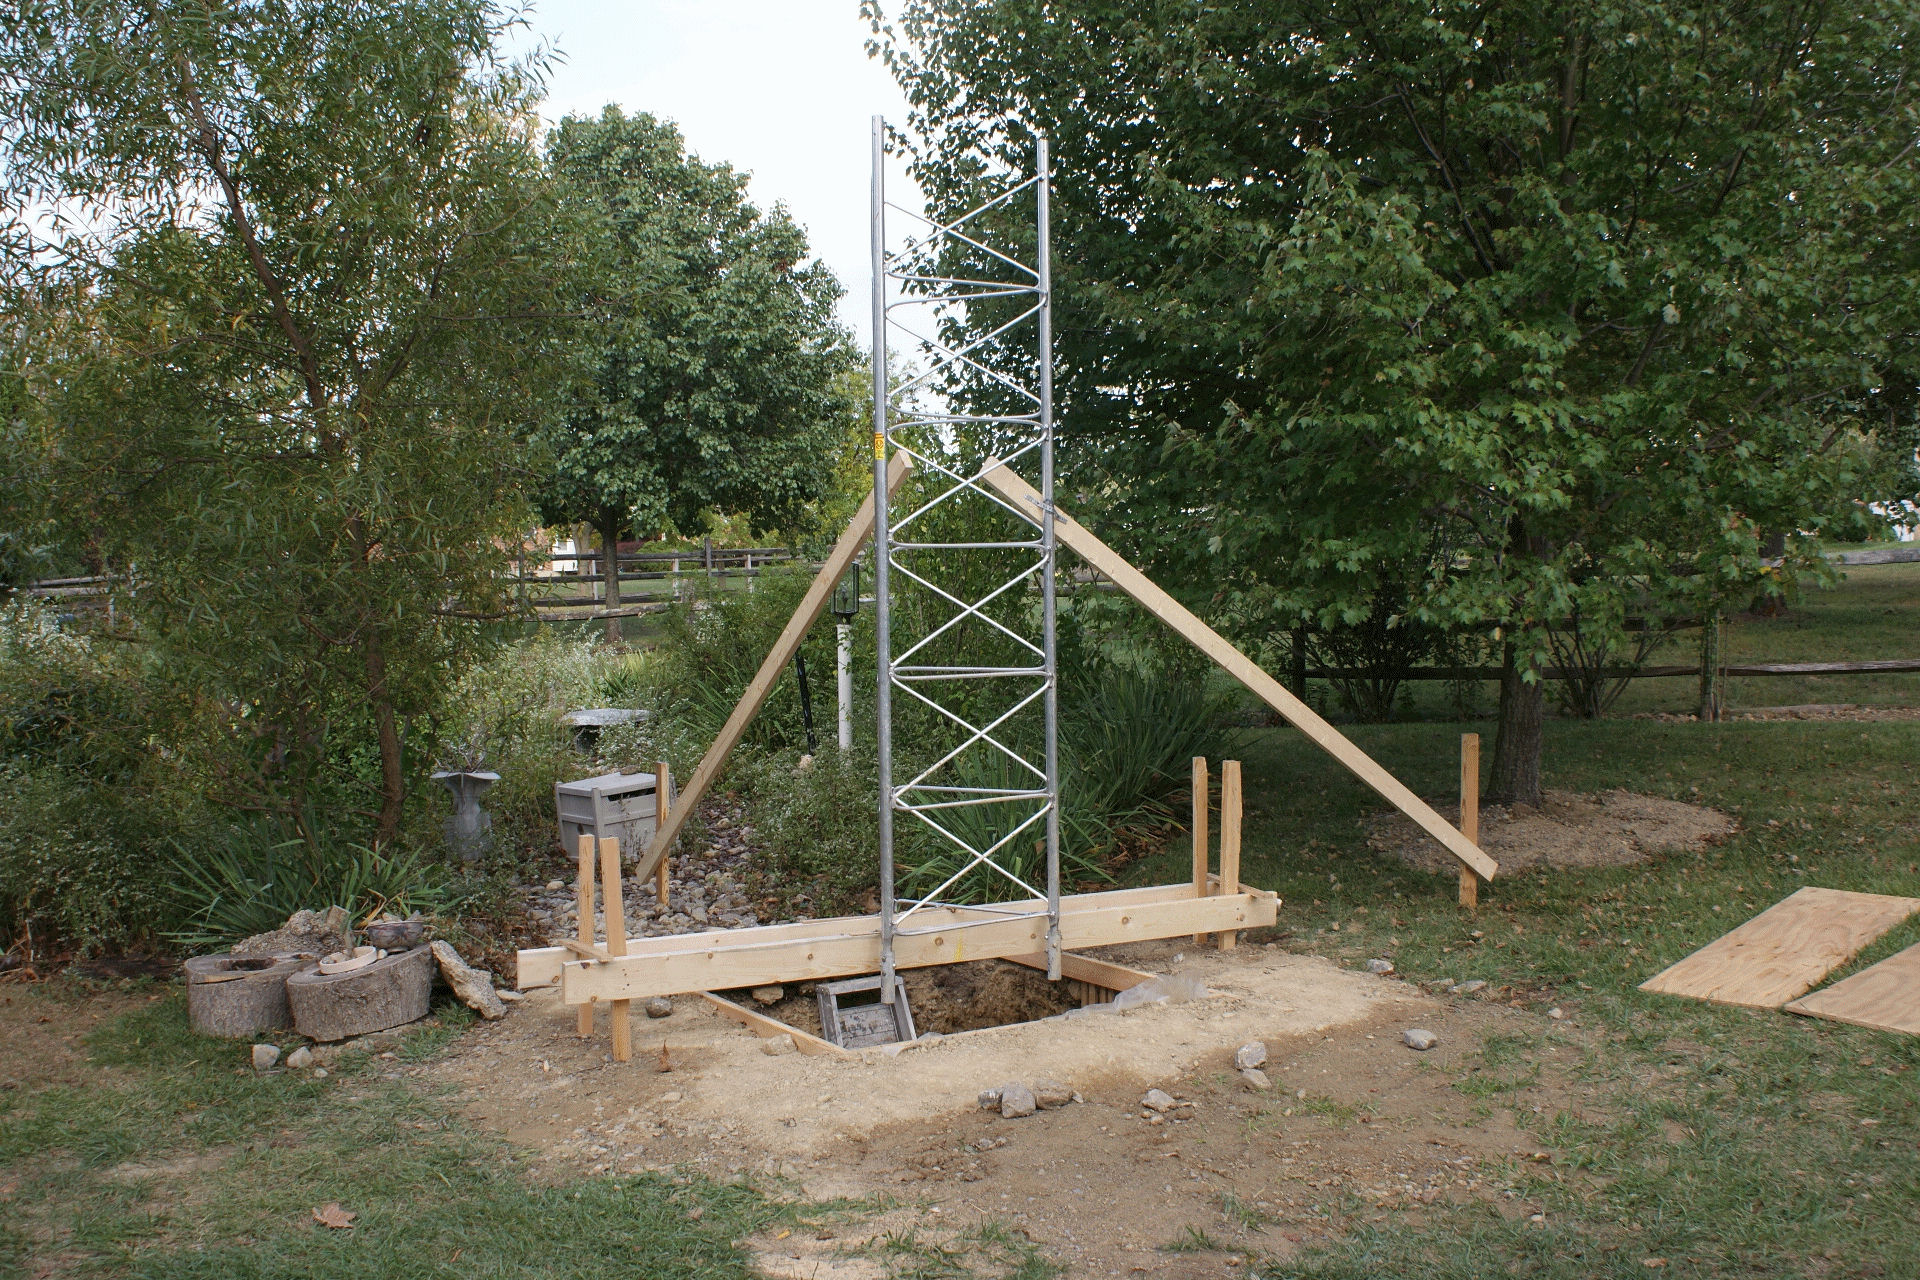
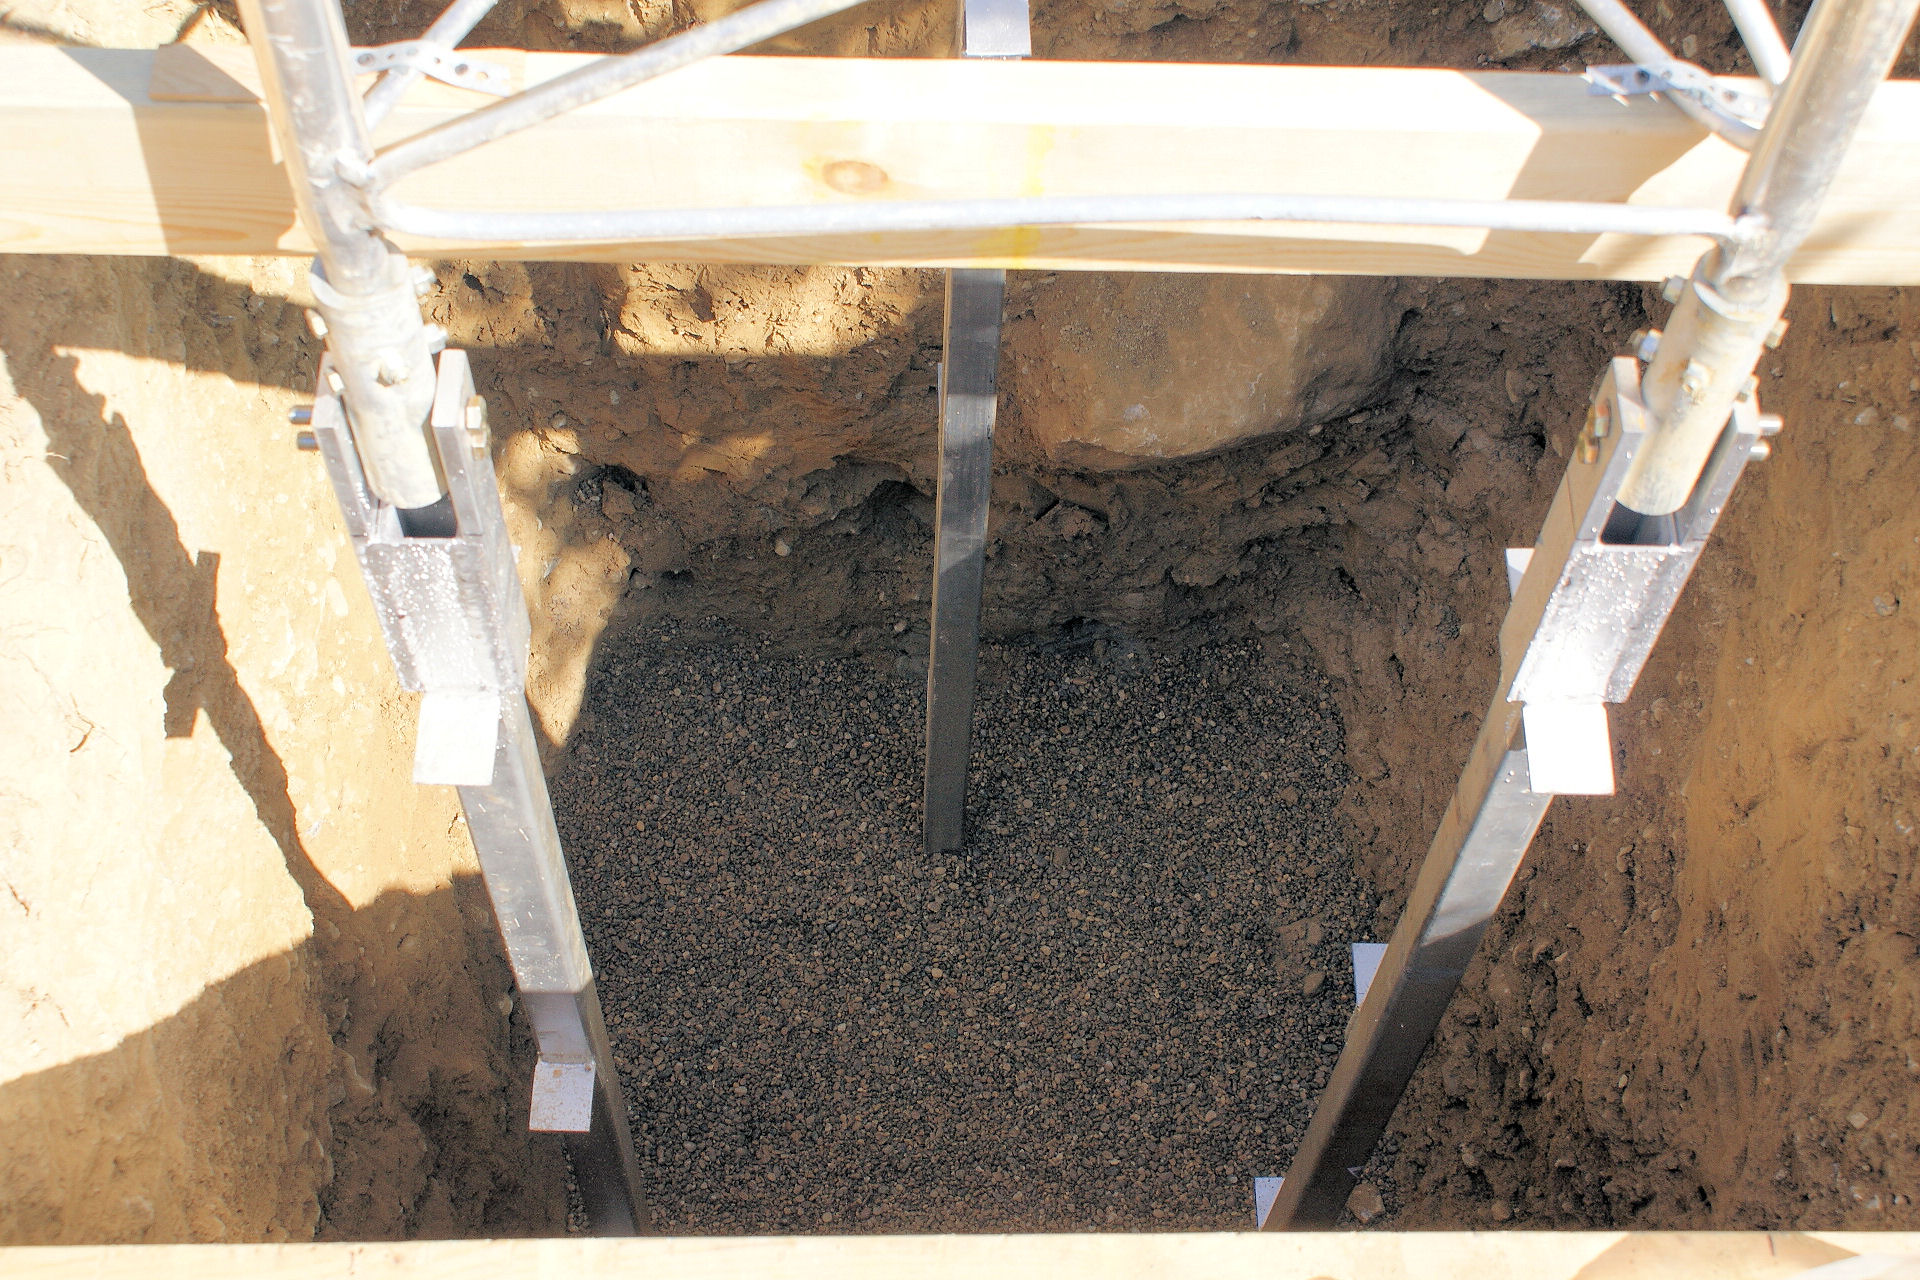
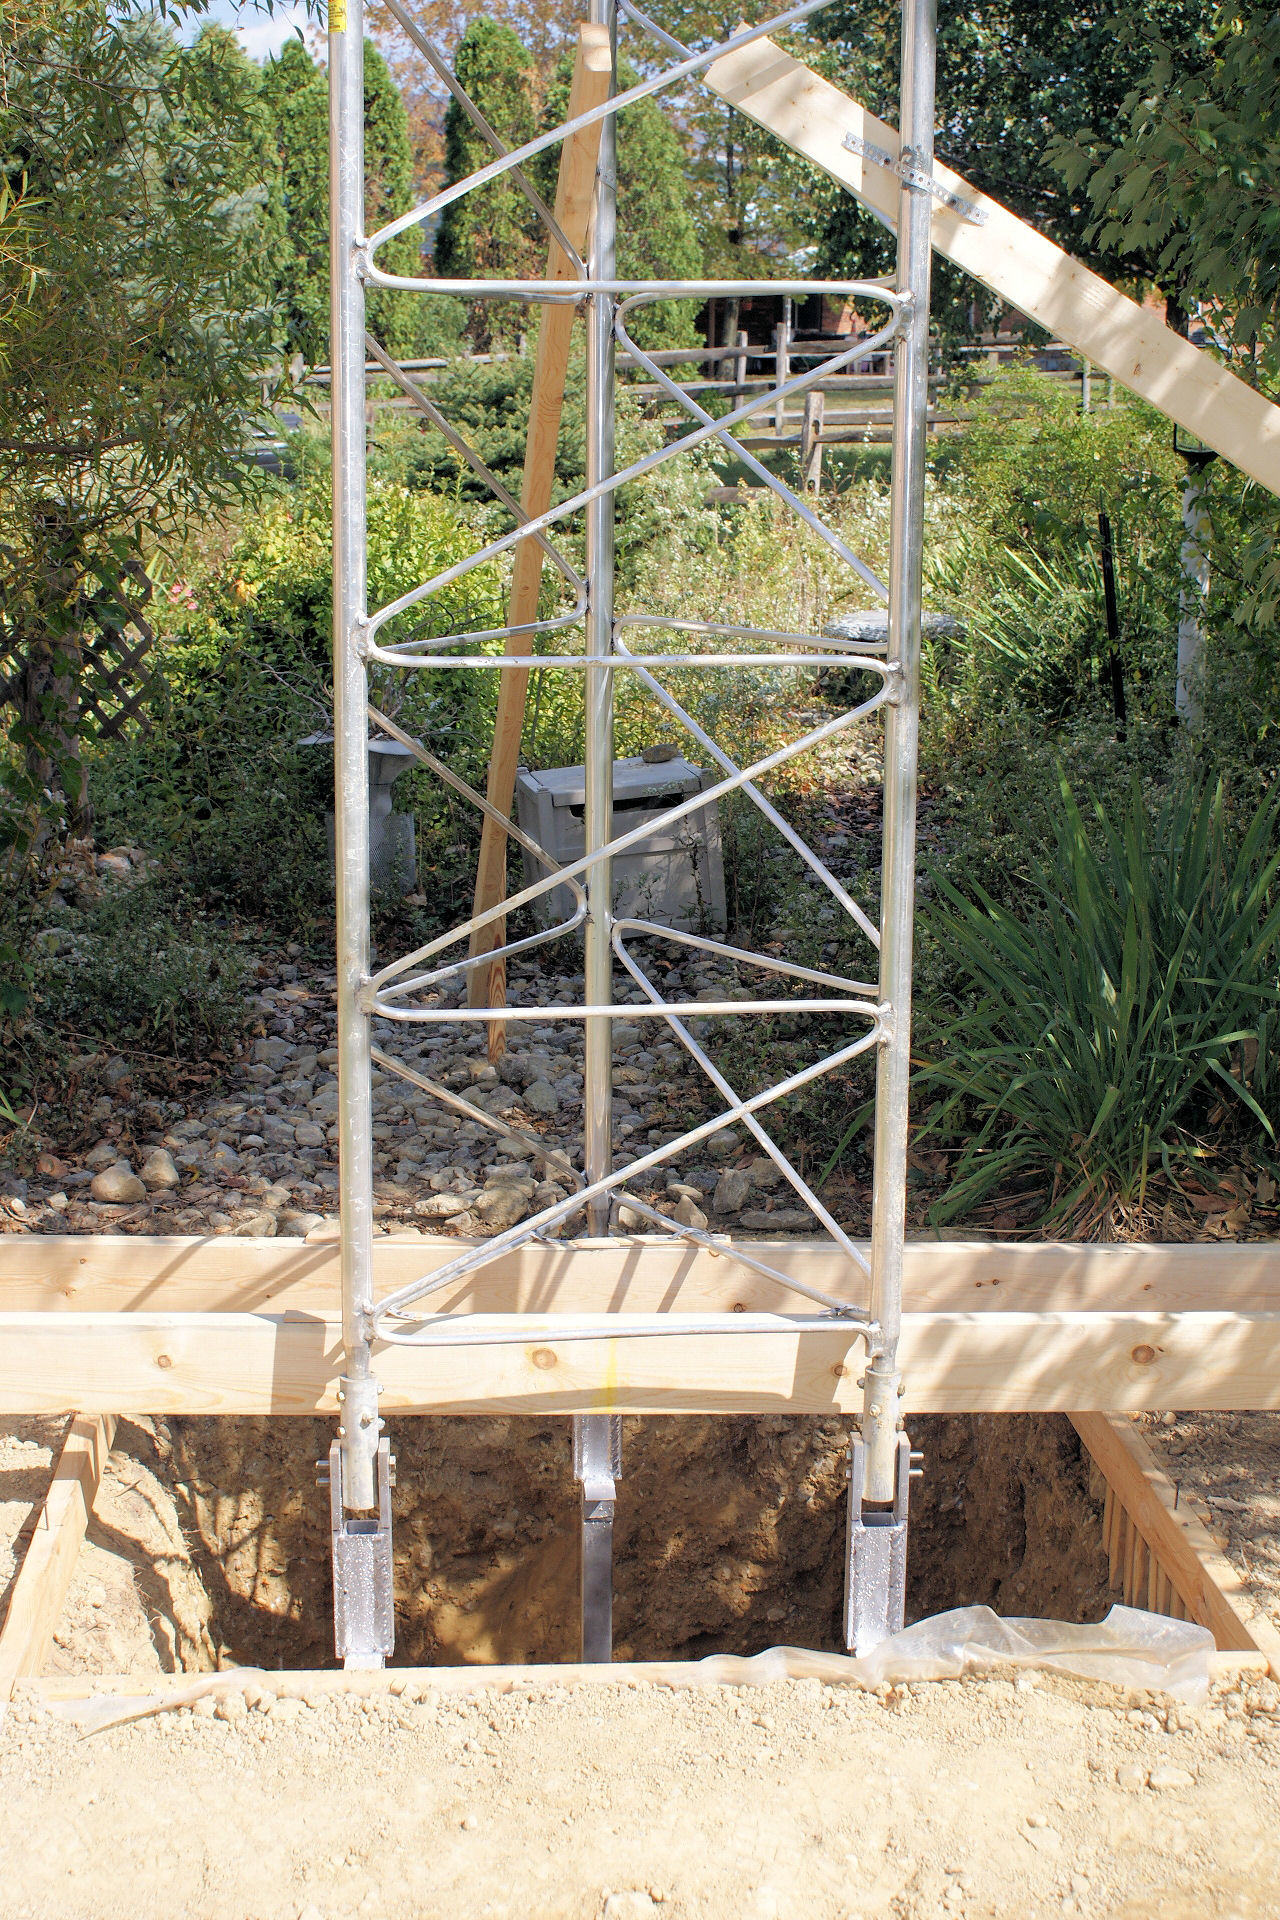
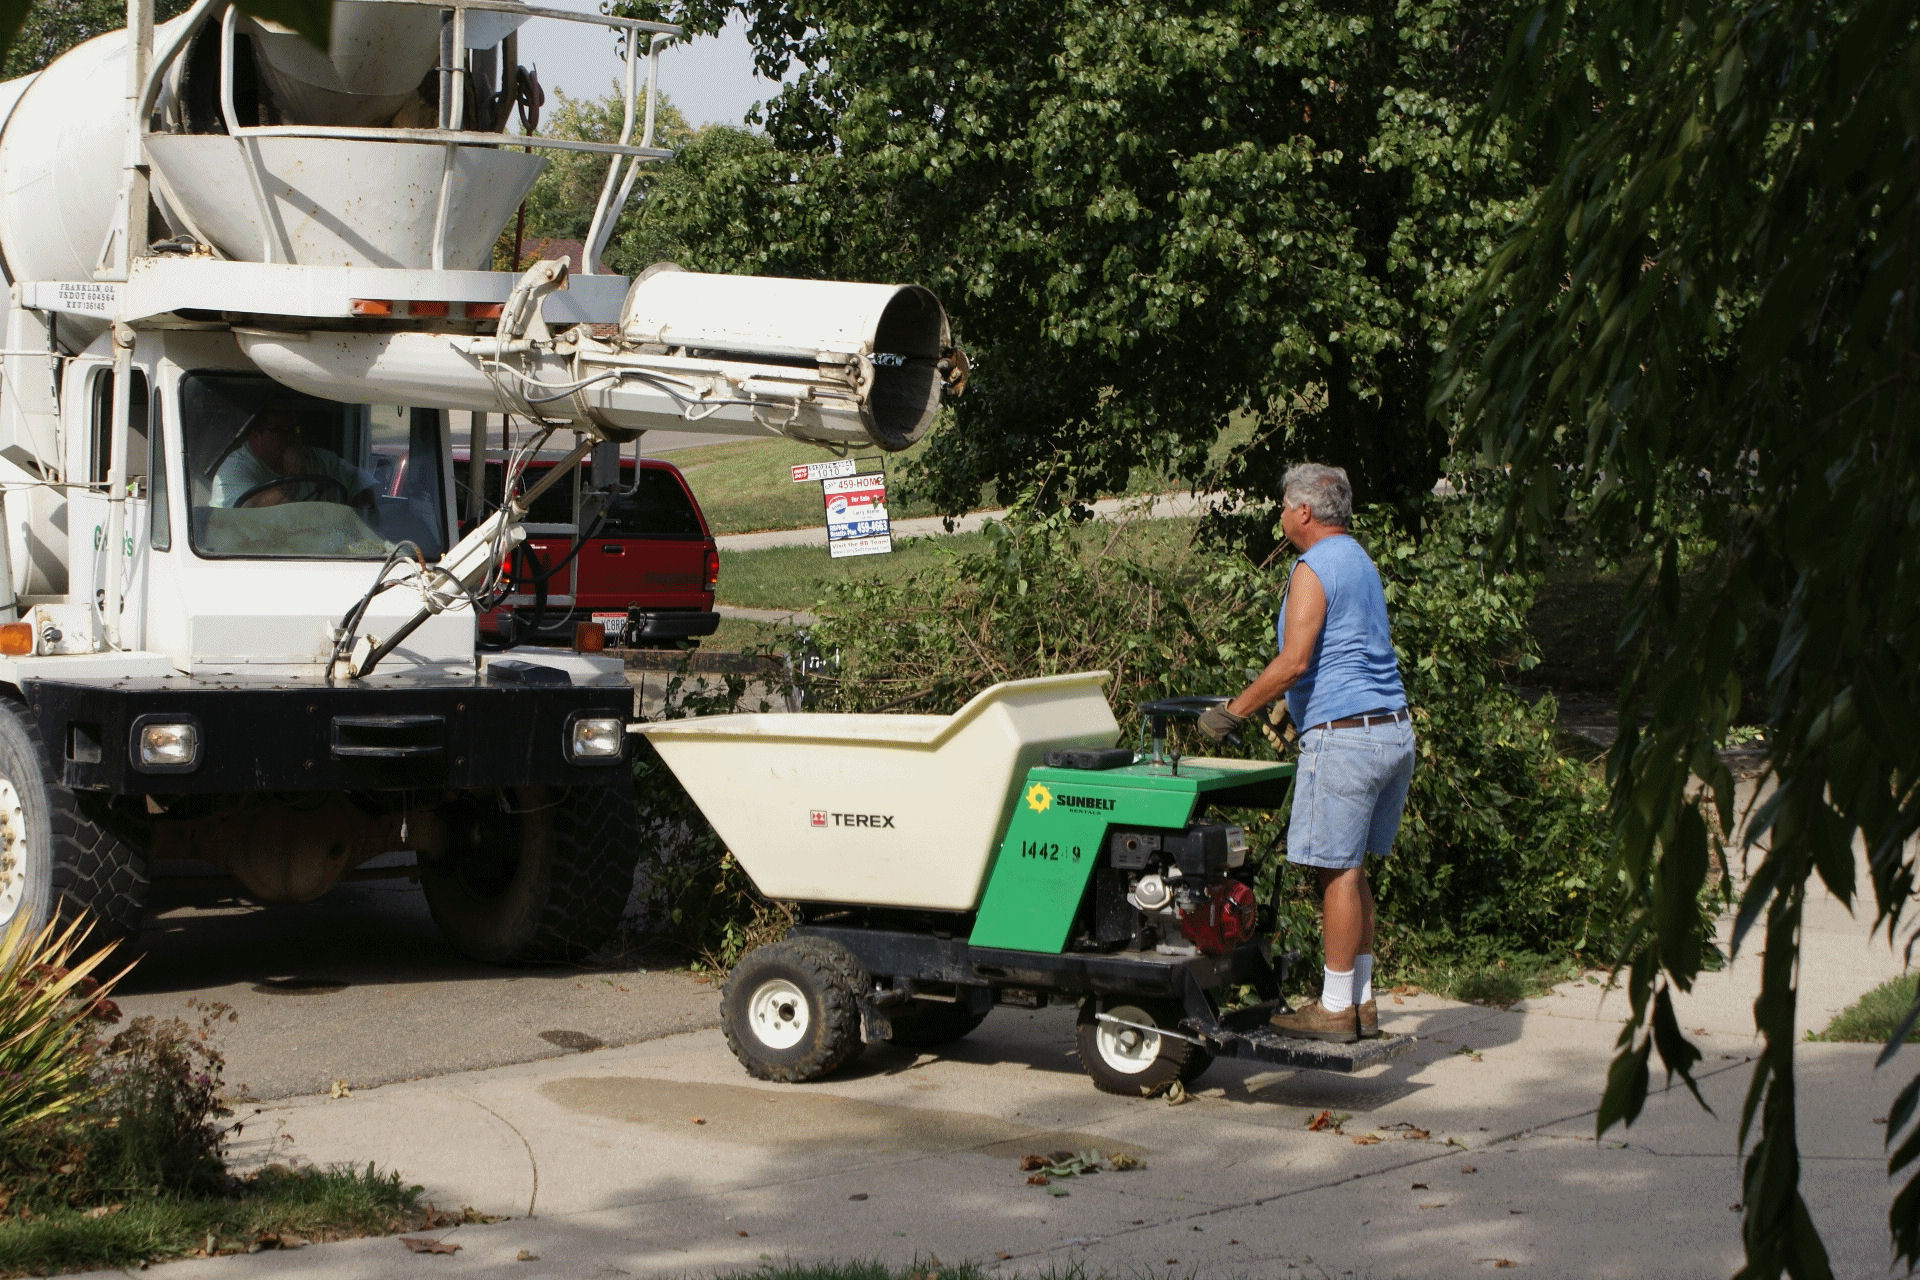
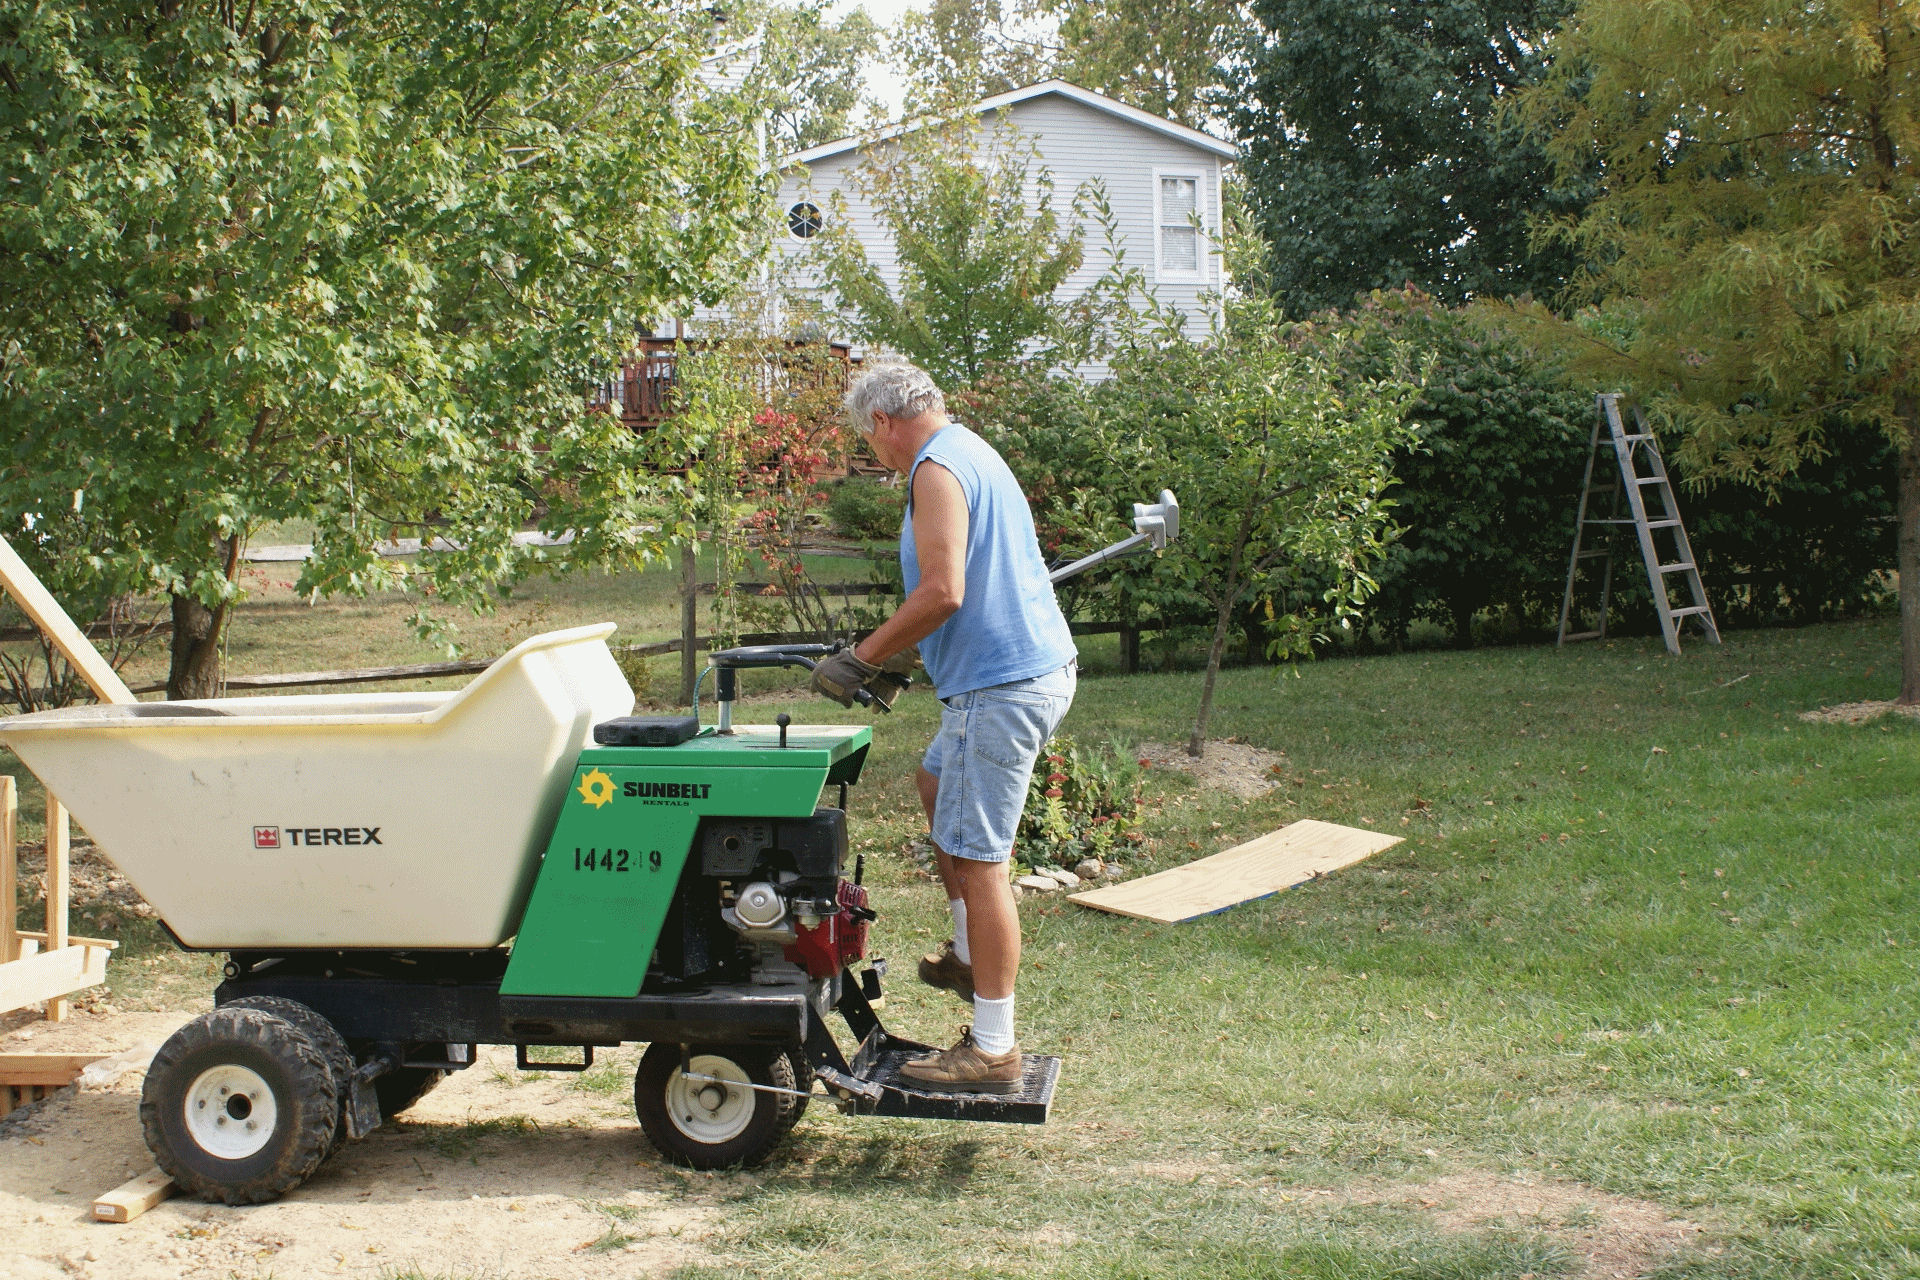
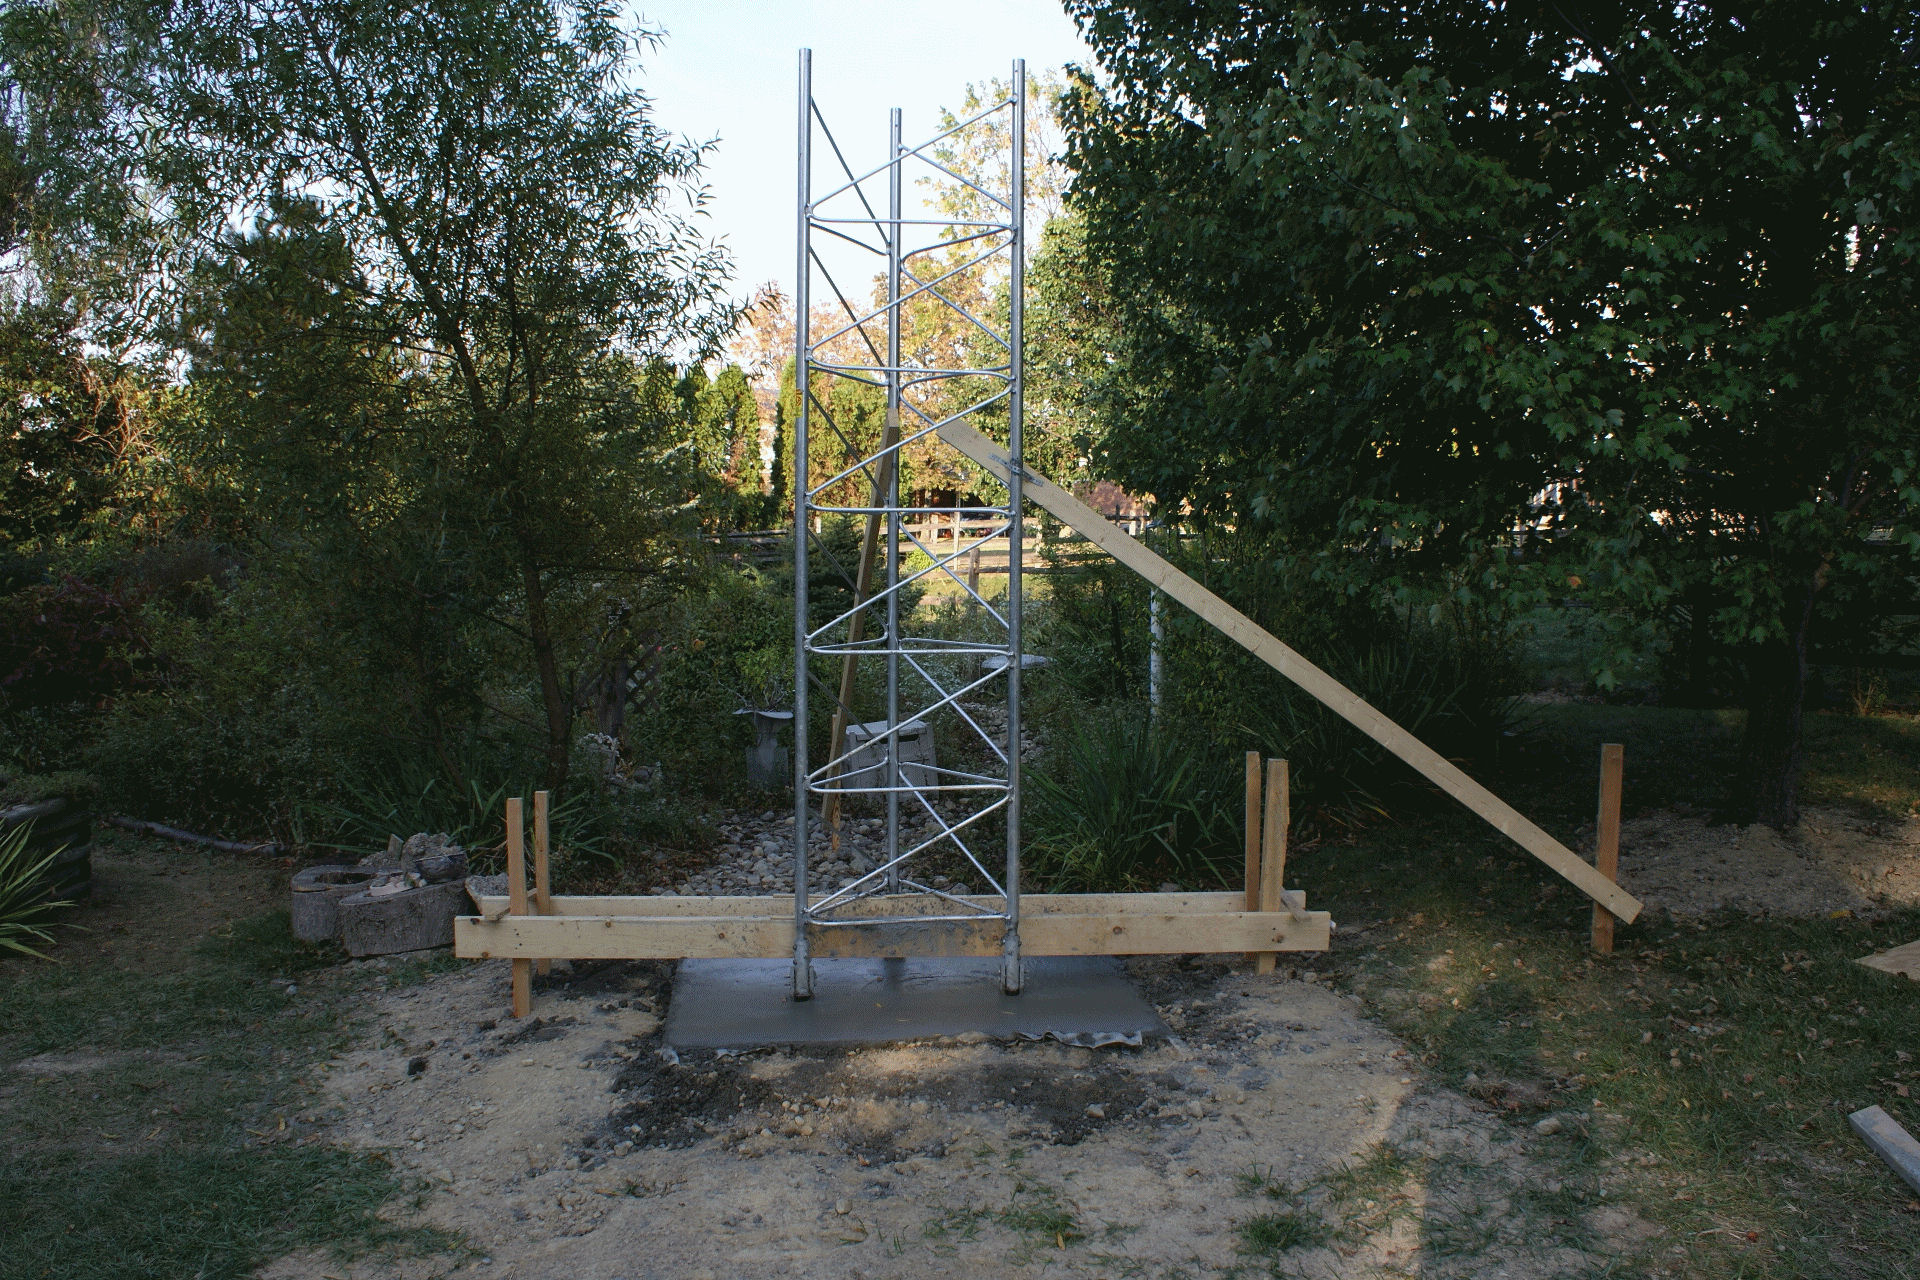
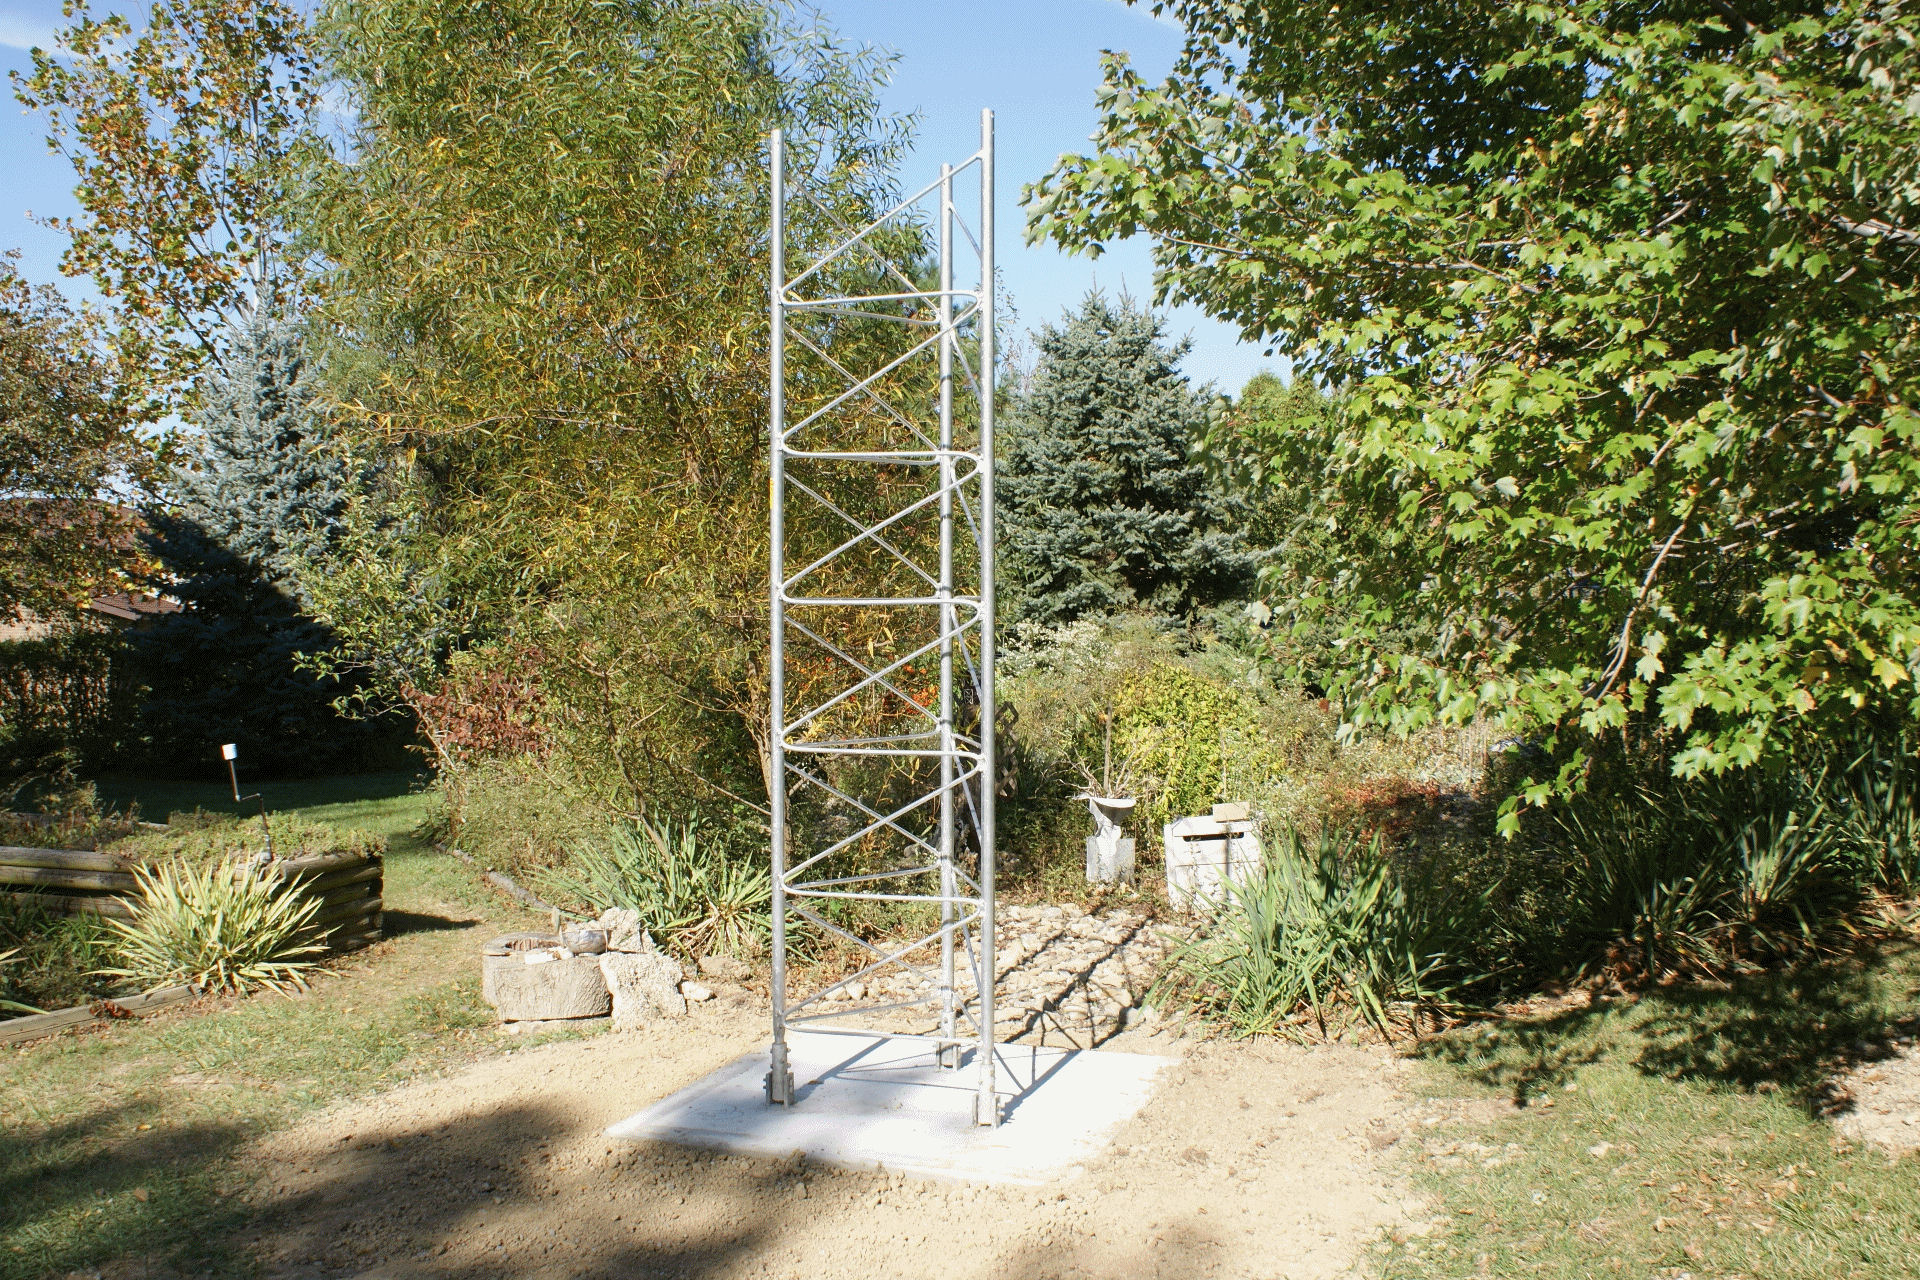
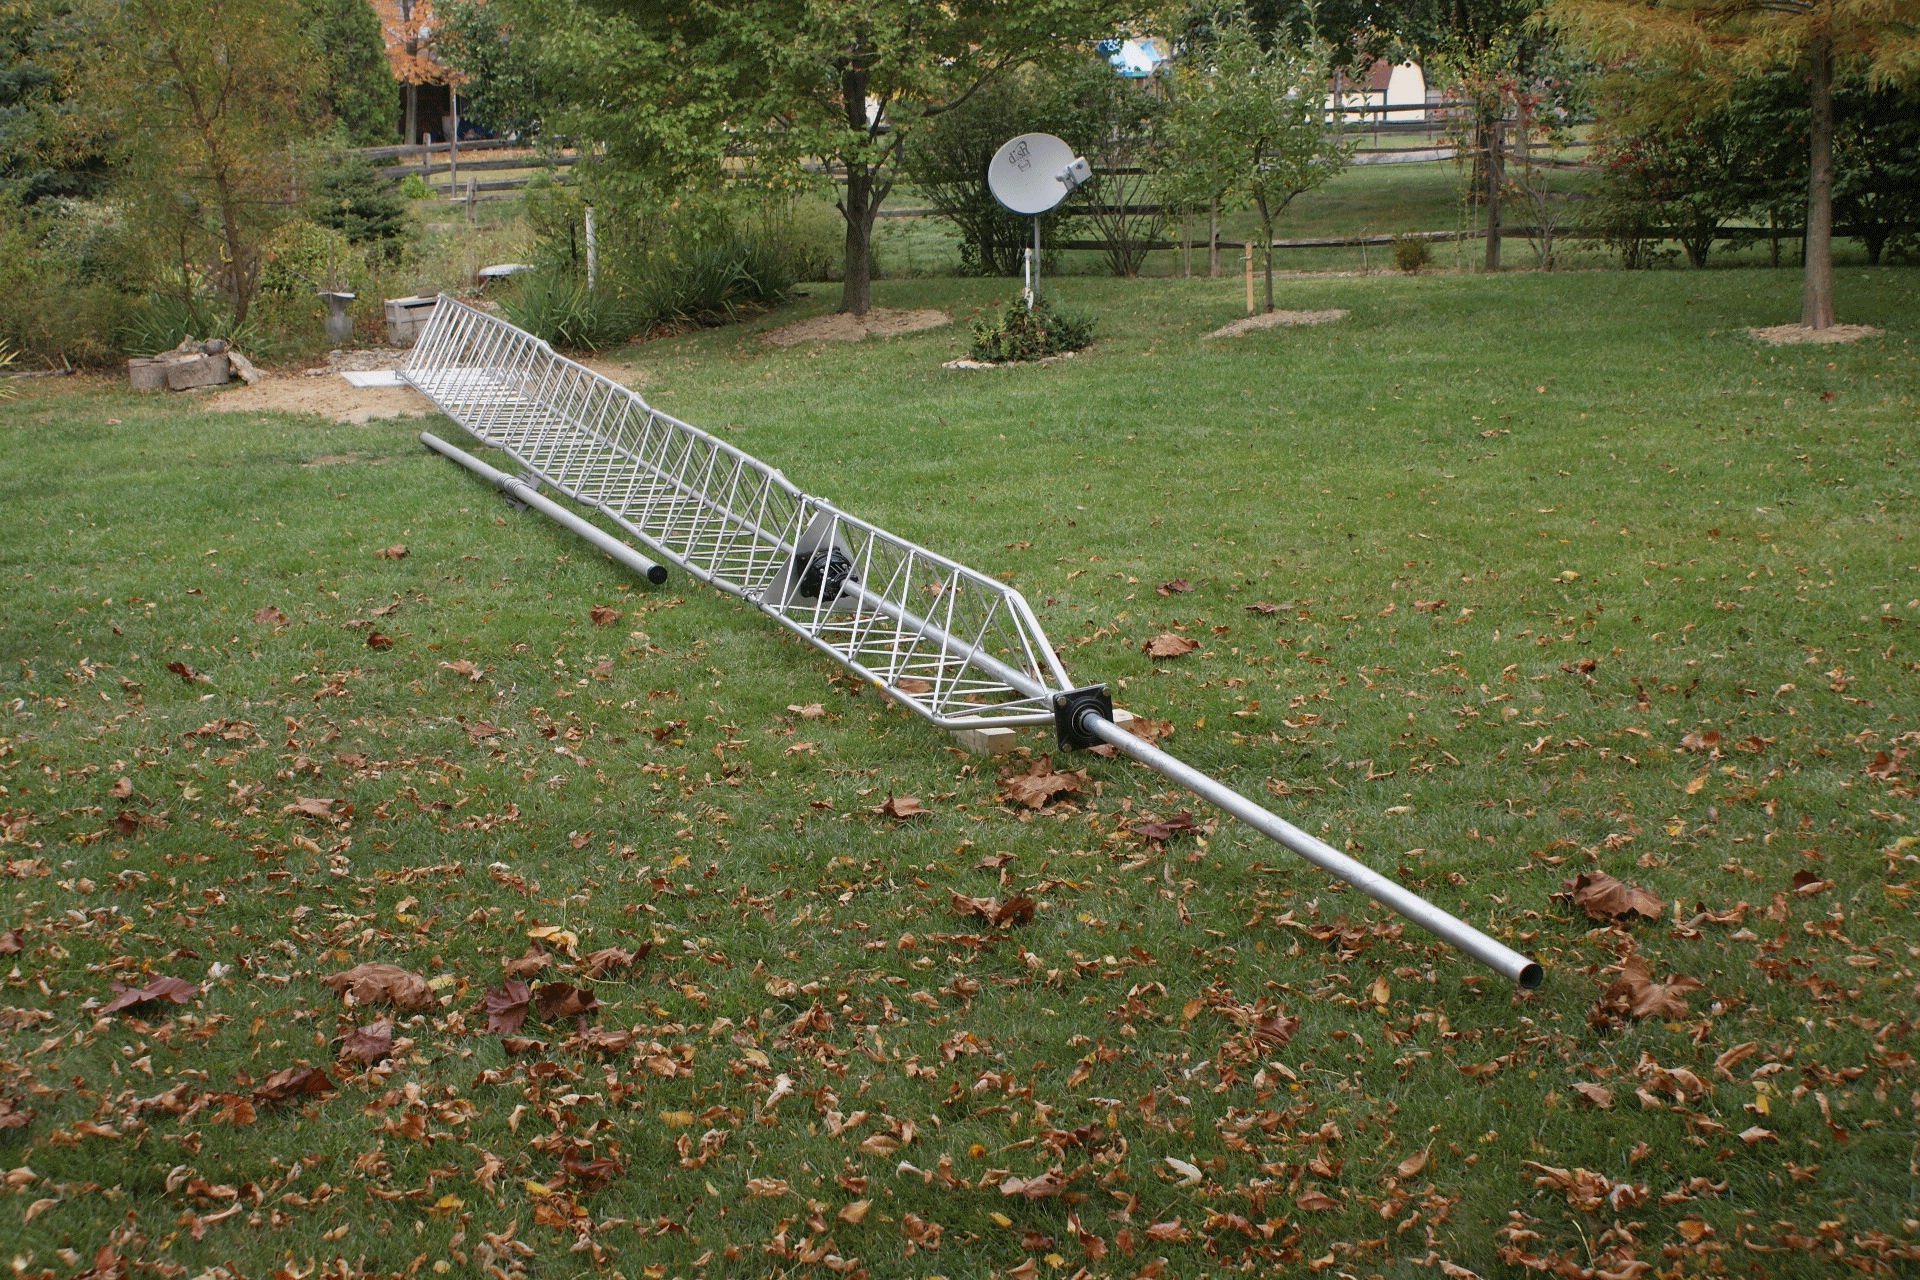
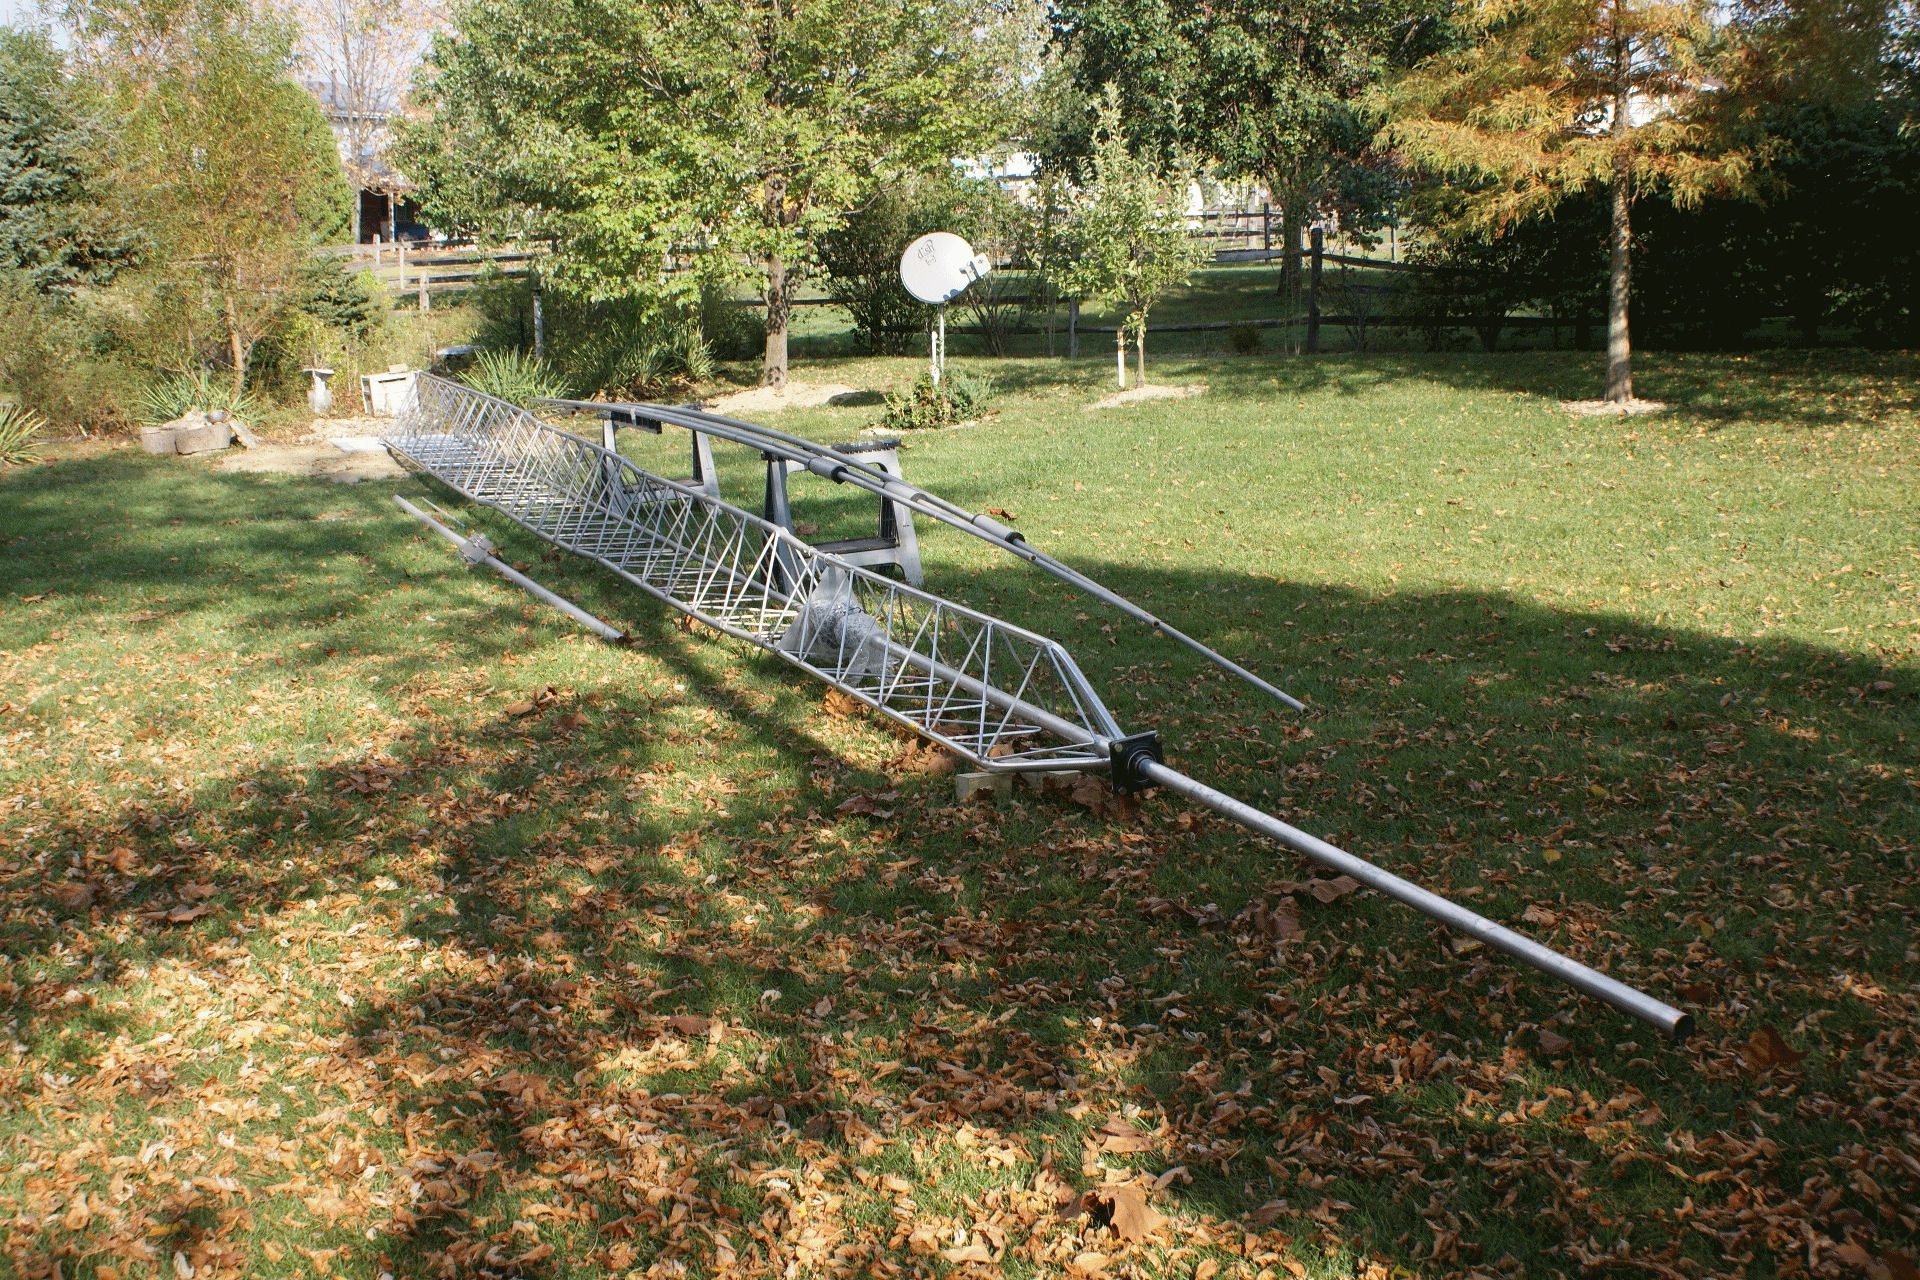
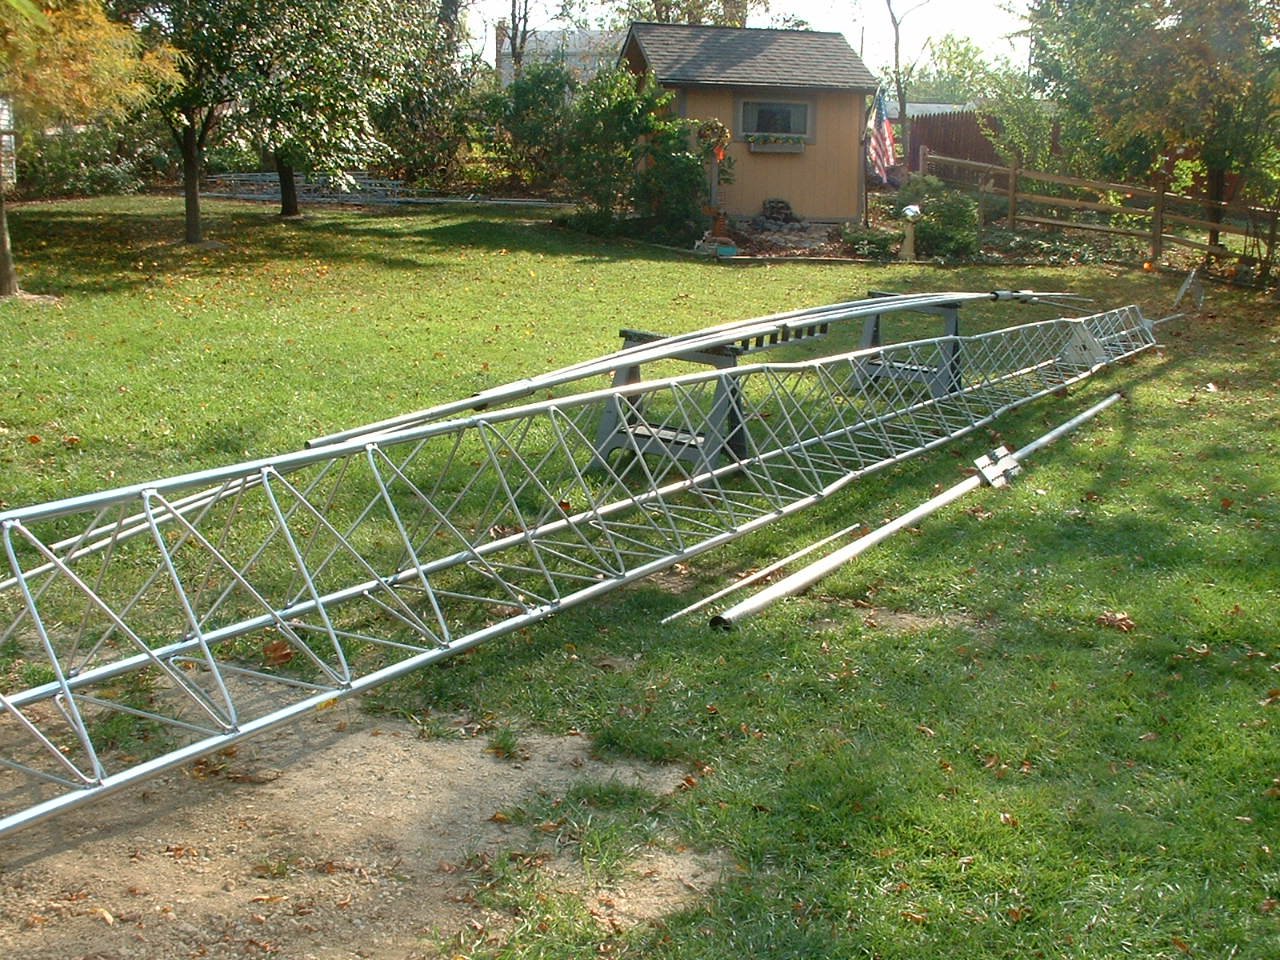
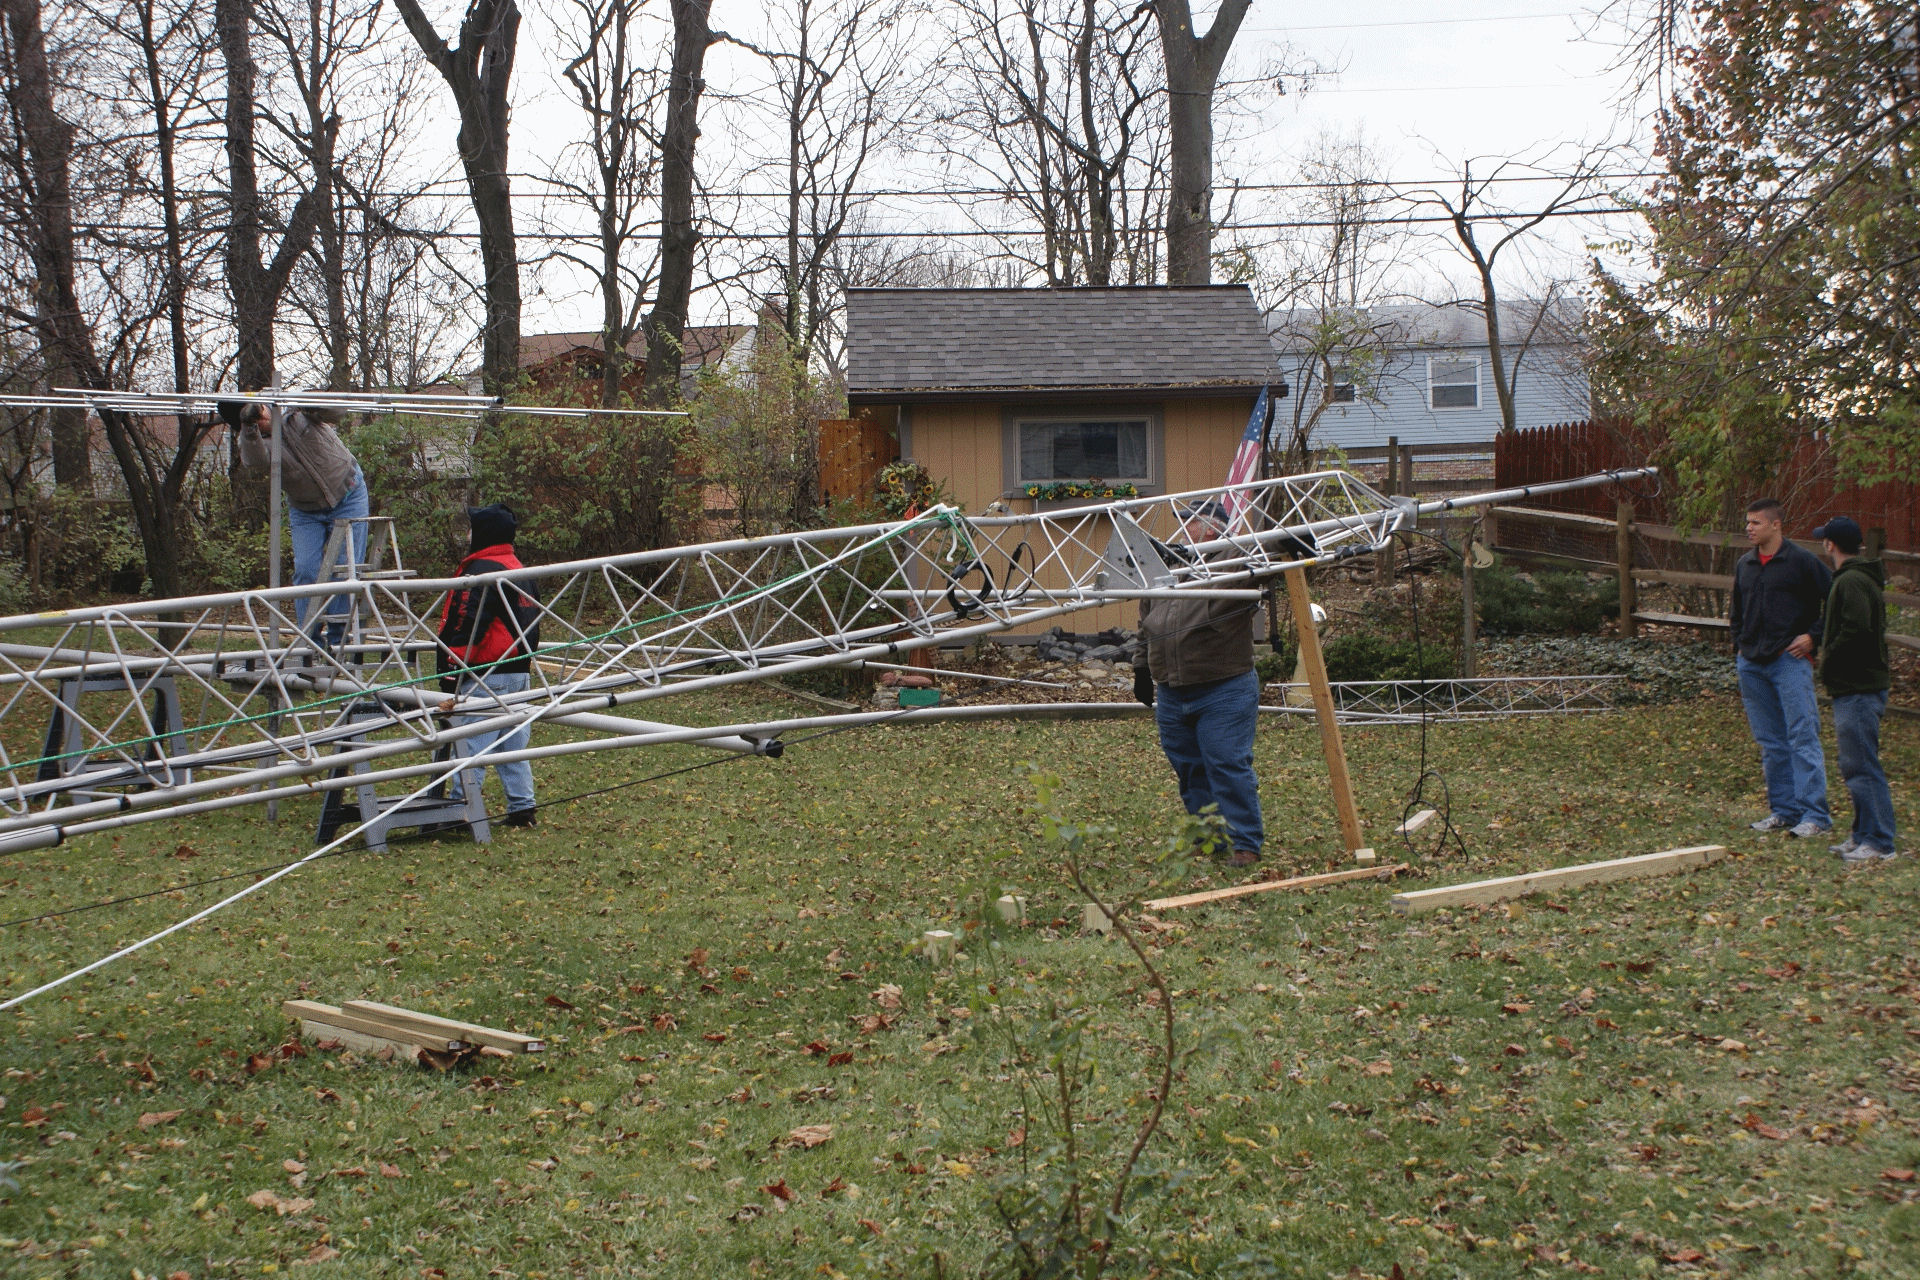
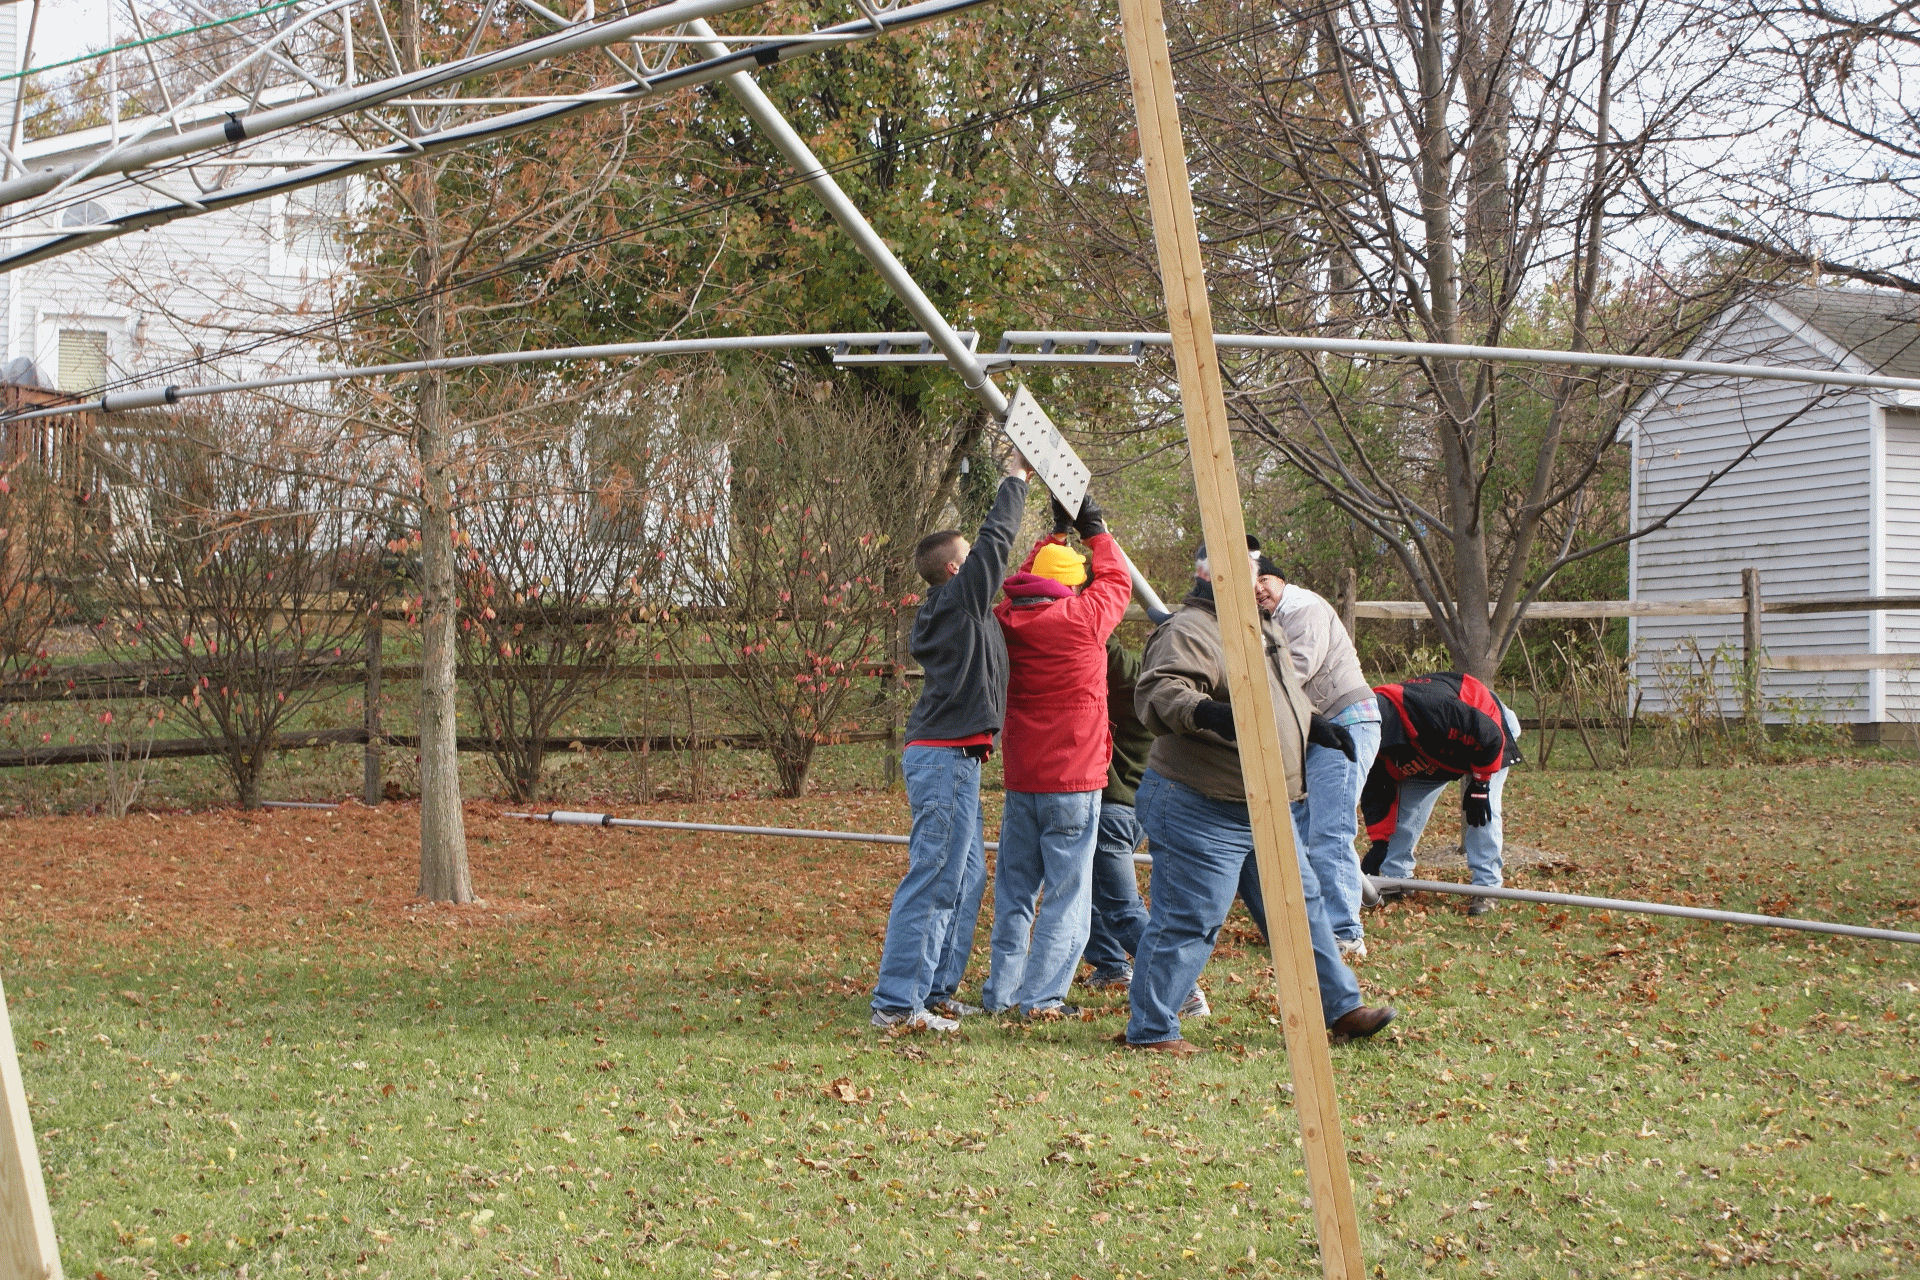
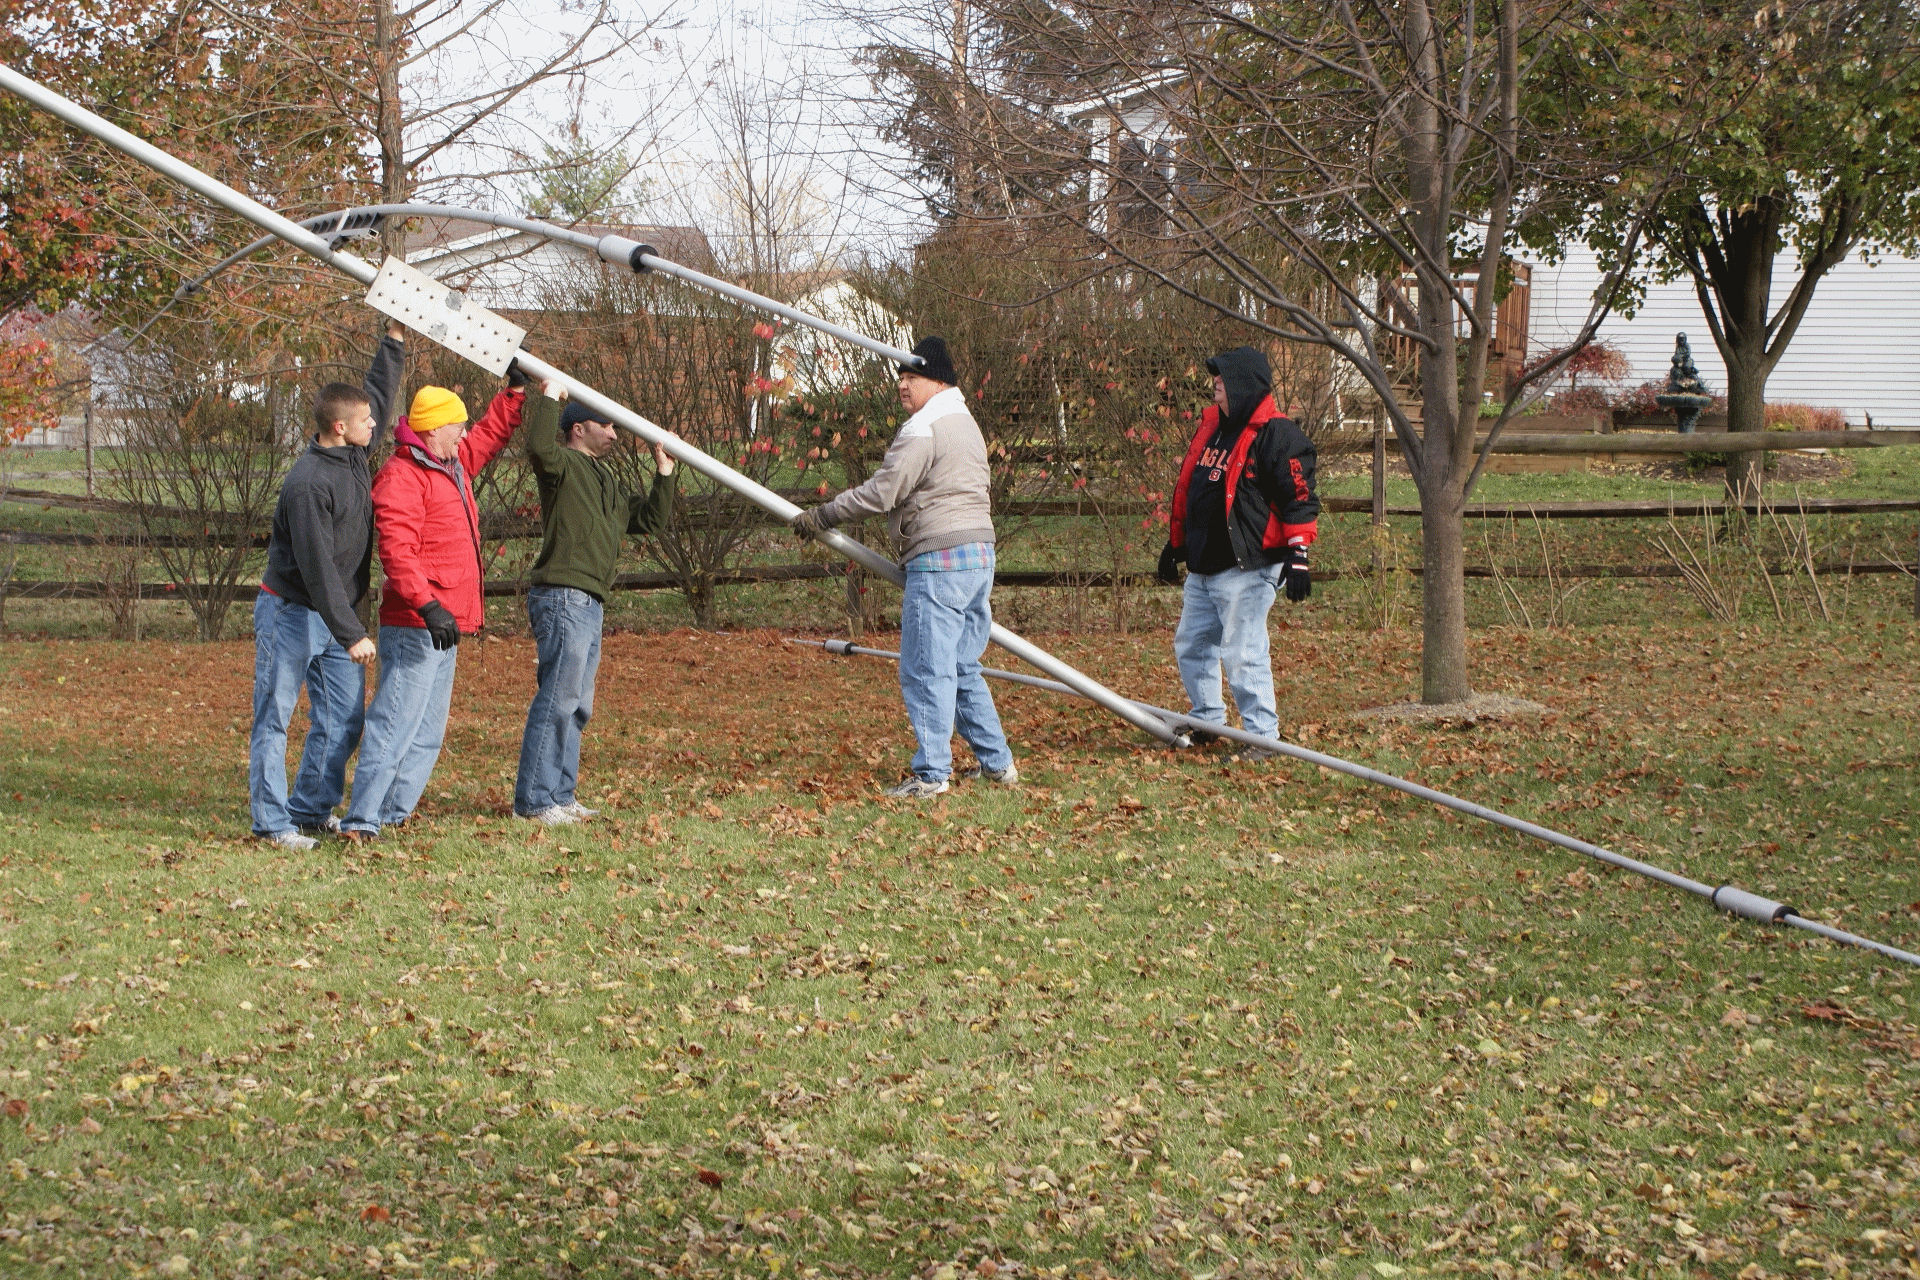
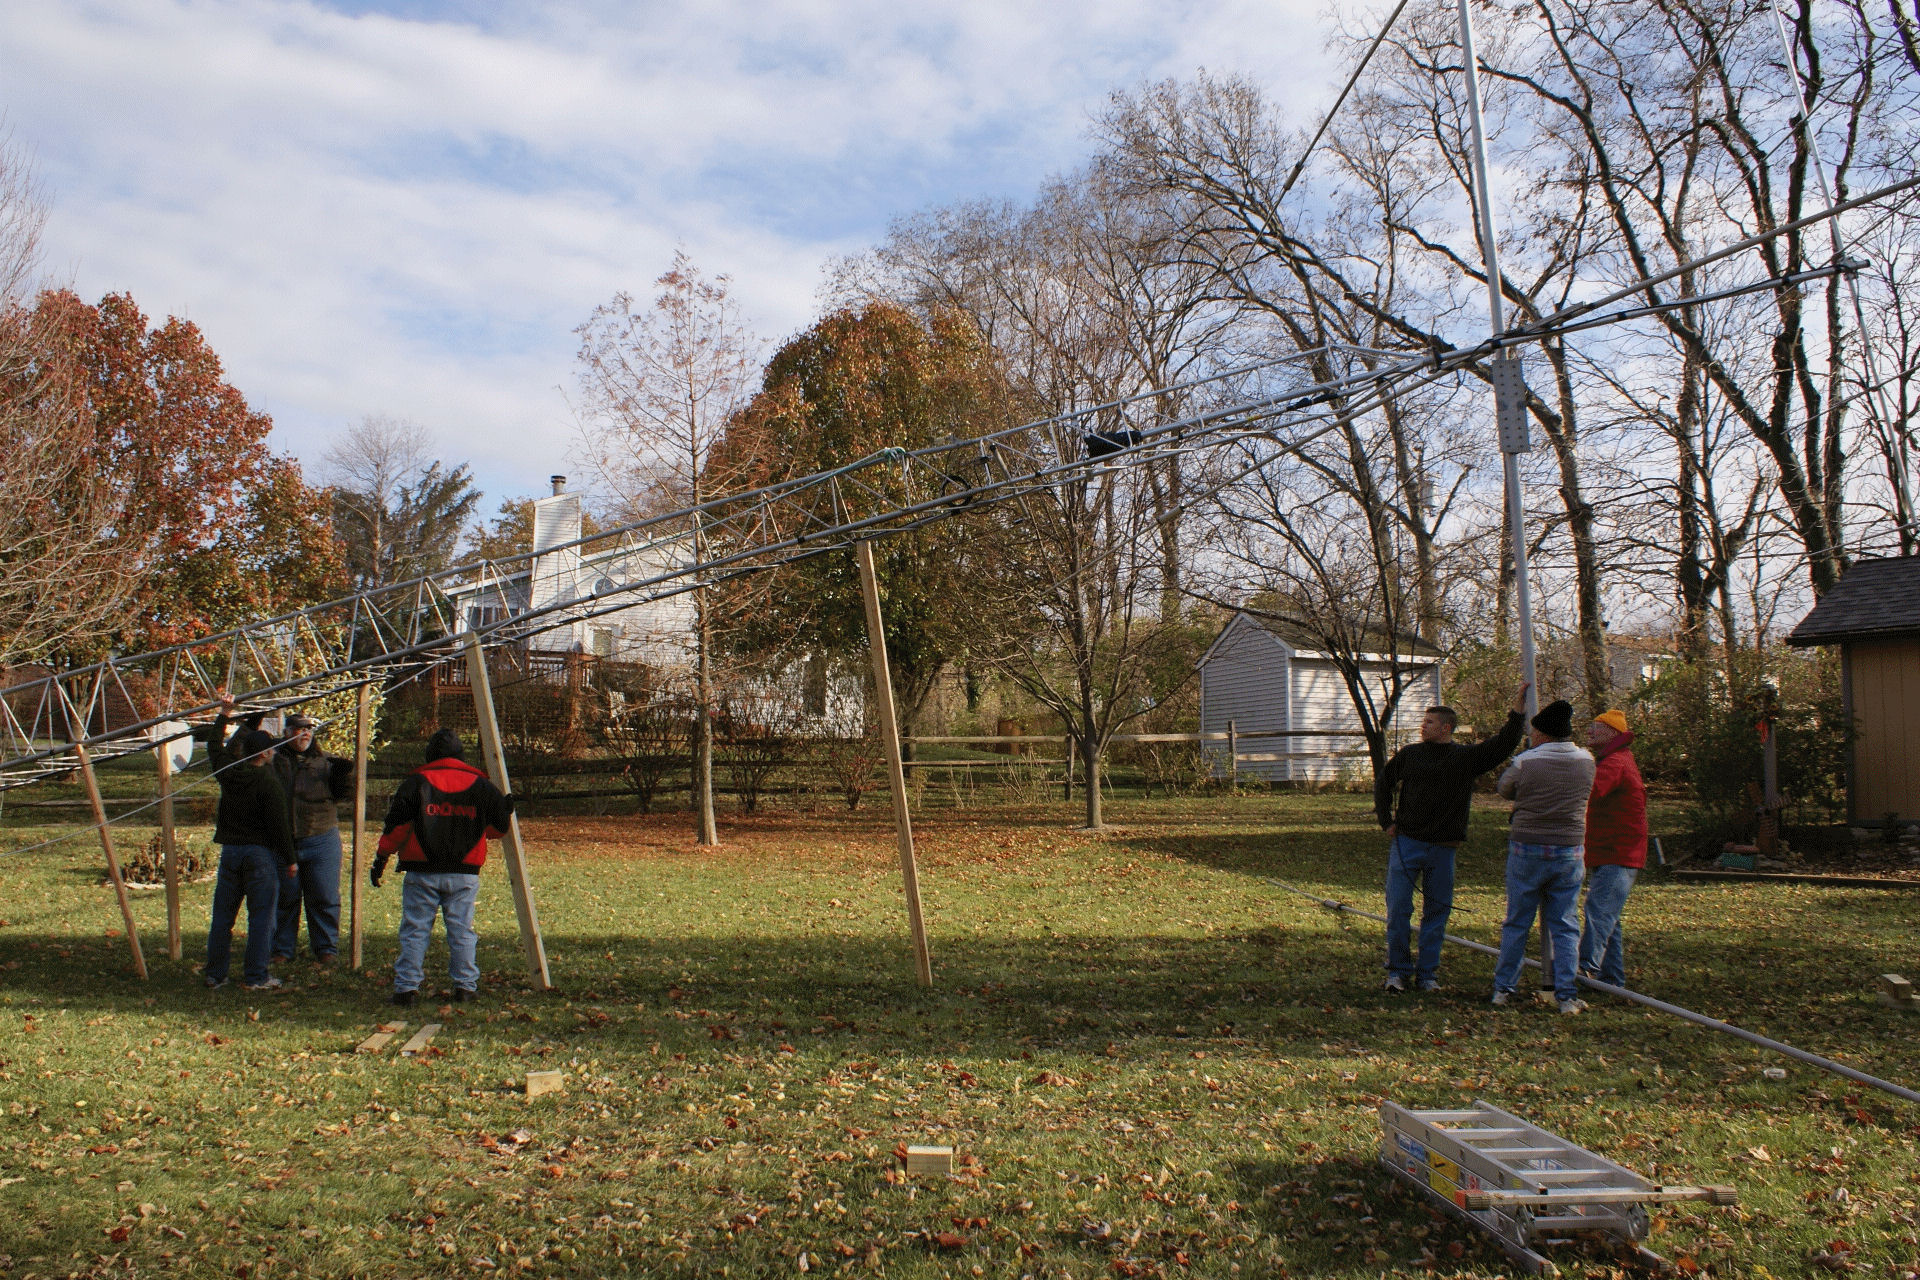
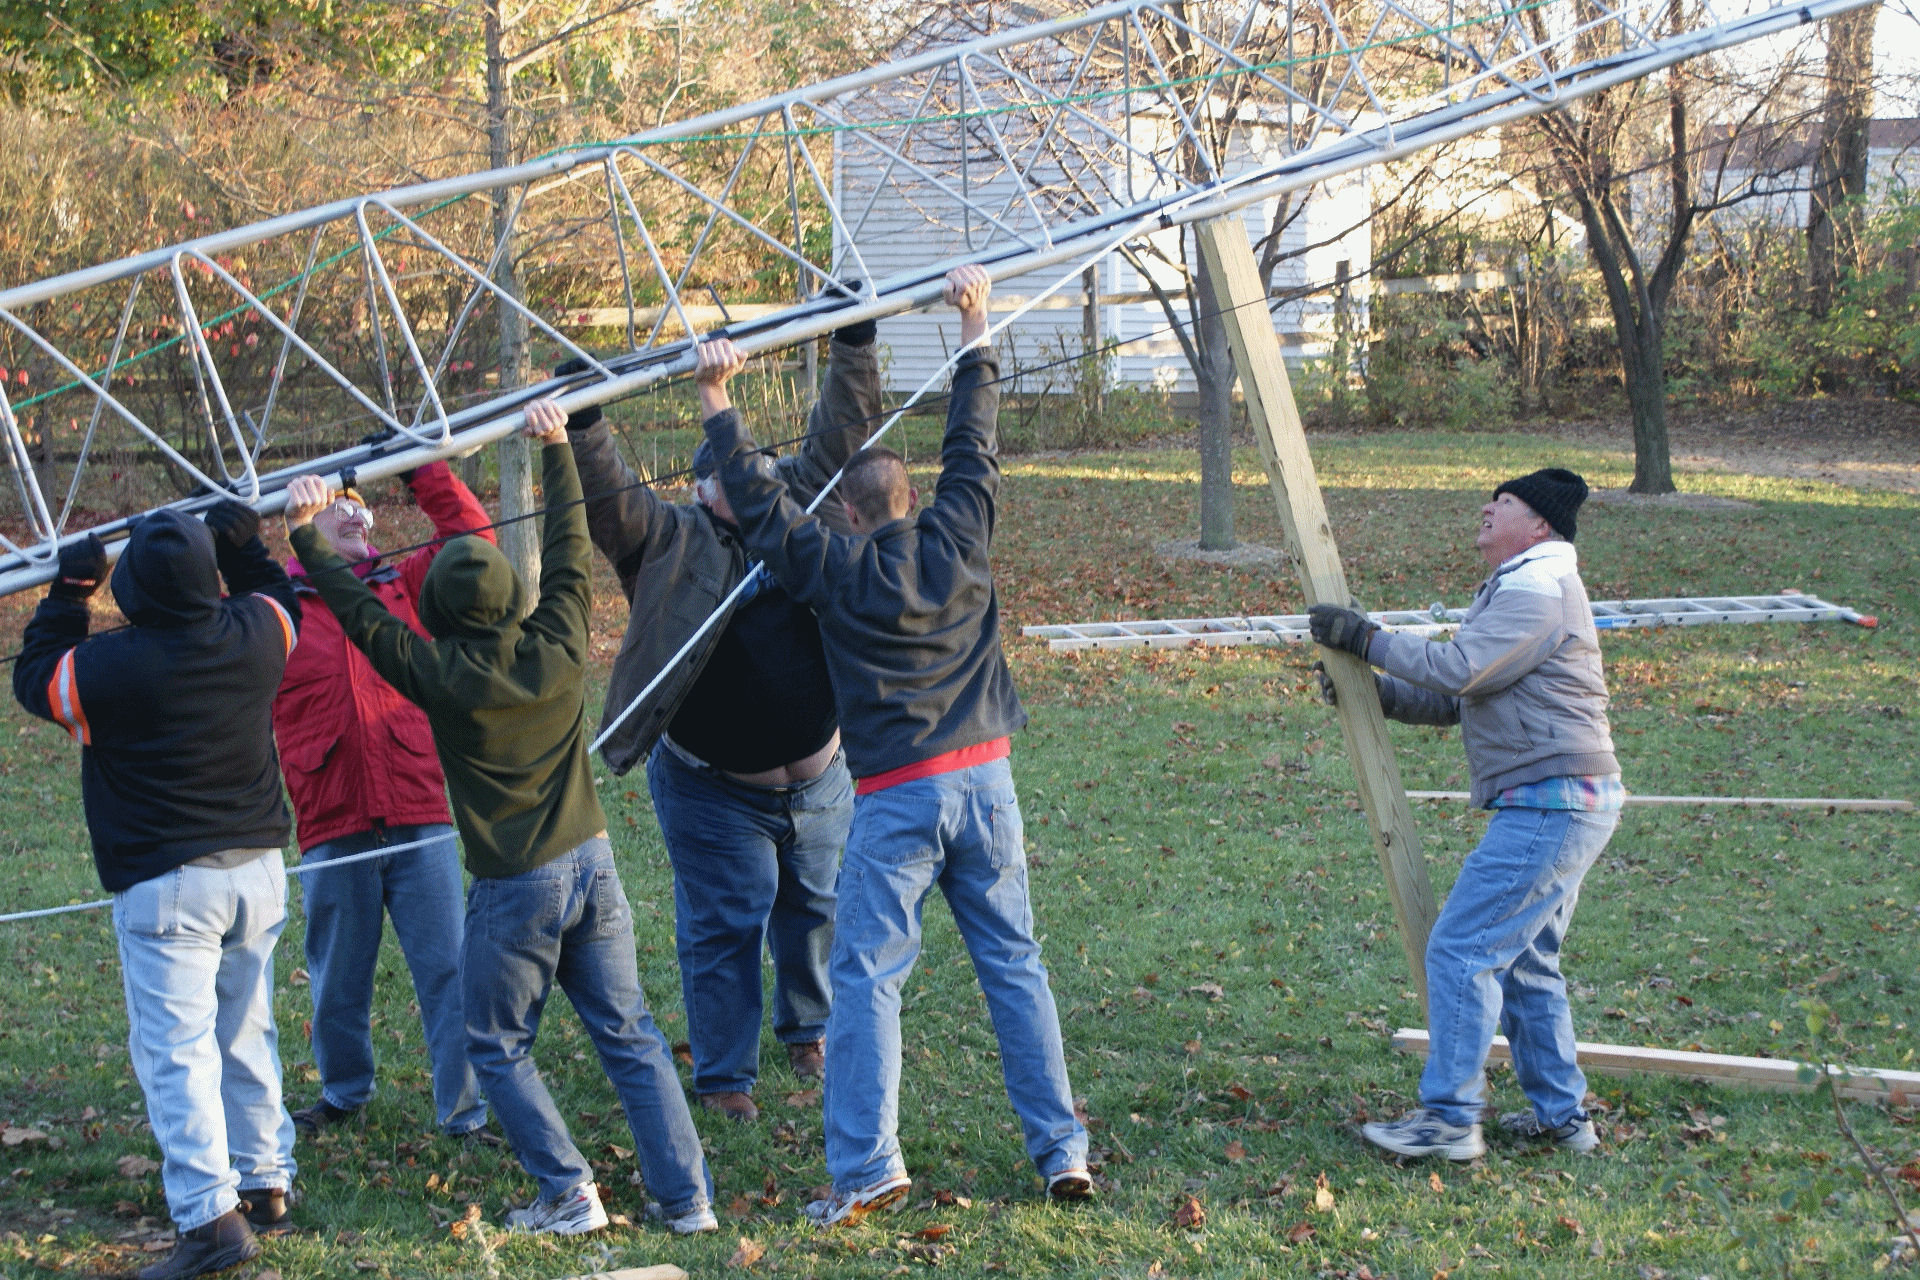
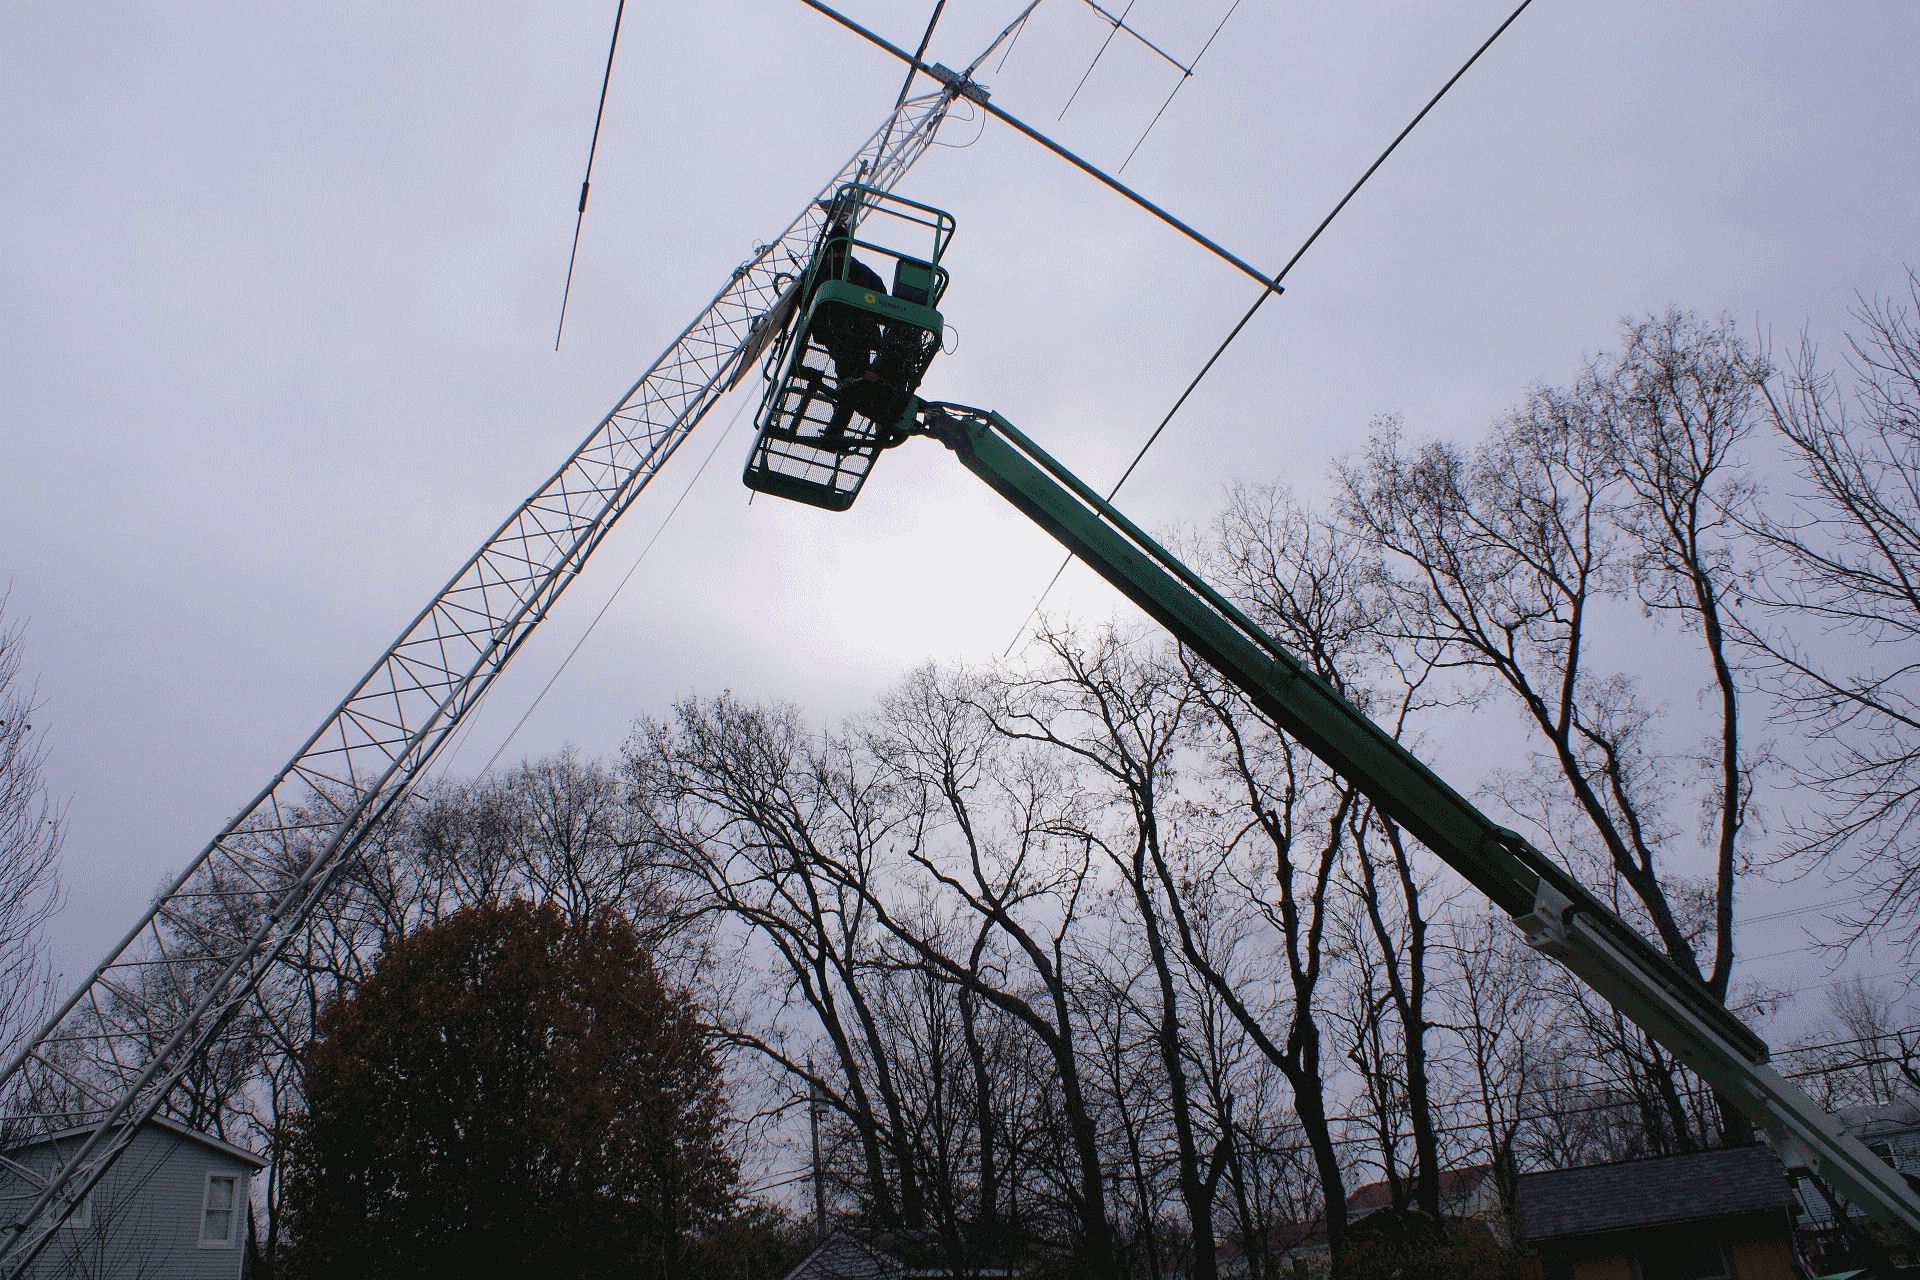
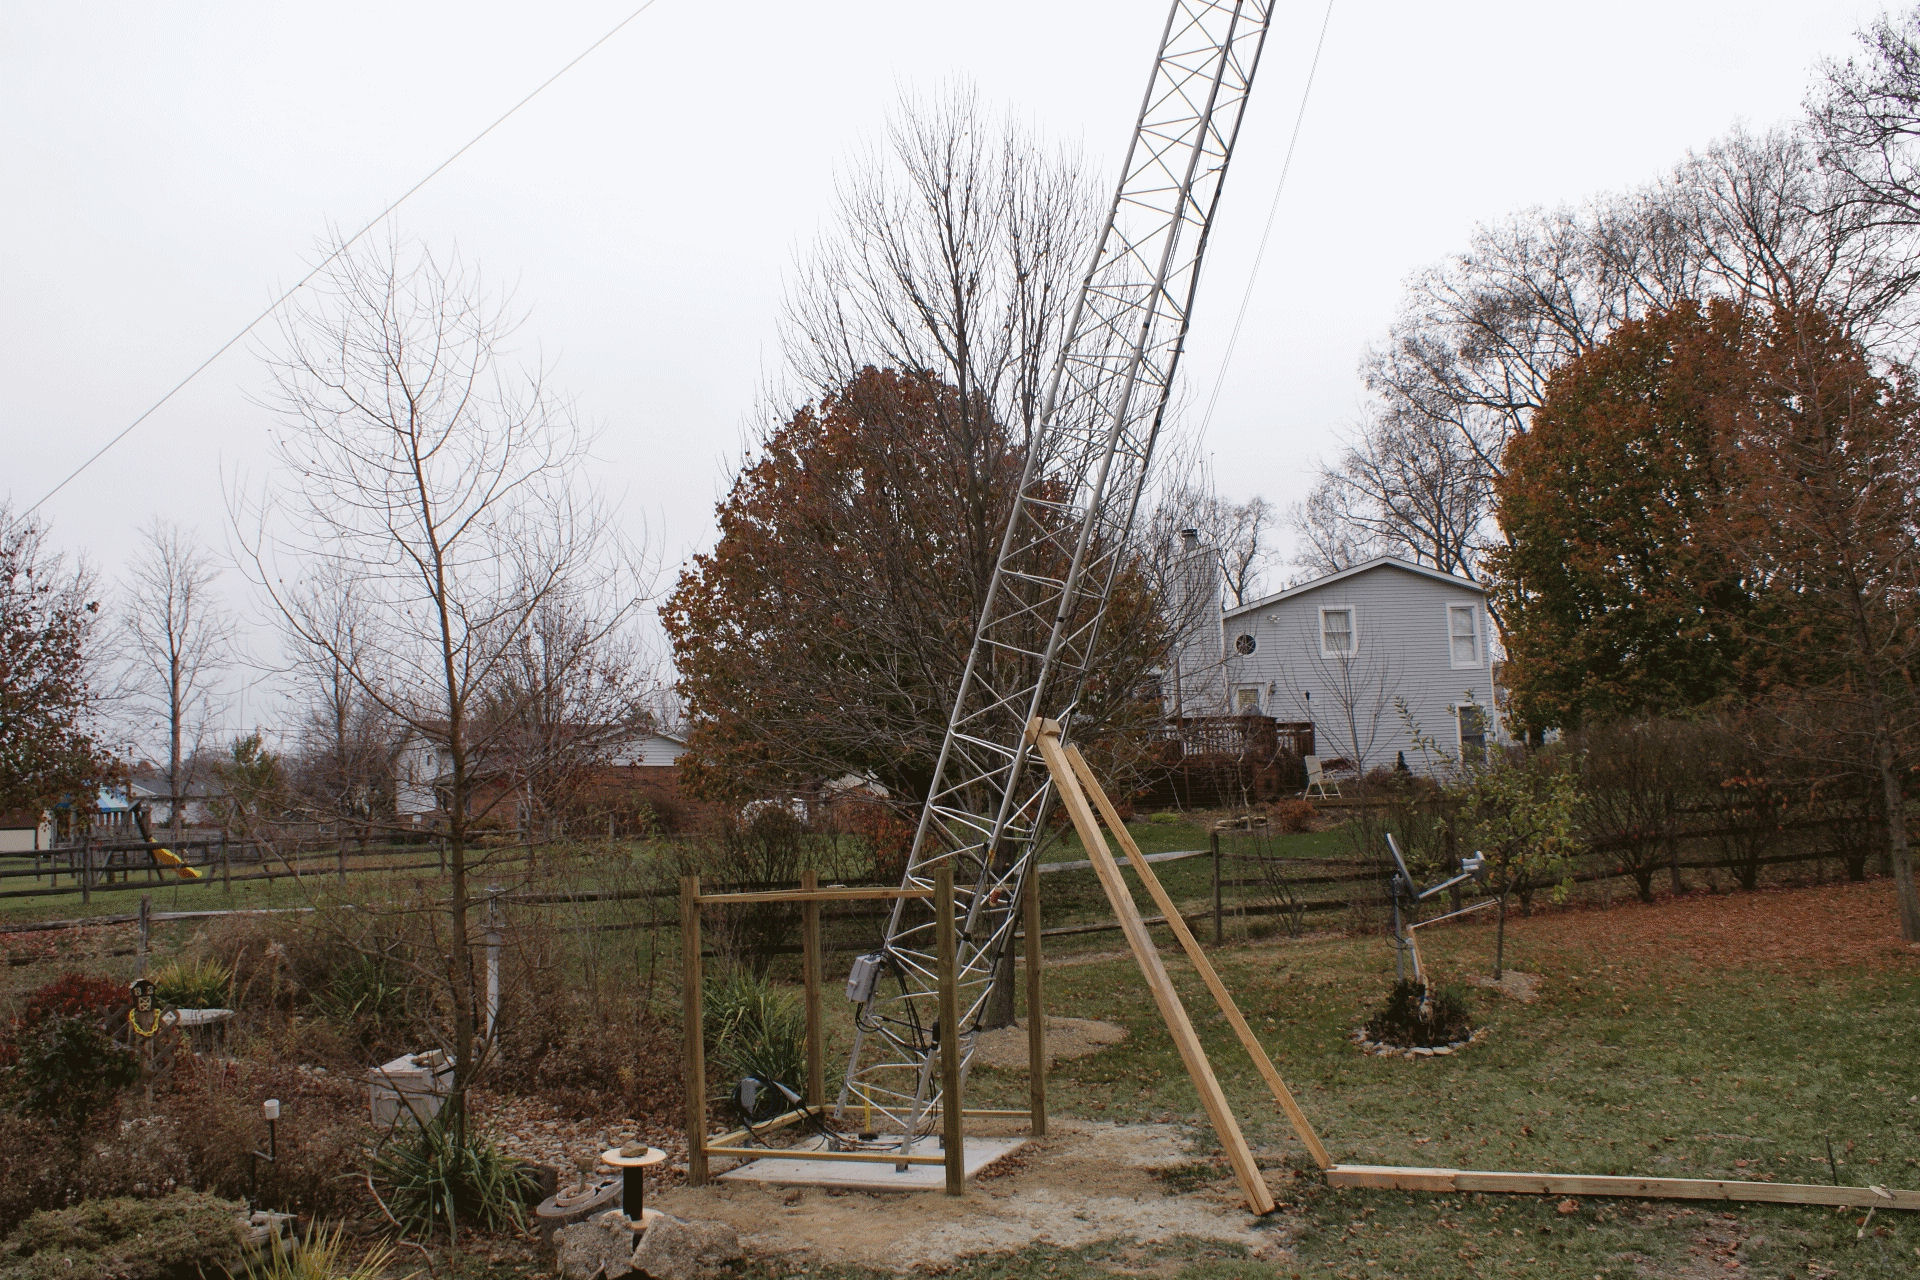
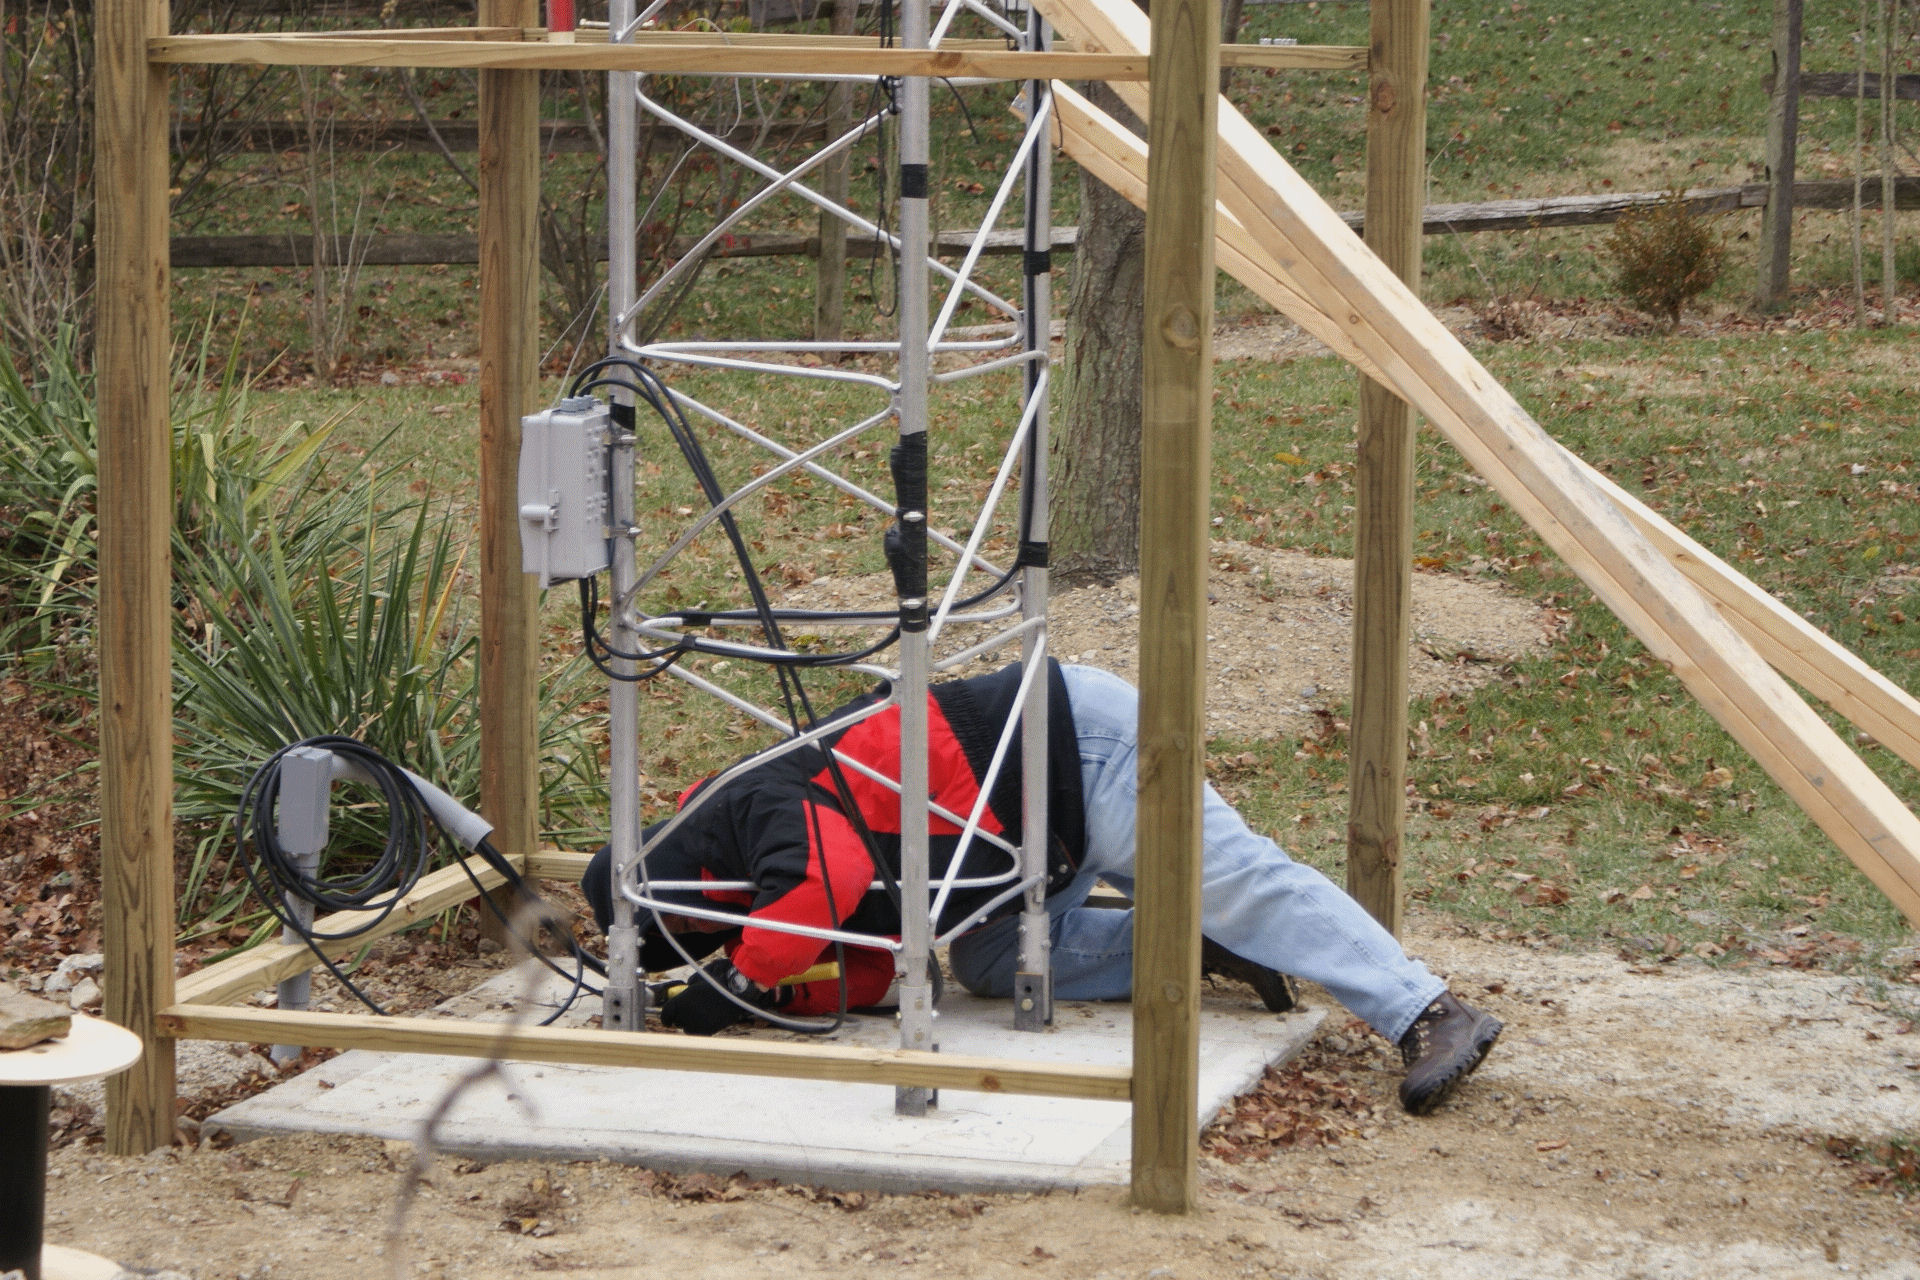
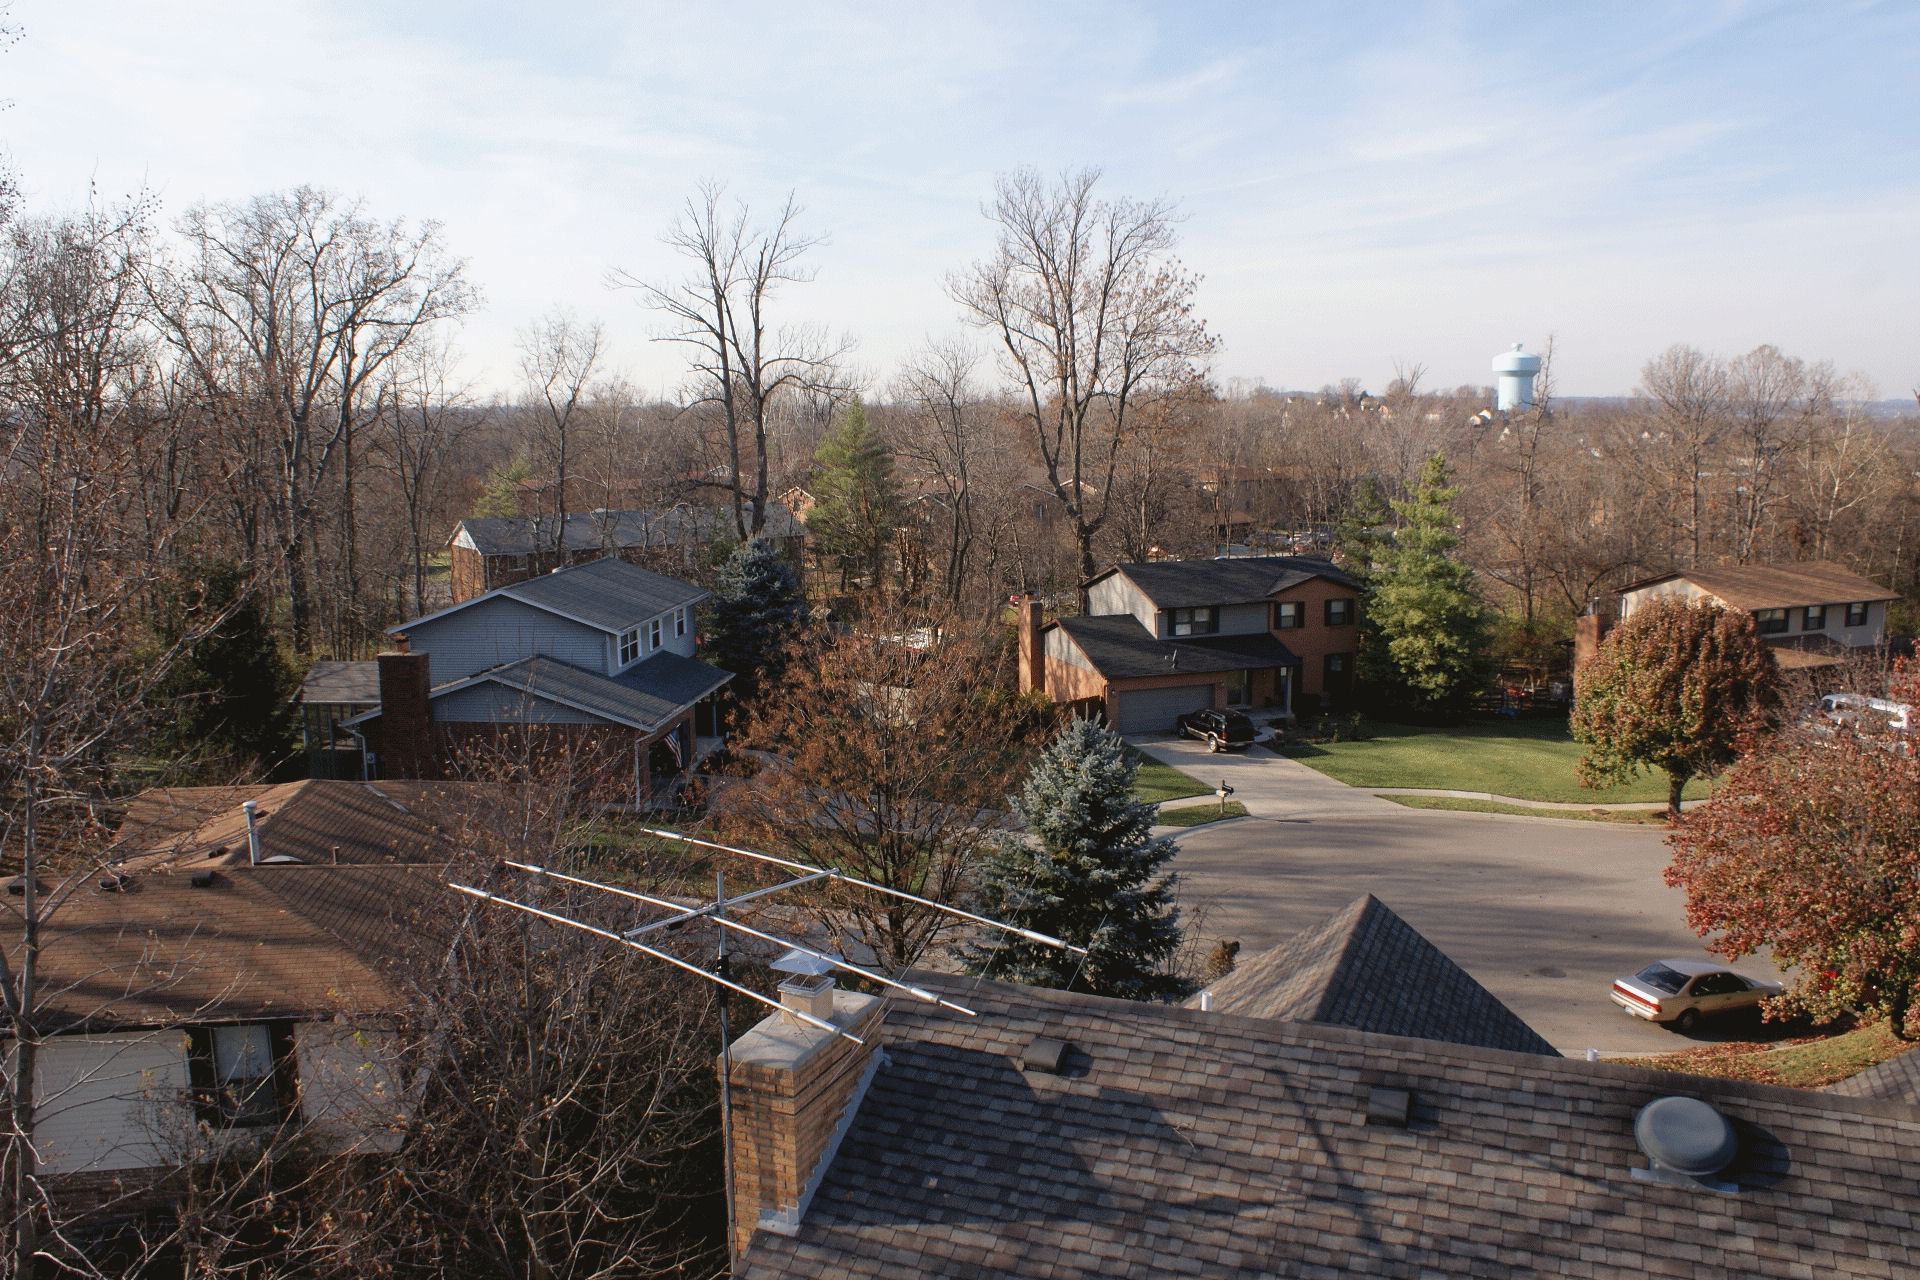
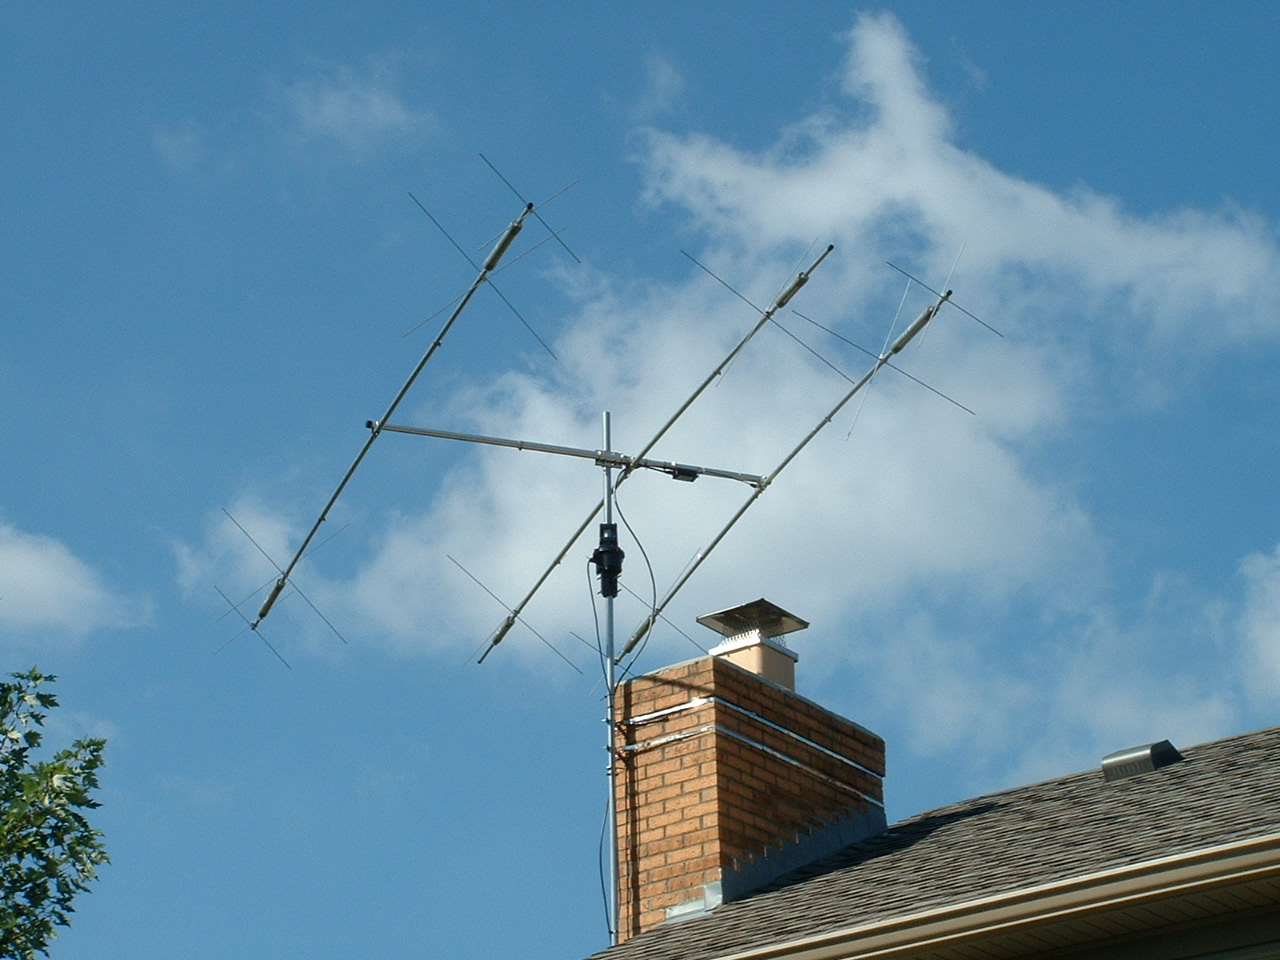
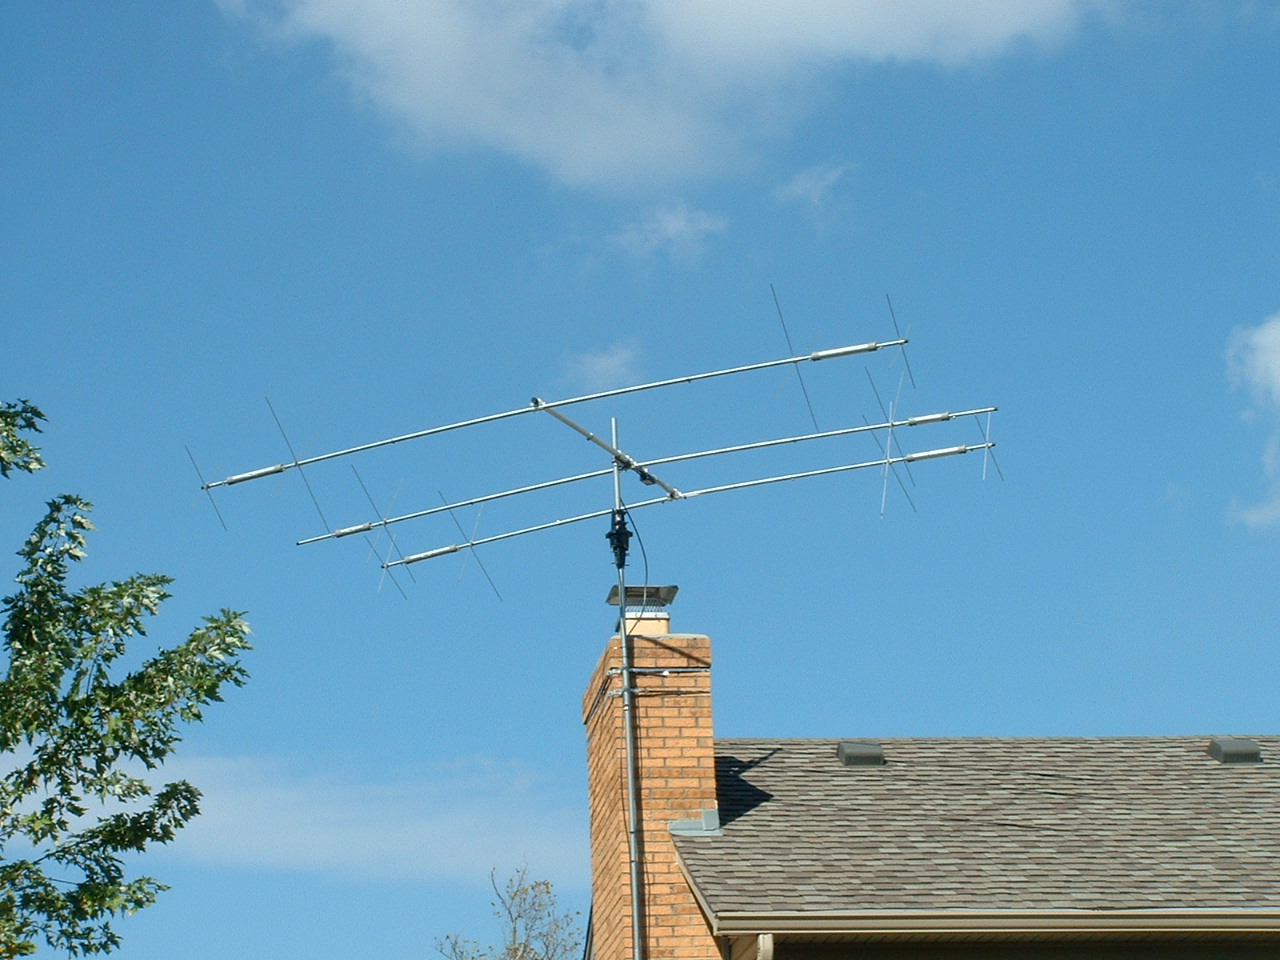
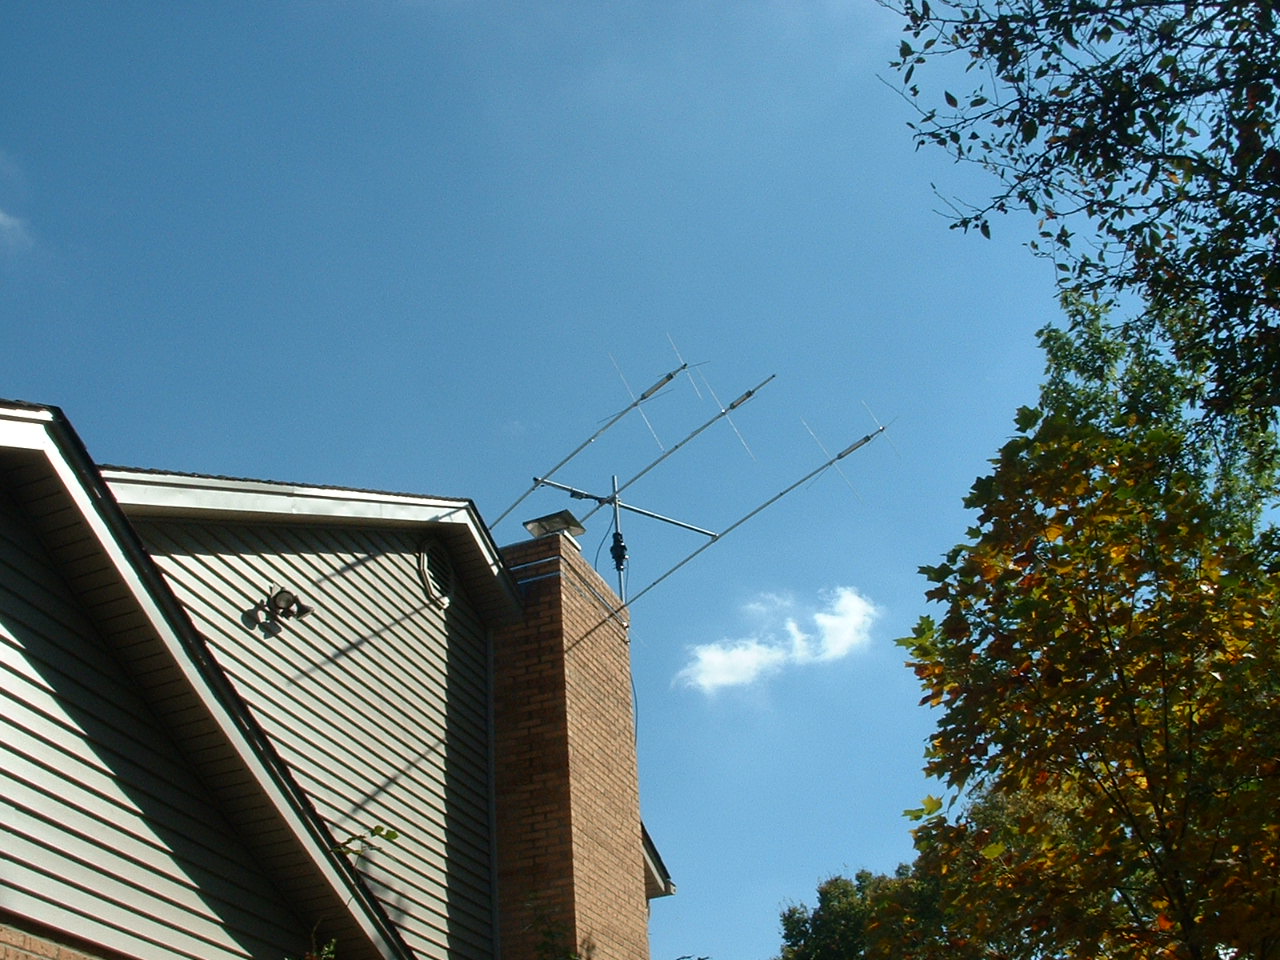
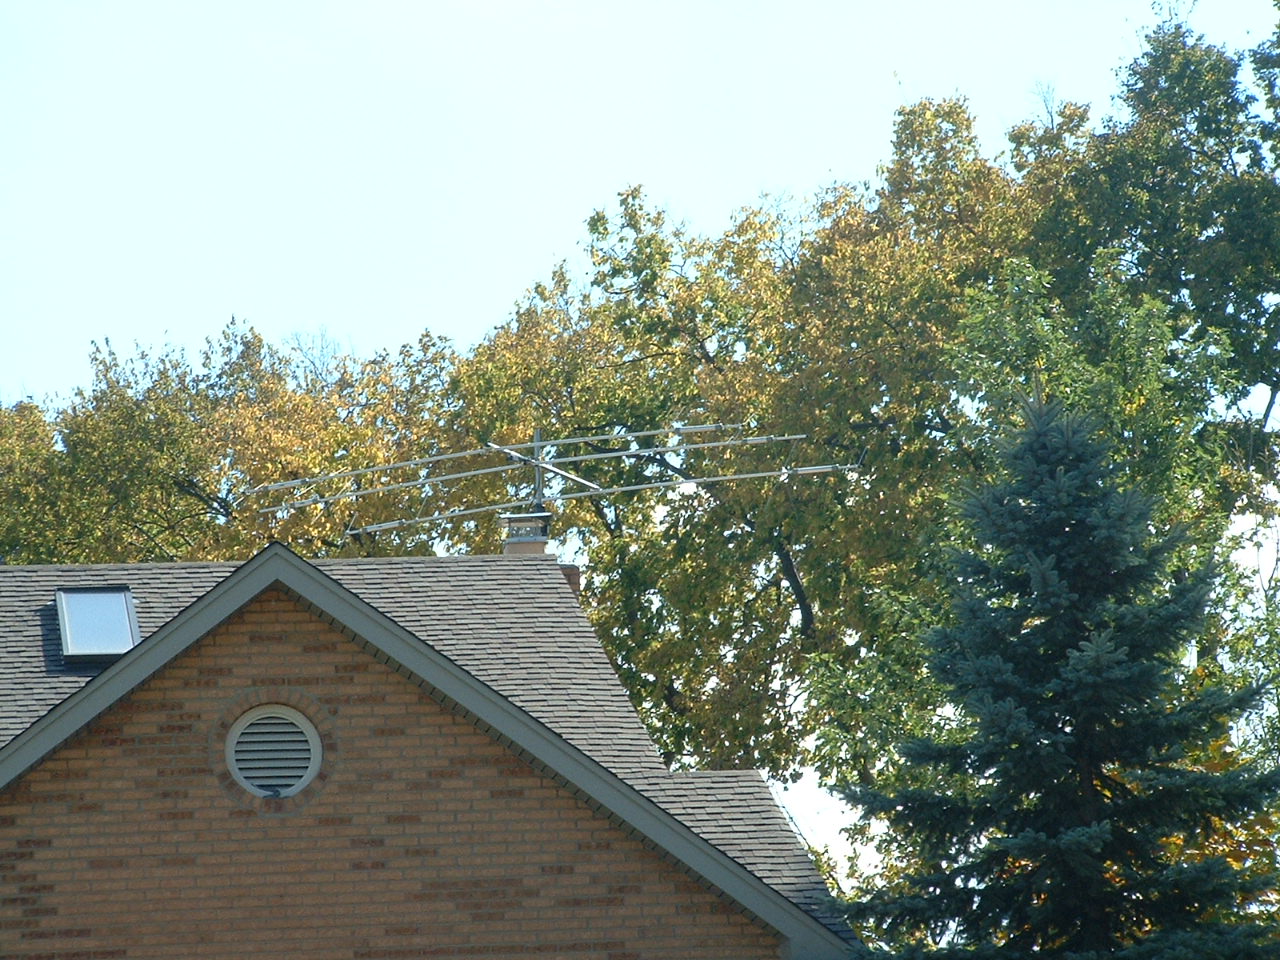
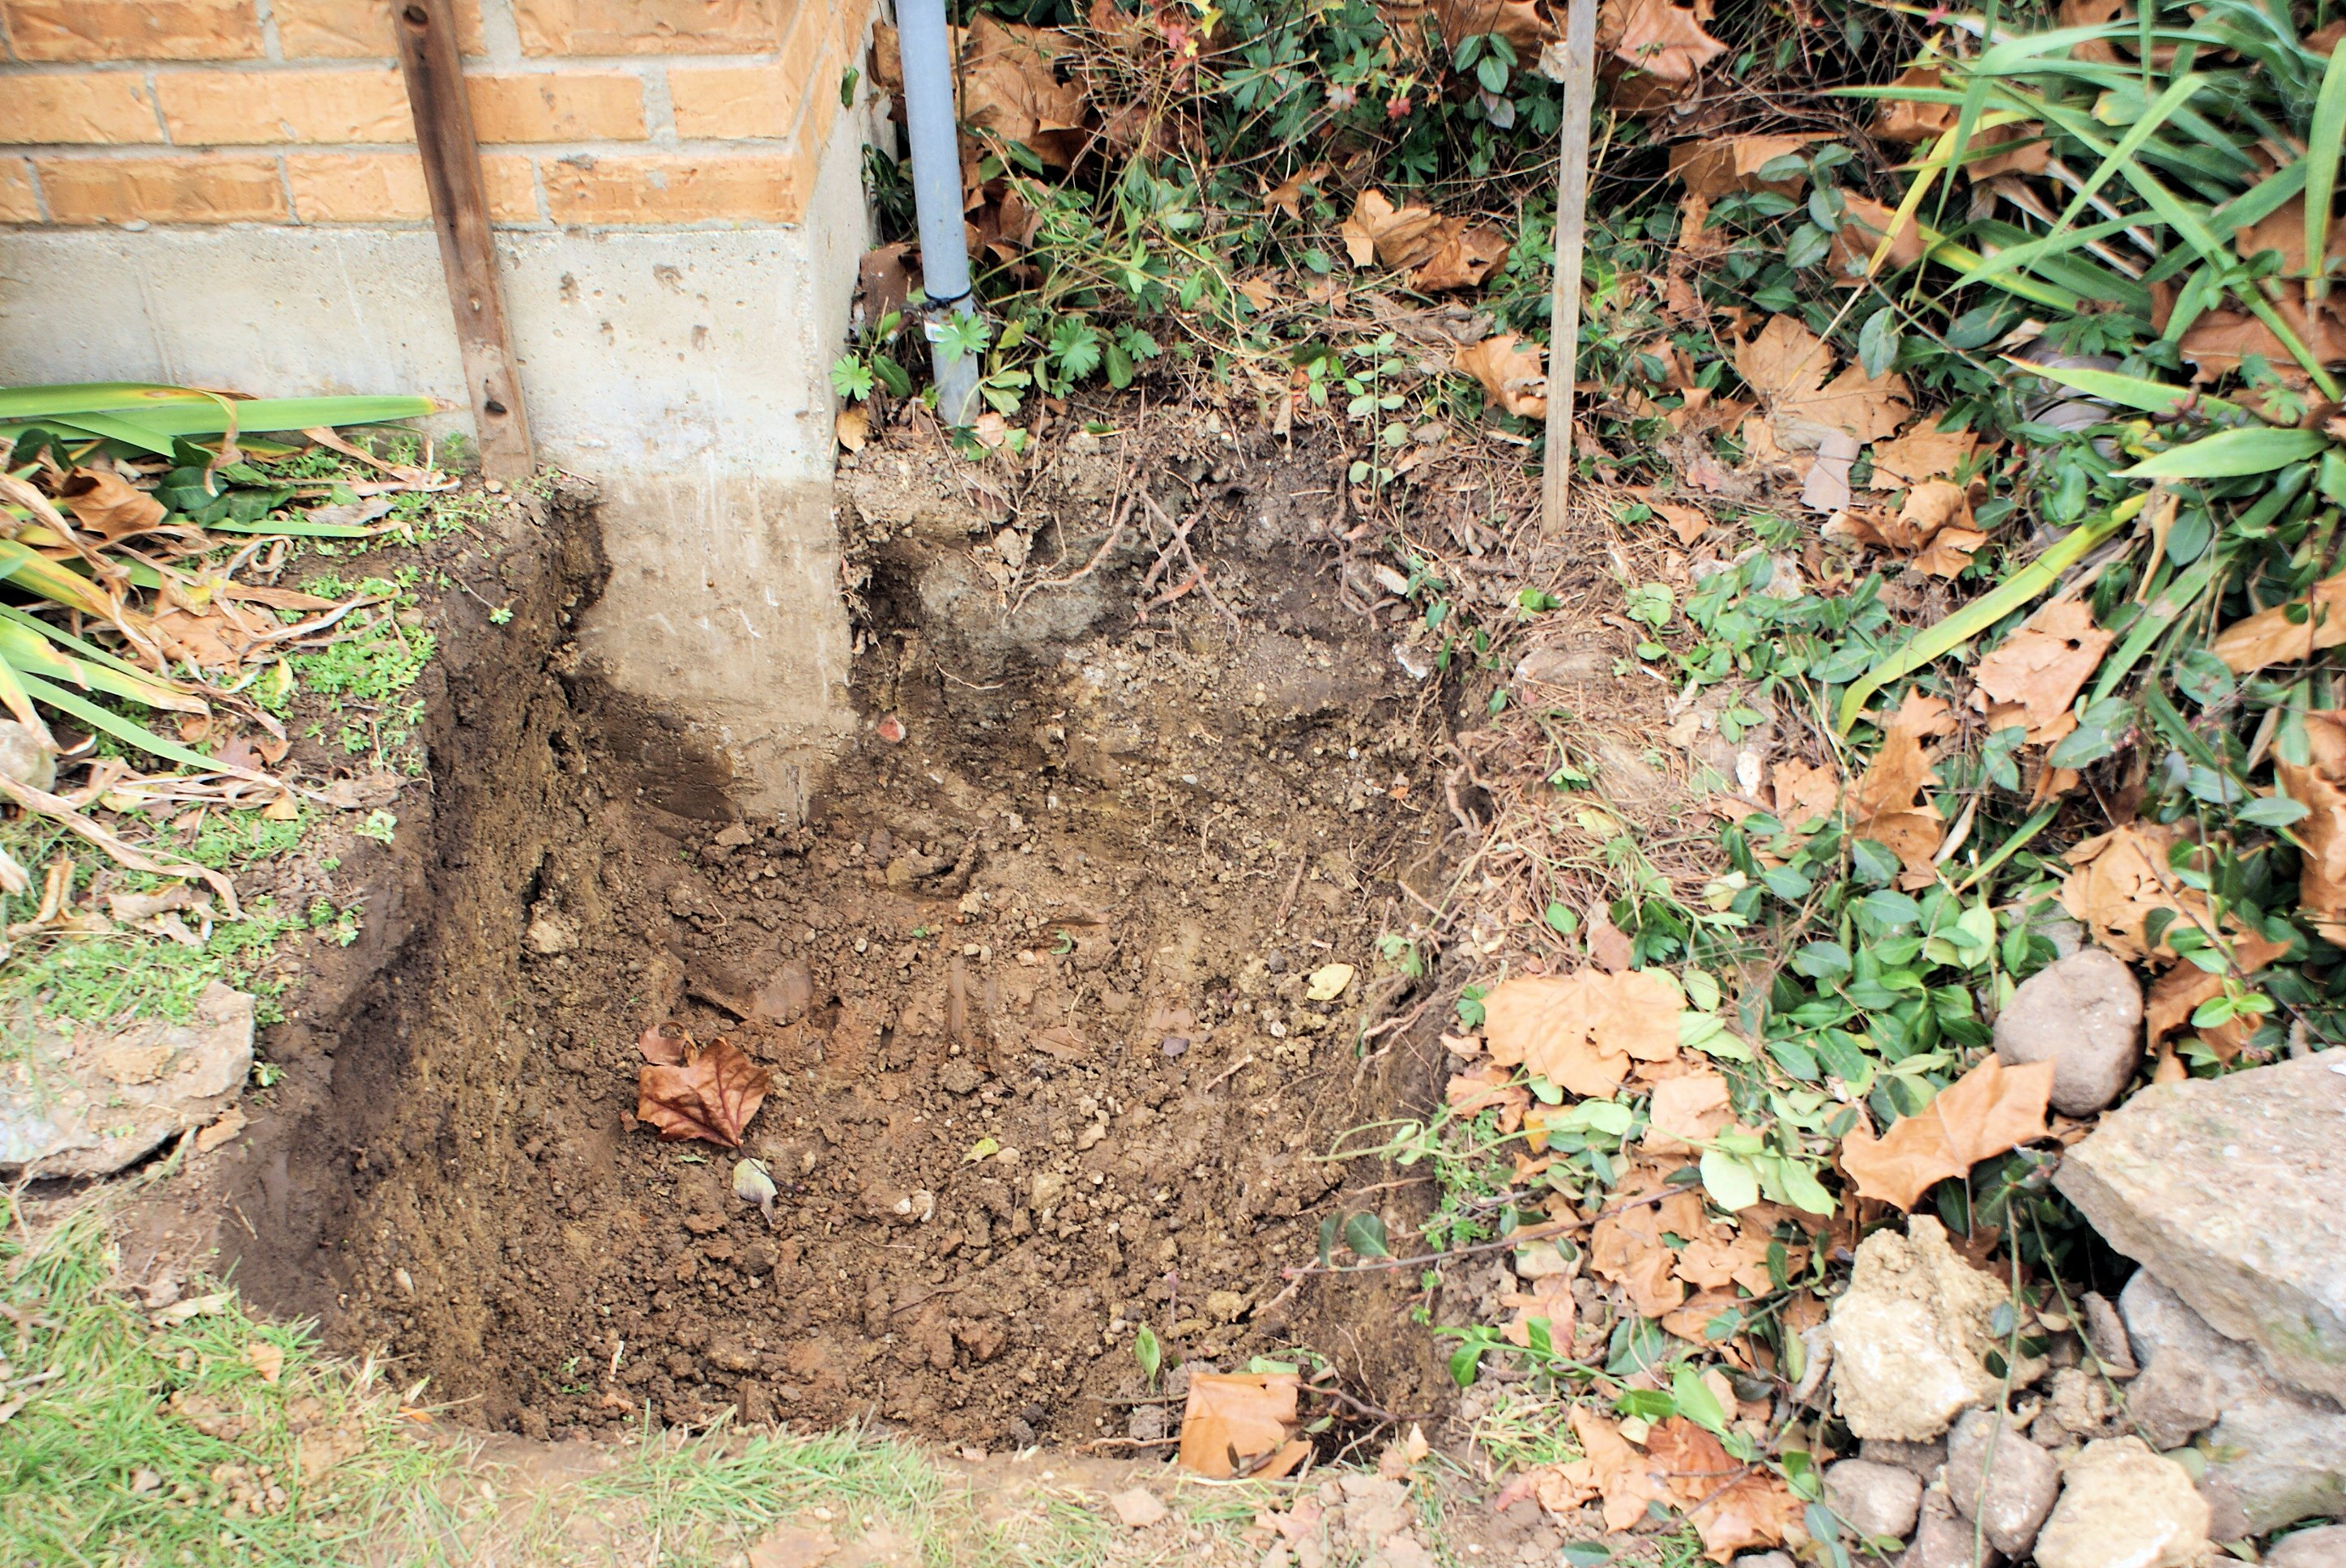
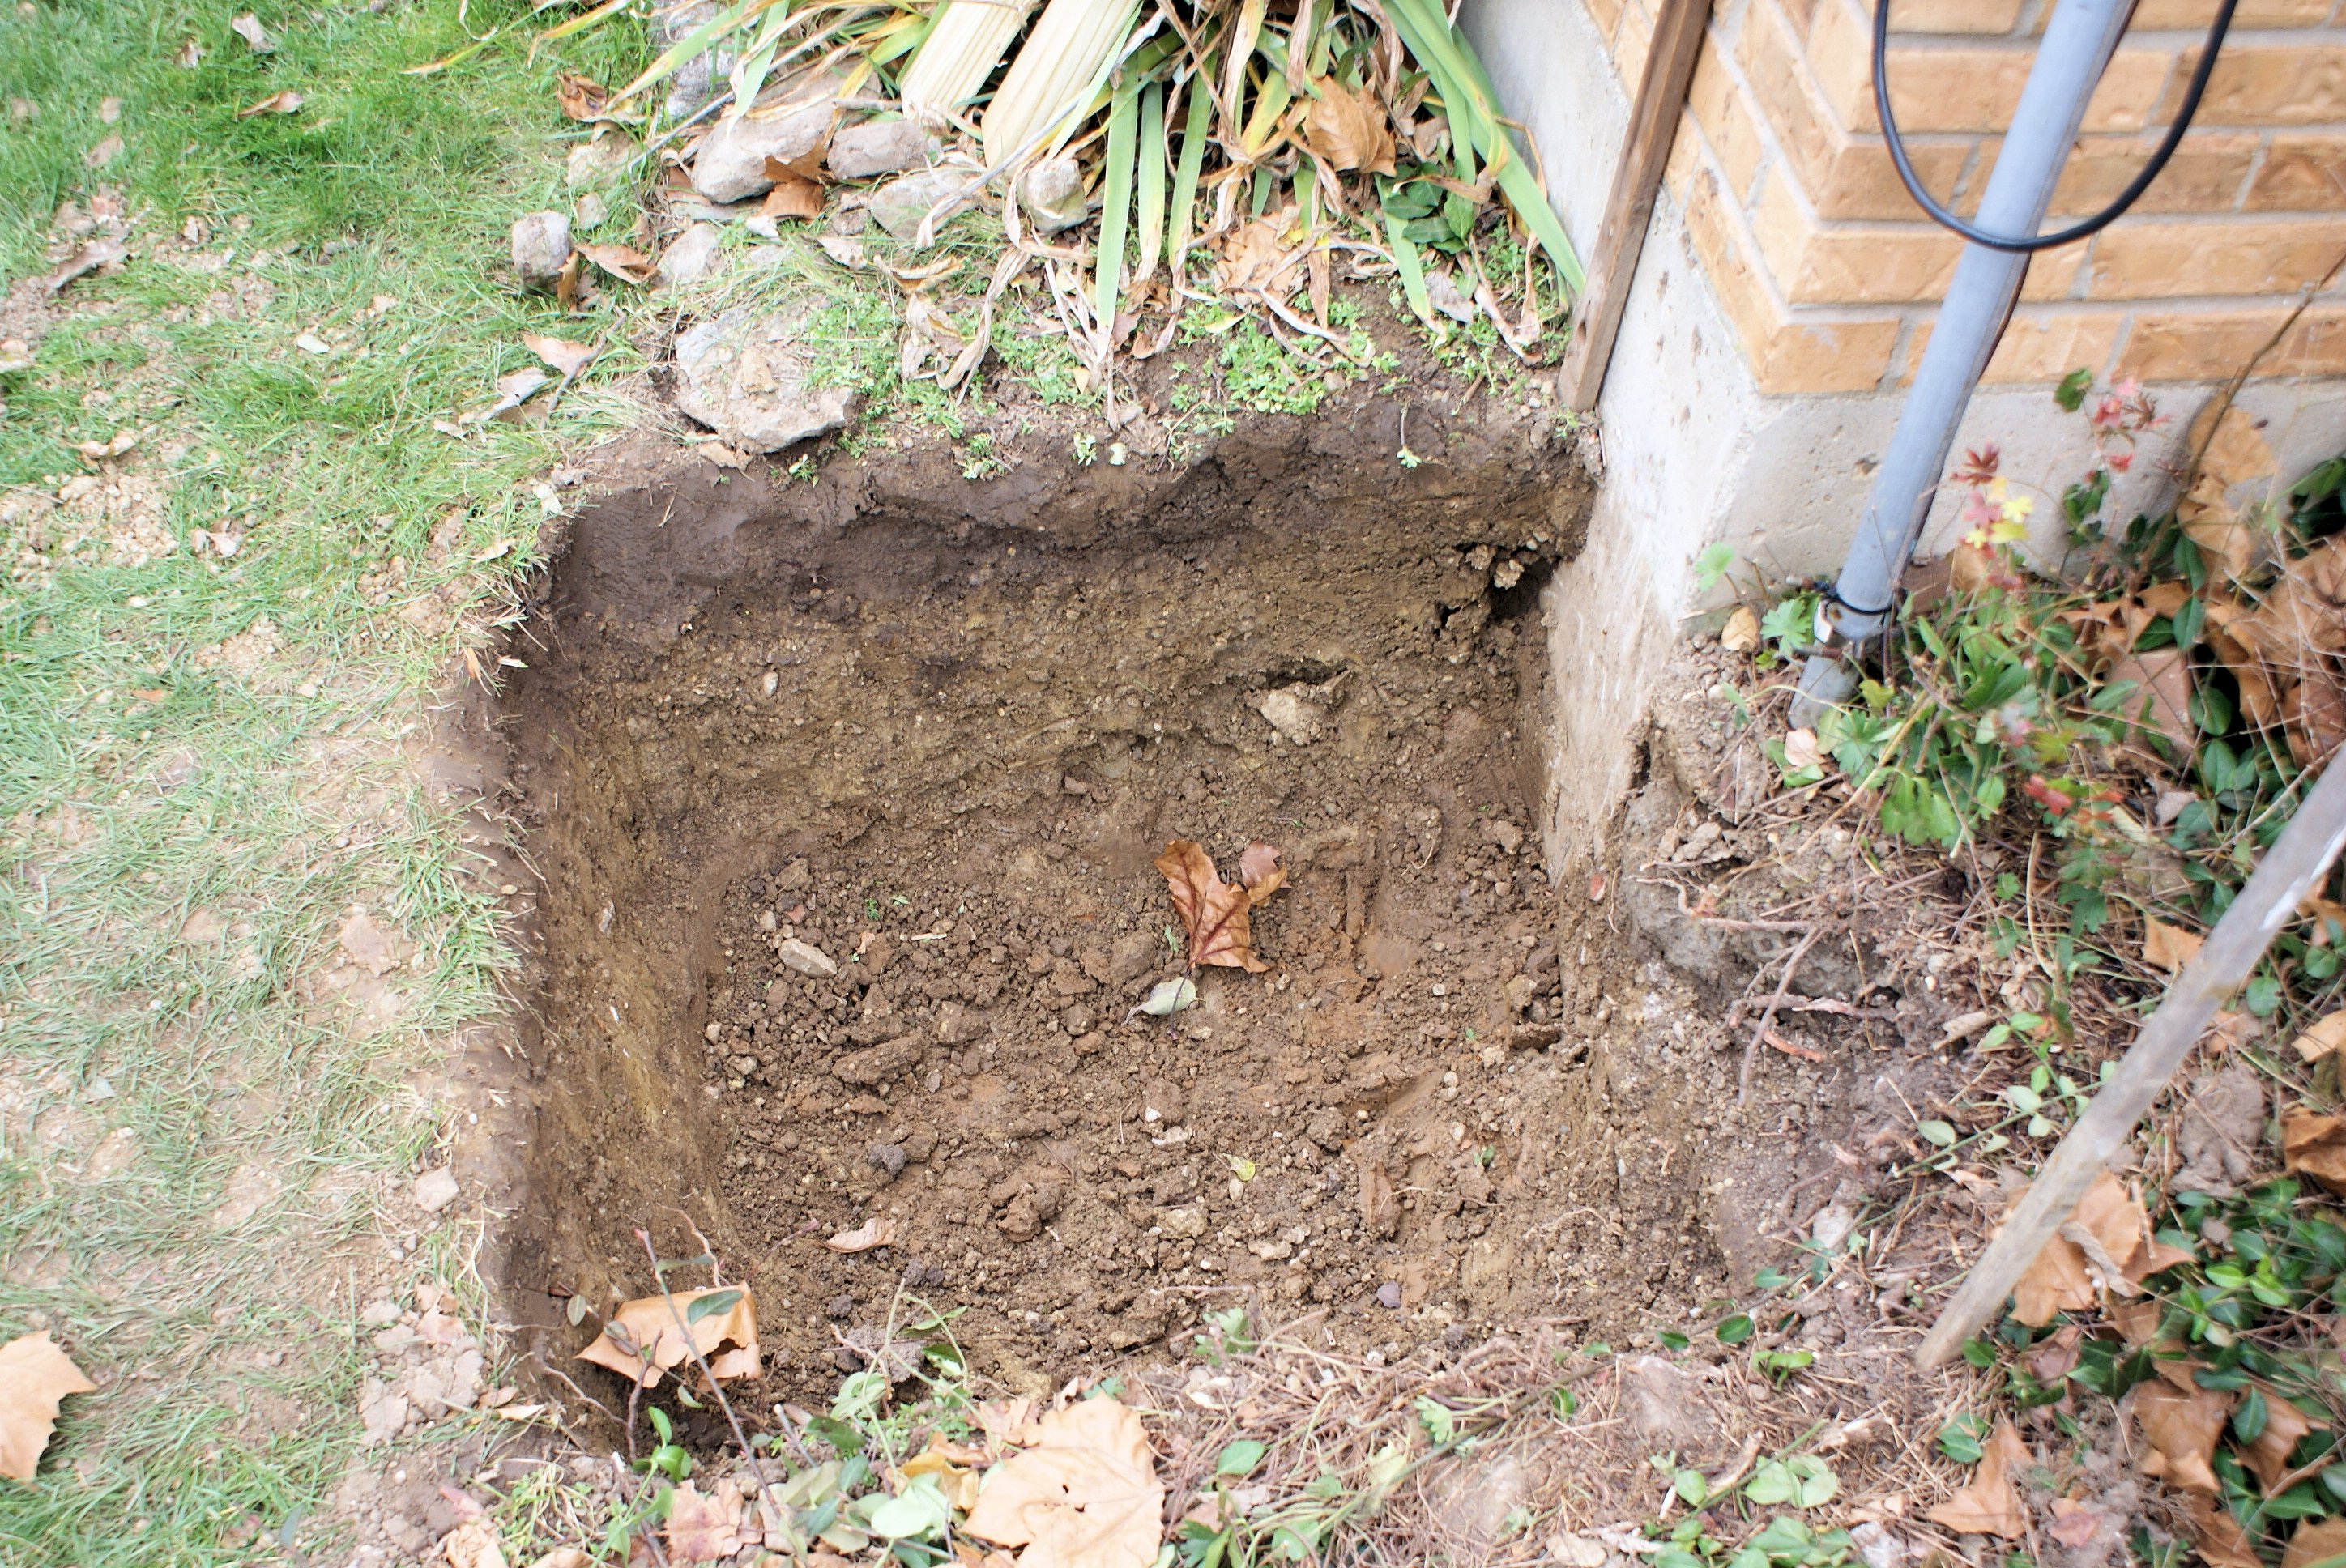
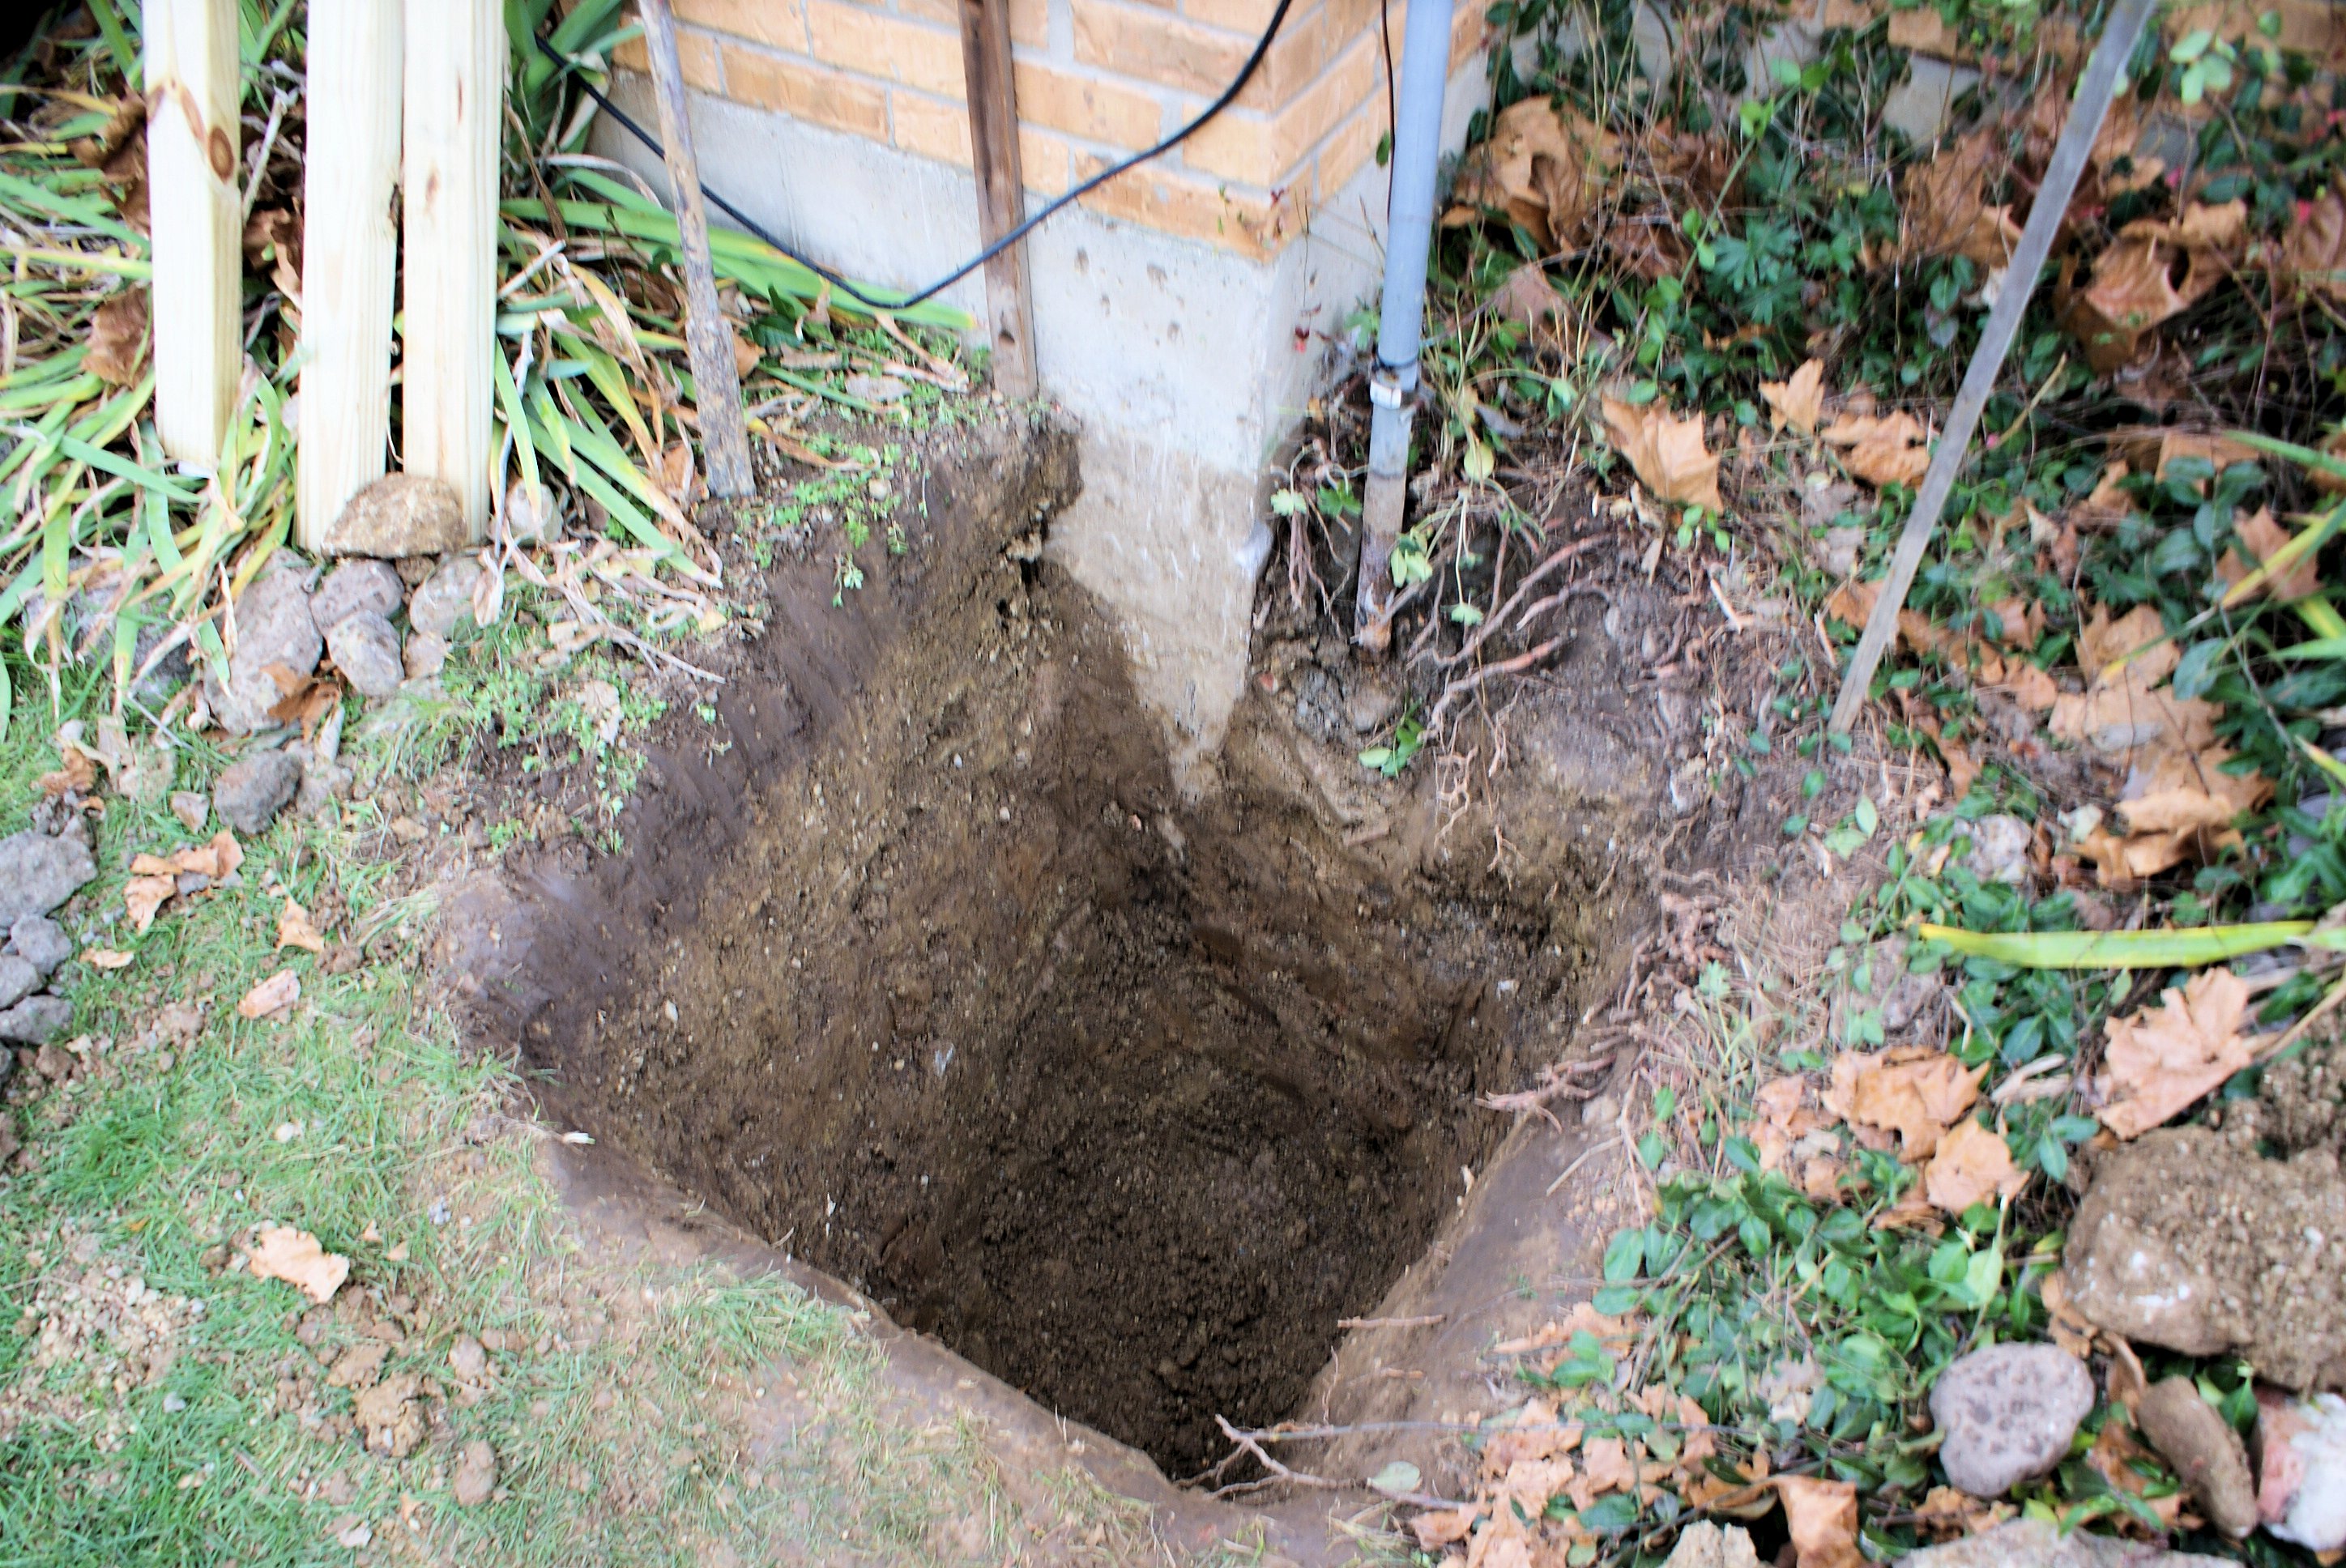
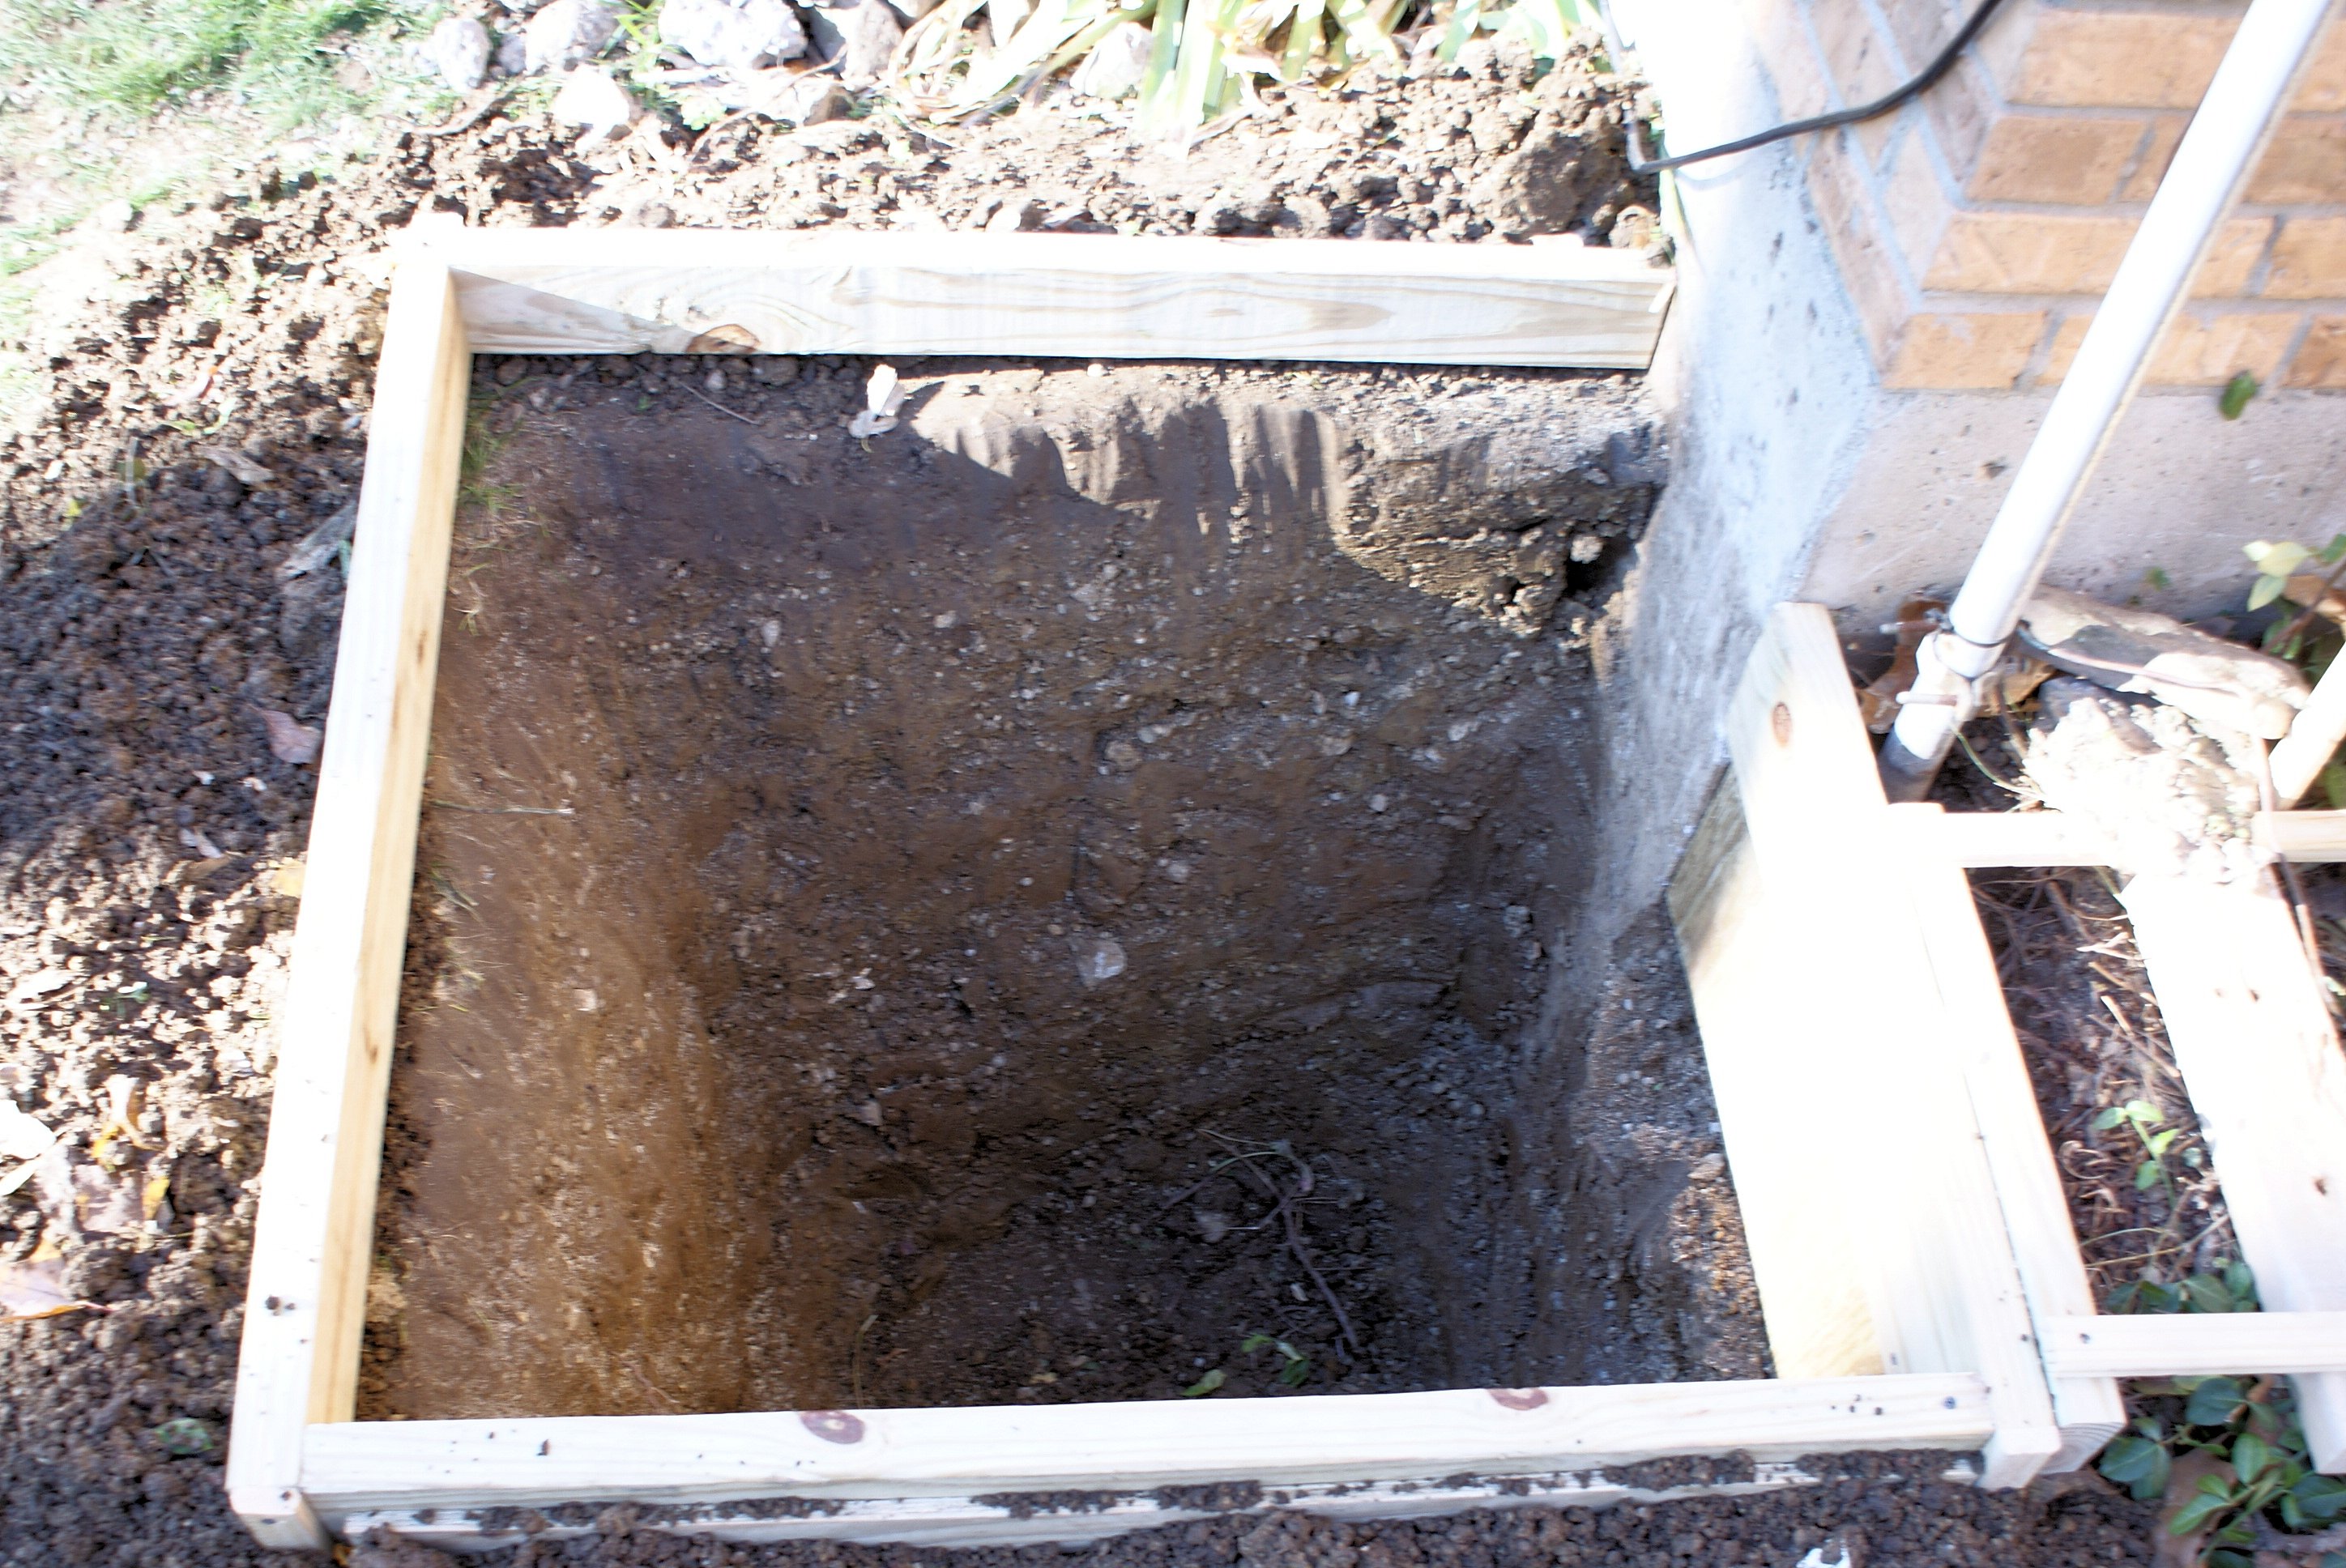
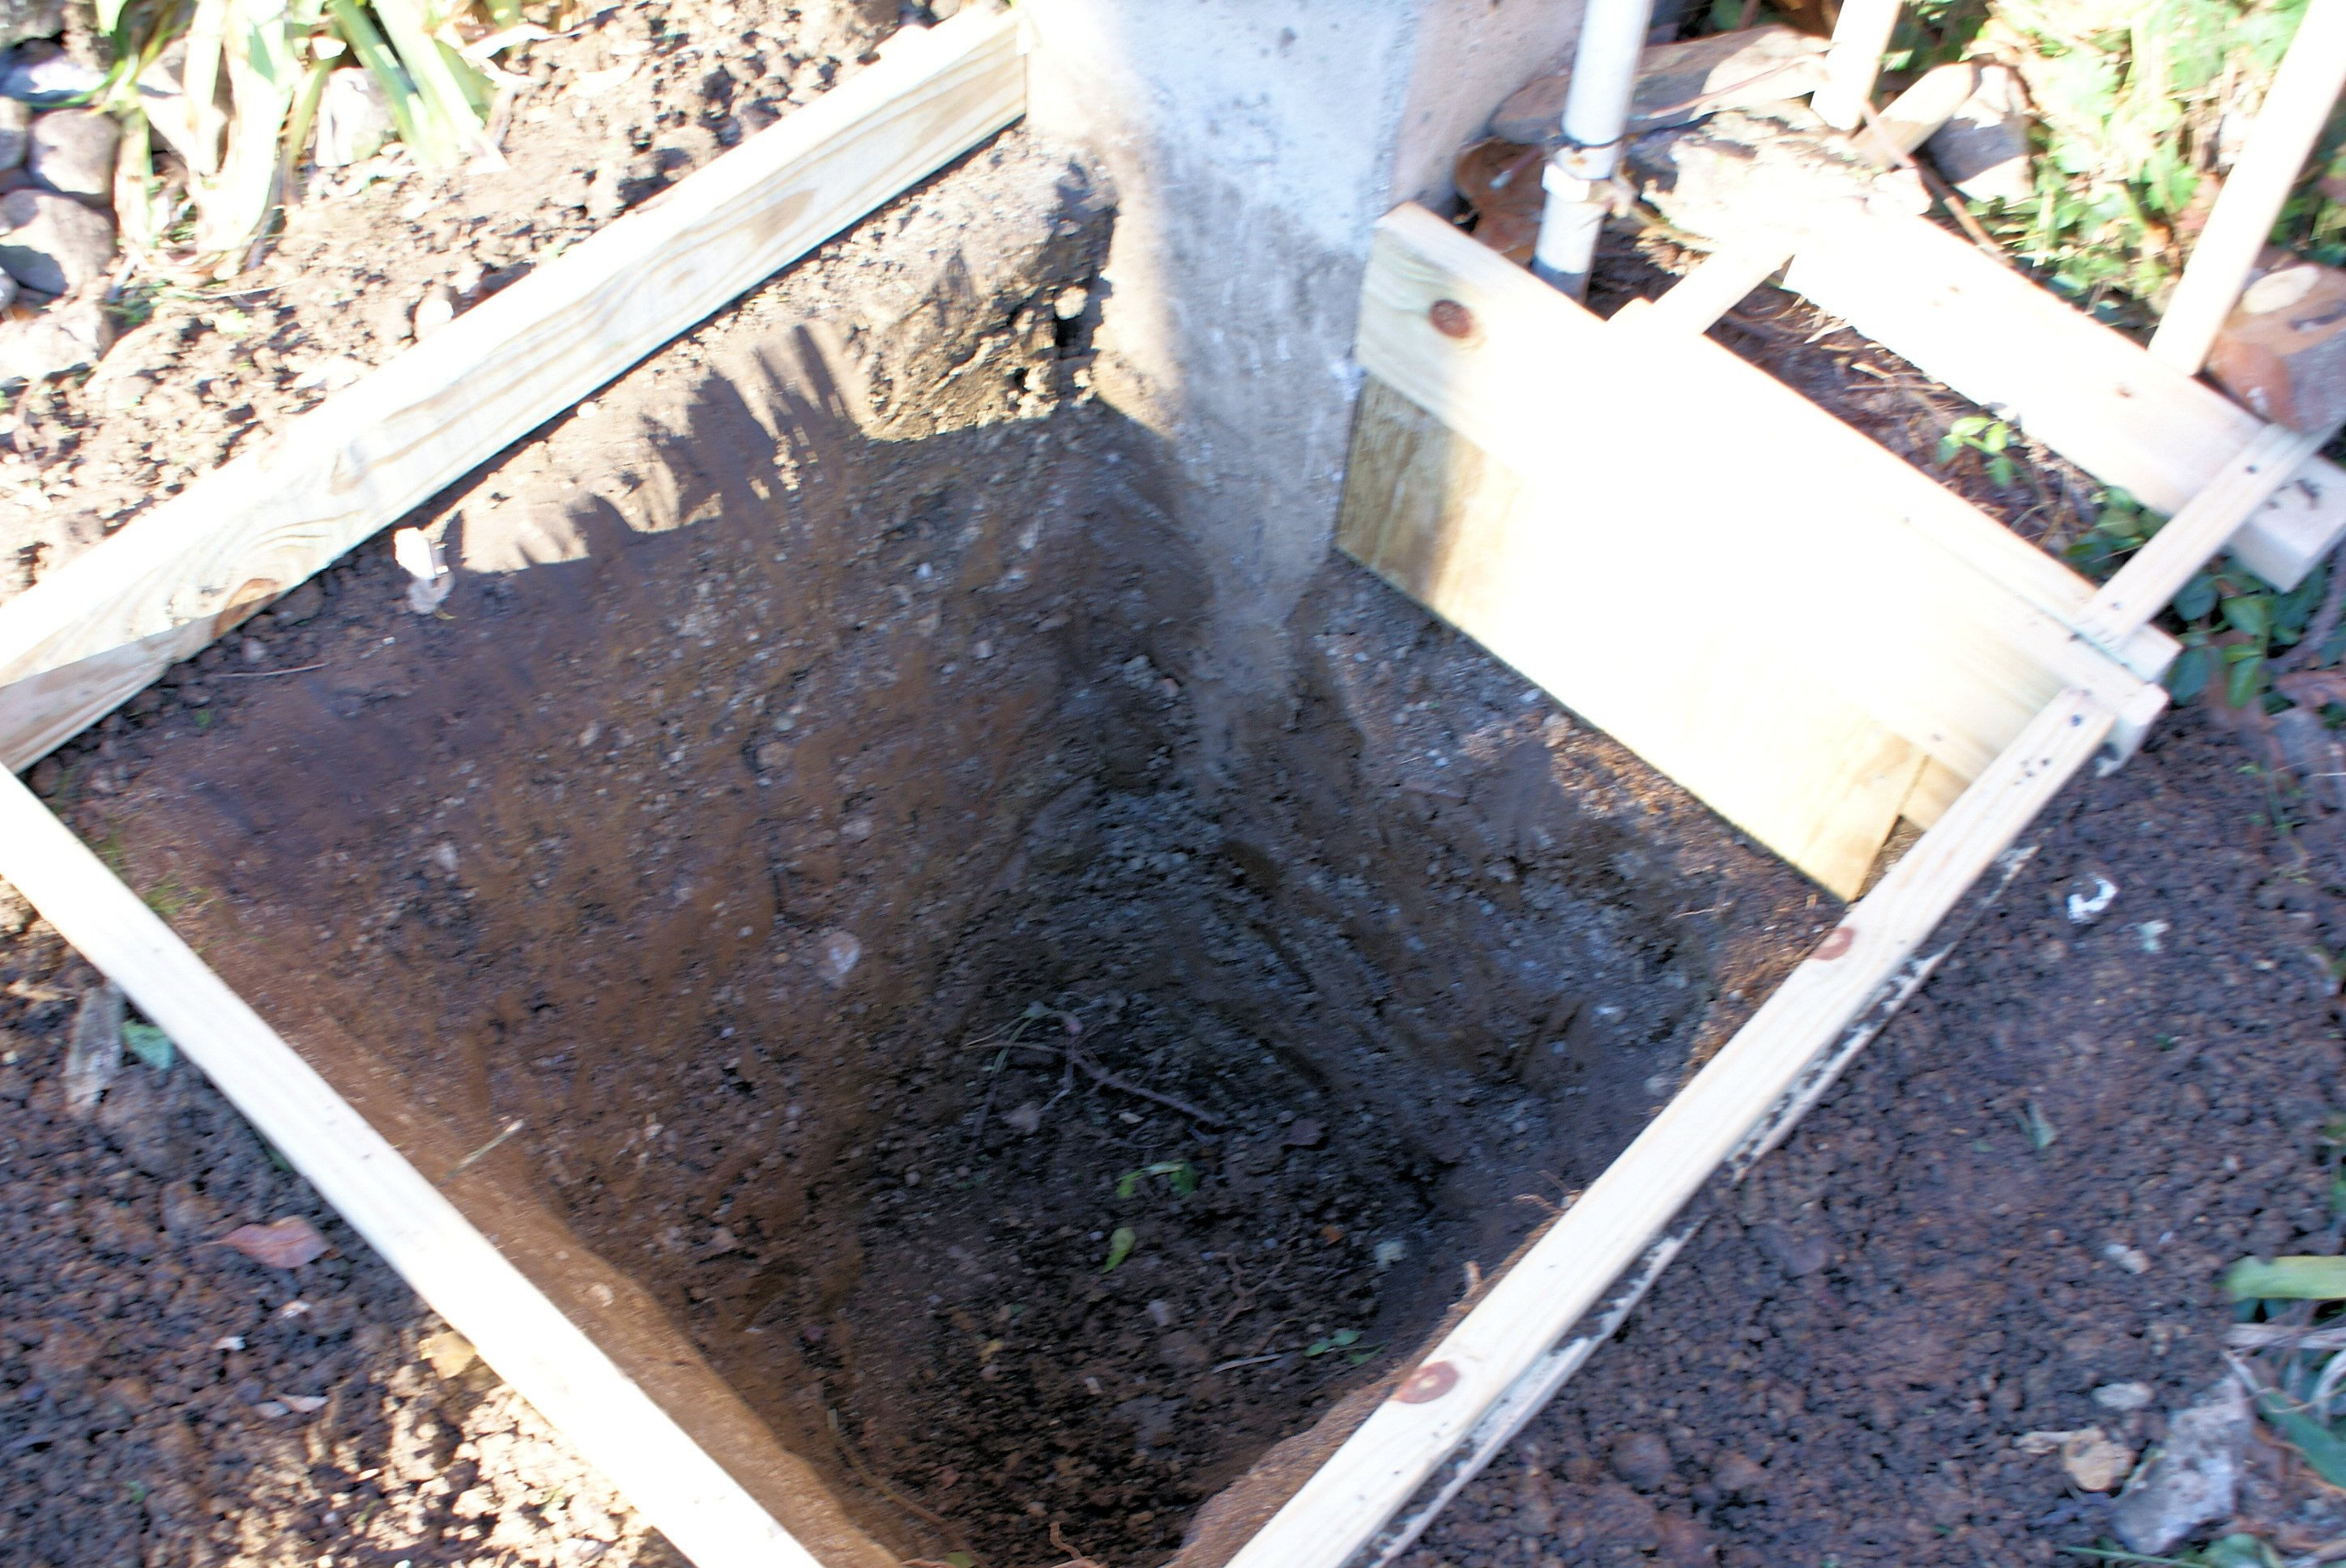
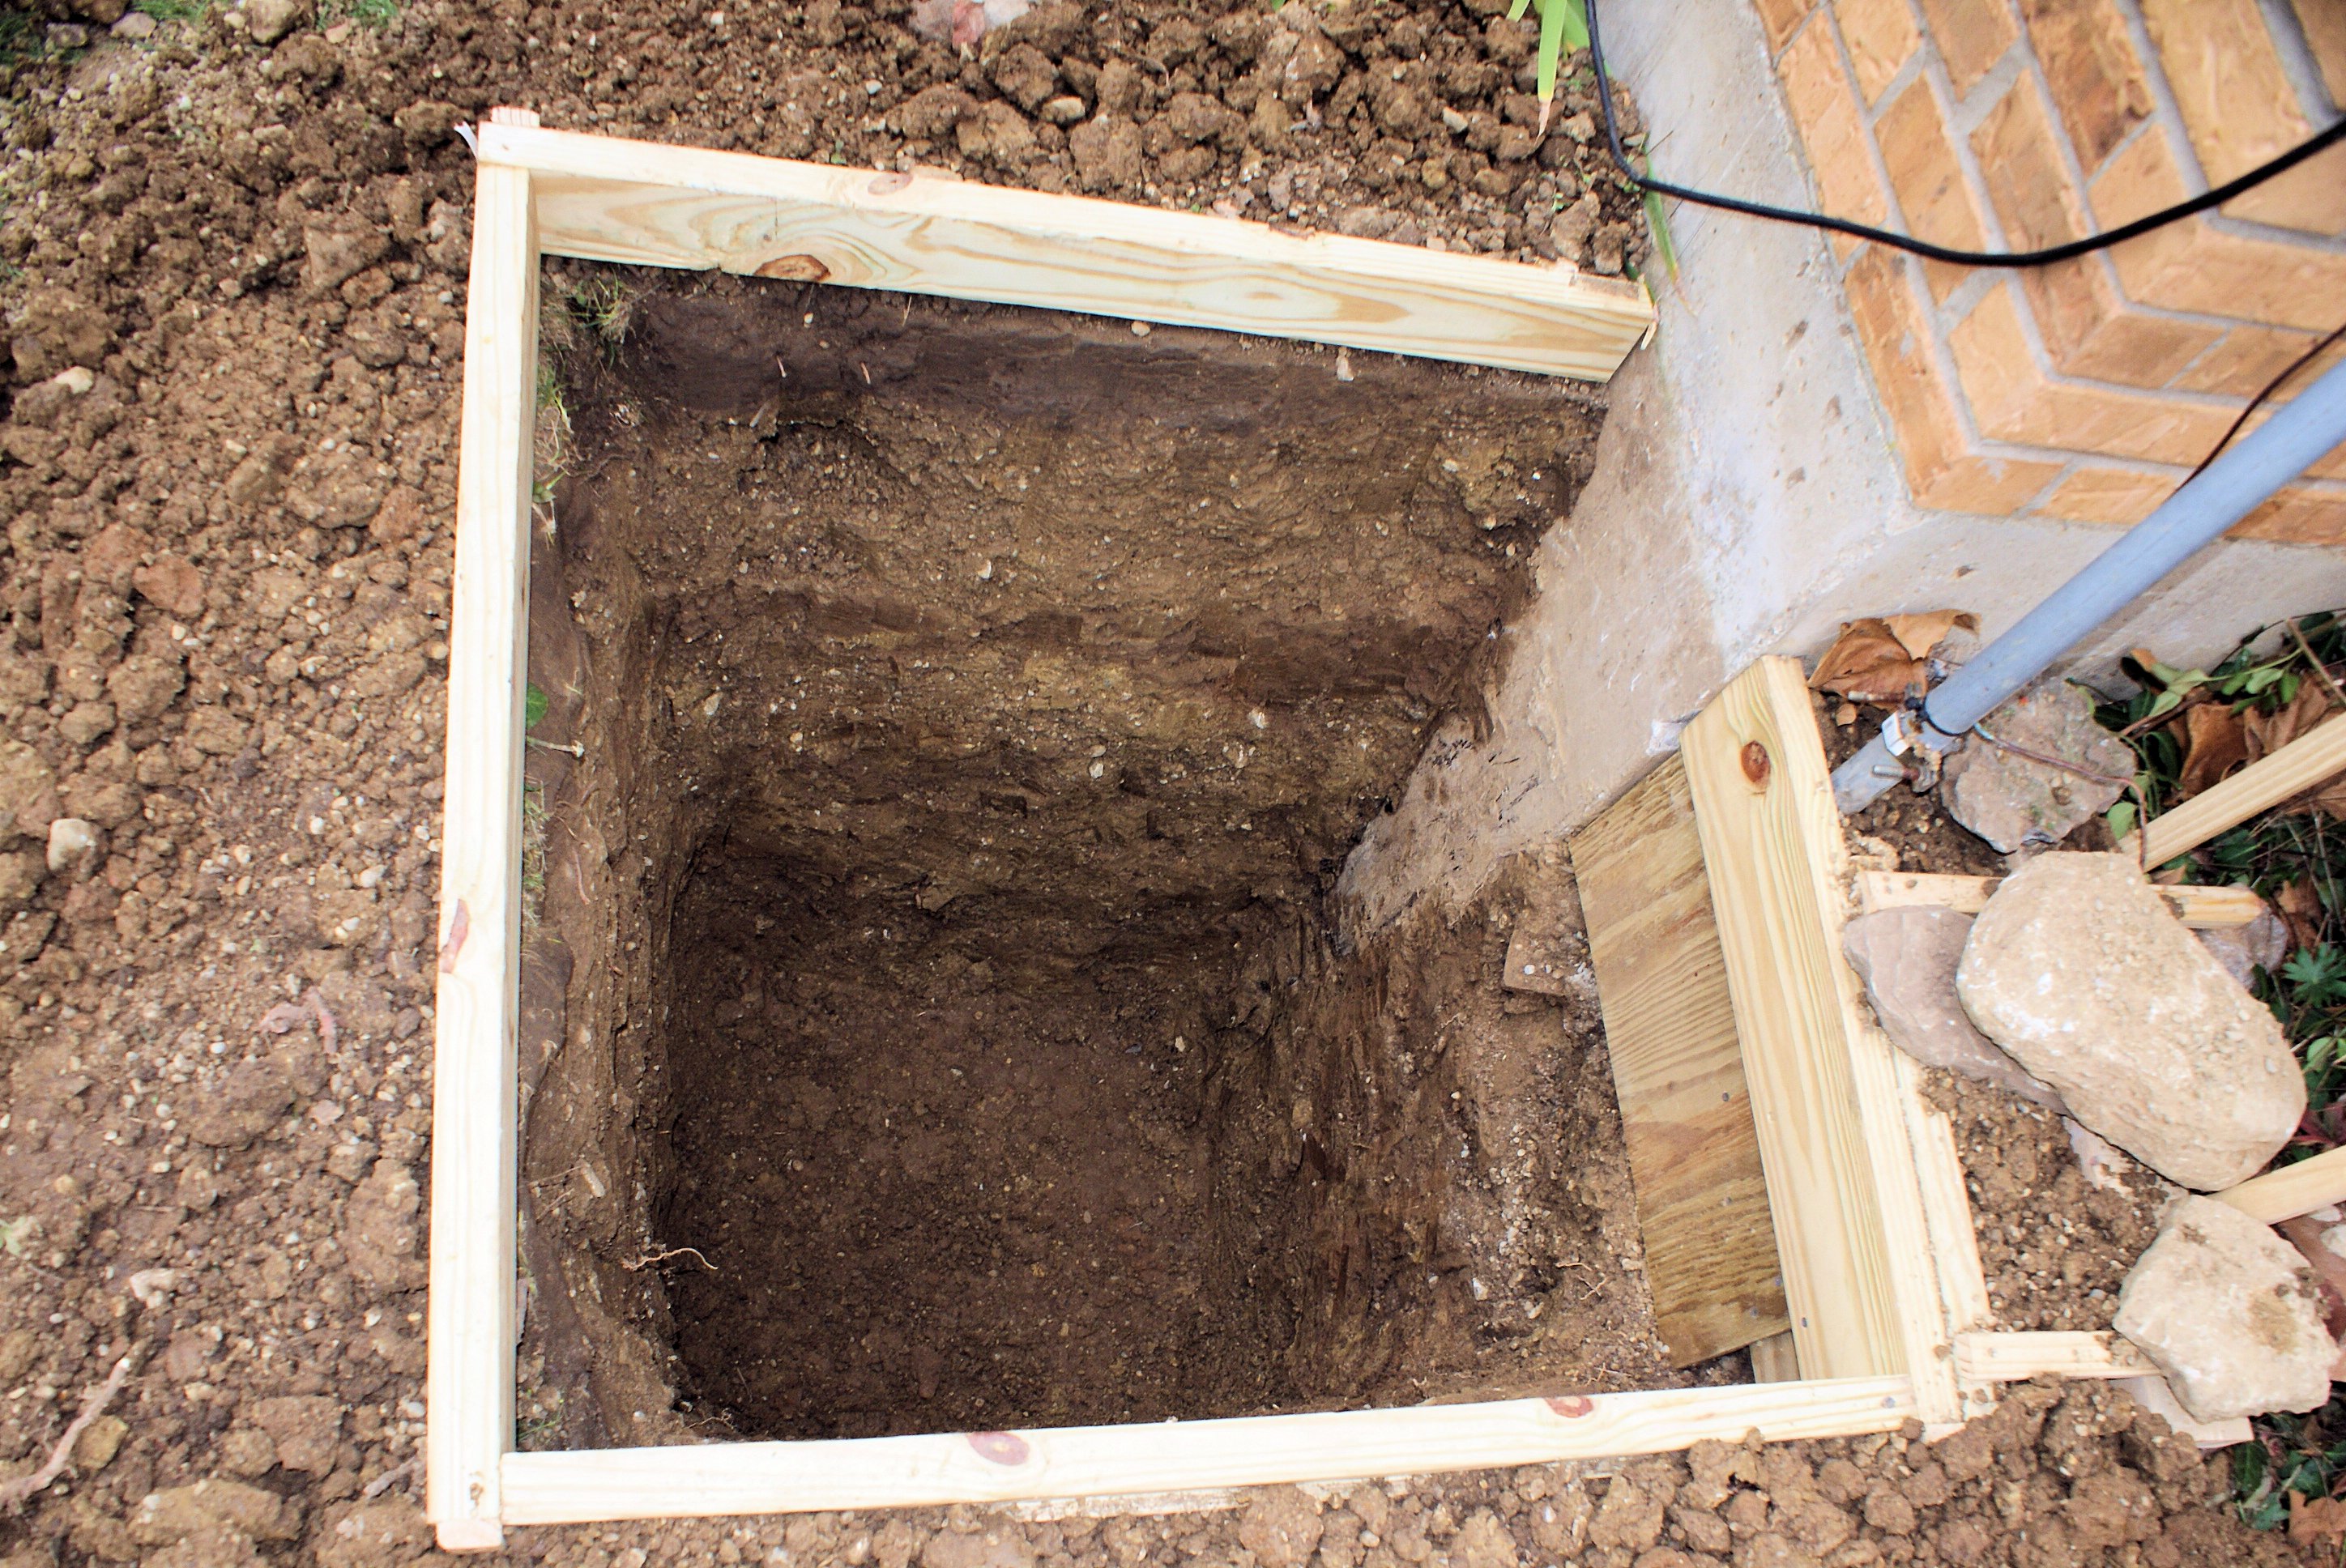
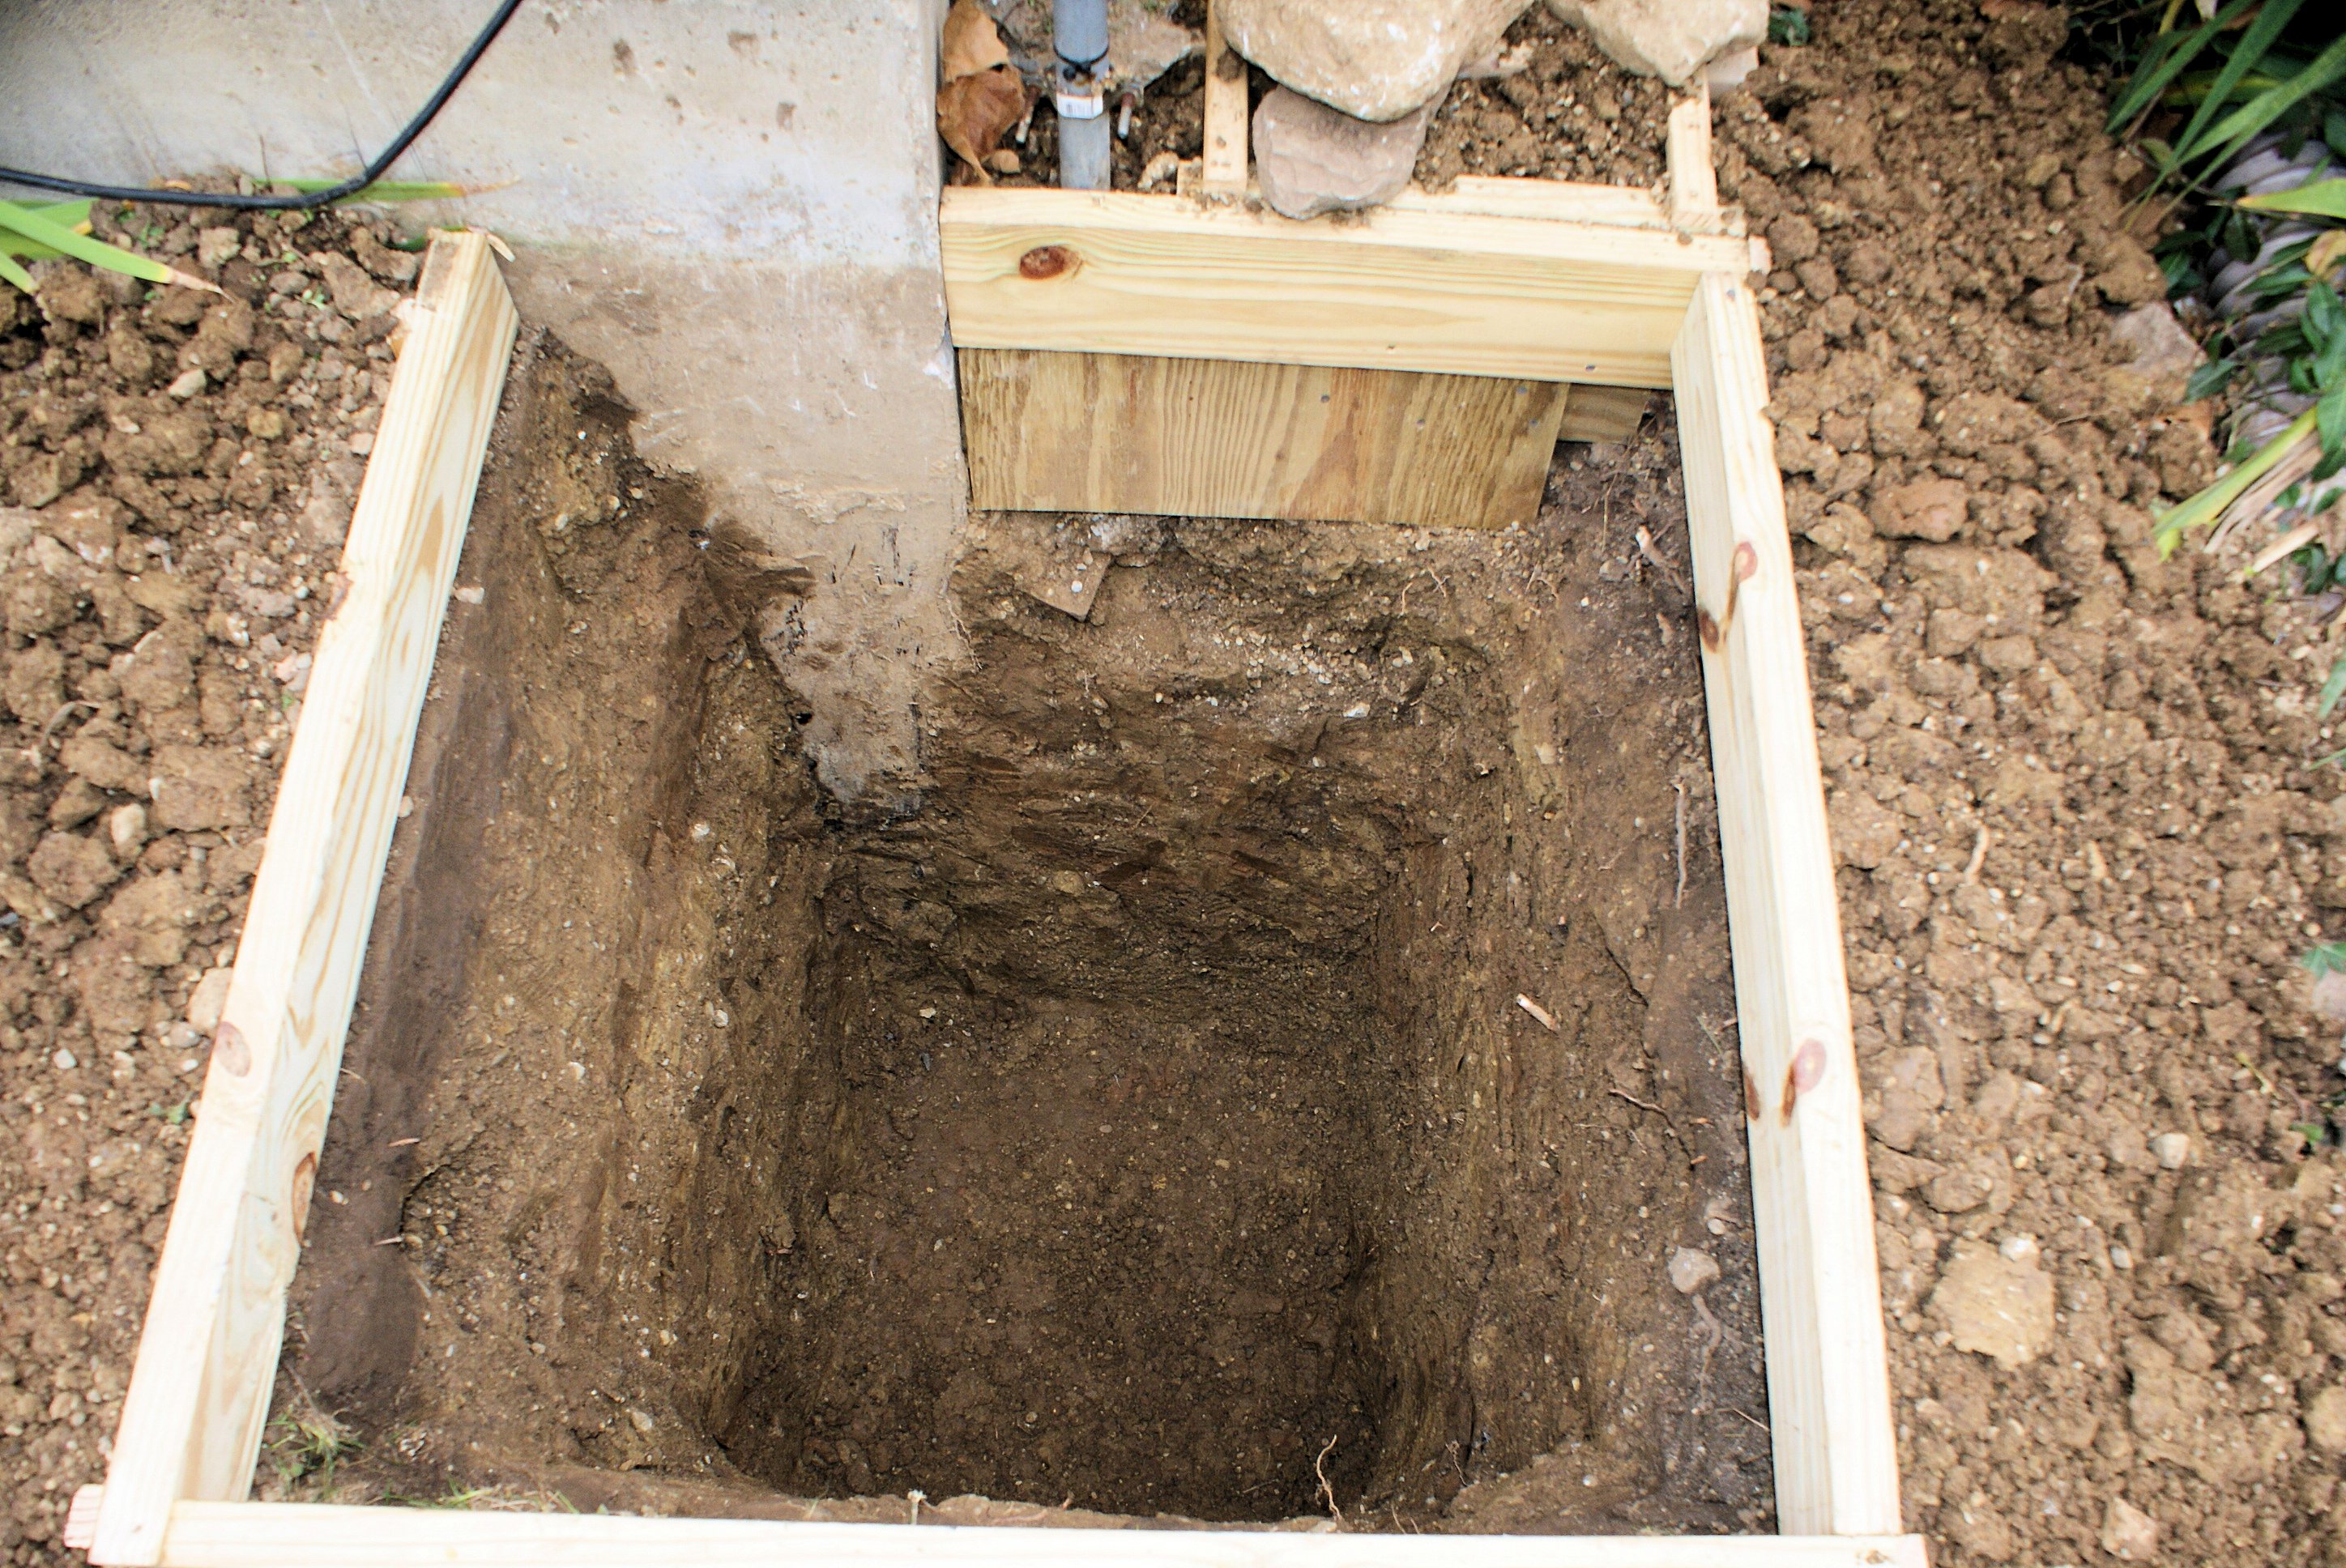
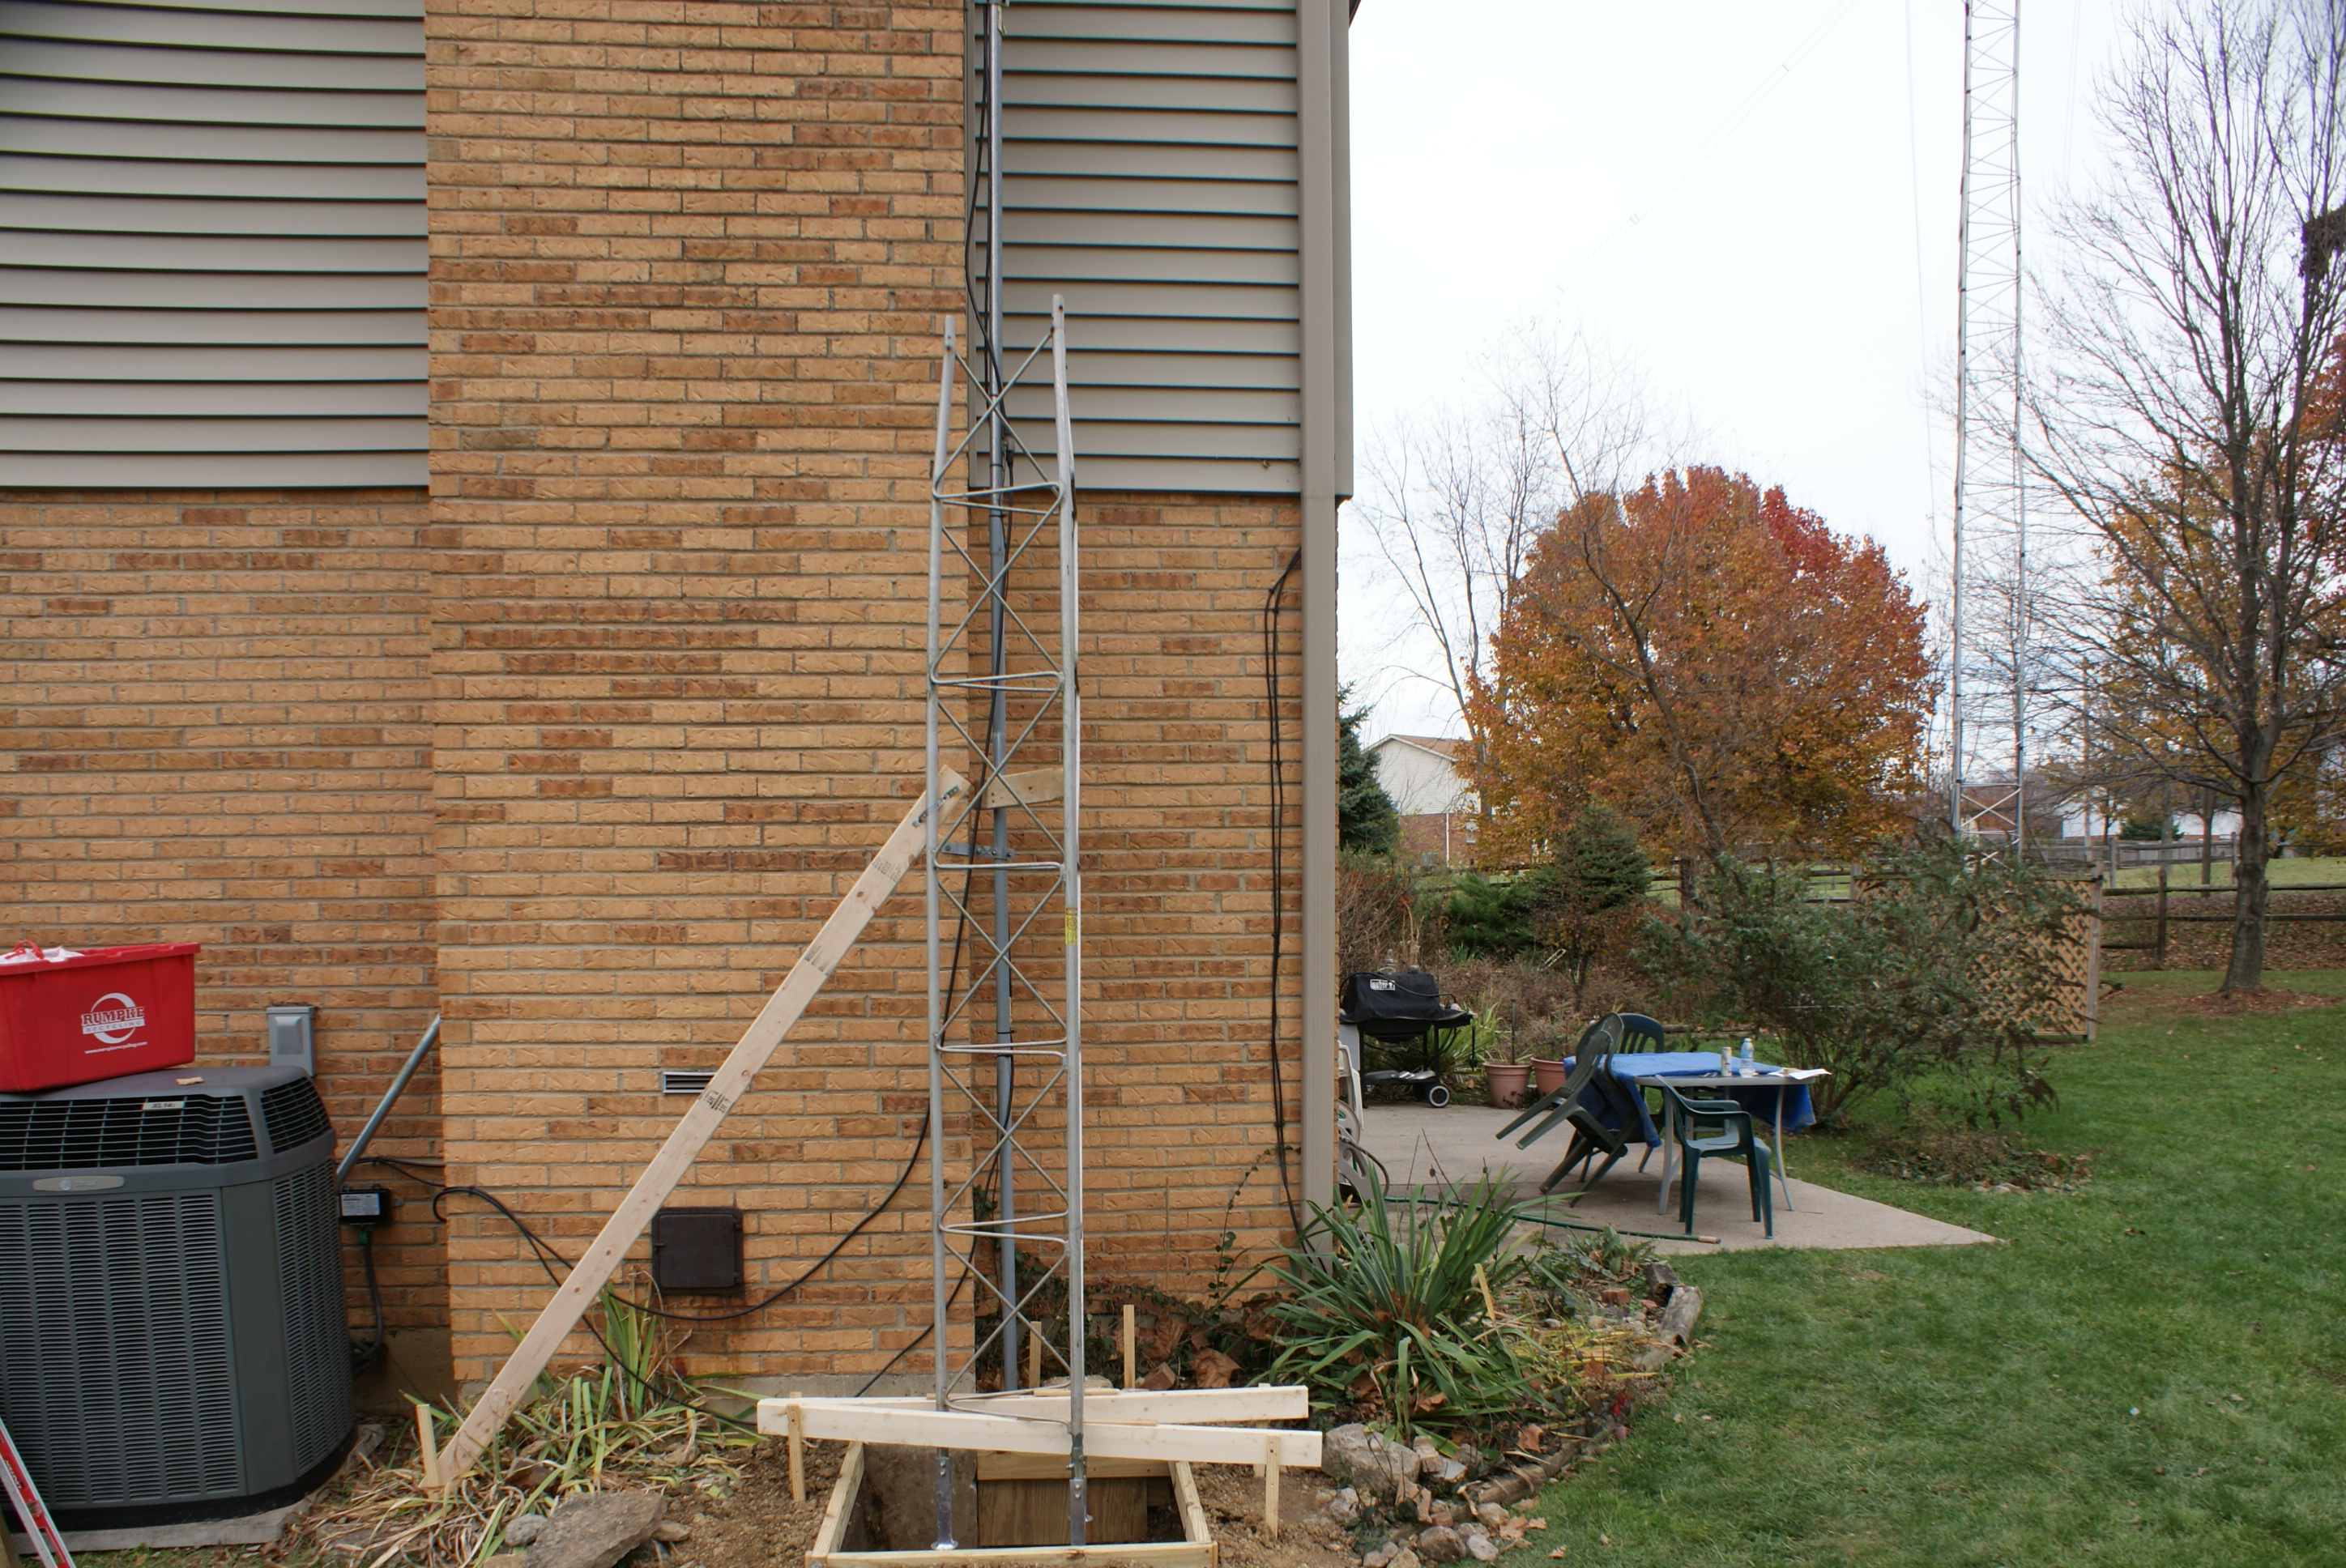
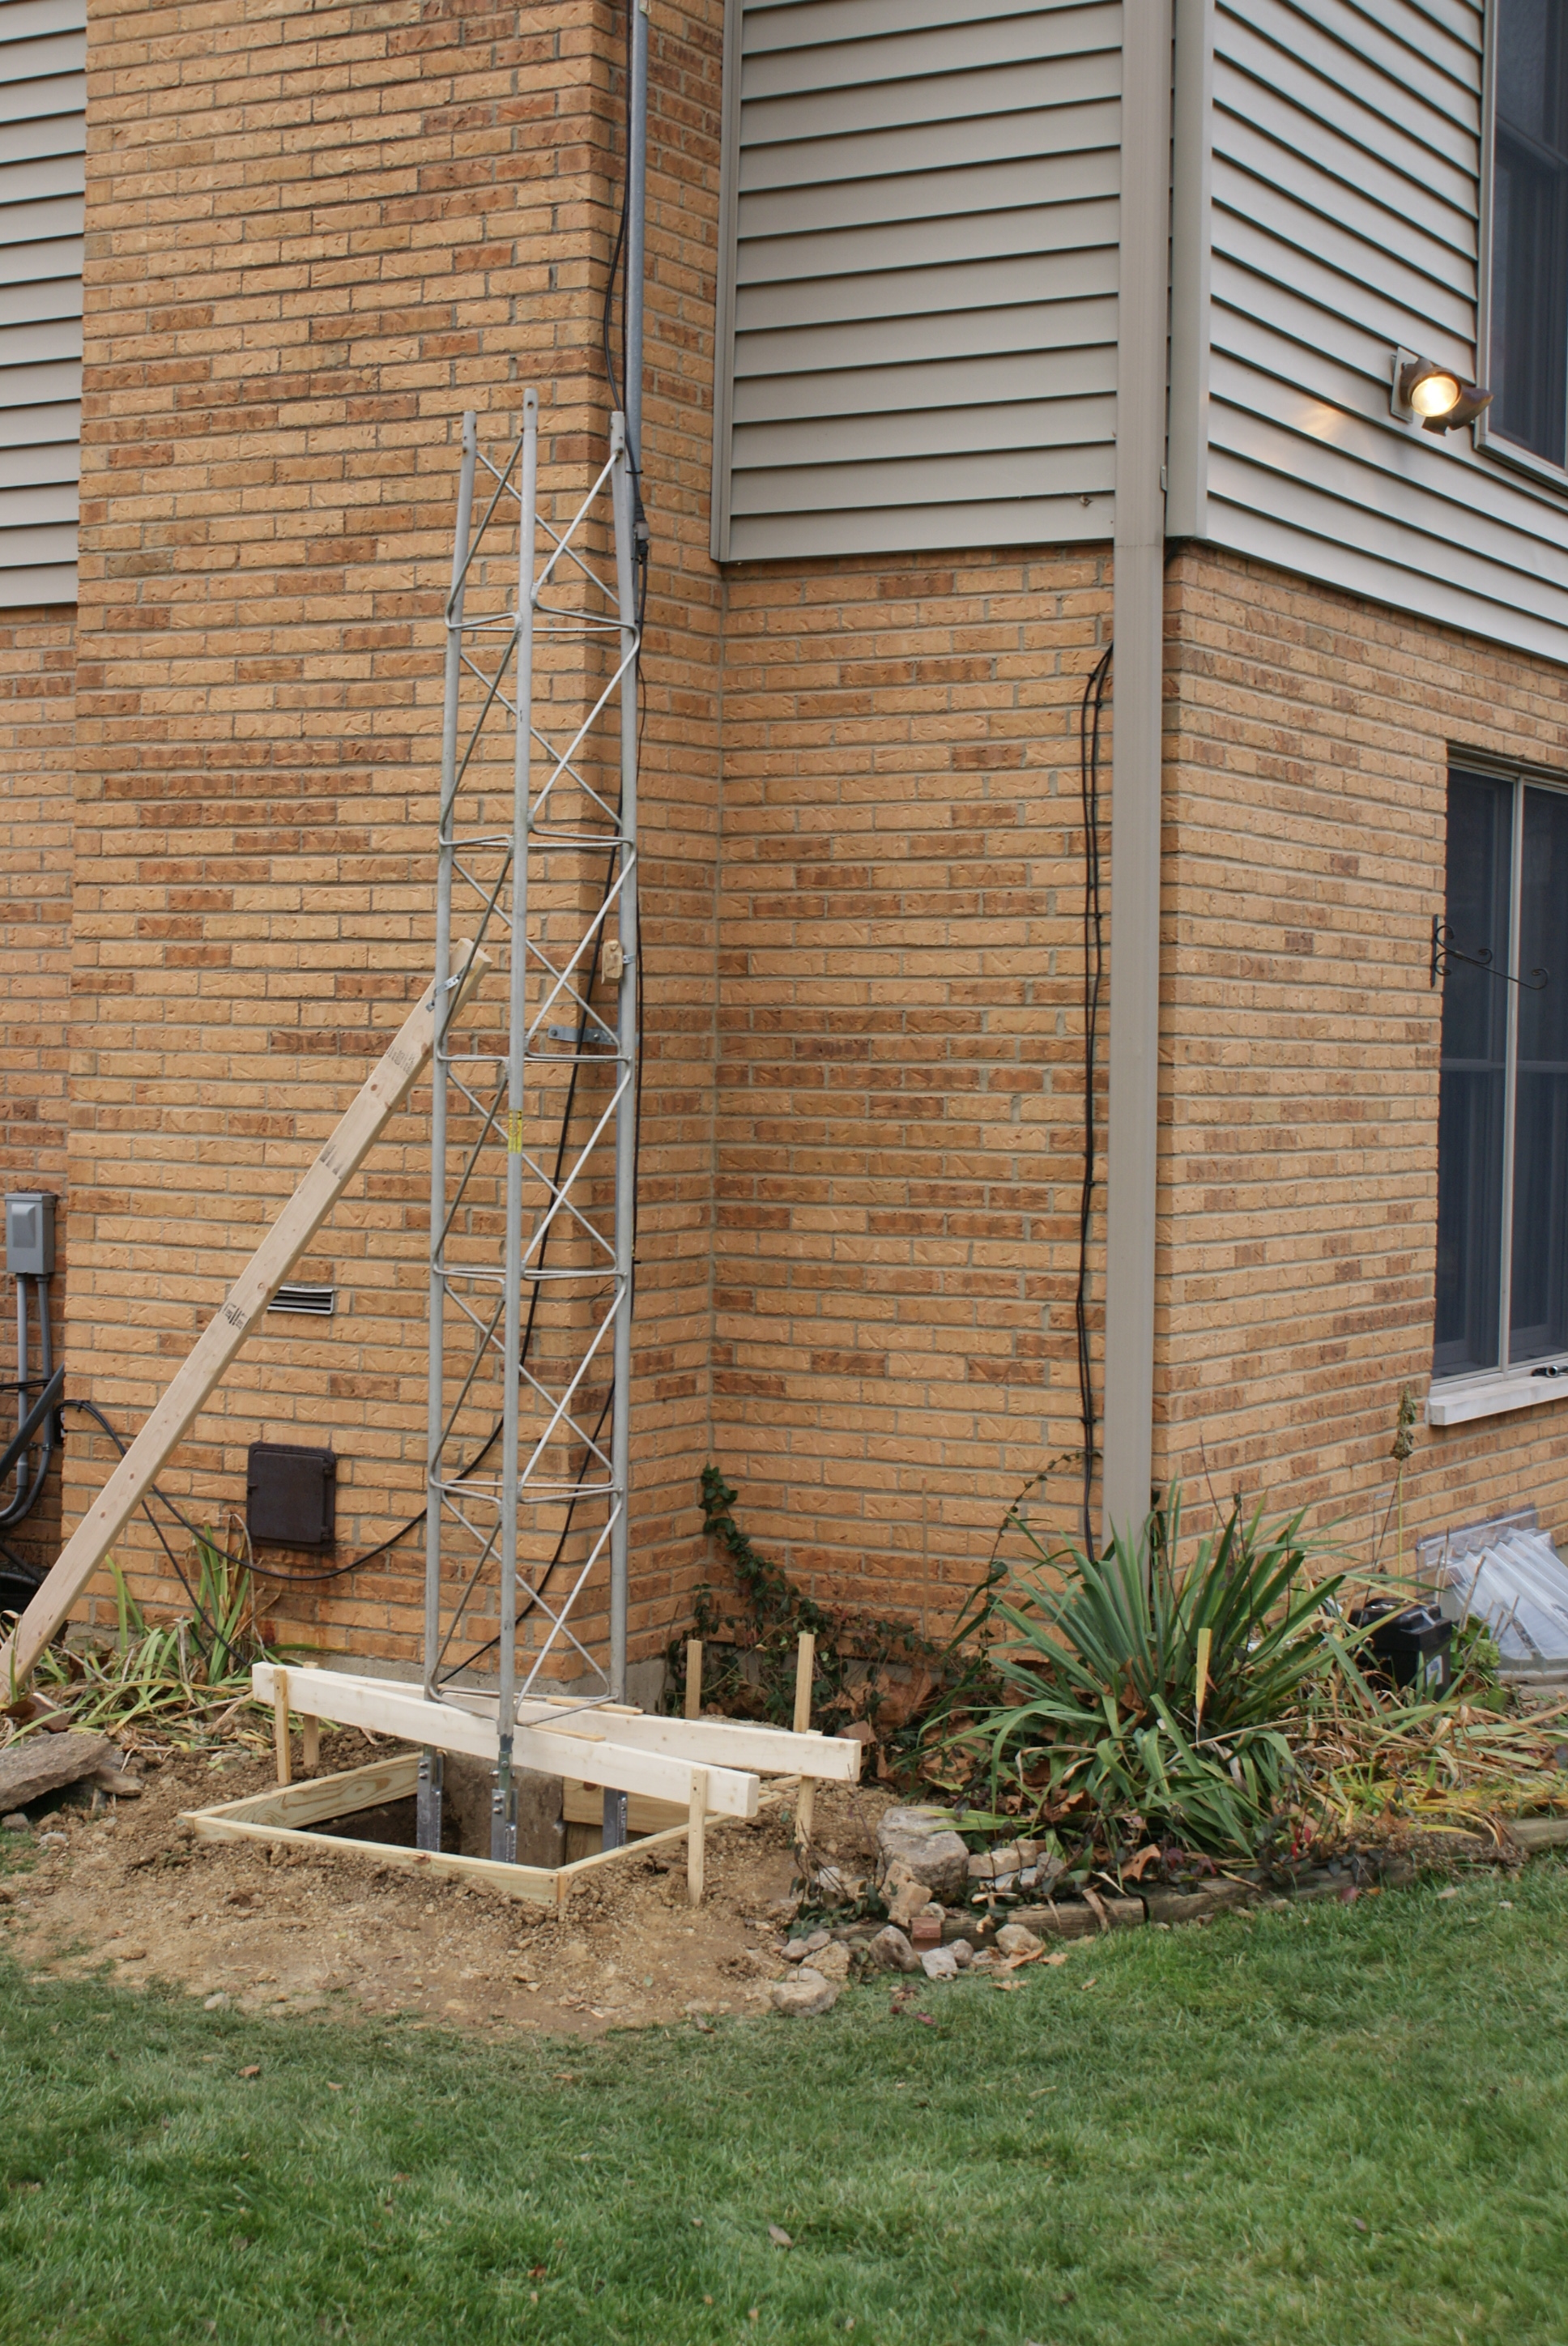
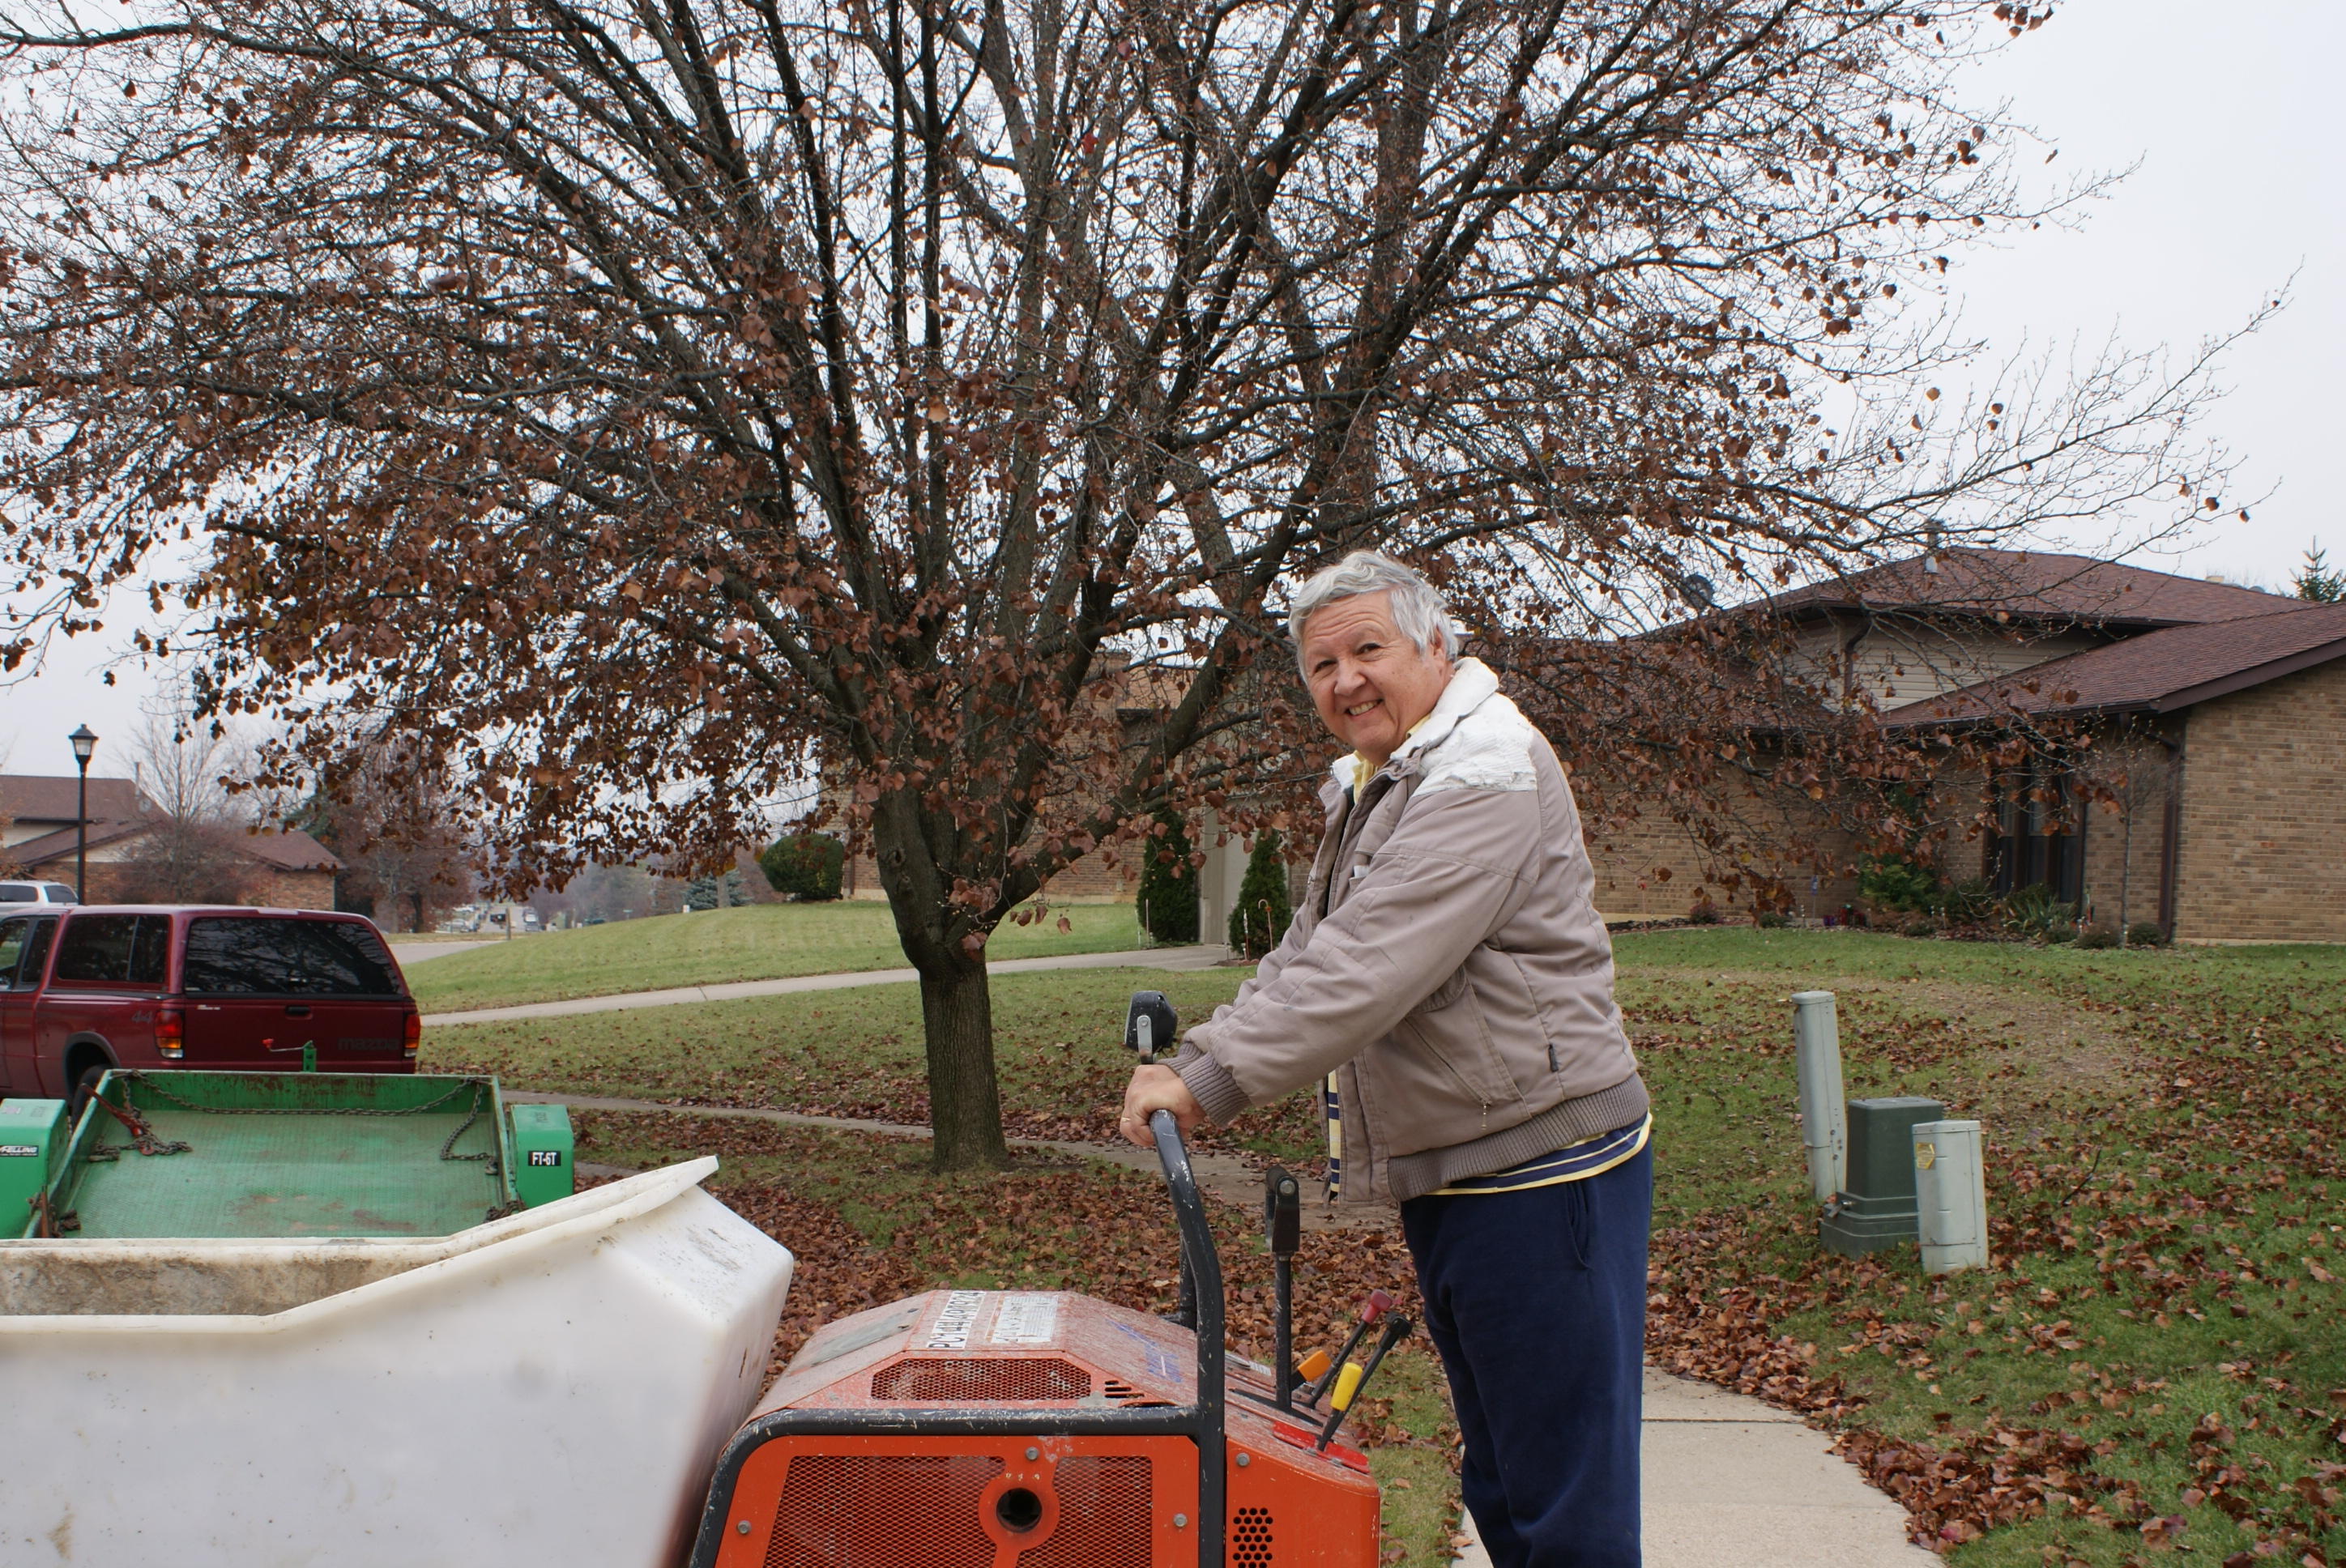
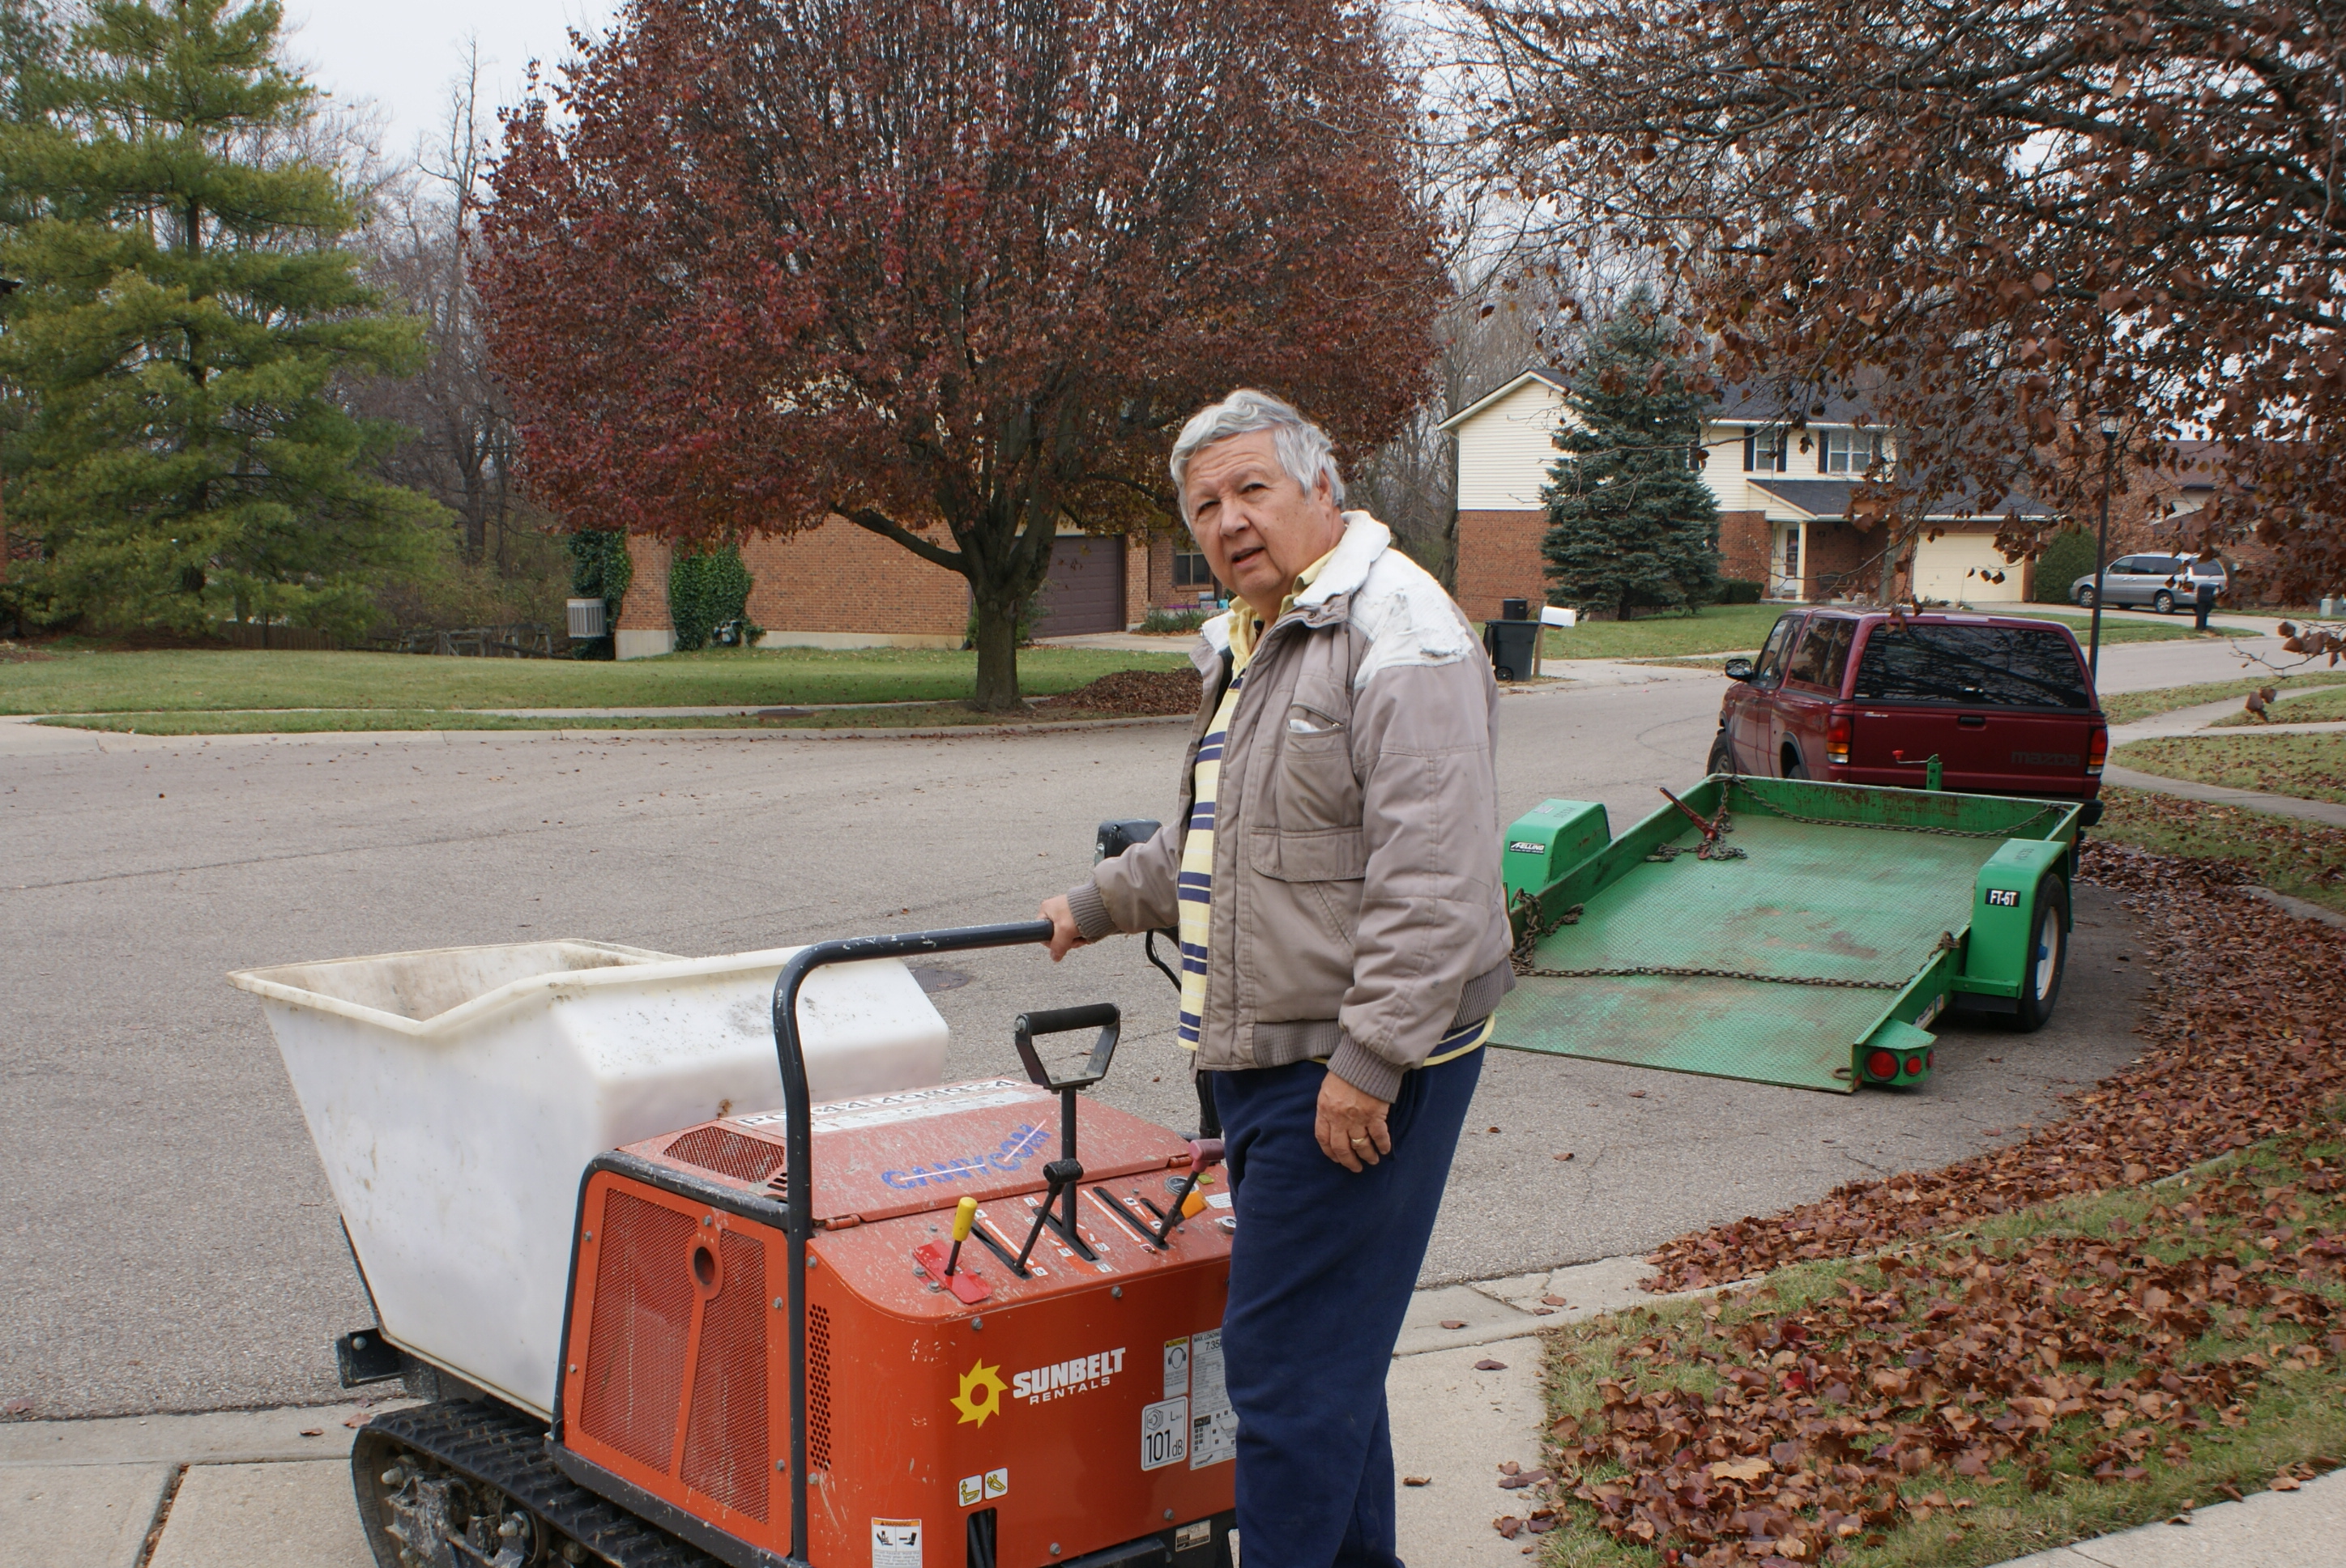
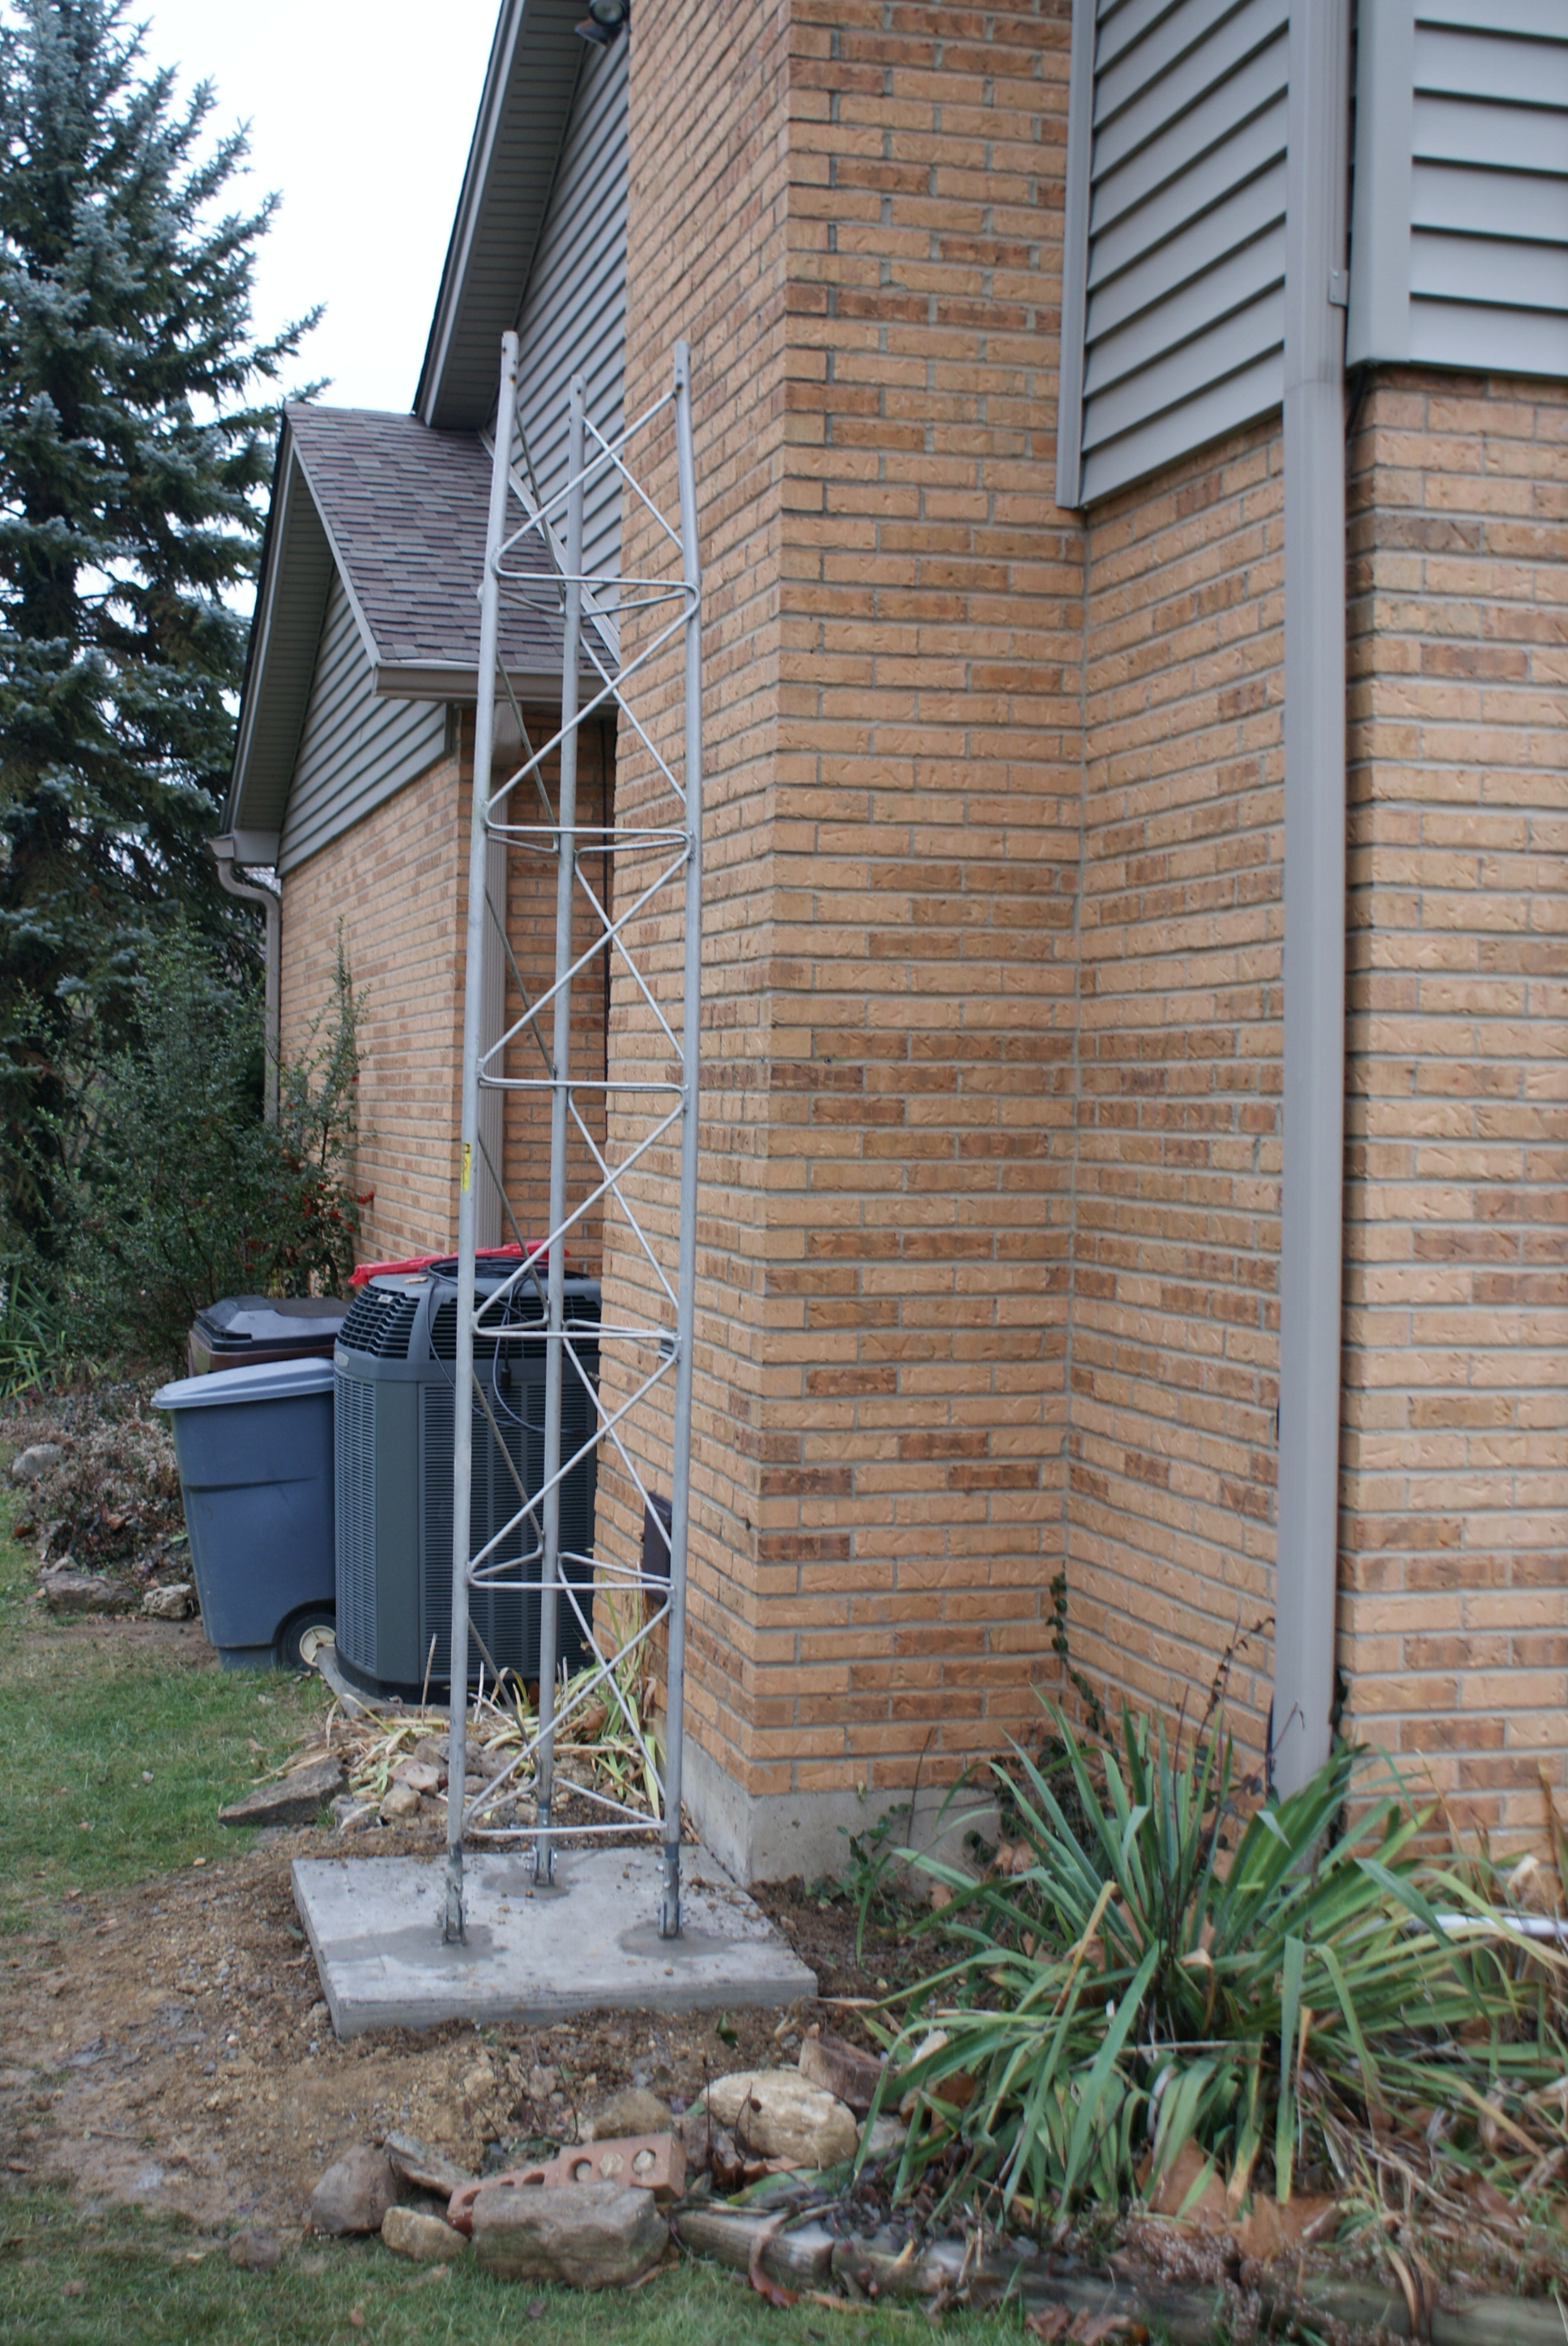
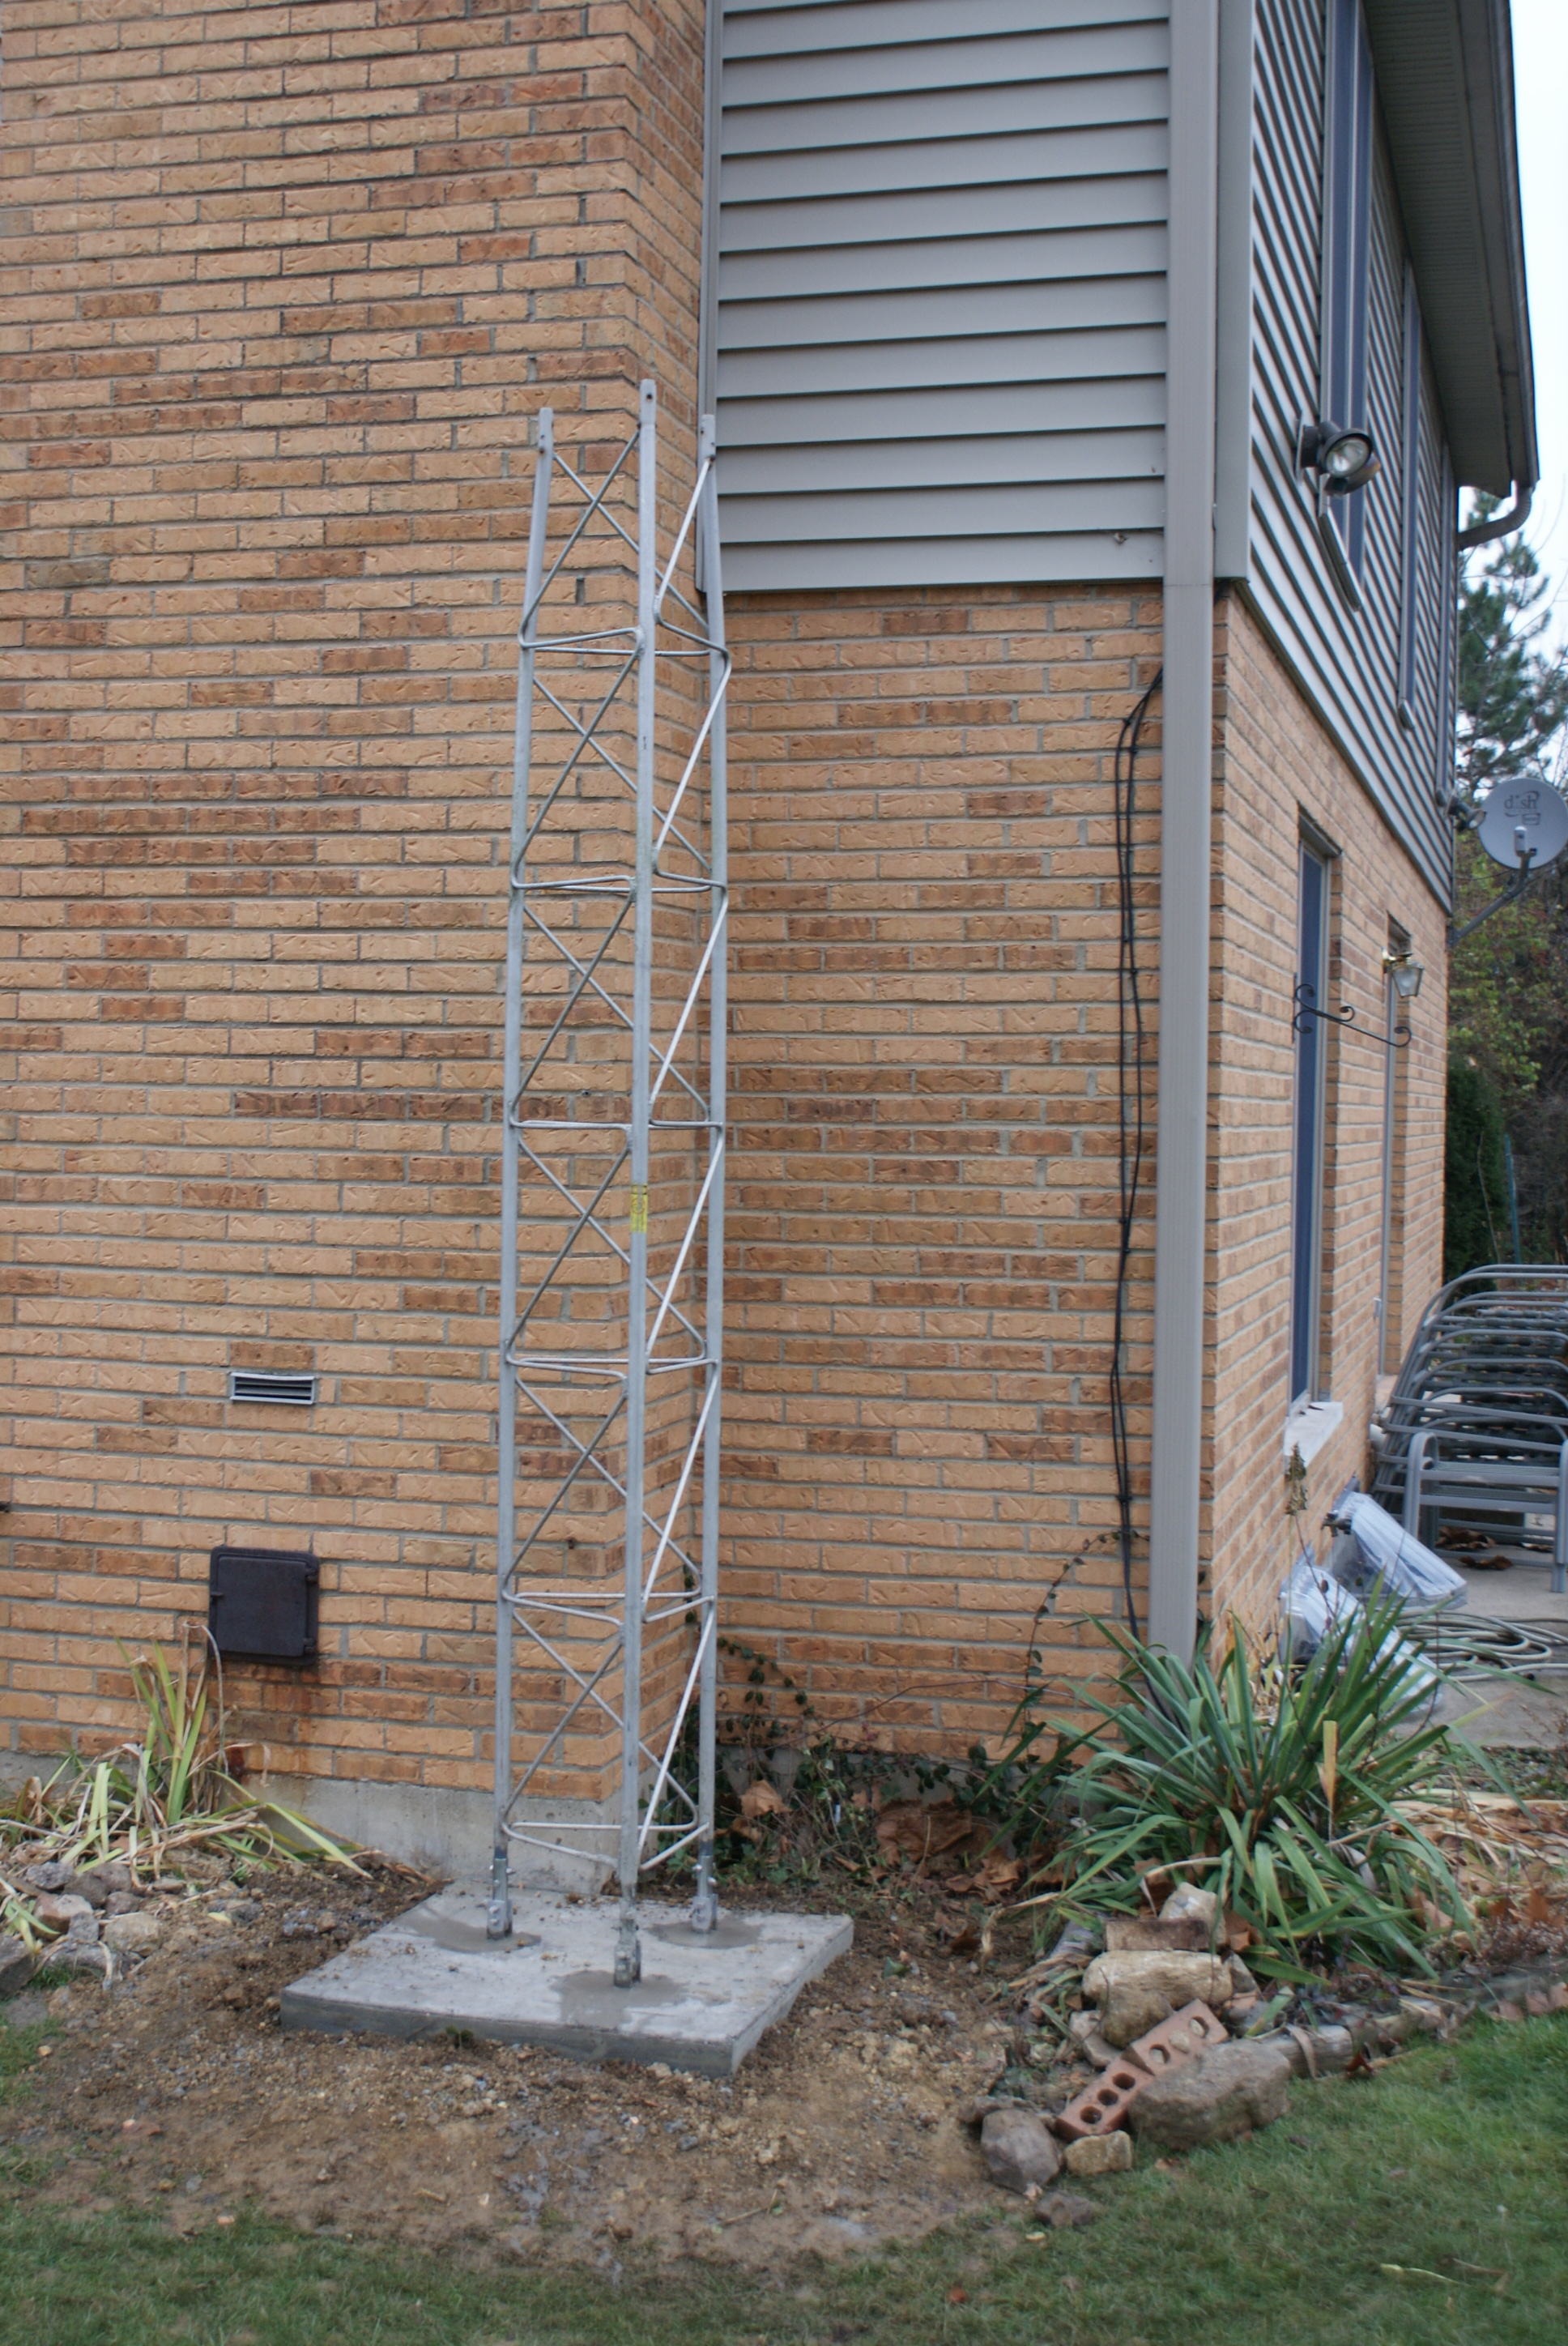
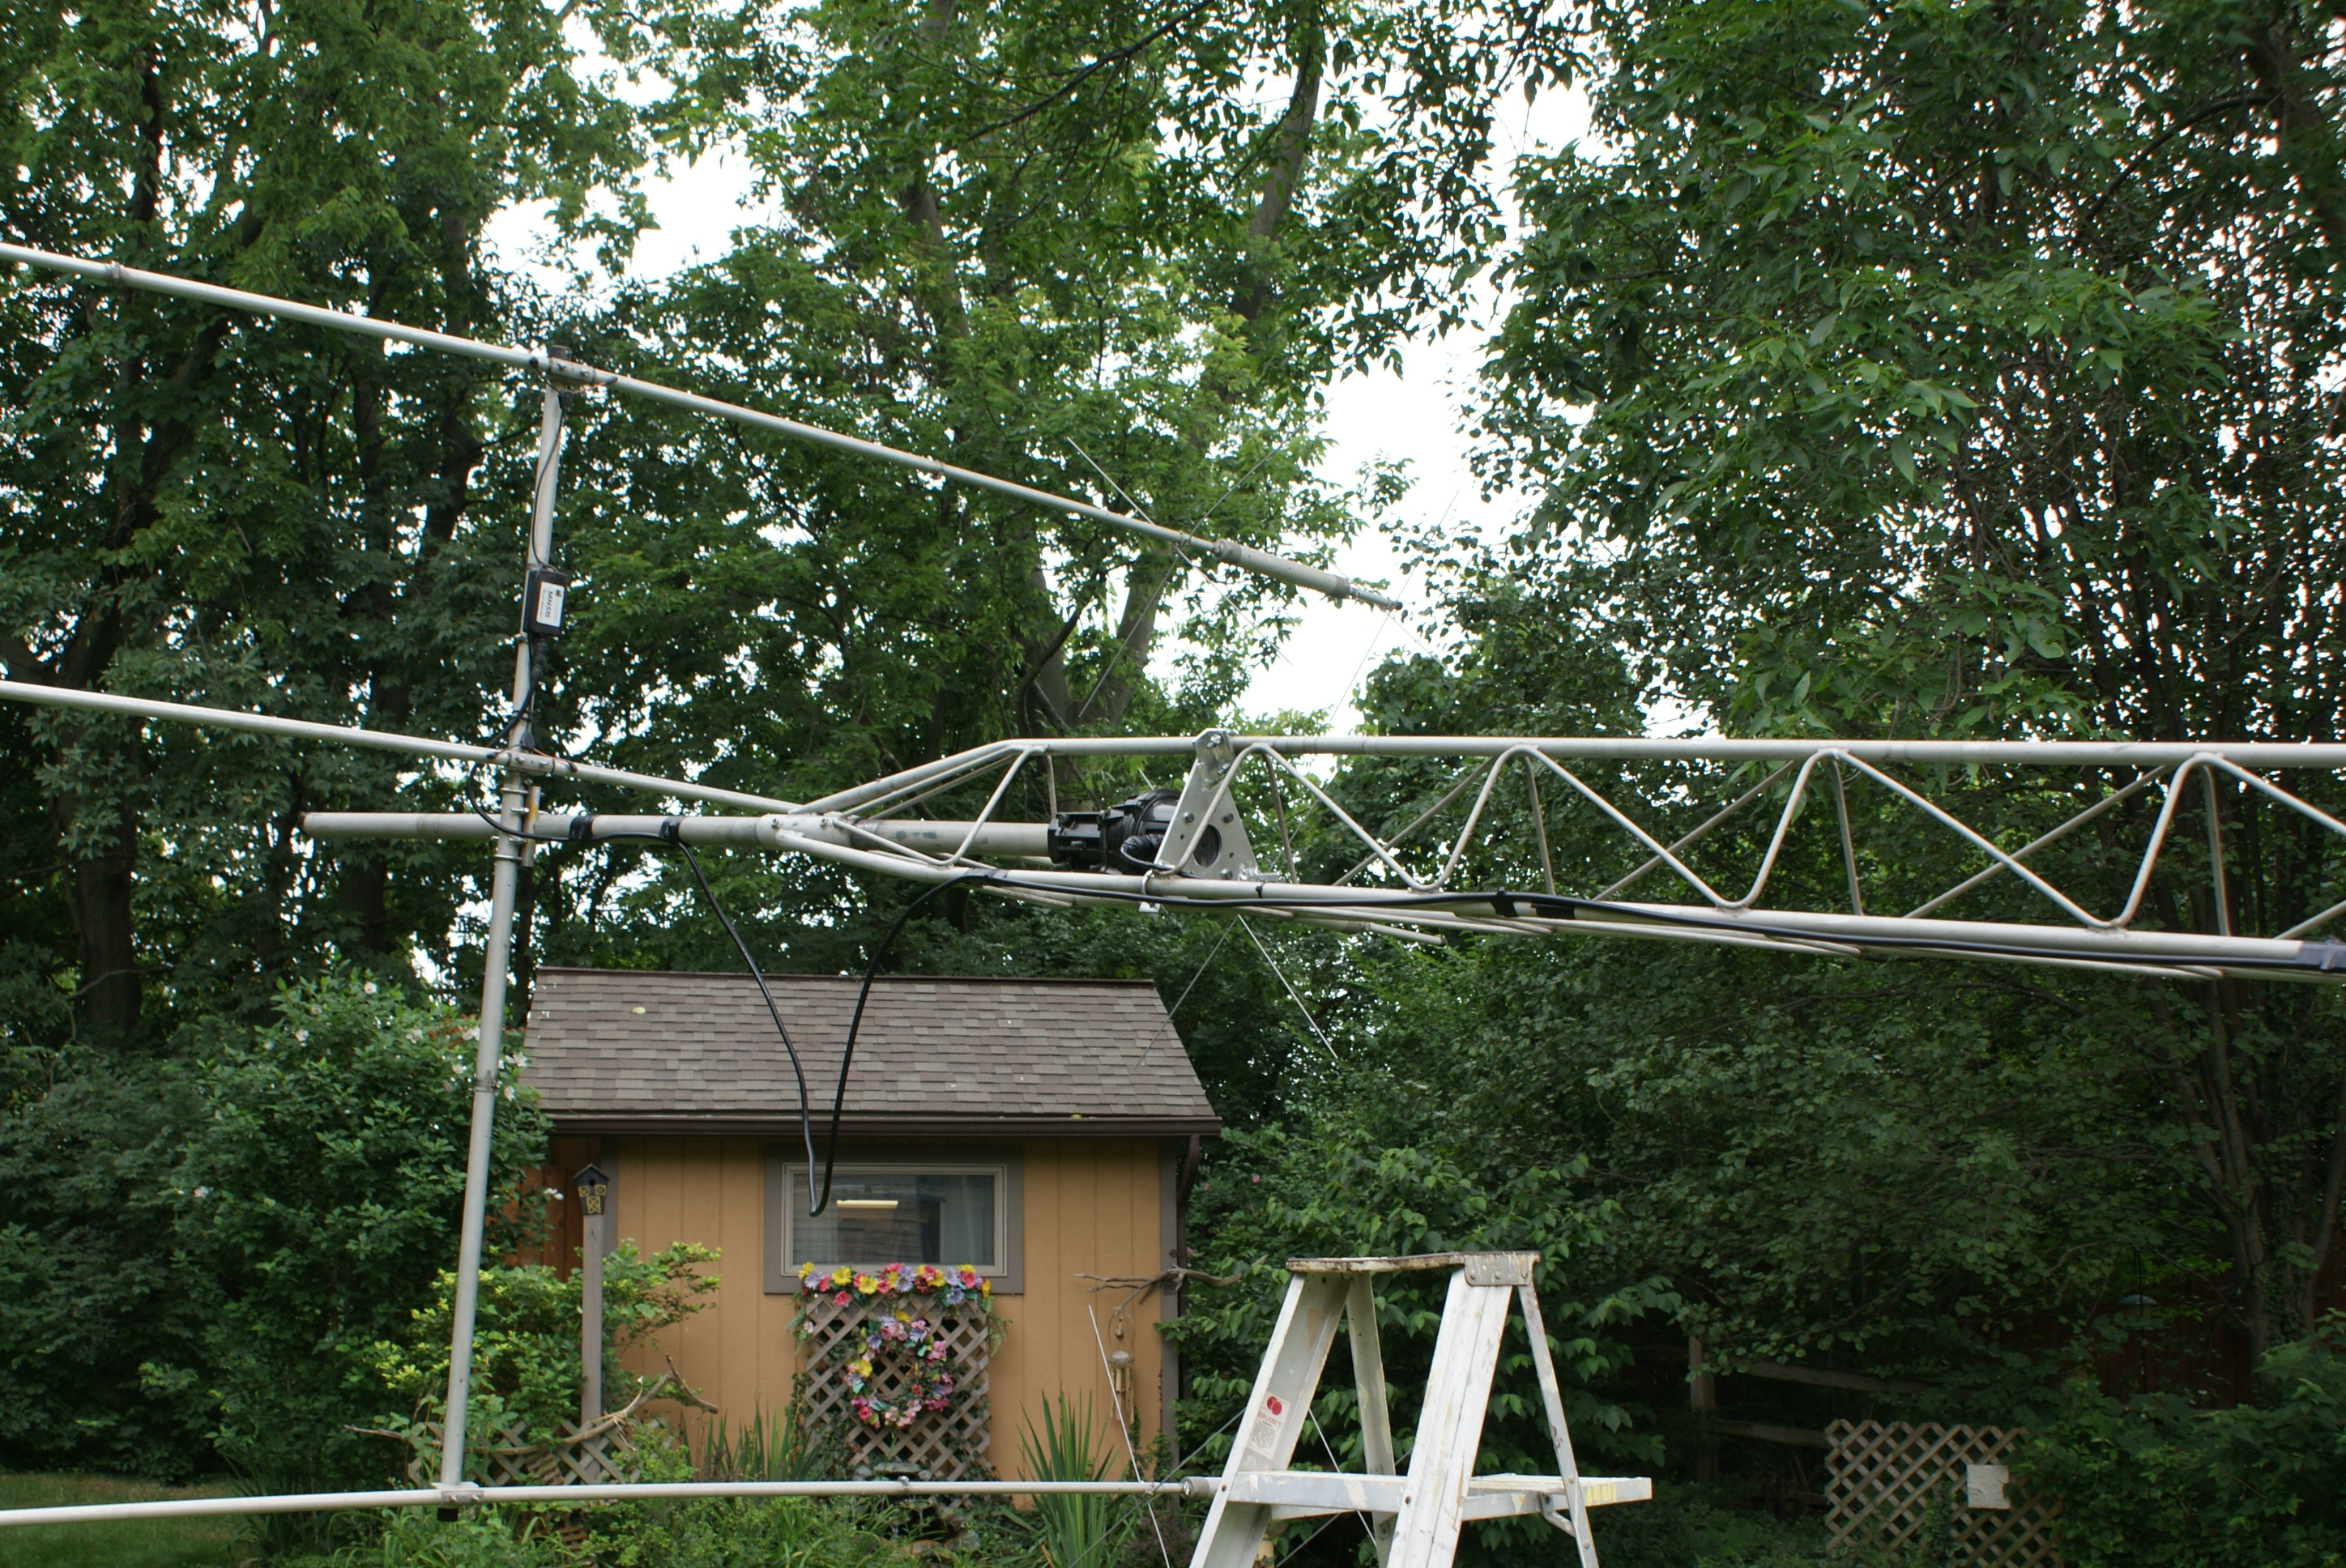
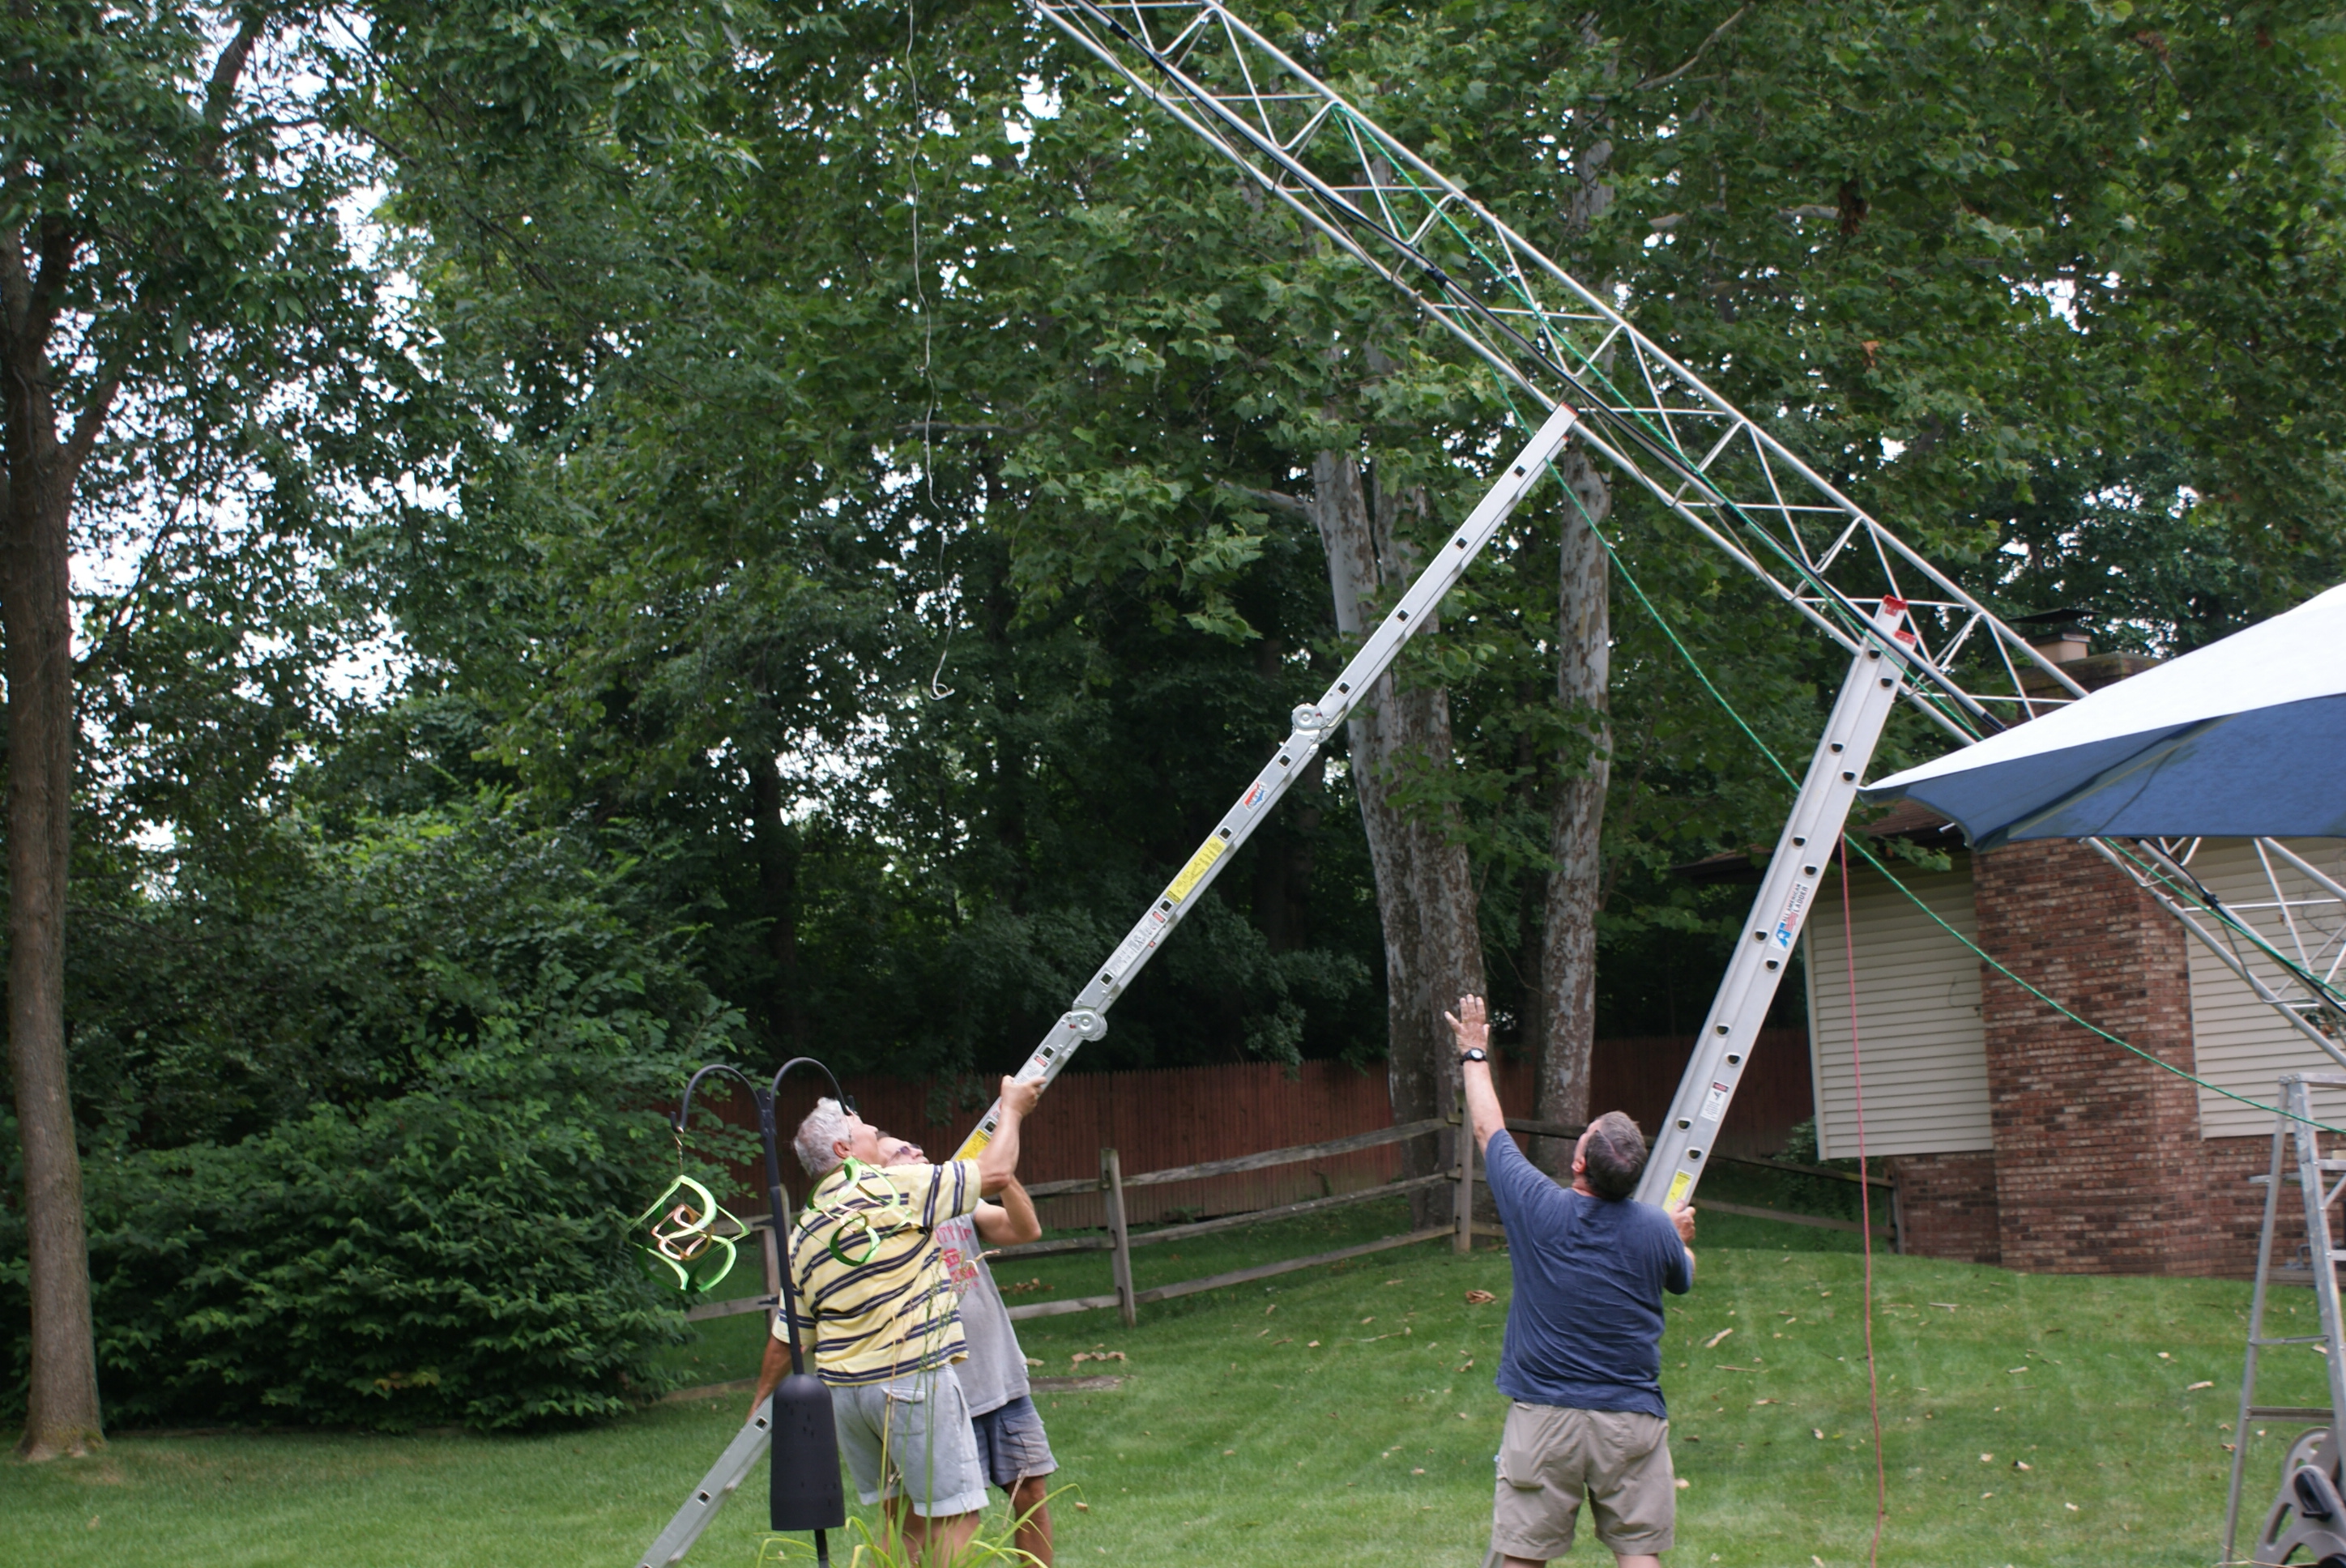
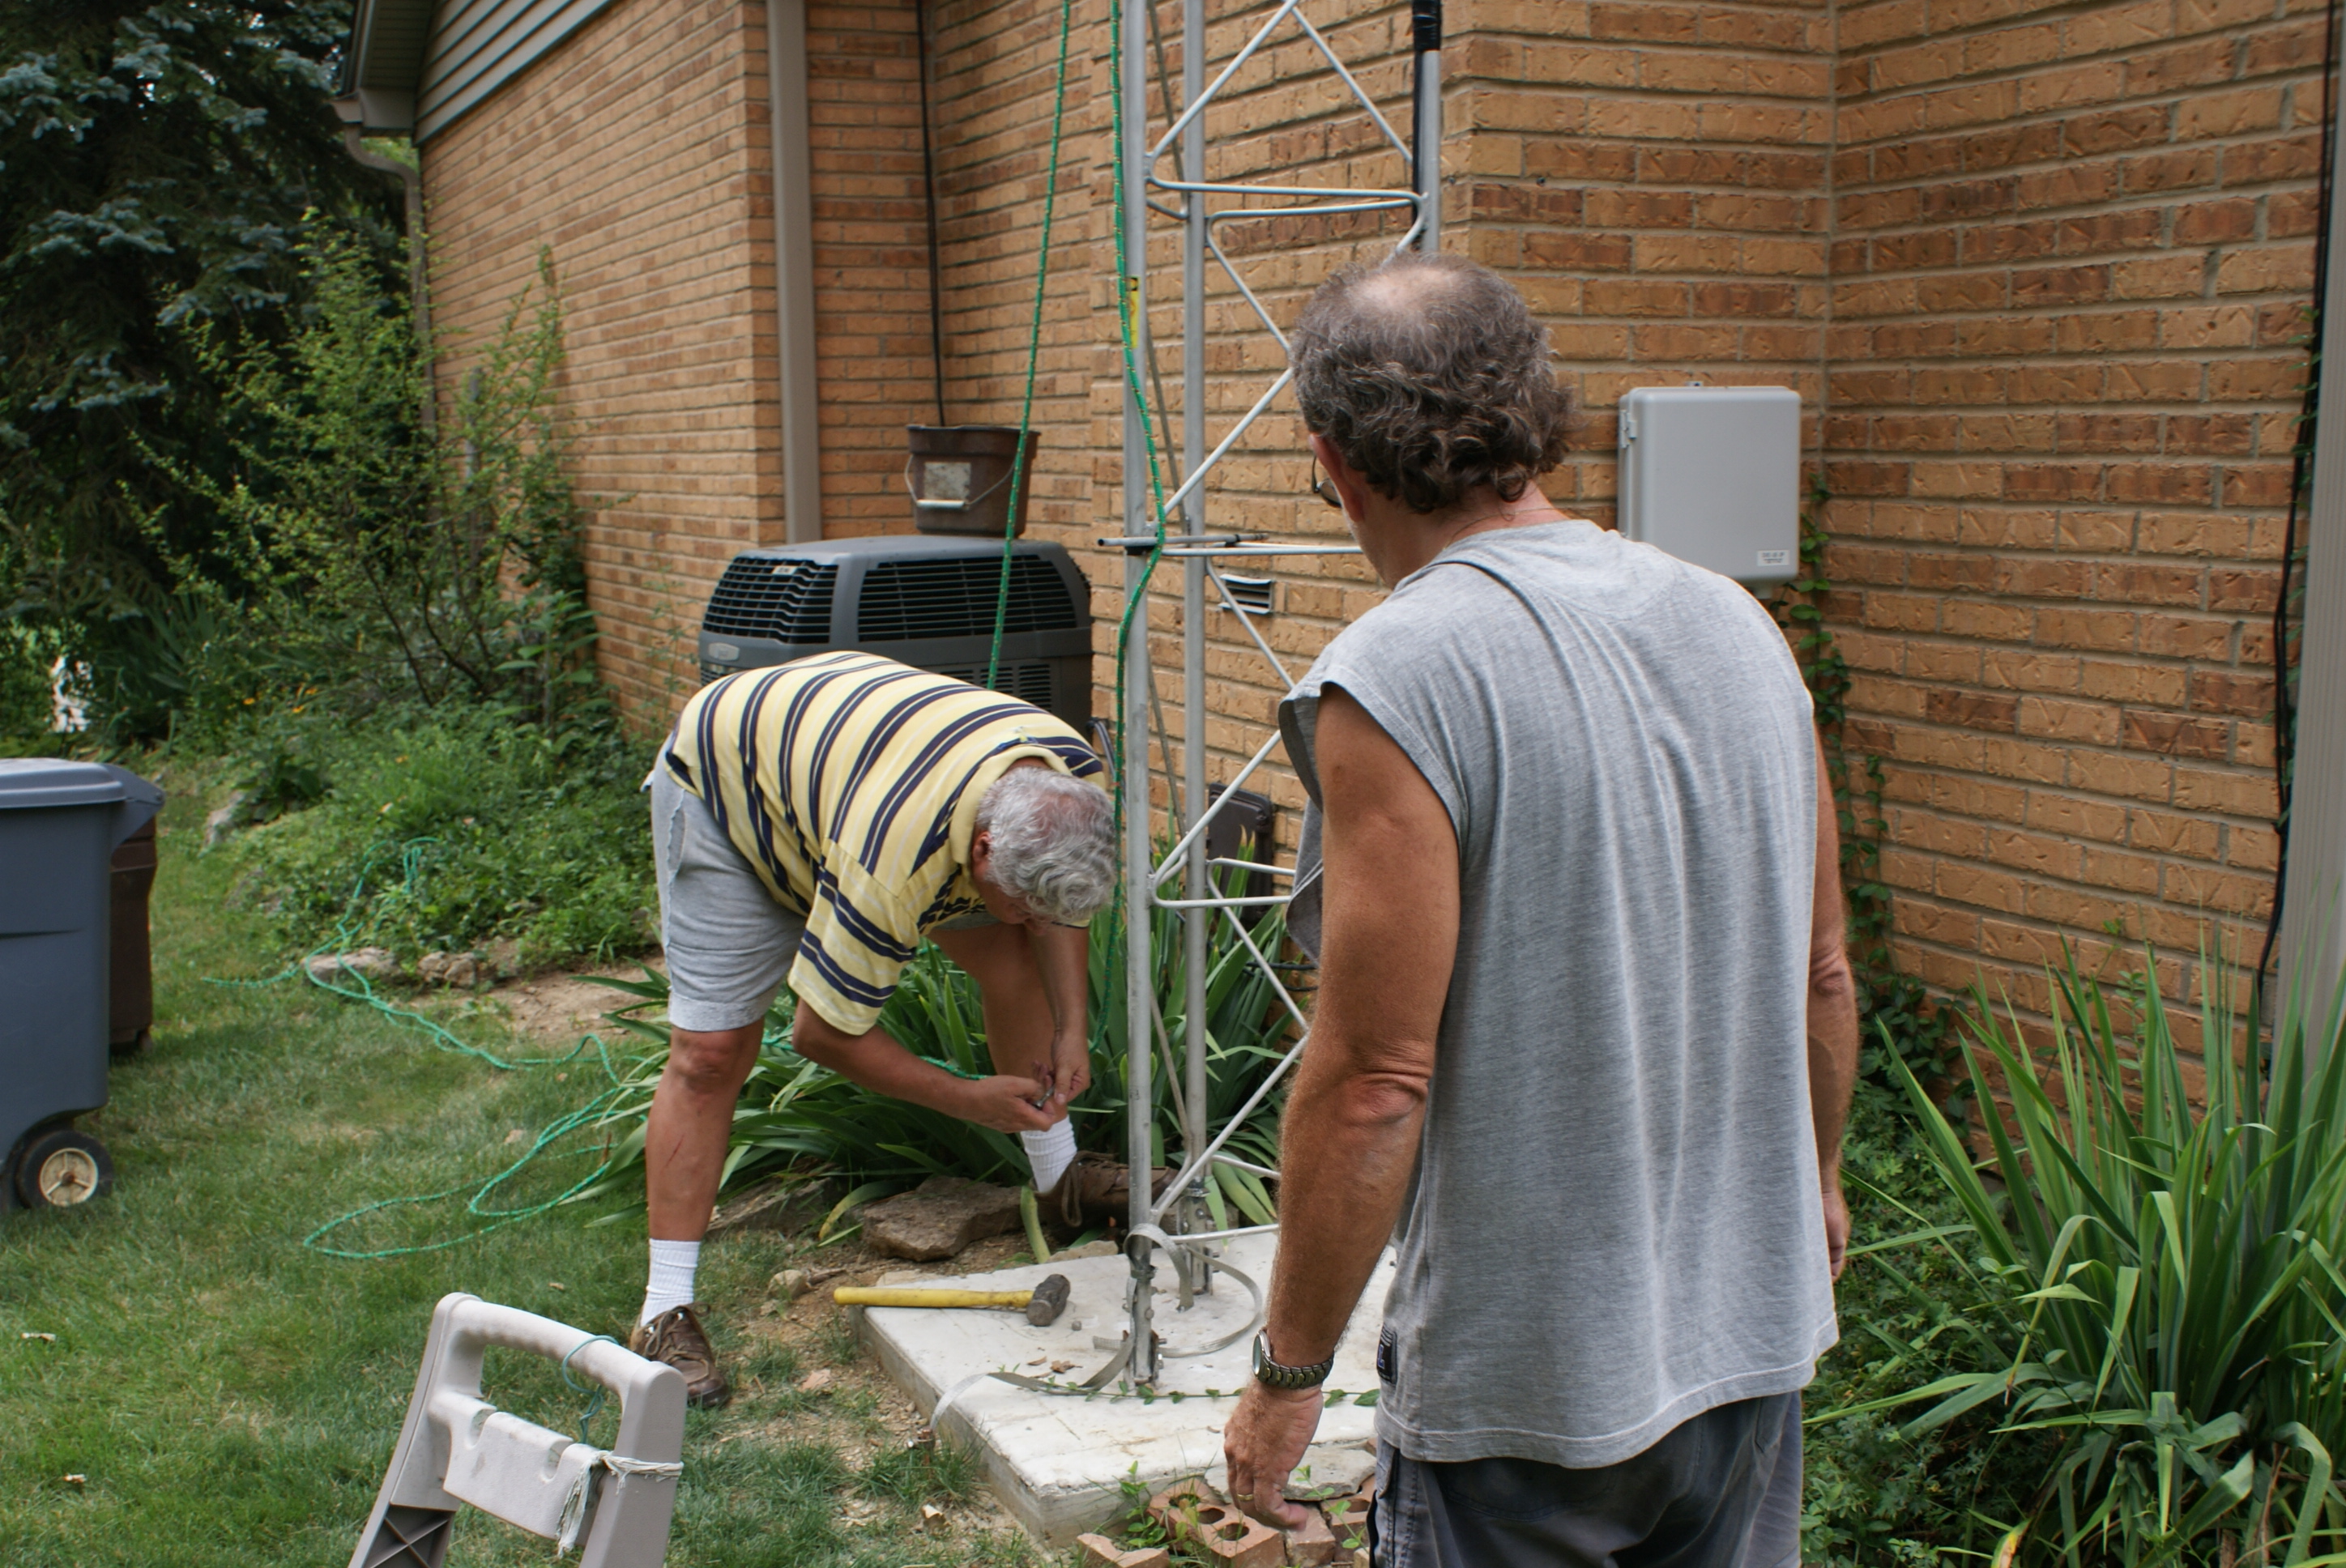
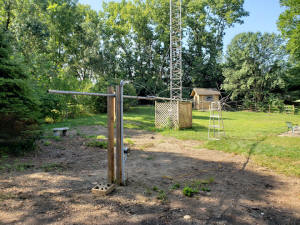
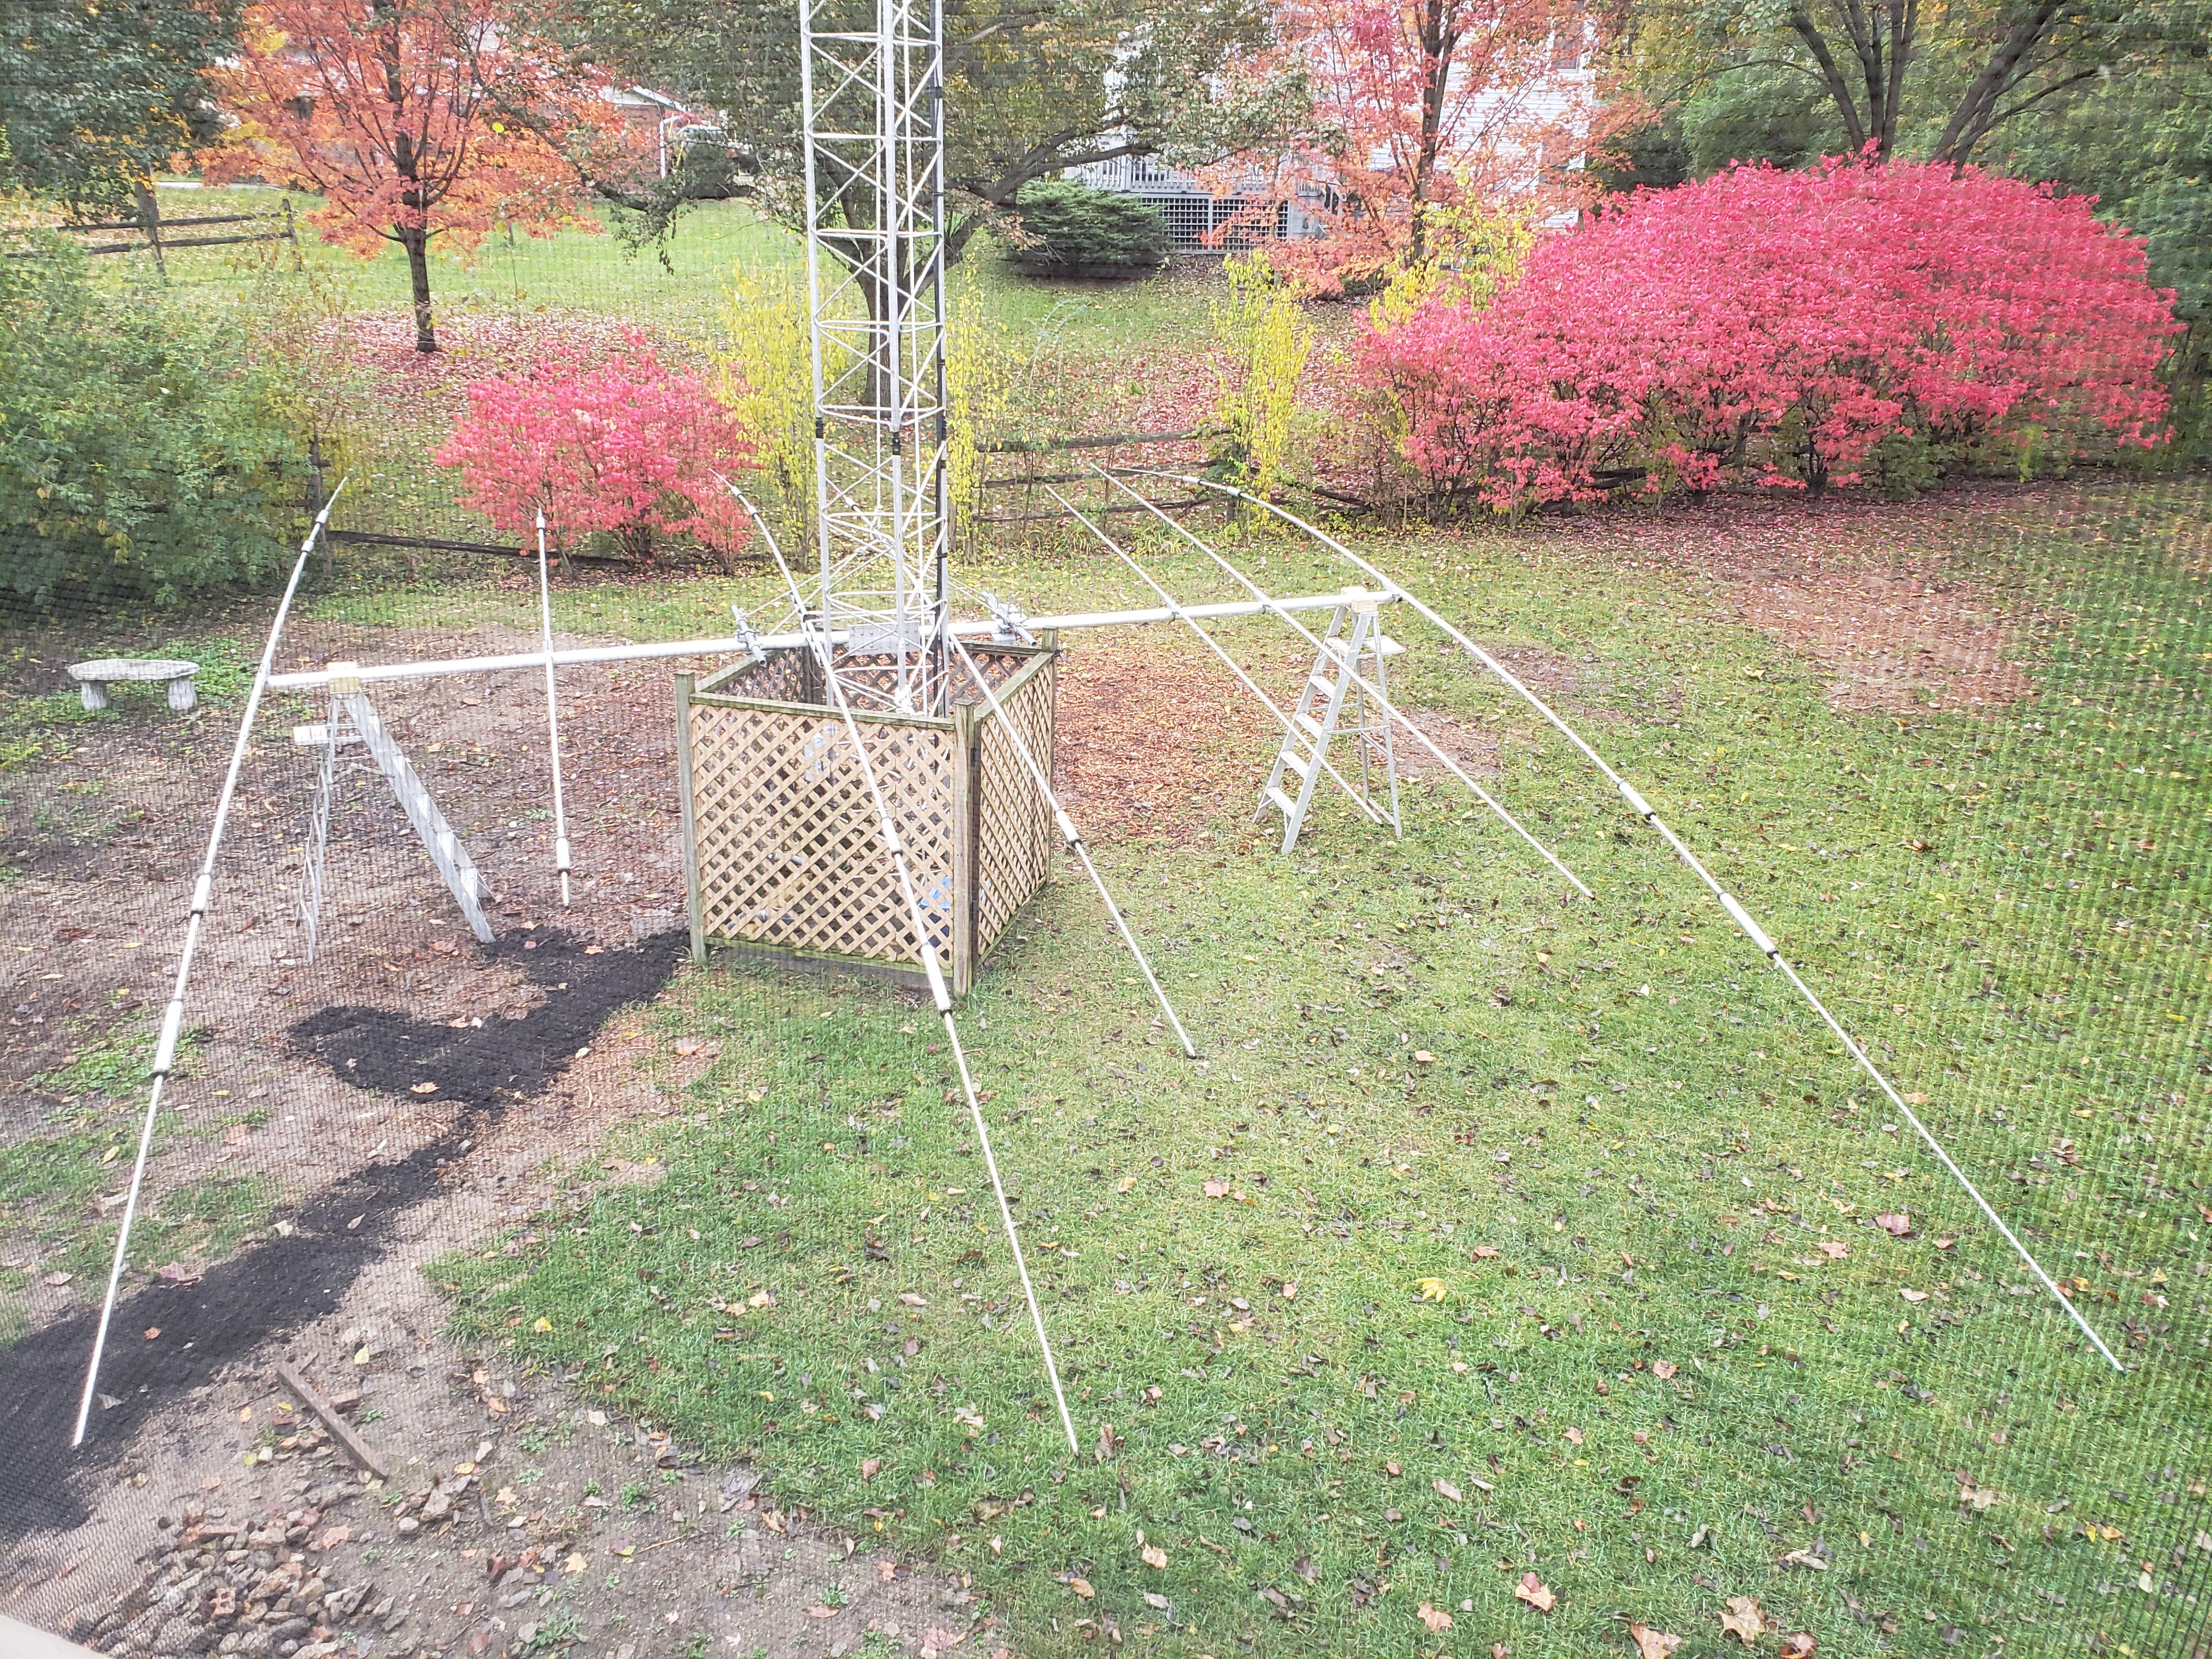
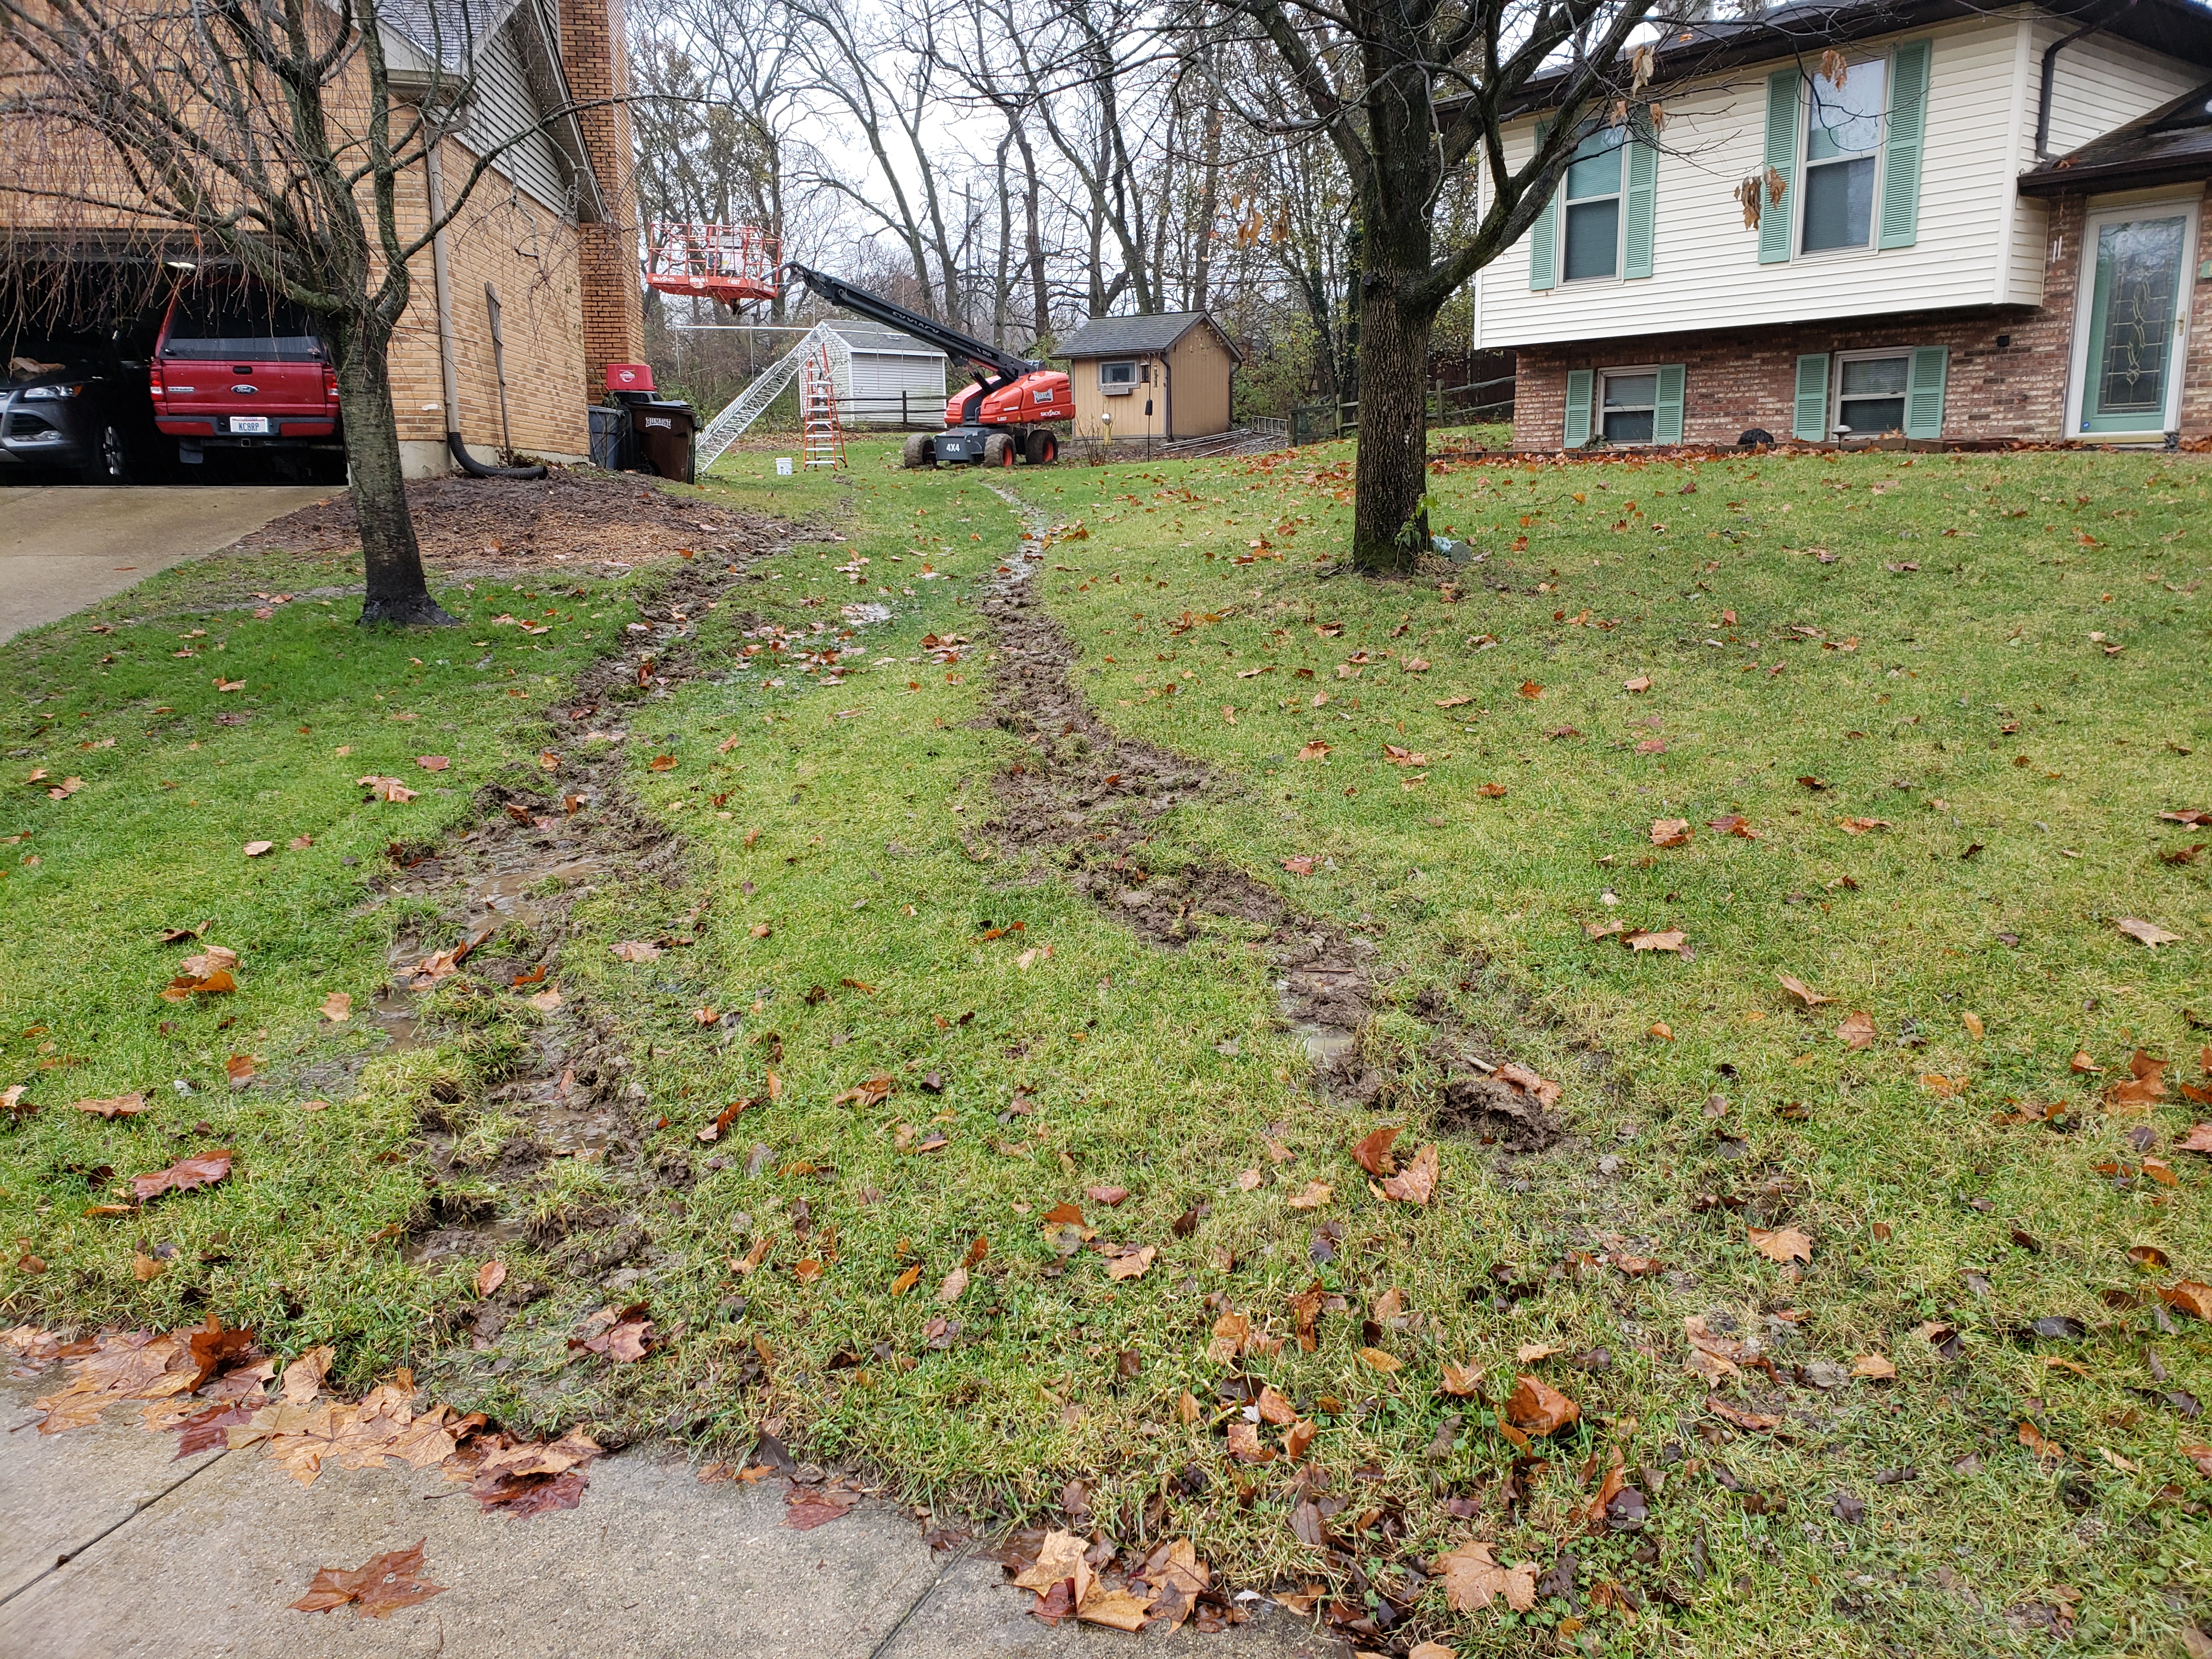
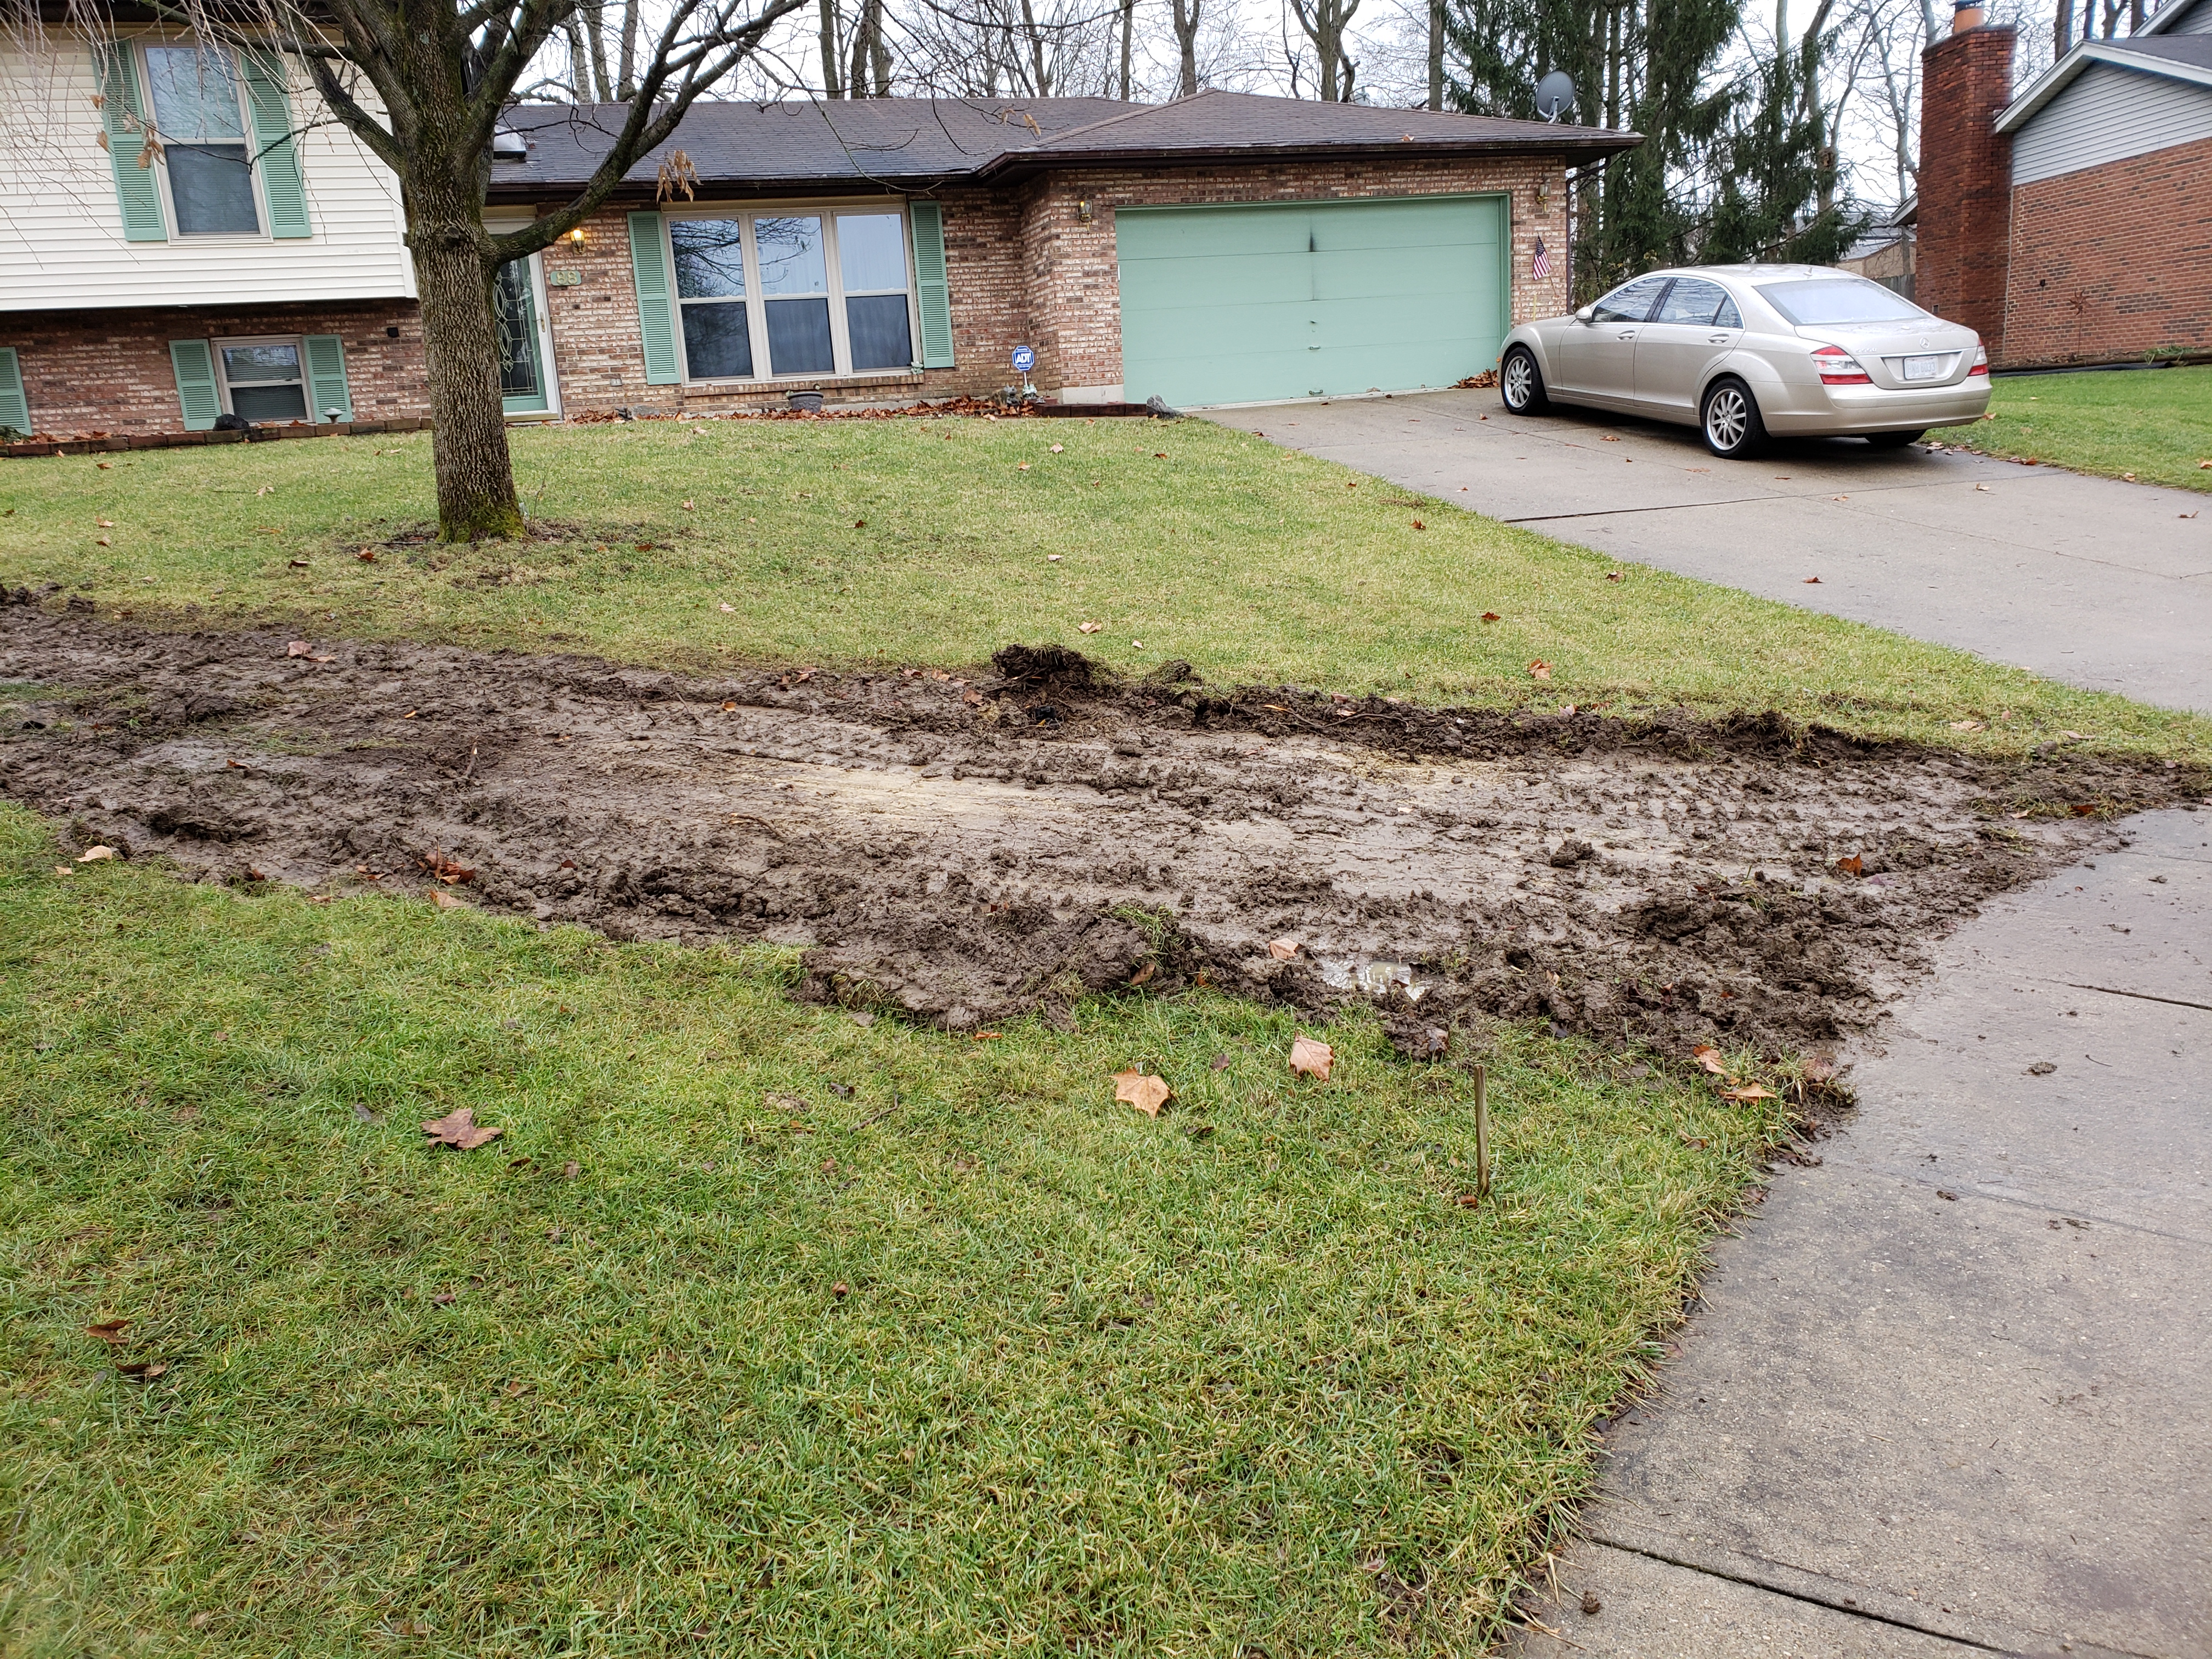
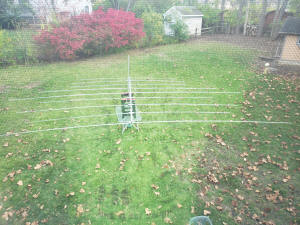
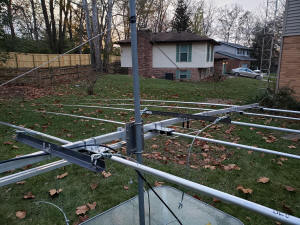
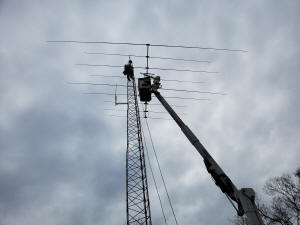
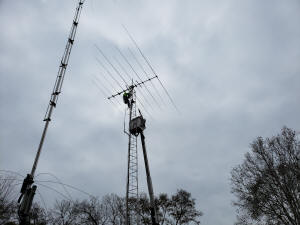
I was granted a permit to put up a 50’ tower and proceeded to dig a 5’x5’x6’ deep pit, pour almost 6 yards of concrete into it that I had to haul ¾ of a yard at a time in a cement buggy. I live in a cul-de-sac and access to my back yard is extremely limited. The build went well and it came time to reassemble the S-33 with a 24’ boom and 3 elements ranging from 44’ to 42’ approximately, 94 pounds total weight. We tilted the tower up and the crew lifted the antenna over to the mast and I bolted it on. Above that was a 5 element 6M antenna. All the wiring was in and time to tilt it up, with no trees to use it was pure manpower, not going to happen, 45 degrees was as far as we got it. I decided to rent a 50’ bucket lift, get under it and push it up. This worked well despite the fact that a 23,000 pound bucket lift will do damage to the yard. It left depressions that took about 2 years to go away. I looked with pride at my engineering marvel but there came the problem. Early in the assembly when I inspected the traps I found the 2 inside coils on the driven element traps were cracked so I ordered 2 new coil assemblies for those 2 traps, the inside and outside coils are the same, right or at least I thought so. I remember something about the manual stating the traps fit either direction, I should have read farther. I did not have any trouble at first with power under 500 watts but when I got my KW linear I started to have high SWRs especially on 20M. What could I have done wrong, how hard can it be to put a bunch of aluminum together, I had marked it well when I disassembled it. The reason did not dawn on me till much later but despite the problem it worked well on 40 & 17M.
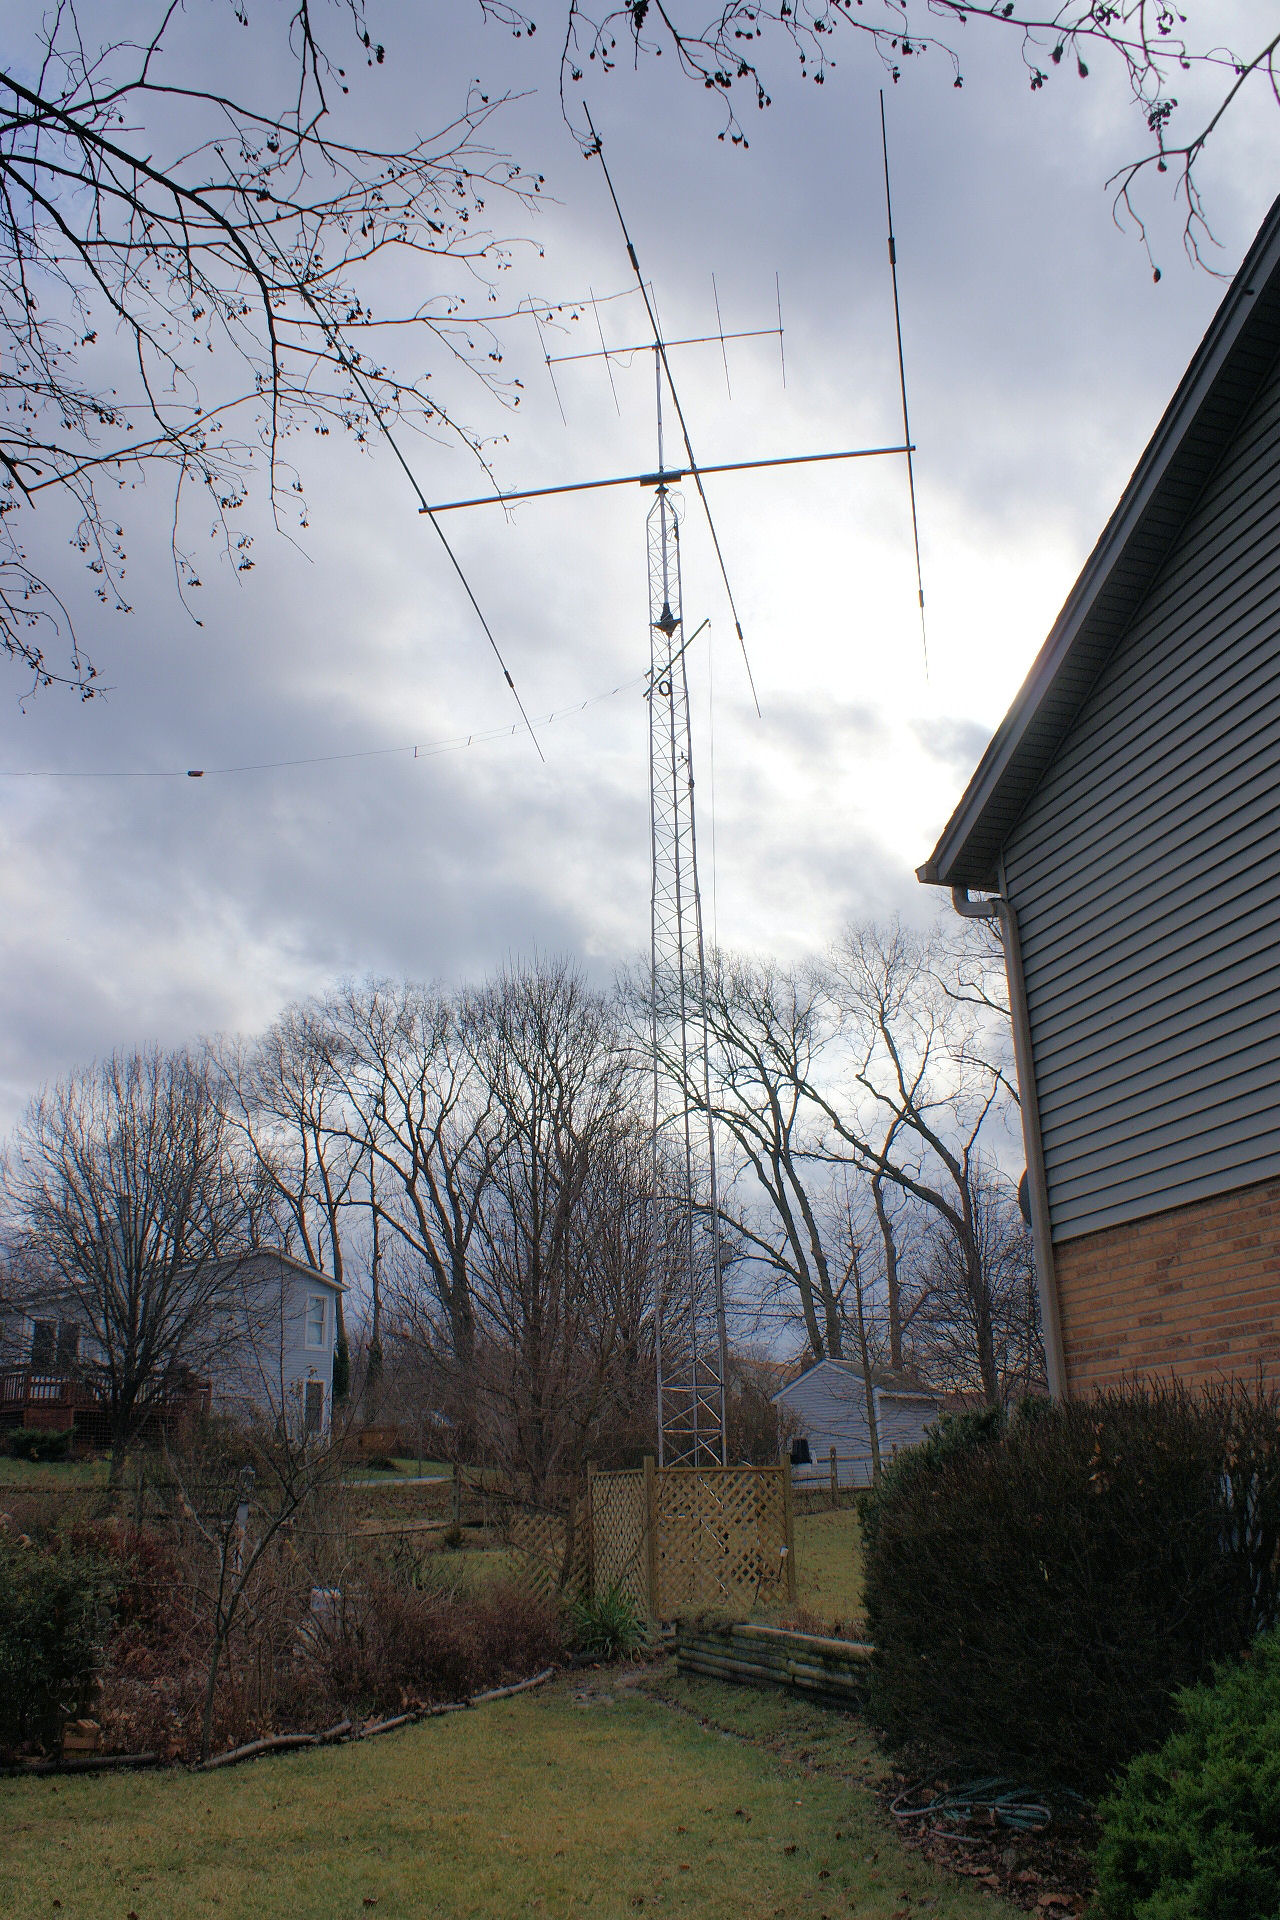
I bought a
Mosley Pro 67C3 from a ham who bought it new and
never opened it, got lucky. The zoning board denied my variance request for
70' so I reapplied for 66', 60' of tower and 6' of mast. I will be able to use my
current rotator with a Mosley Pro
67C3. The tower will be able to hold 22 square feet at 60' which gives me
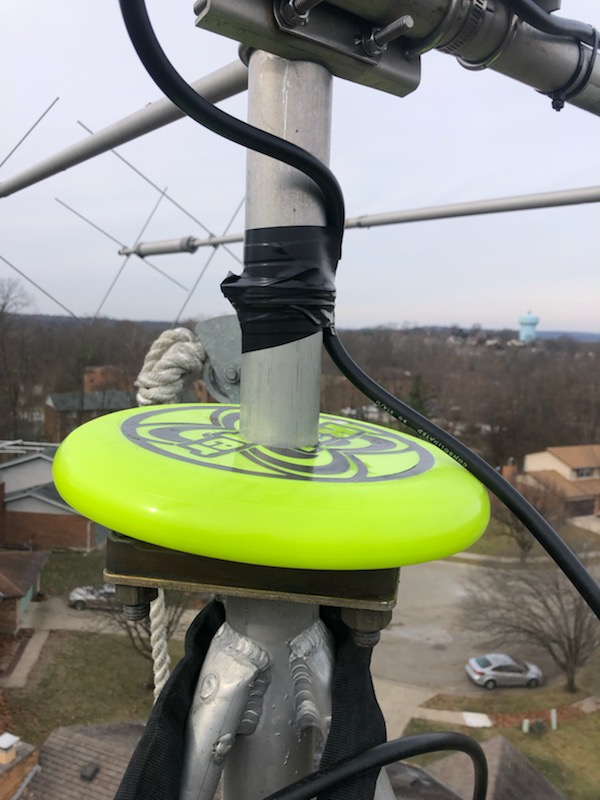
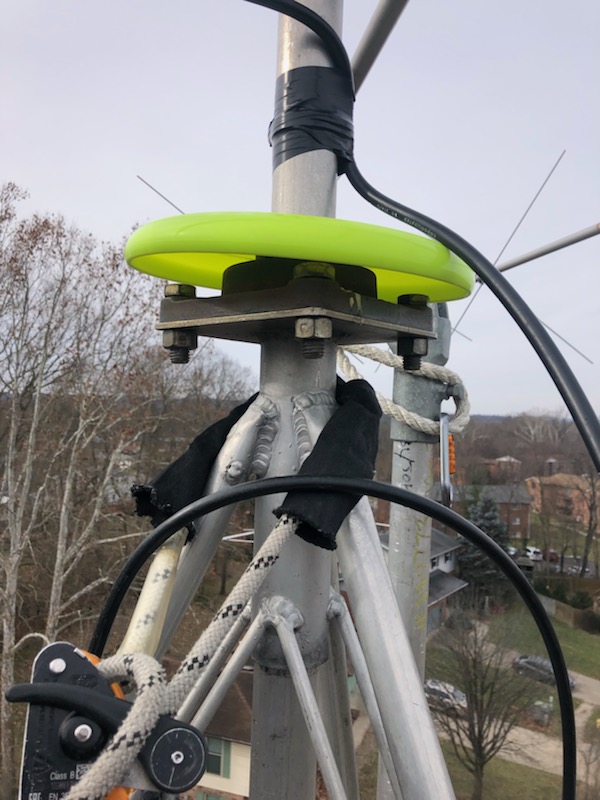
plenty of room for the Mosley at 12.1 square feet, rotator and mast. ======================================================================================================================================== When I took down the tower I cleaned up and oiled my mast bearing, it was full of dirt. I had lubricated it over the 10 year period but dirt and rain still reeked havoc on it. I needed to find a way to give the bearing some form of protection. While messing around in the garage I picked up one of our Frisbees and it hit me, perfect for what I needed. The ones I had were old so I went out and bought the best quality one I could find, three bucks it set me back. The Frisbee had an ideal center from the injection molding so I used a 2" hole saw and drilled a nice clean center hole. I slid it down over the mast and put some silicon around the top to seal and keep it in place. I will still need to grease it occasionally but much, if not all, of the dirt and rain will not settle in the bearing. If you want to retrofit I imagine you could slit it on one side to get it around the mast and use some pure silicon to seal it.
How about that snazzy green color, that was the best I could do. For my smaller tower I wanted to keep a lot of dirt and crud out of the mast guide so I used a PVC end cap drilled out to fit the mast and cover the opening on the mast guide tube. I painted it with some UV resistant paint for extra measure. I don't have a close-up but you will get the idea. To retrofit it I would cut it in half and glue it back together after fitting it.
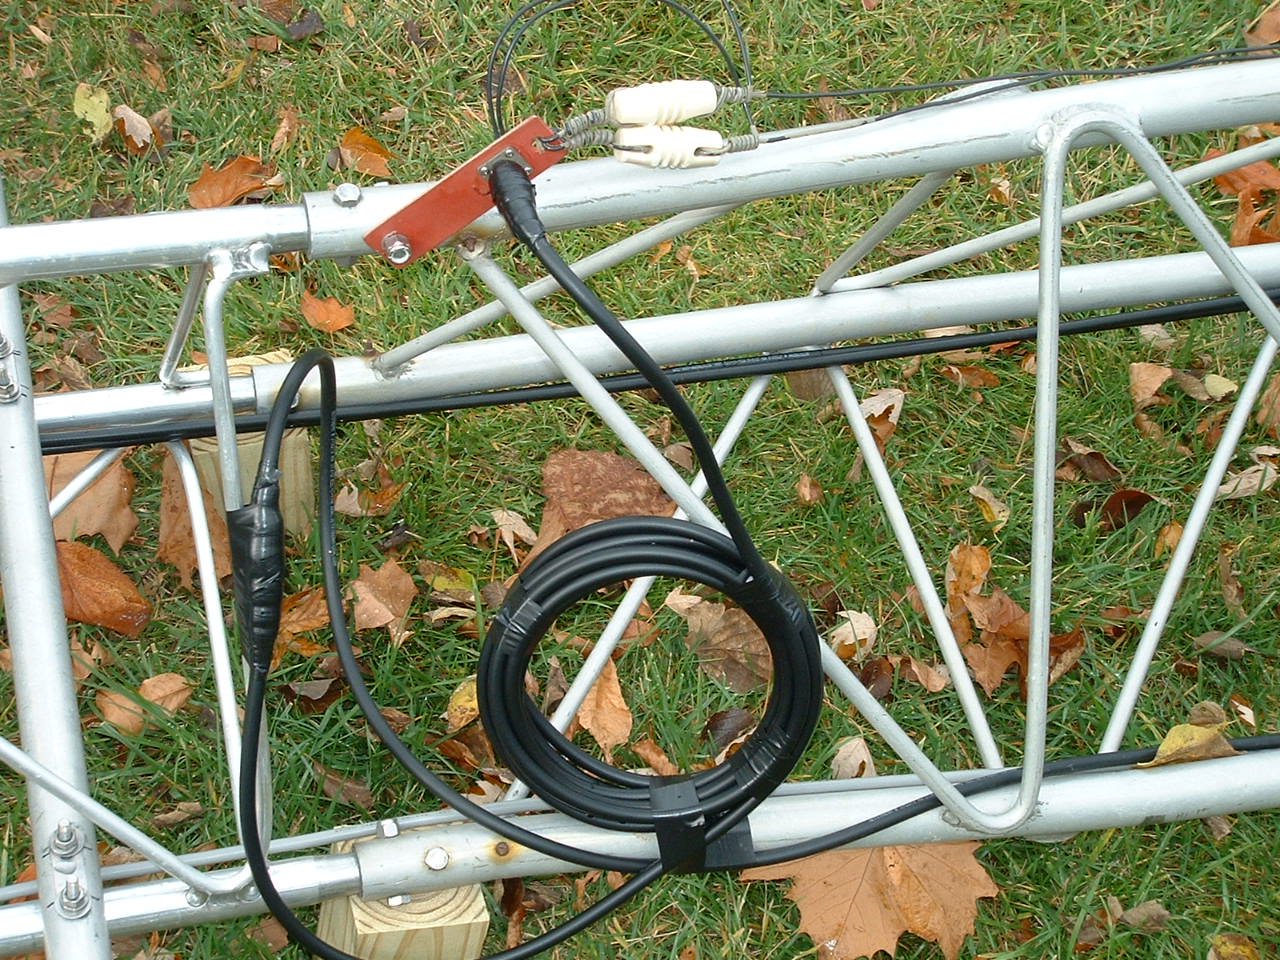
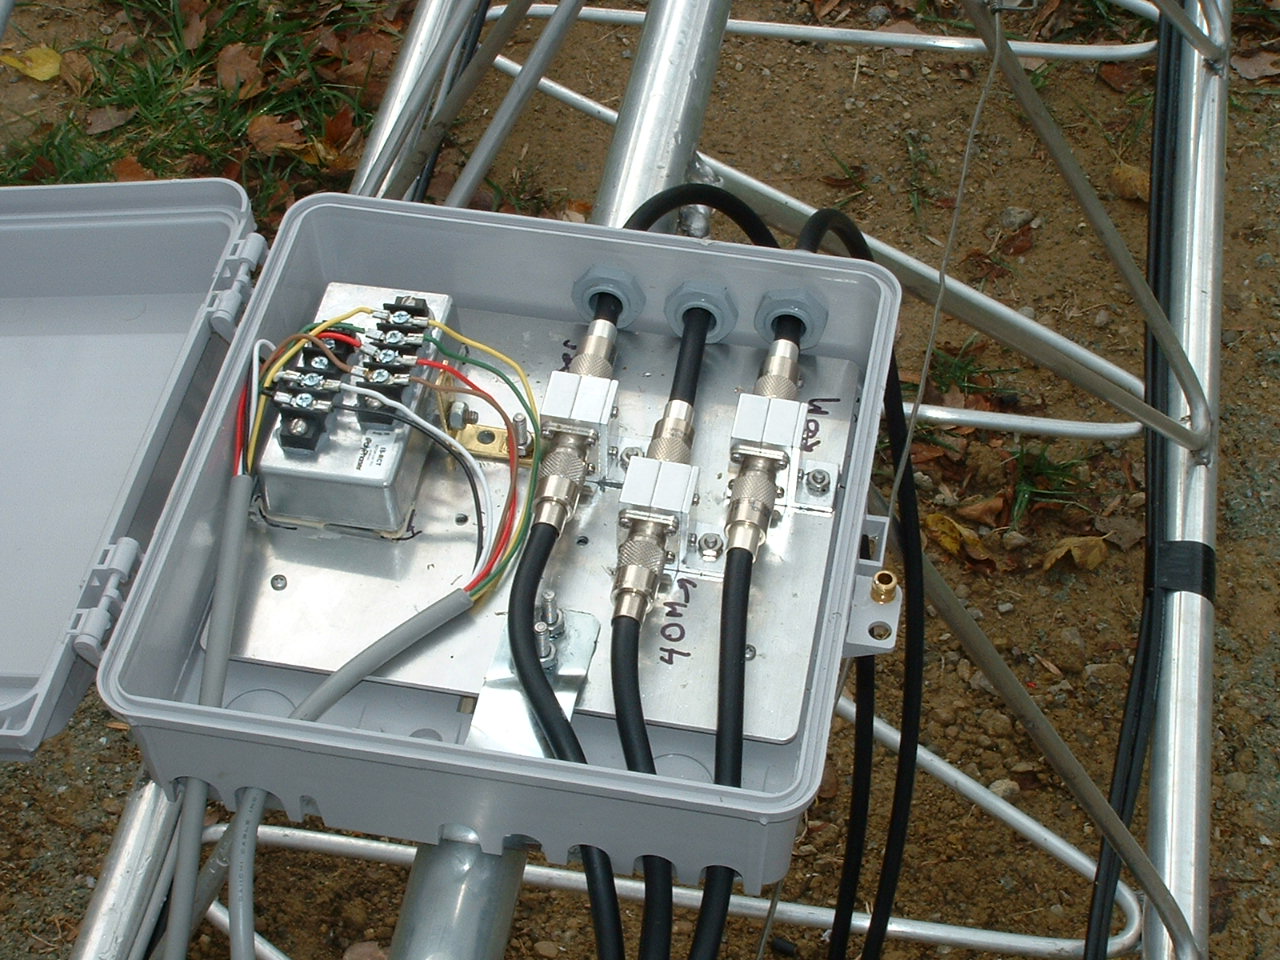
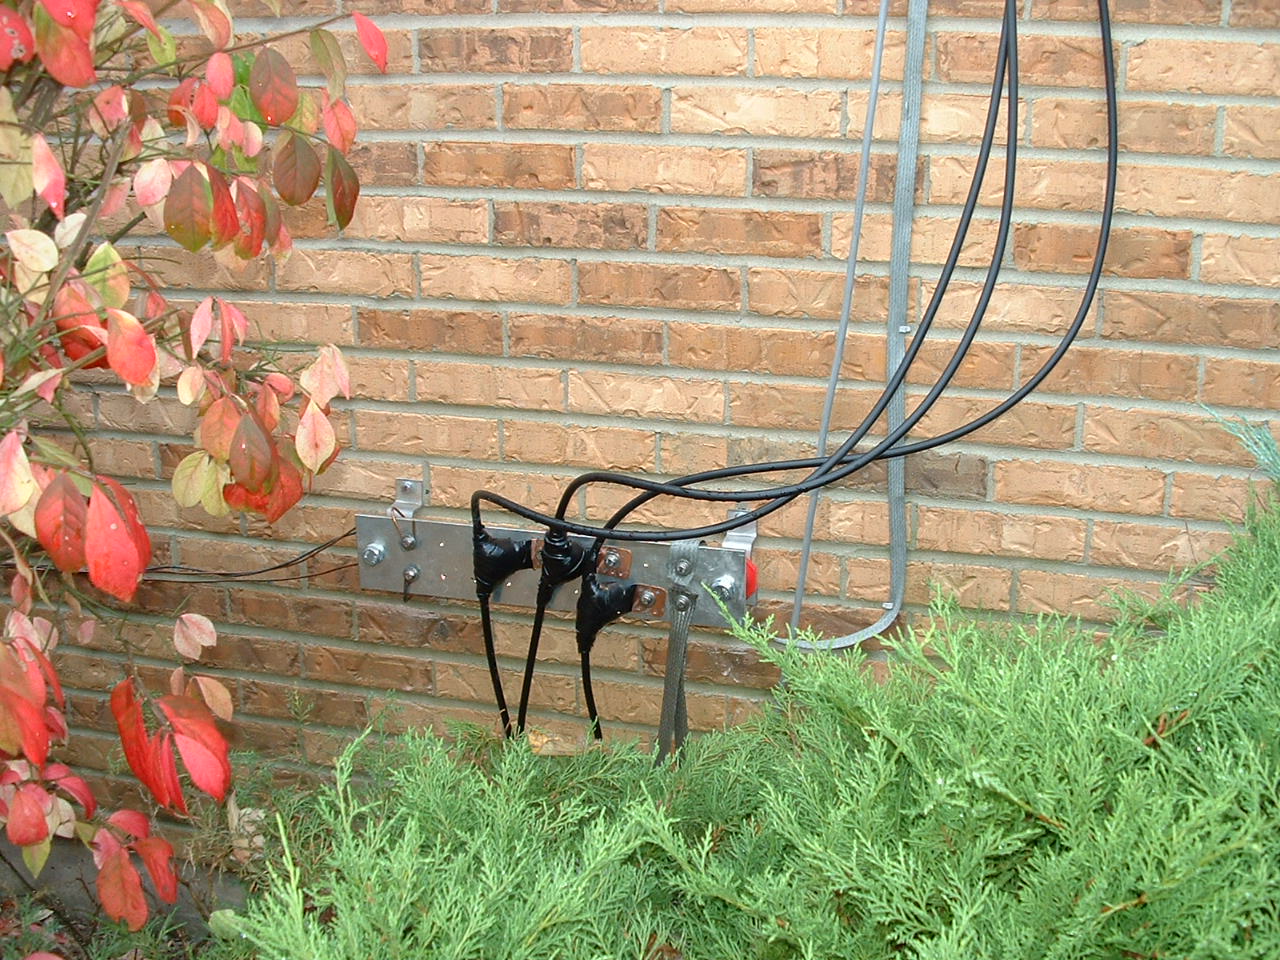
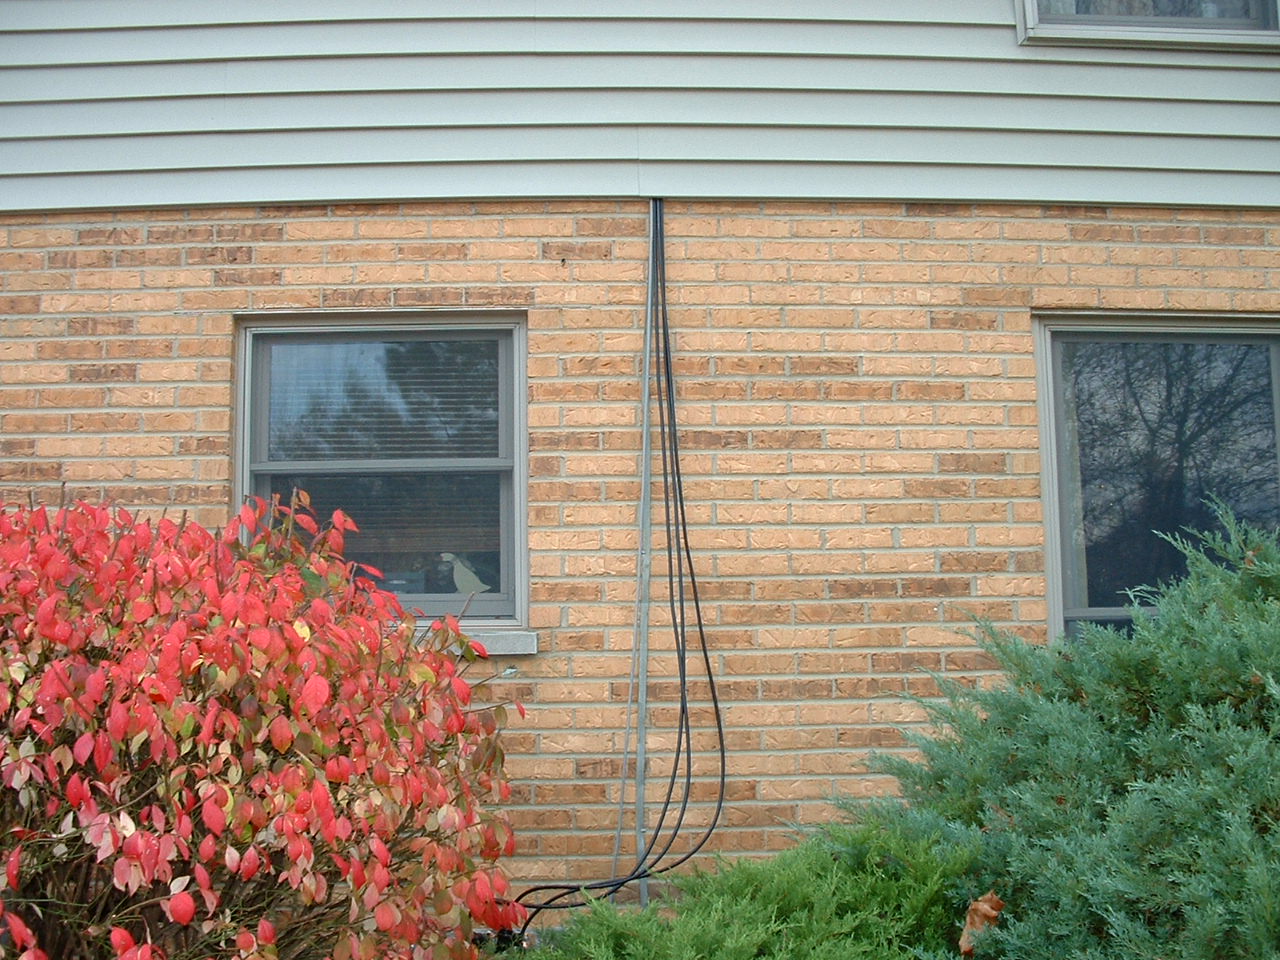
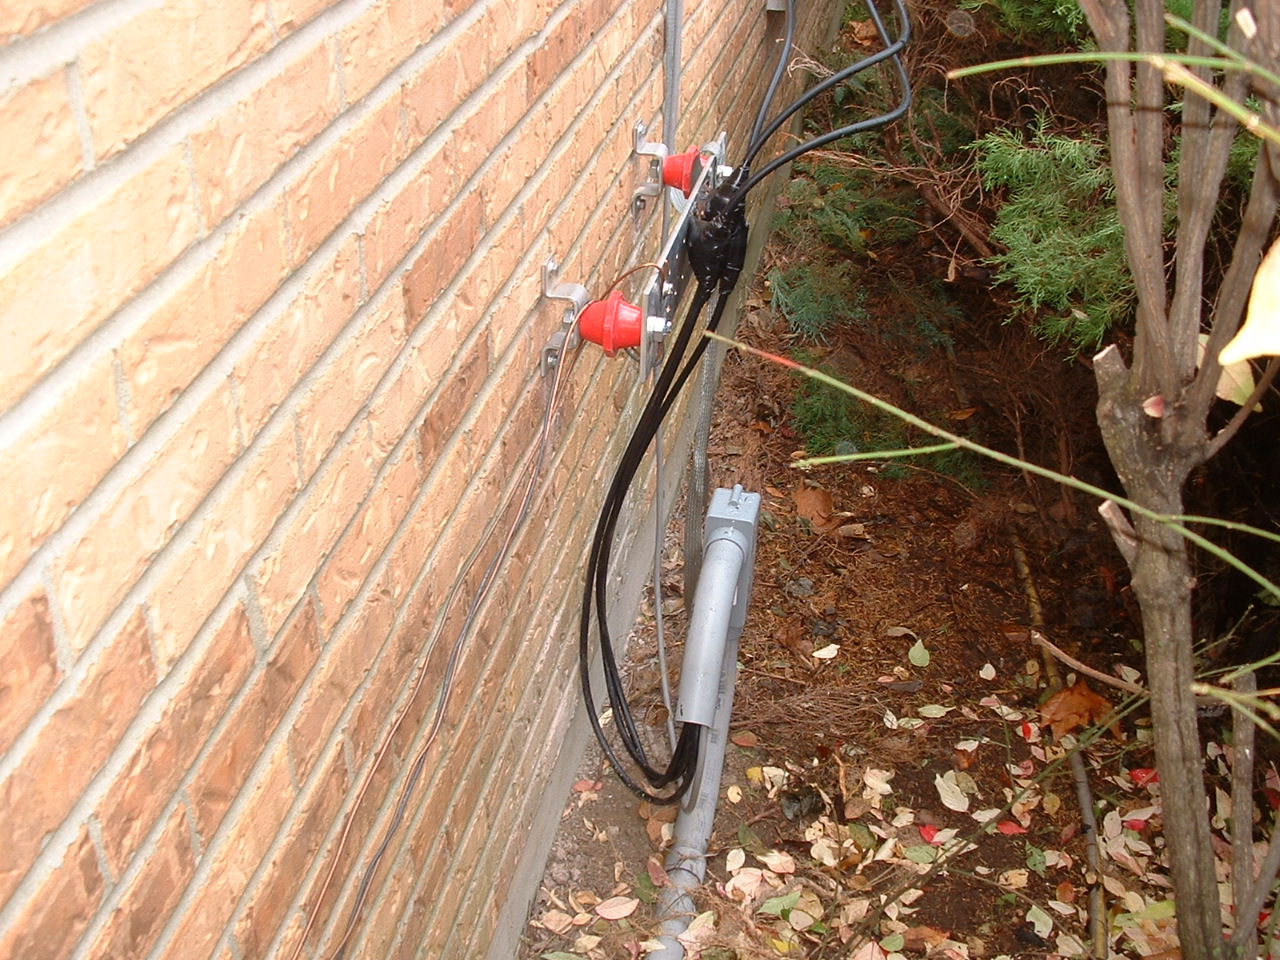
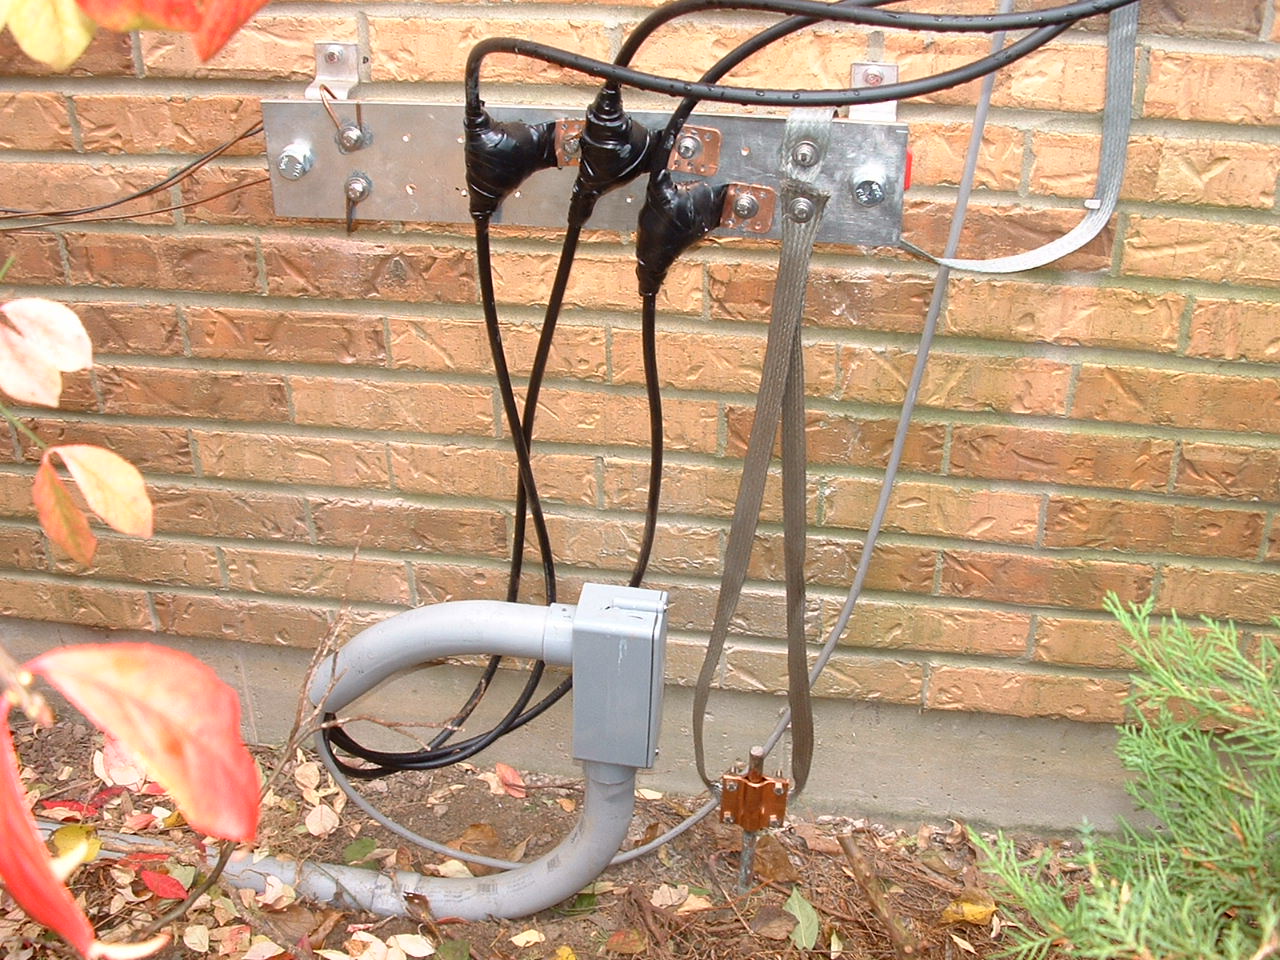
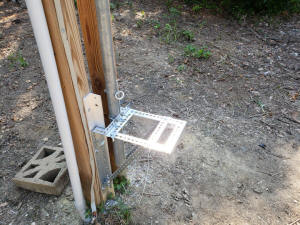
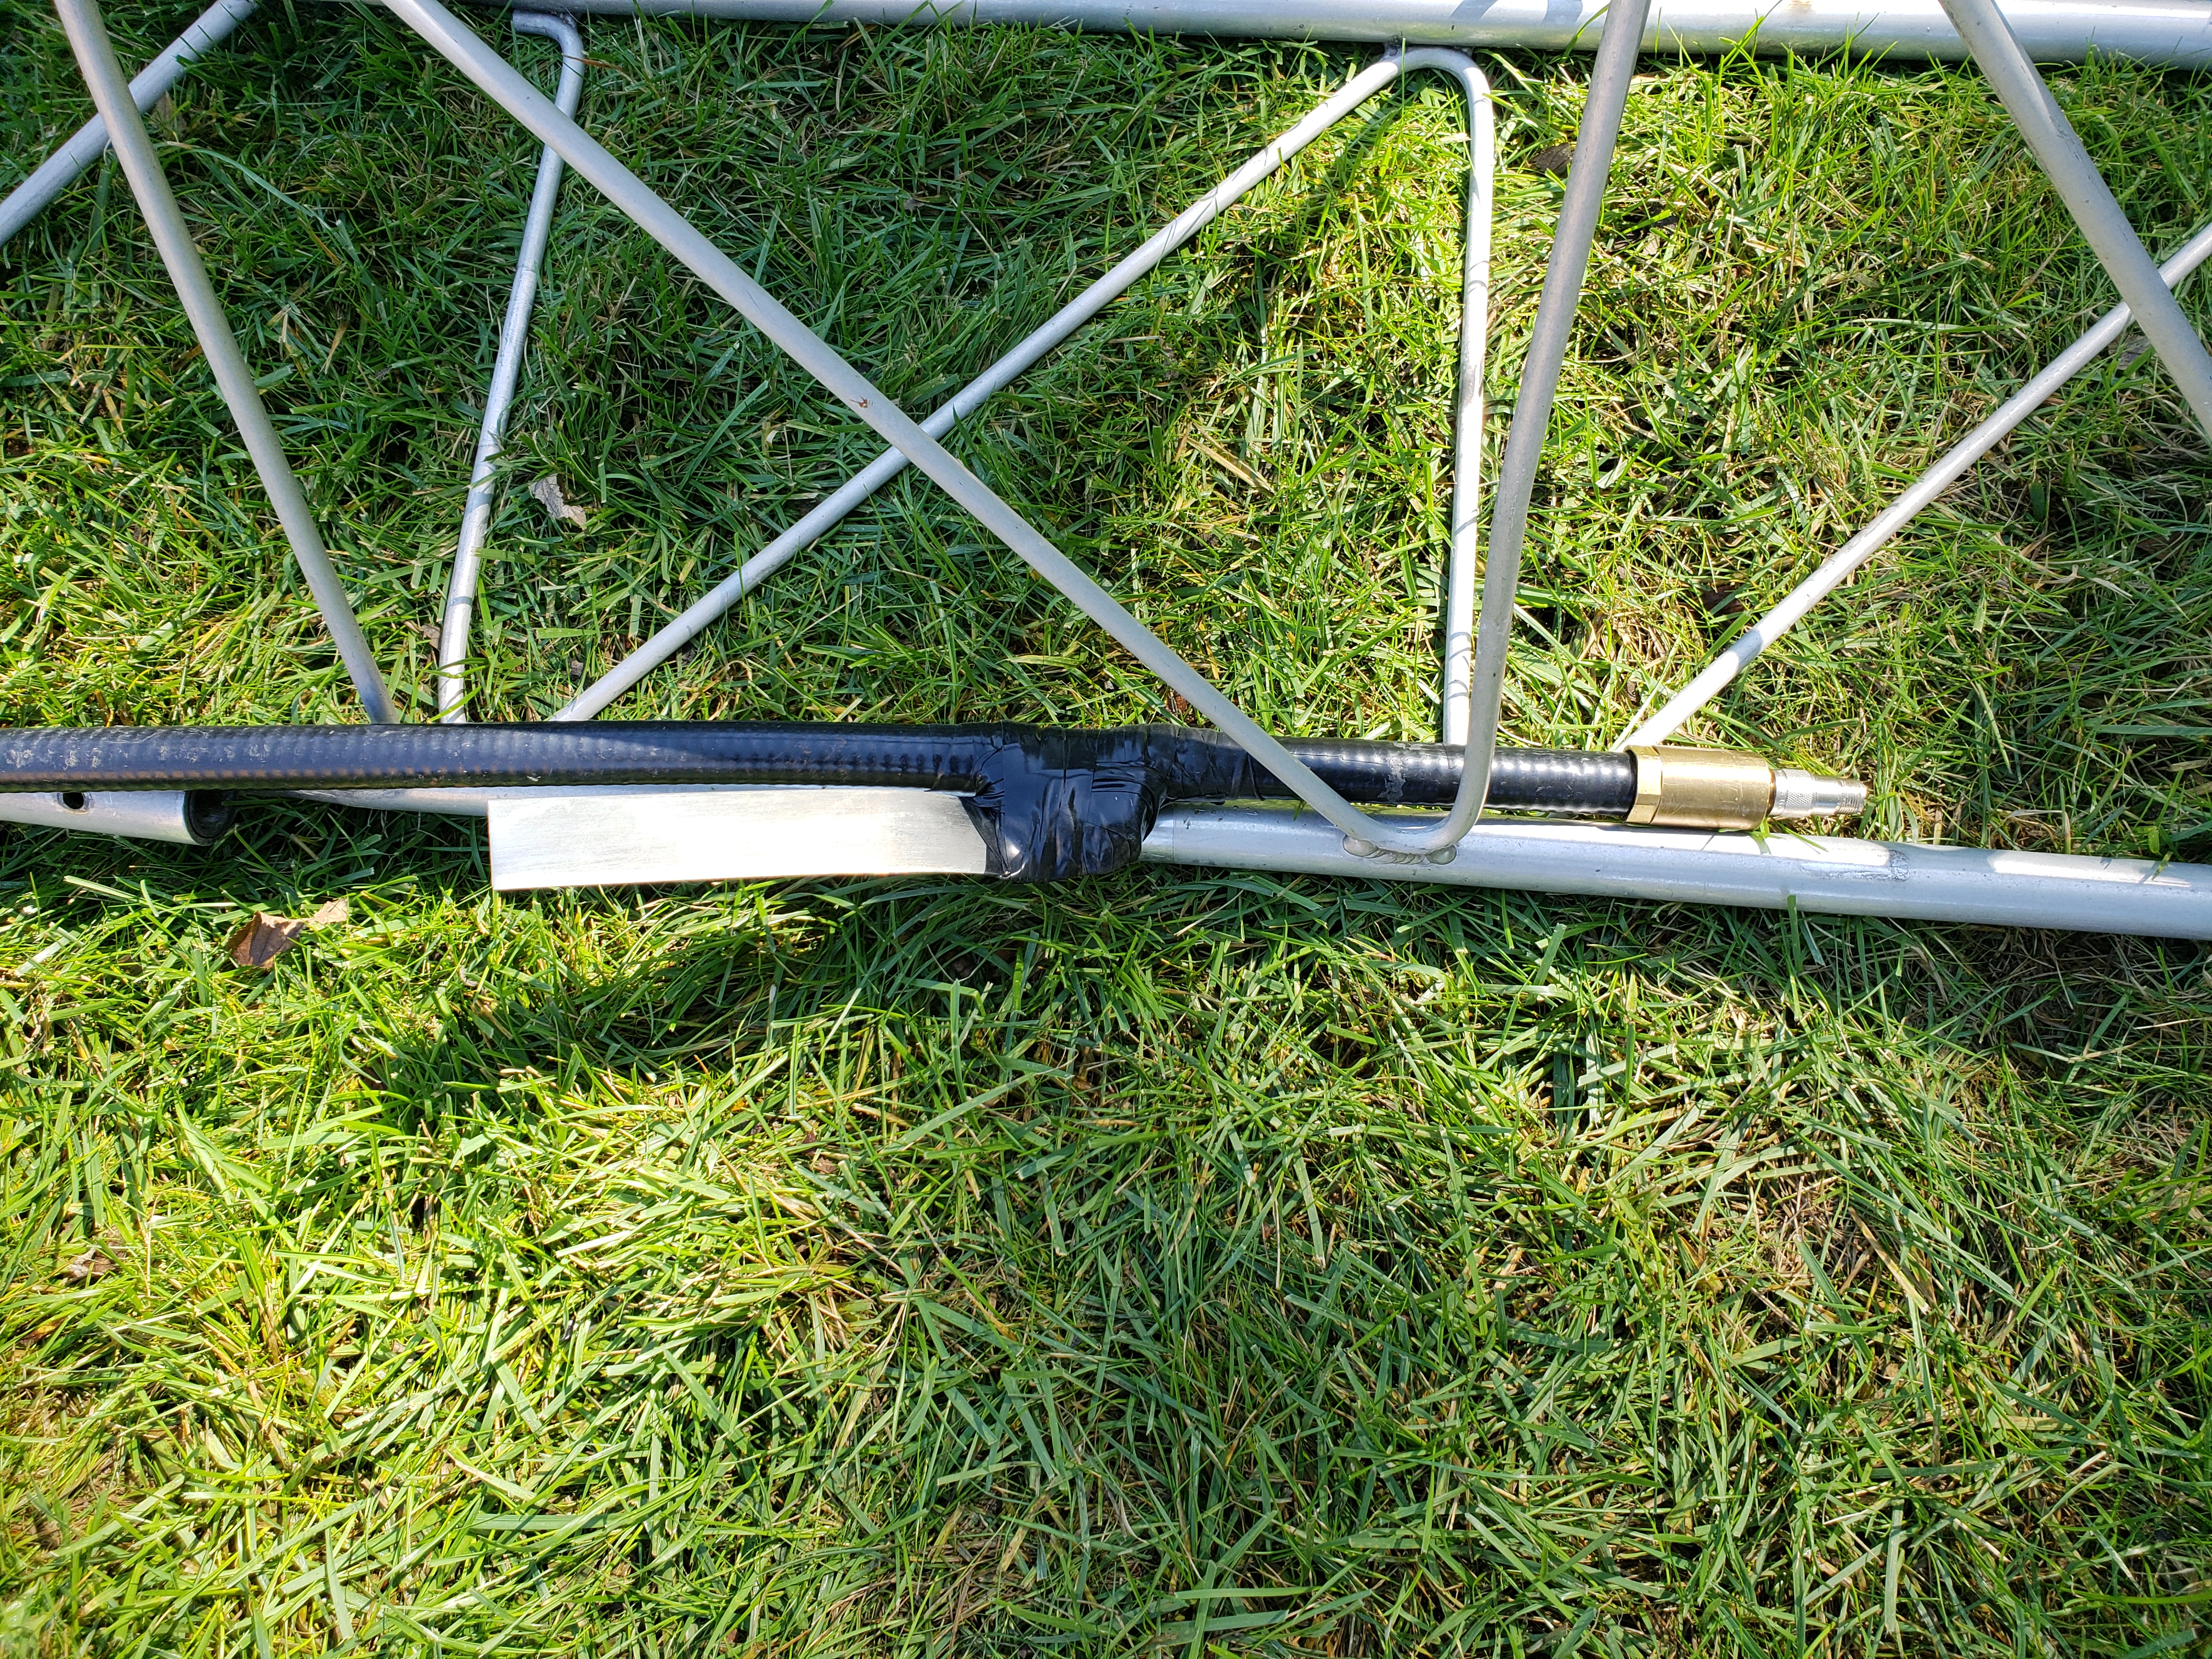
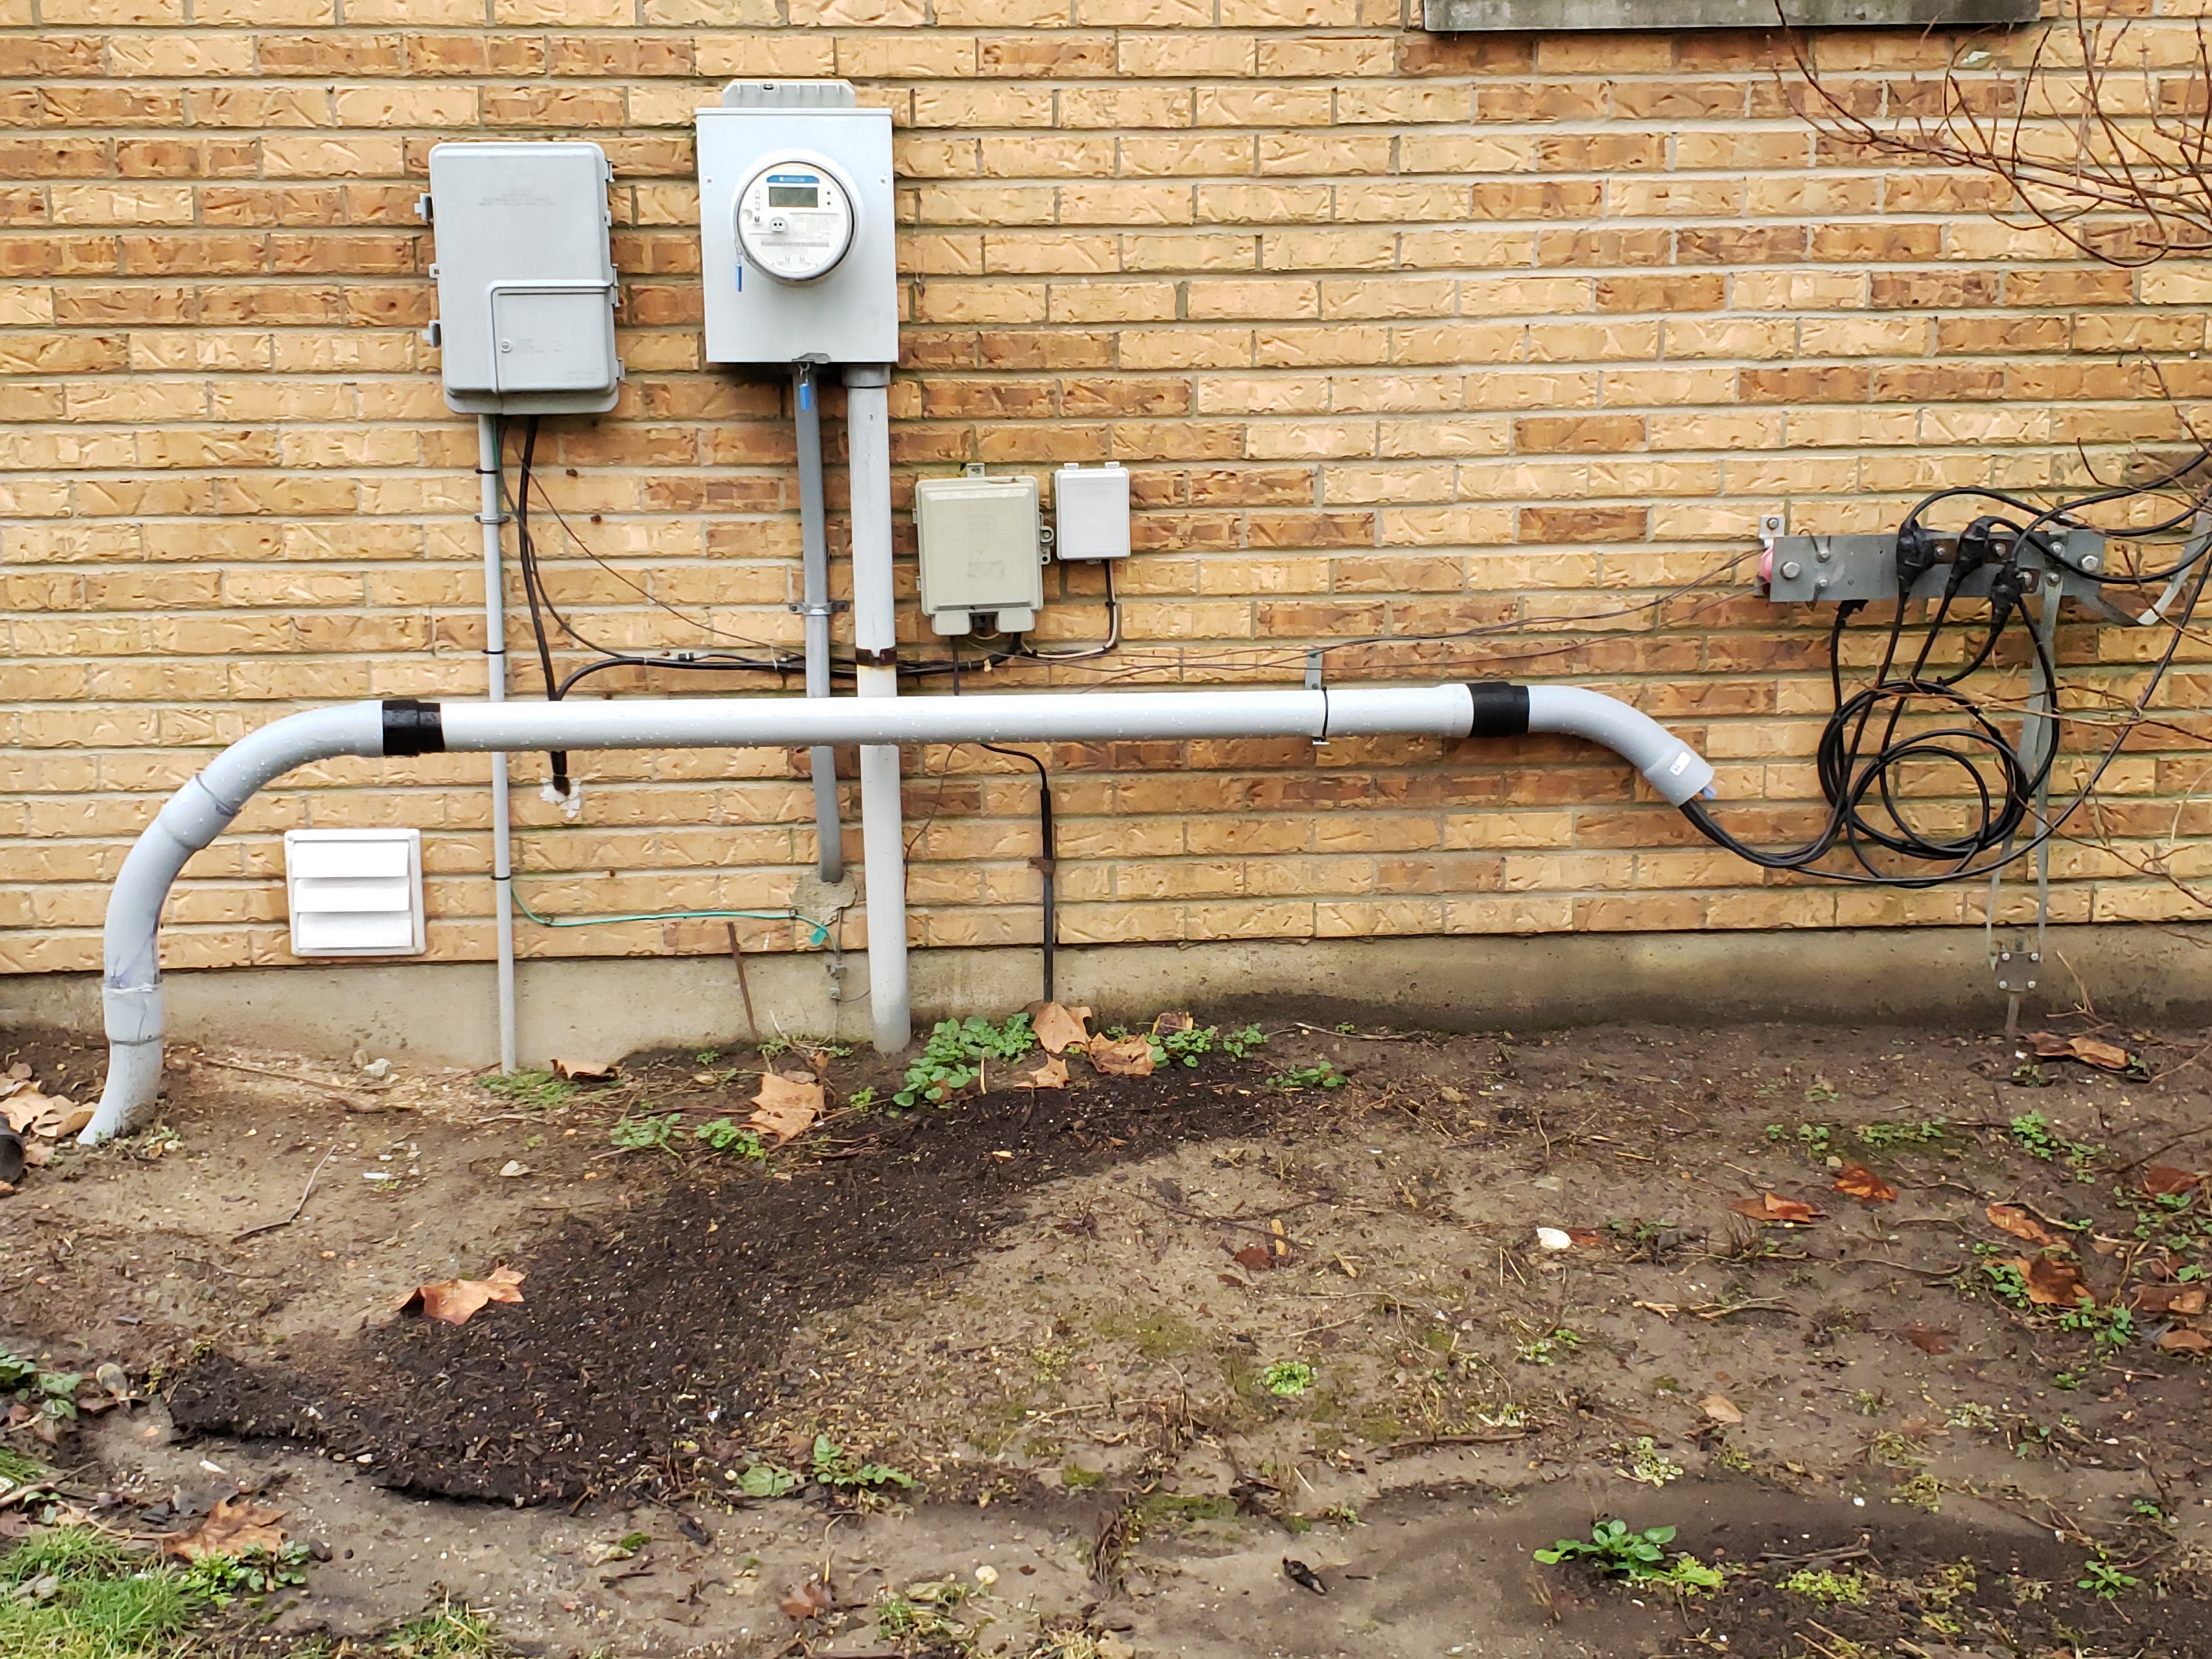
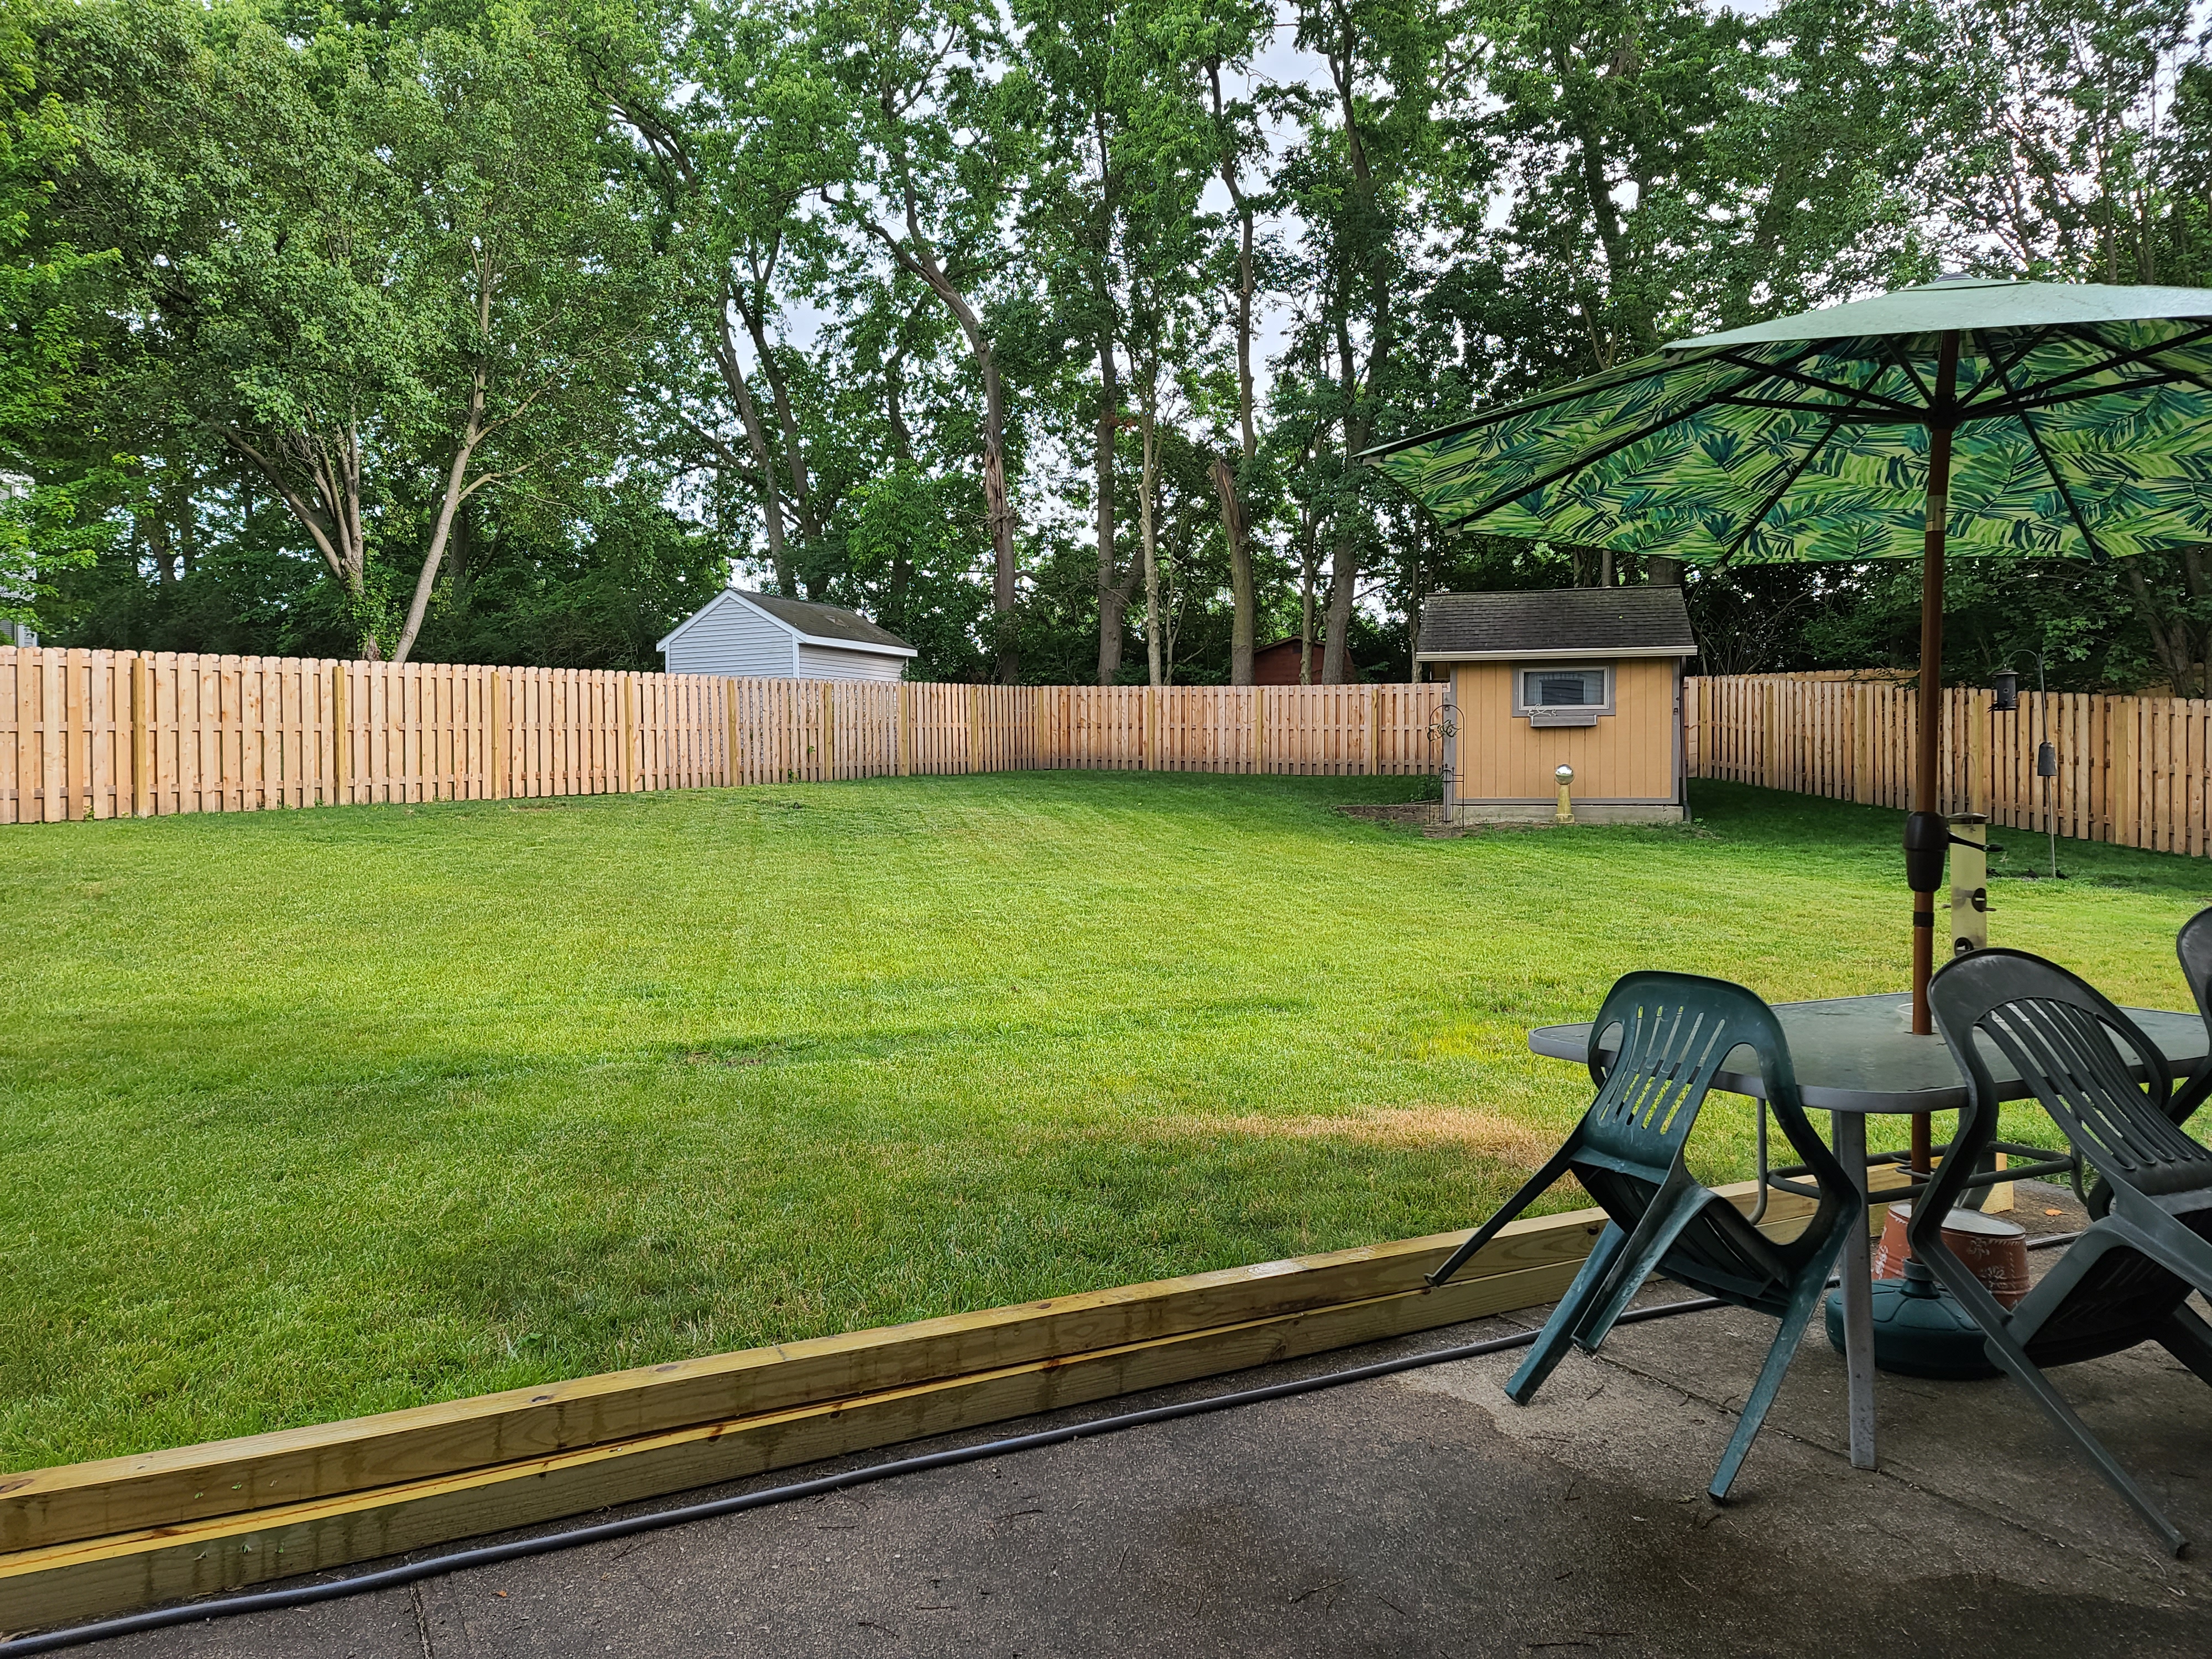
======================================================================================================================================== Another problem I had was positioning the antenna when I was outside operating or doing antenna work. In each of my weatherproof boxes I installed a rotator connector that I can plug my controller into. I originally made a 6' cable thinking I would be at the tower doing work but later made a 60' cable from some extra I had laying around. The longer cable allows me to set on my back porch and operate my radio, control control my rotator and use when doing antenna work. This setup is very helpful when aligning my antennas and calibrating the controllers.
======================================================================================================================================== Old Chimney Installation
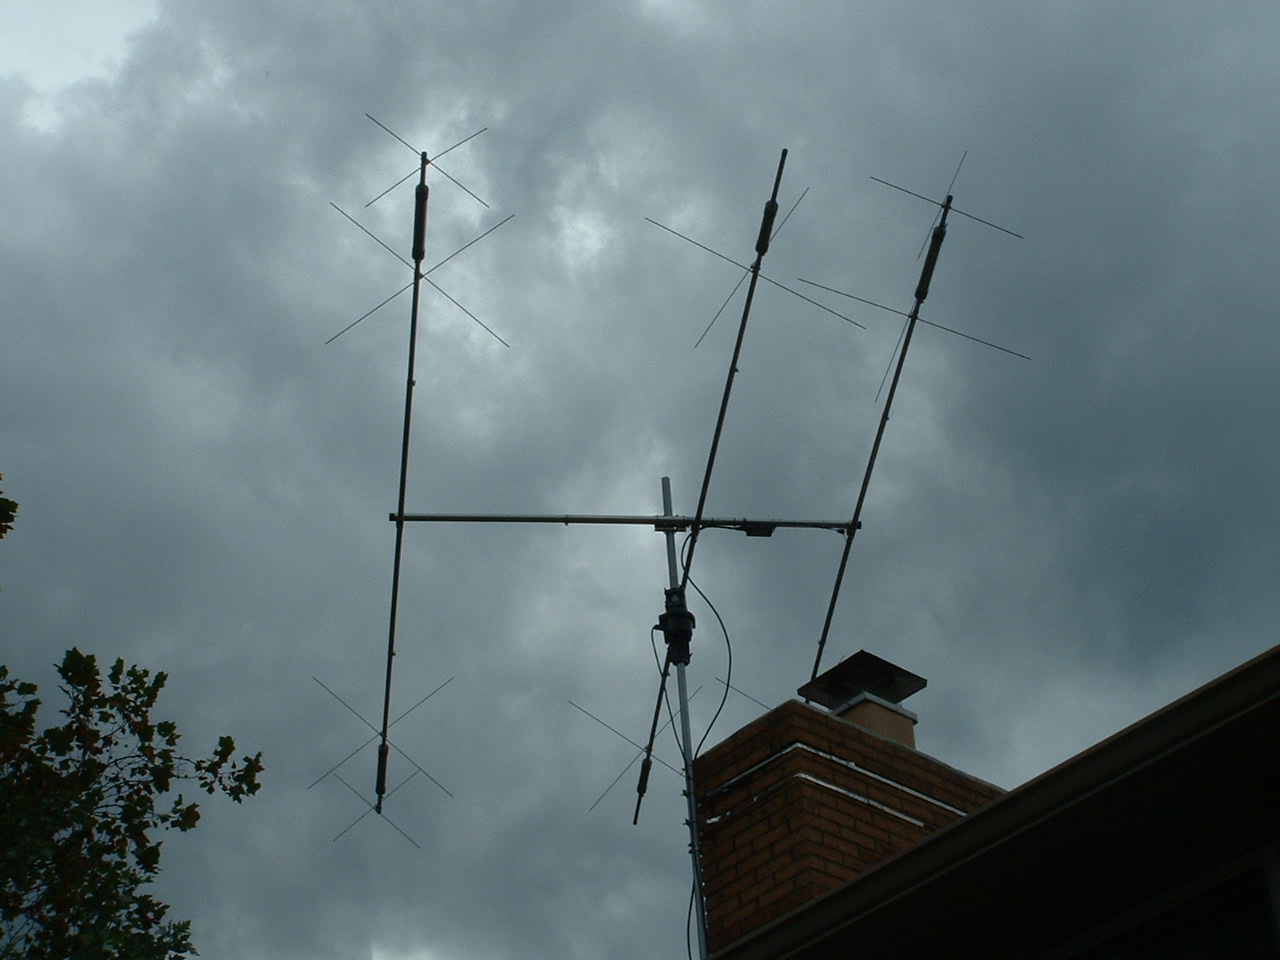
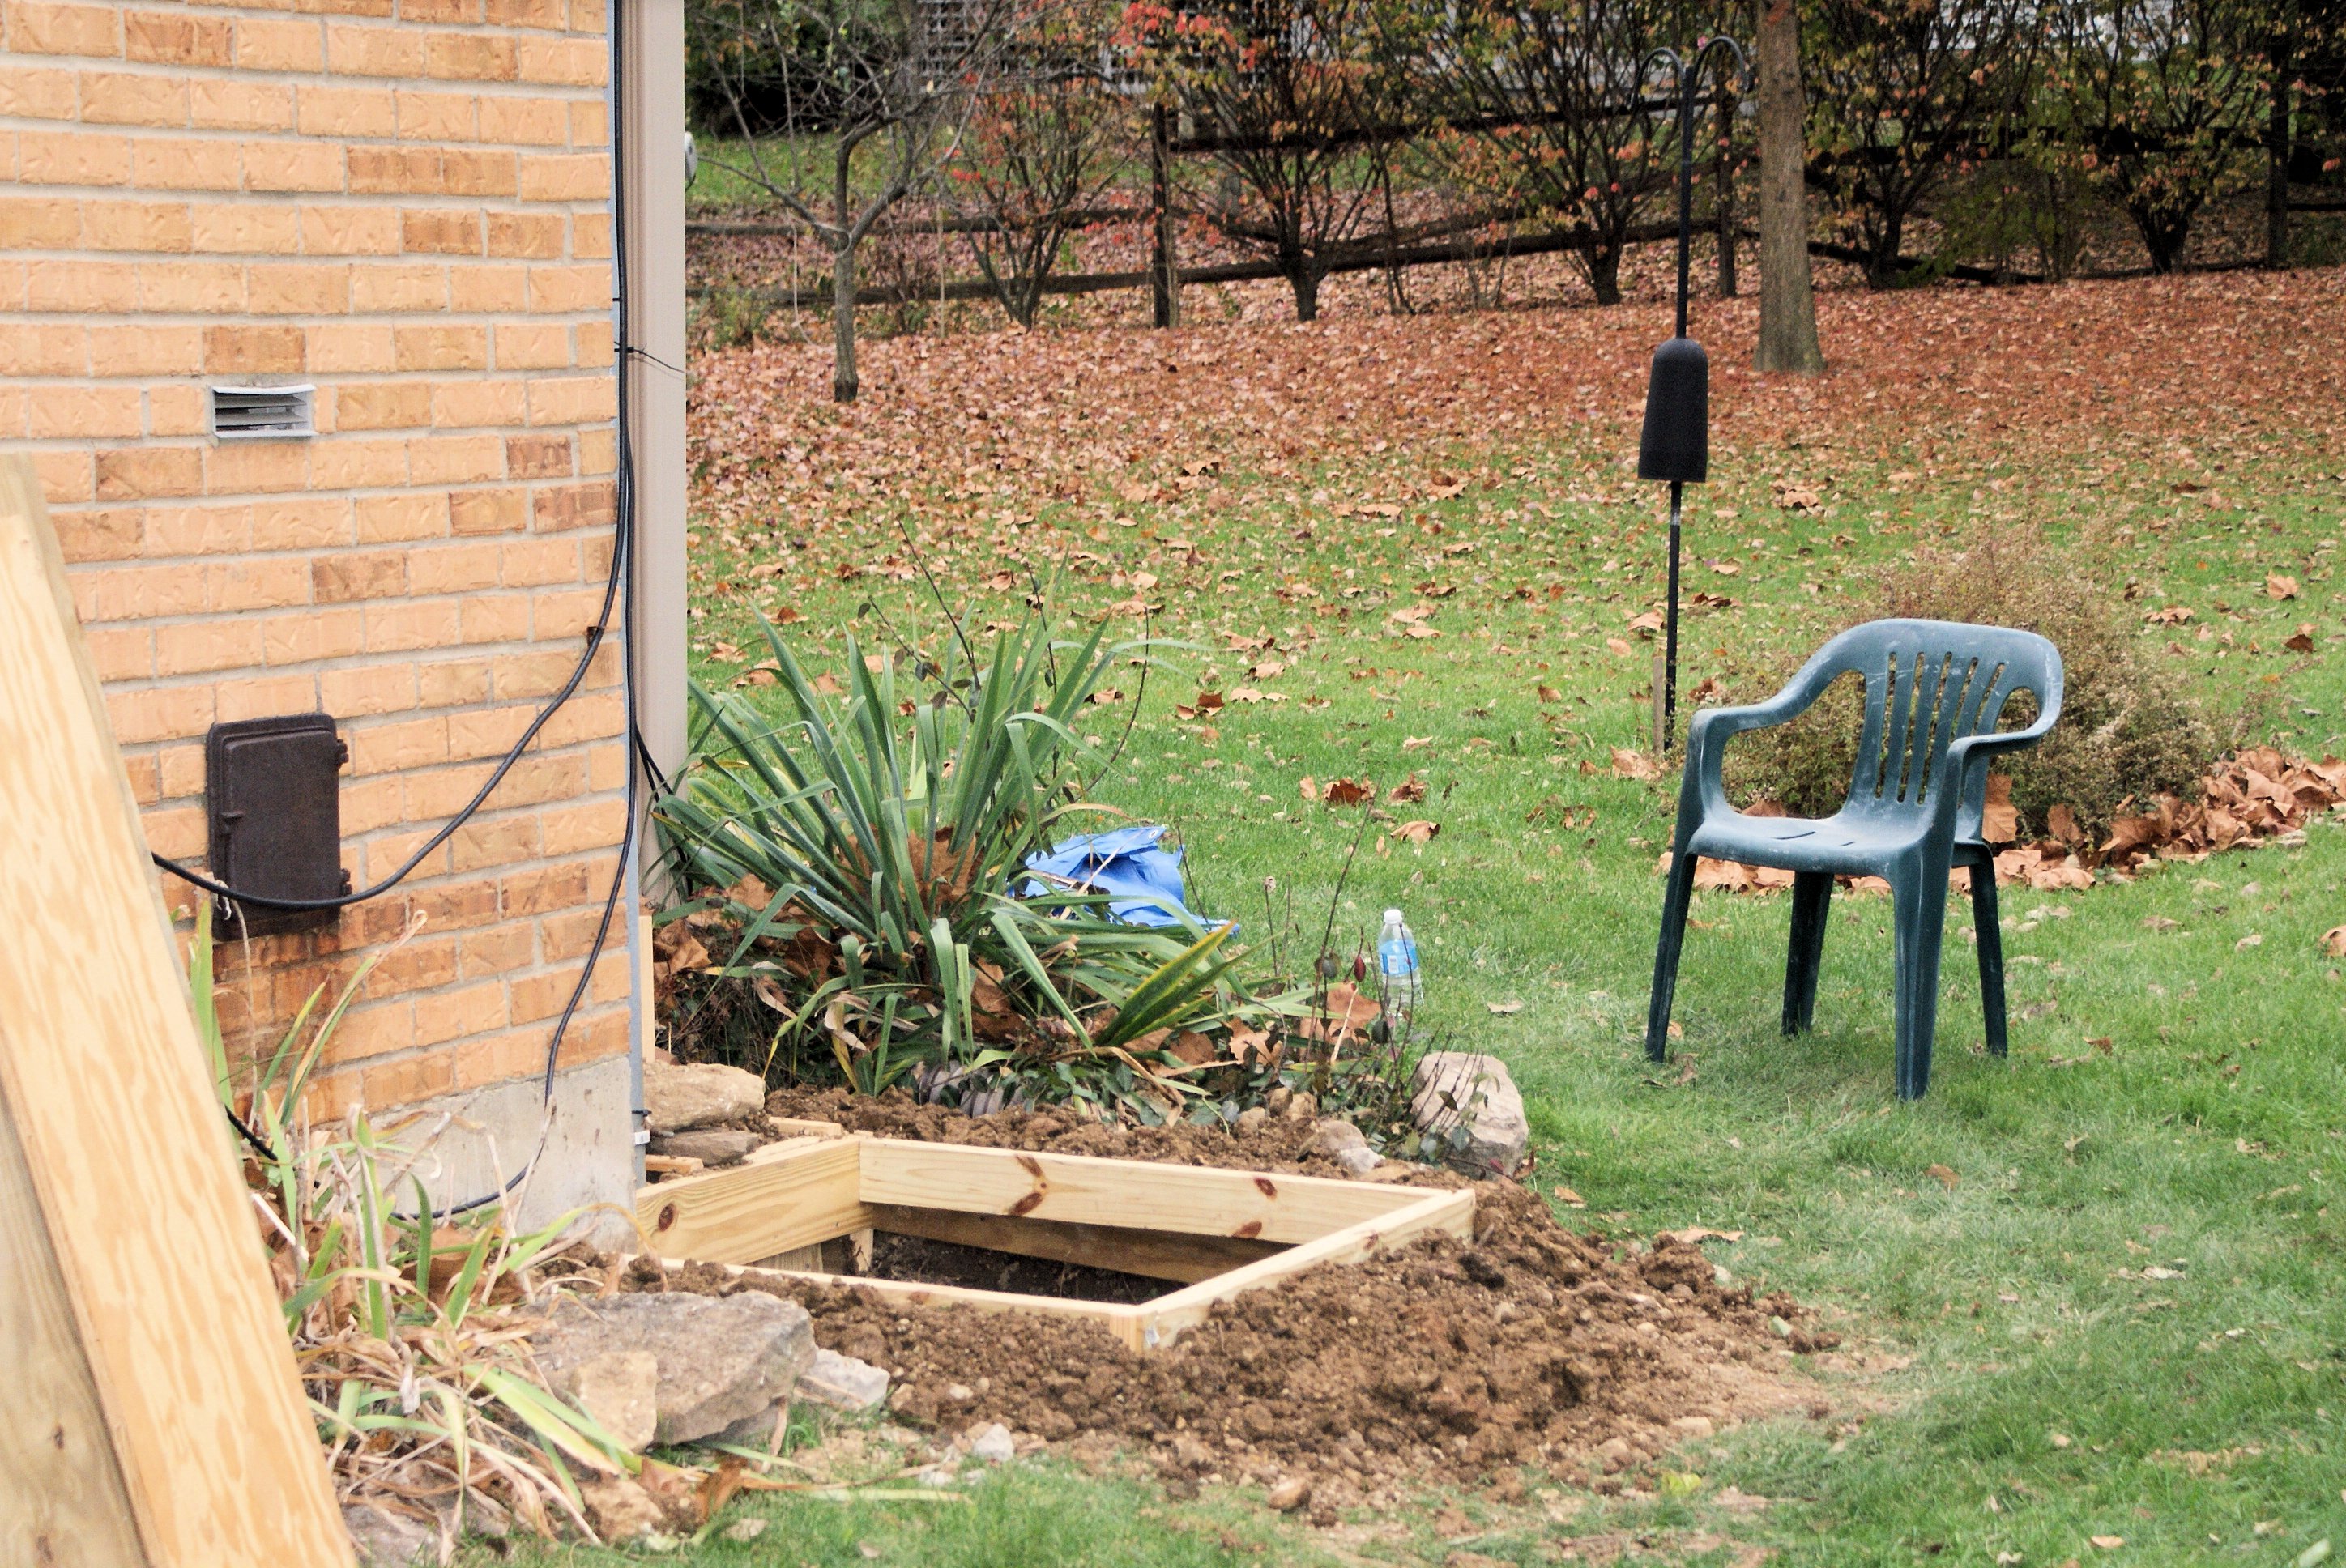
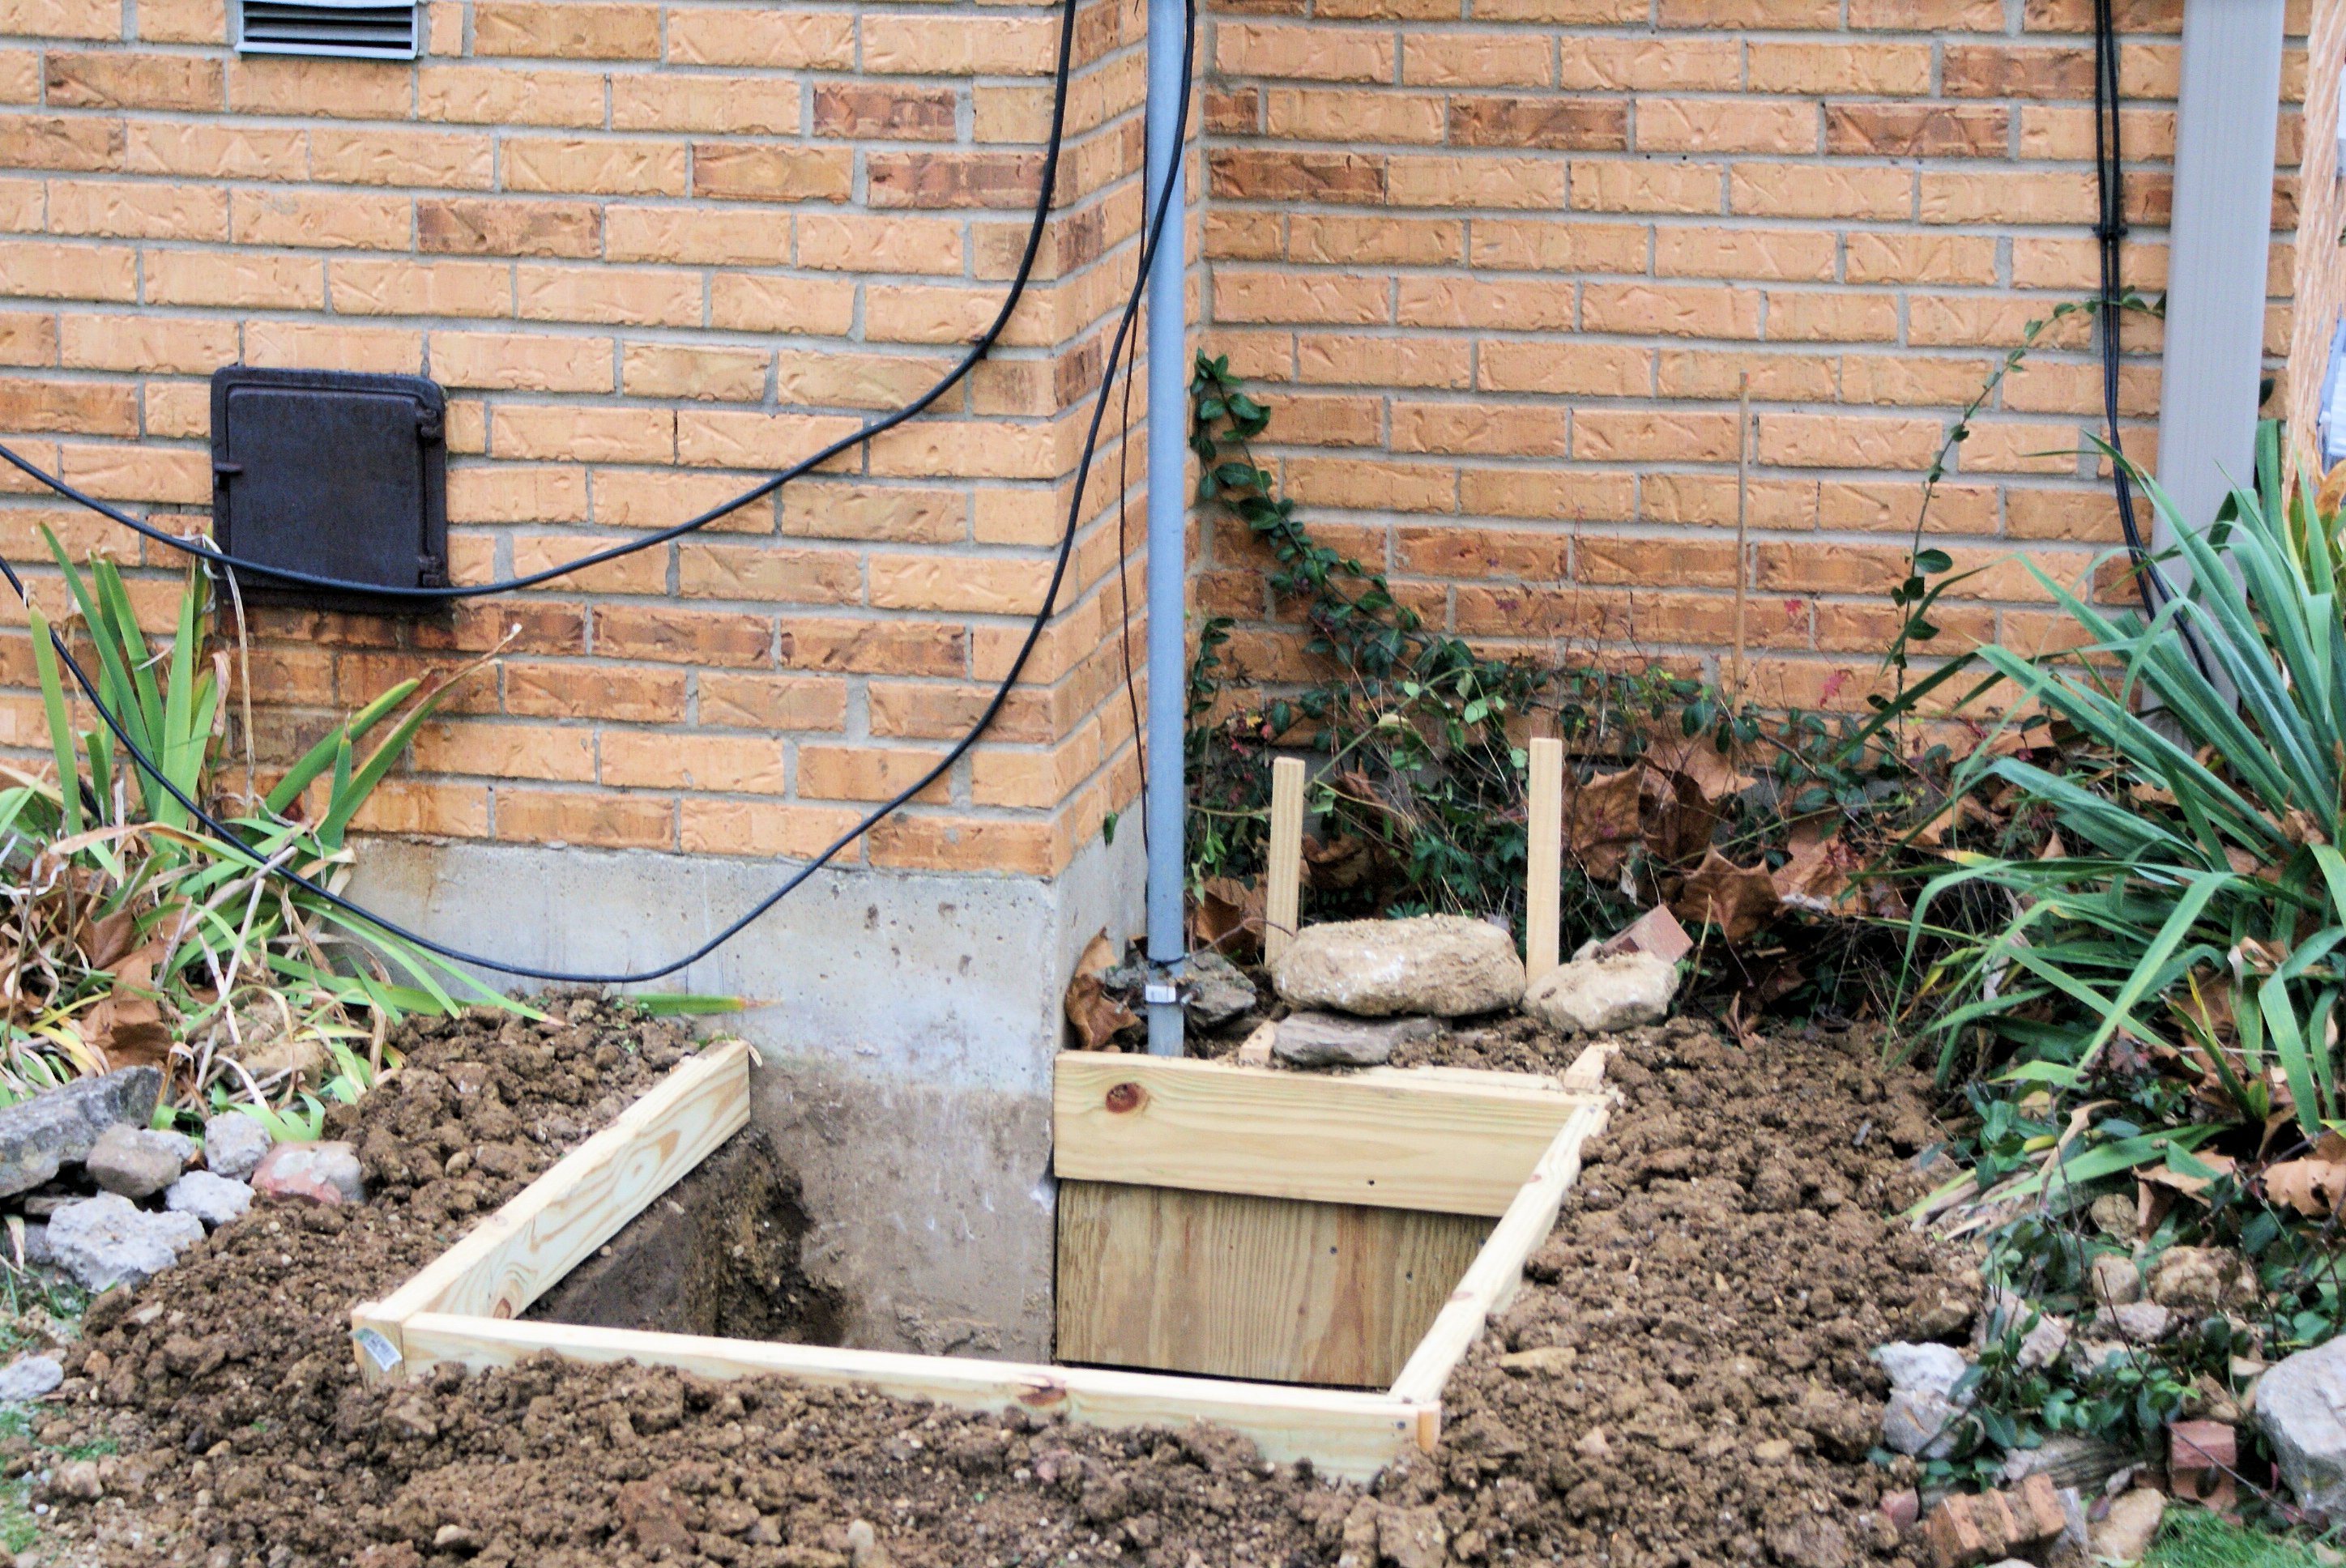
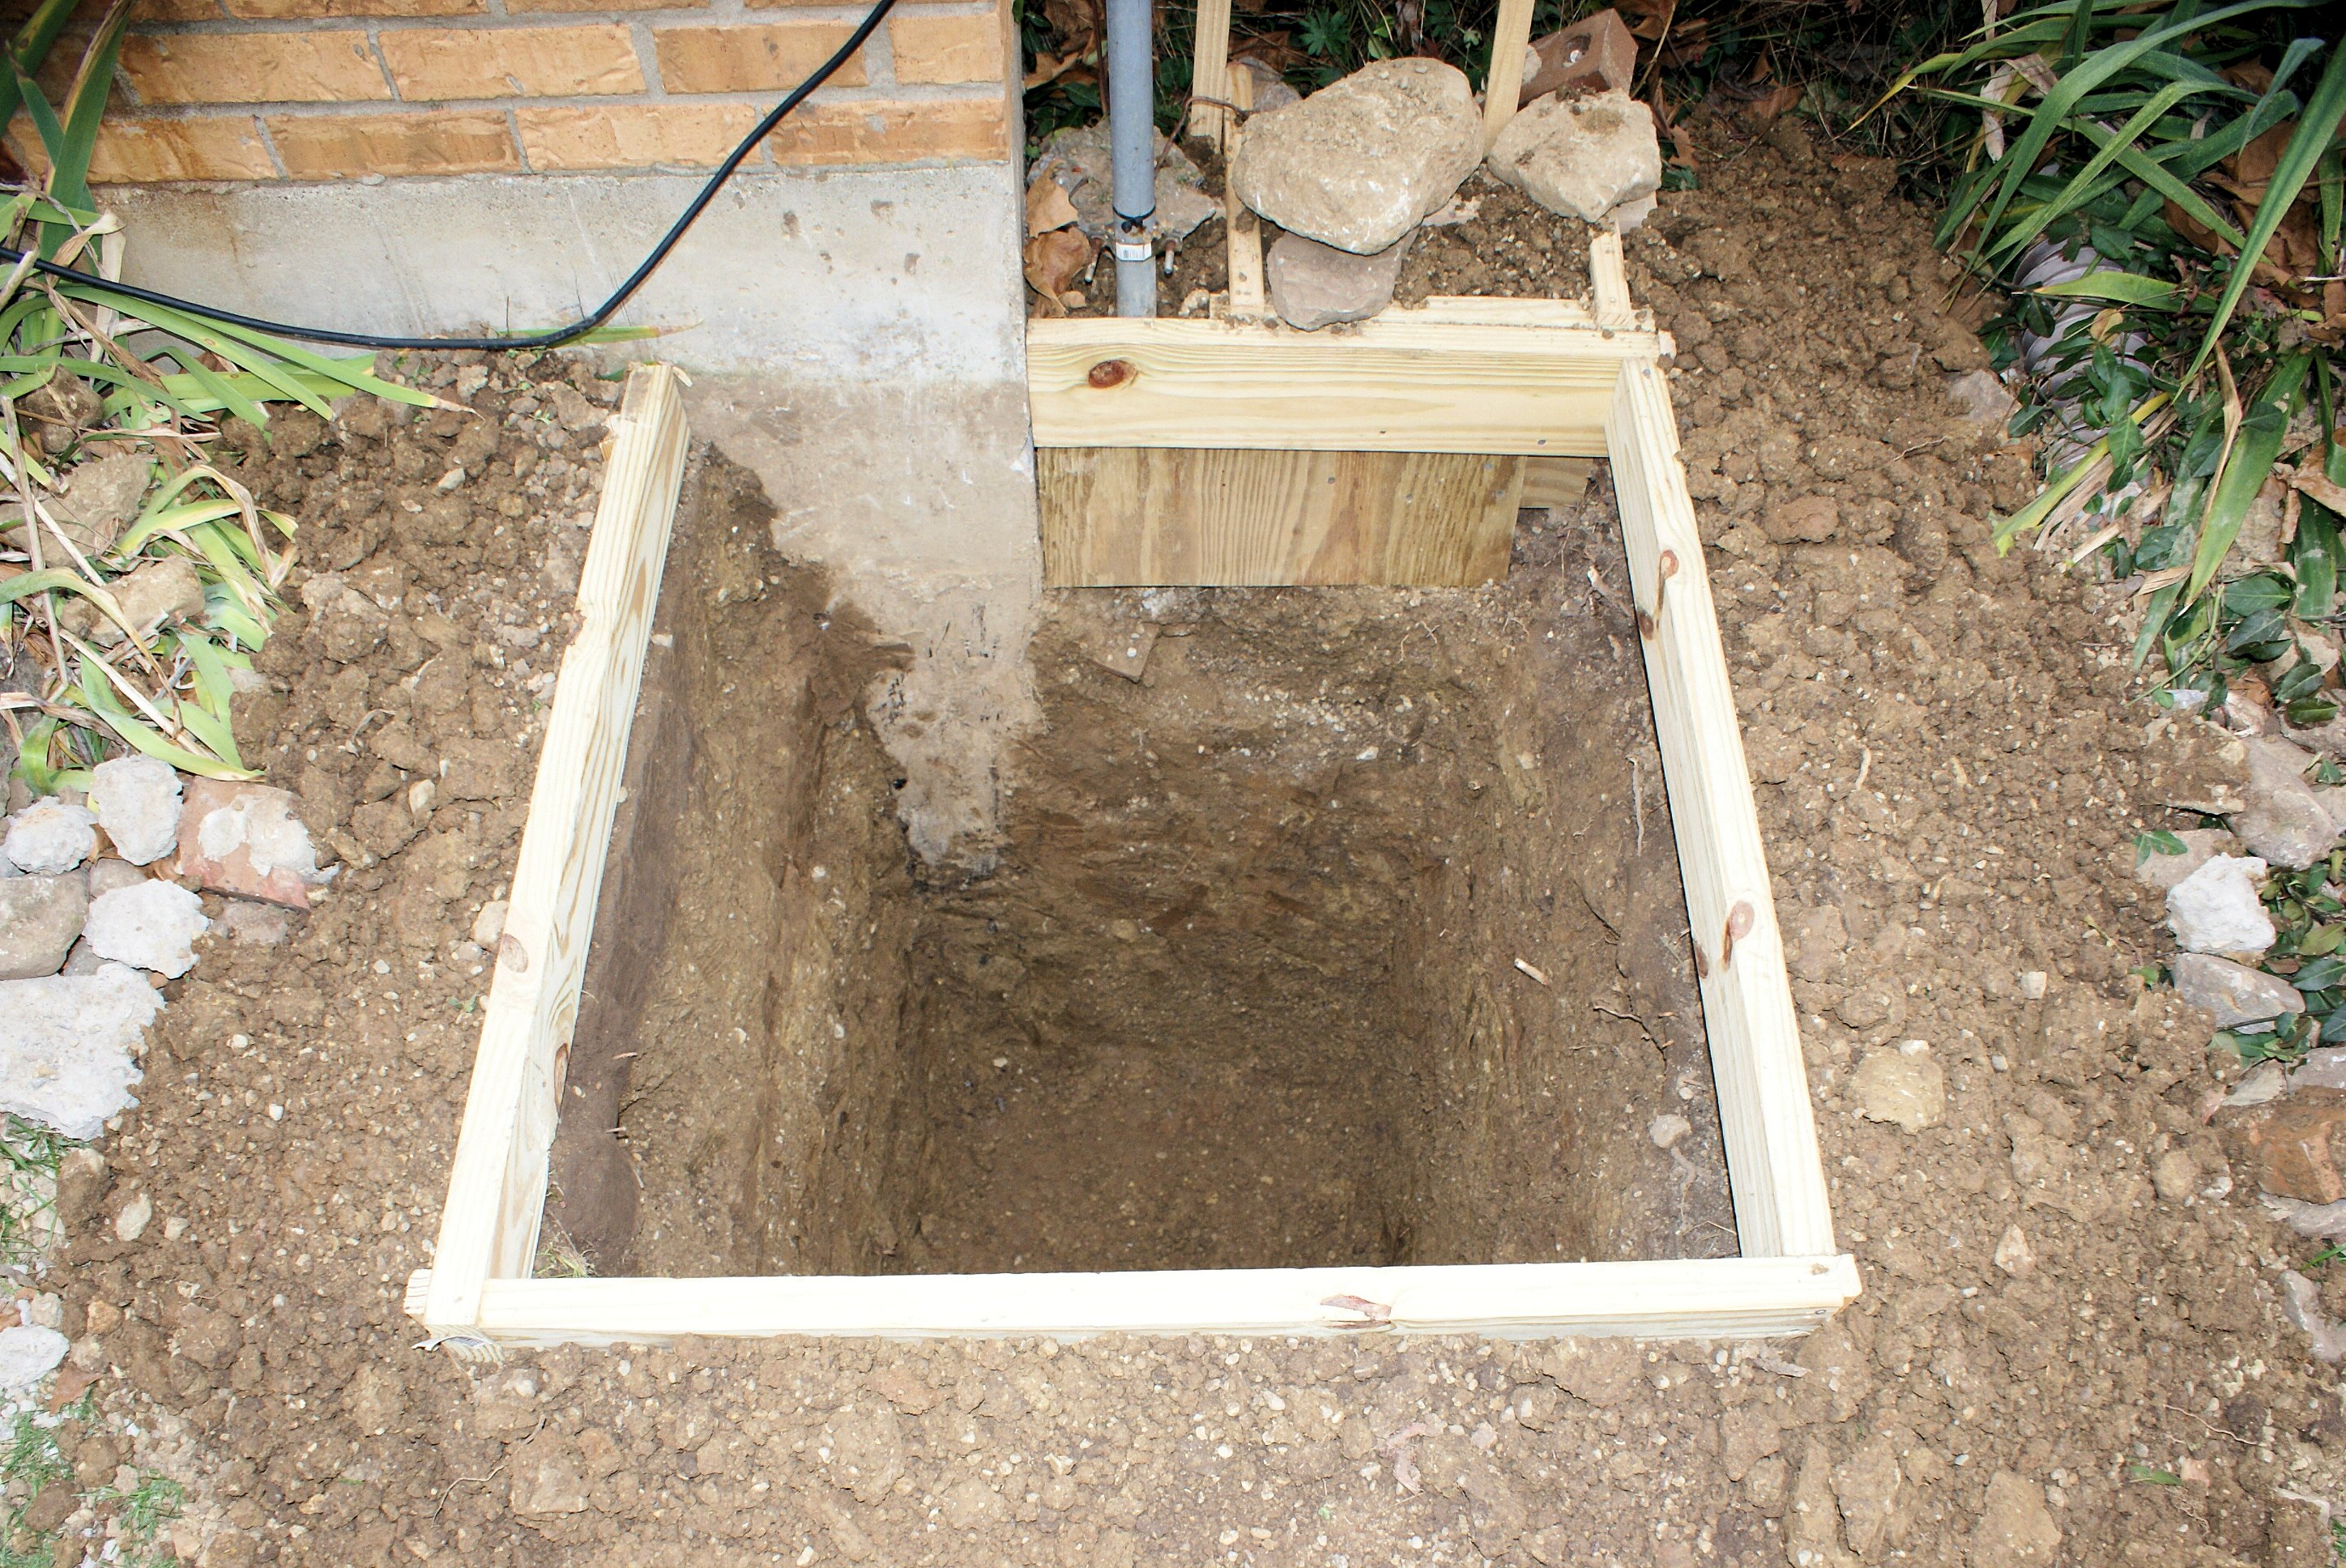
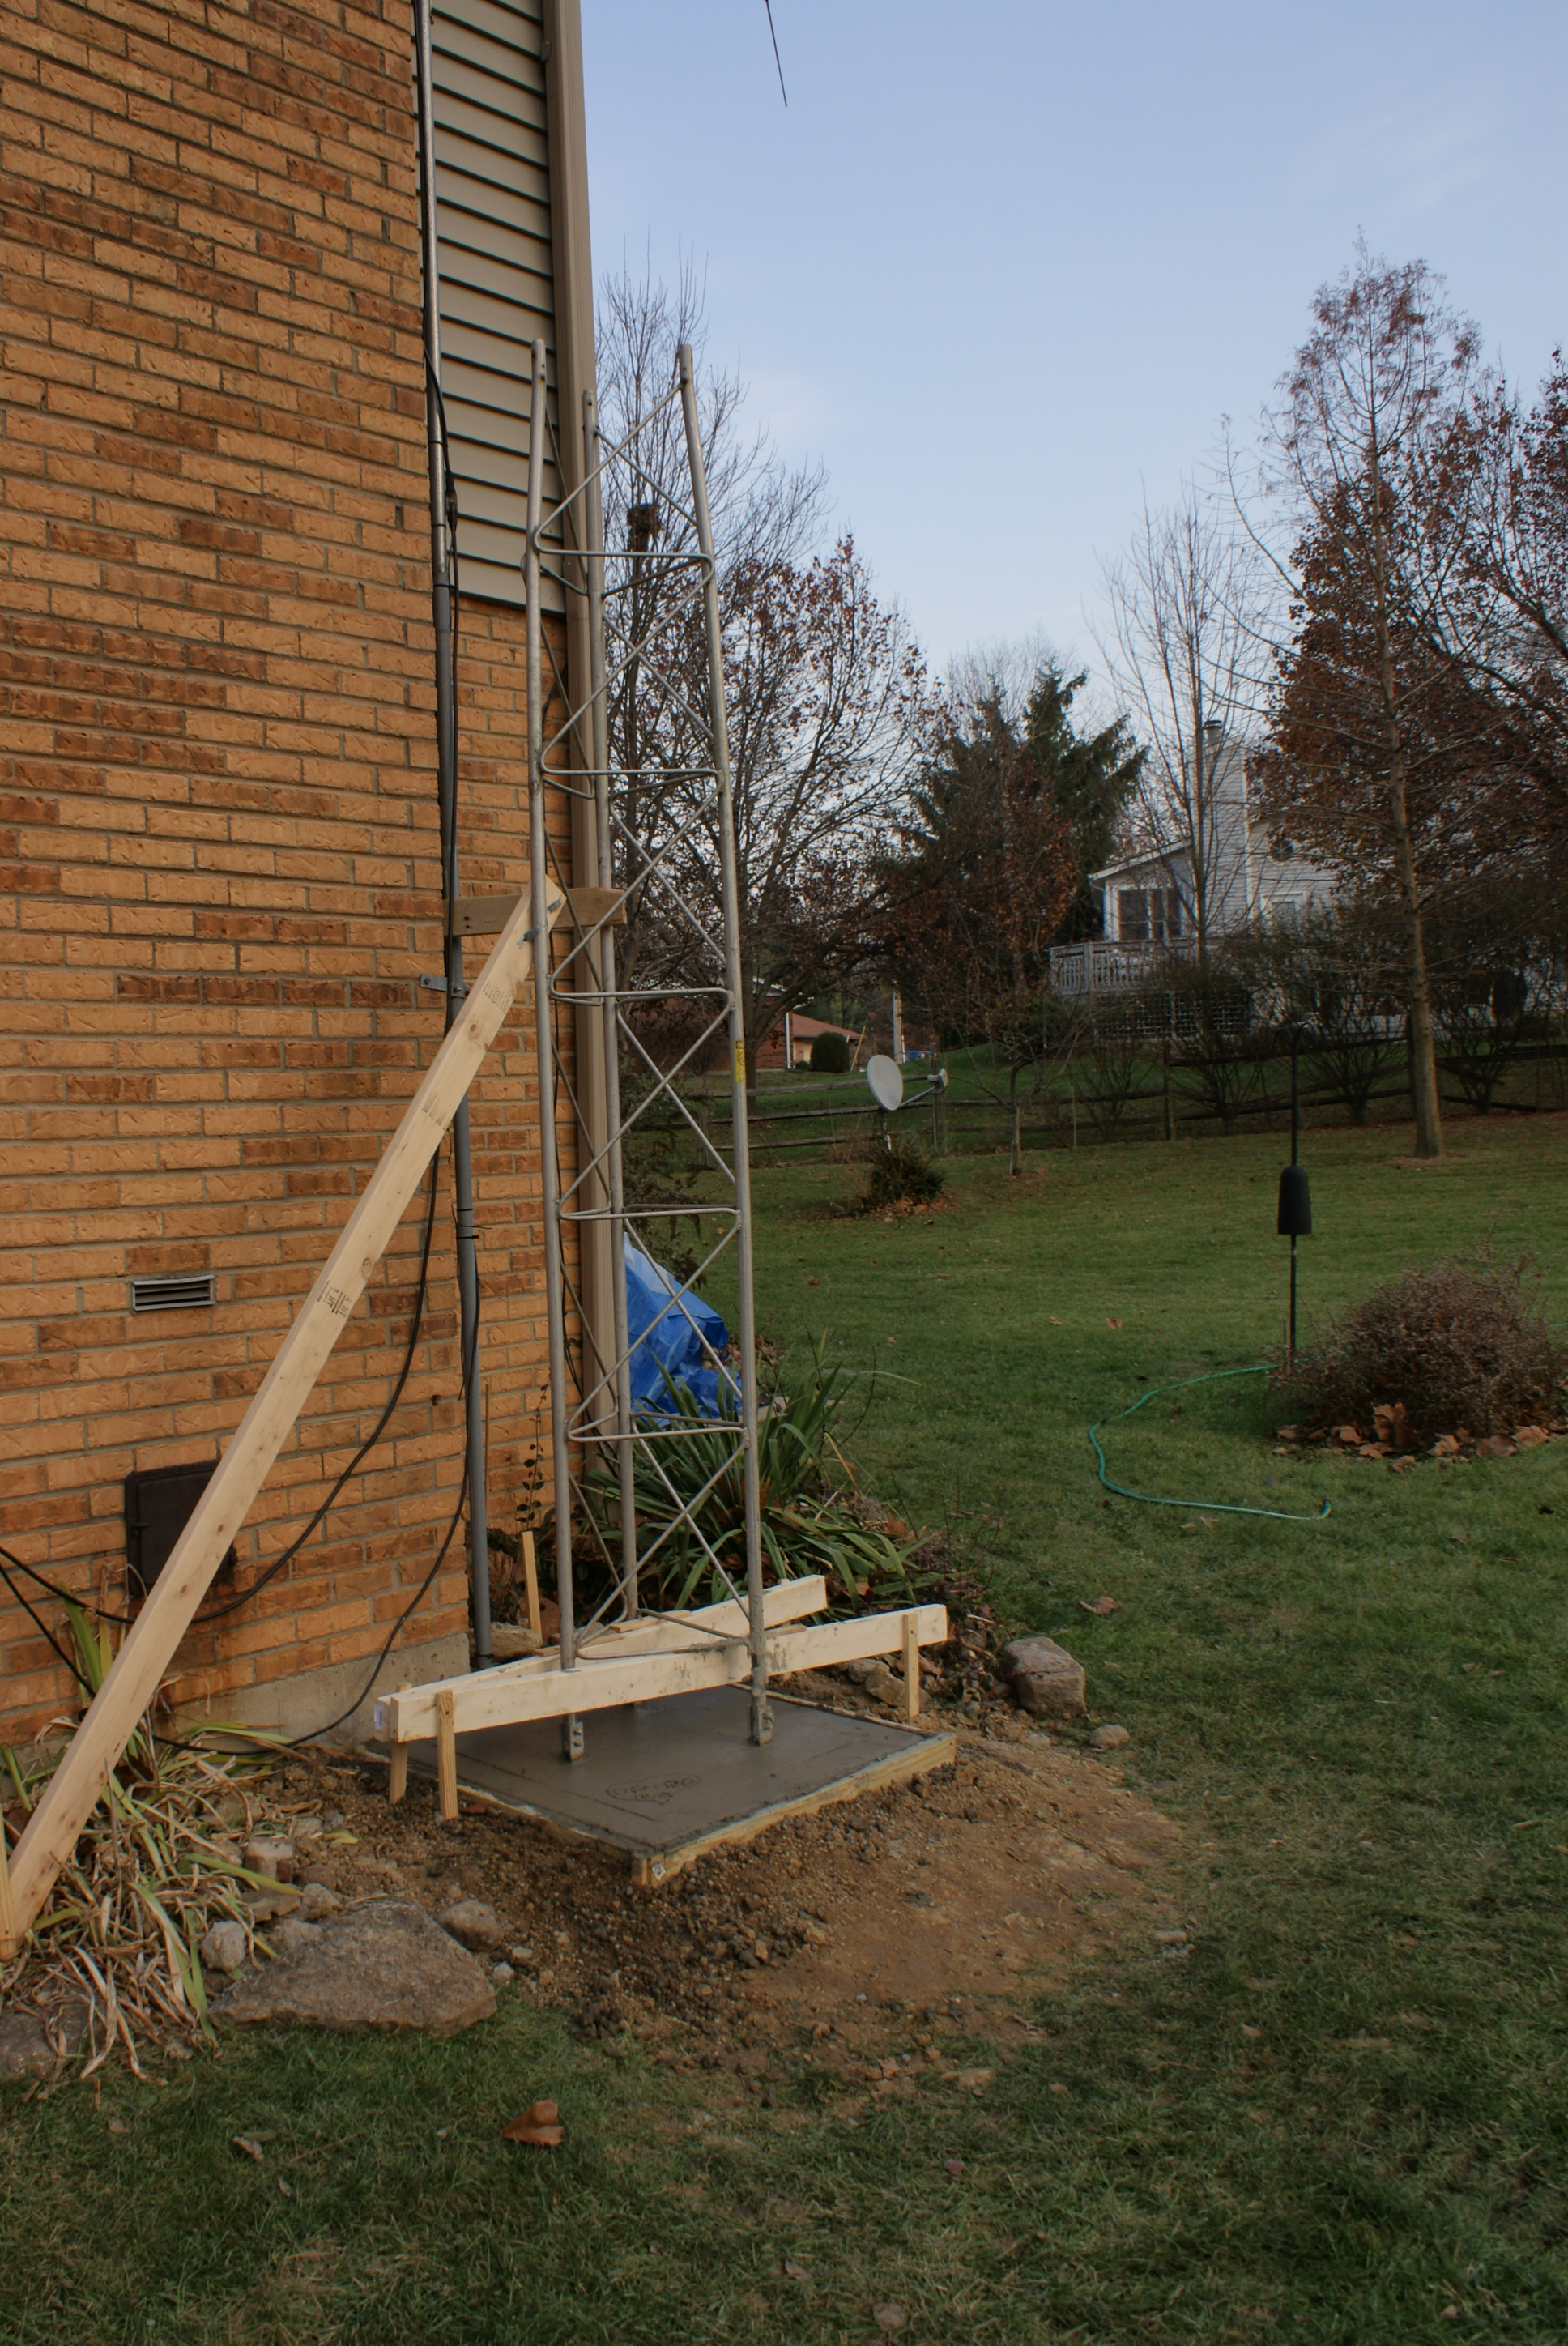
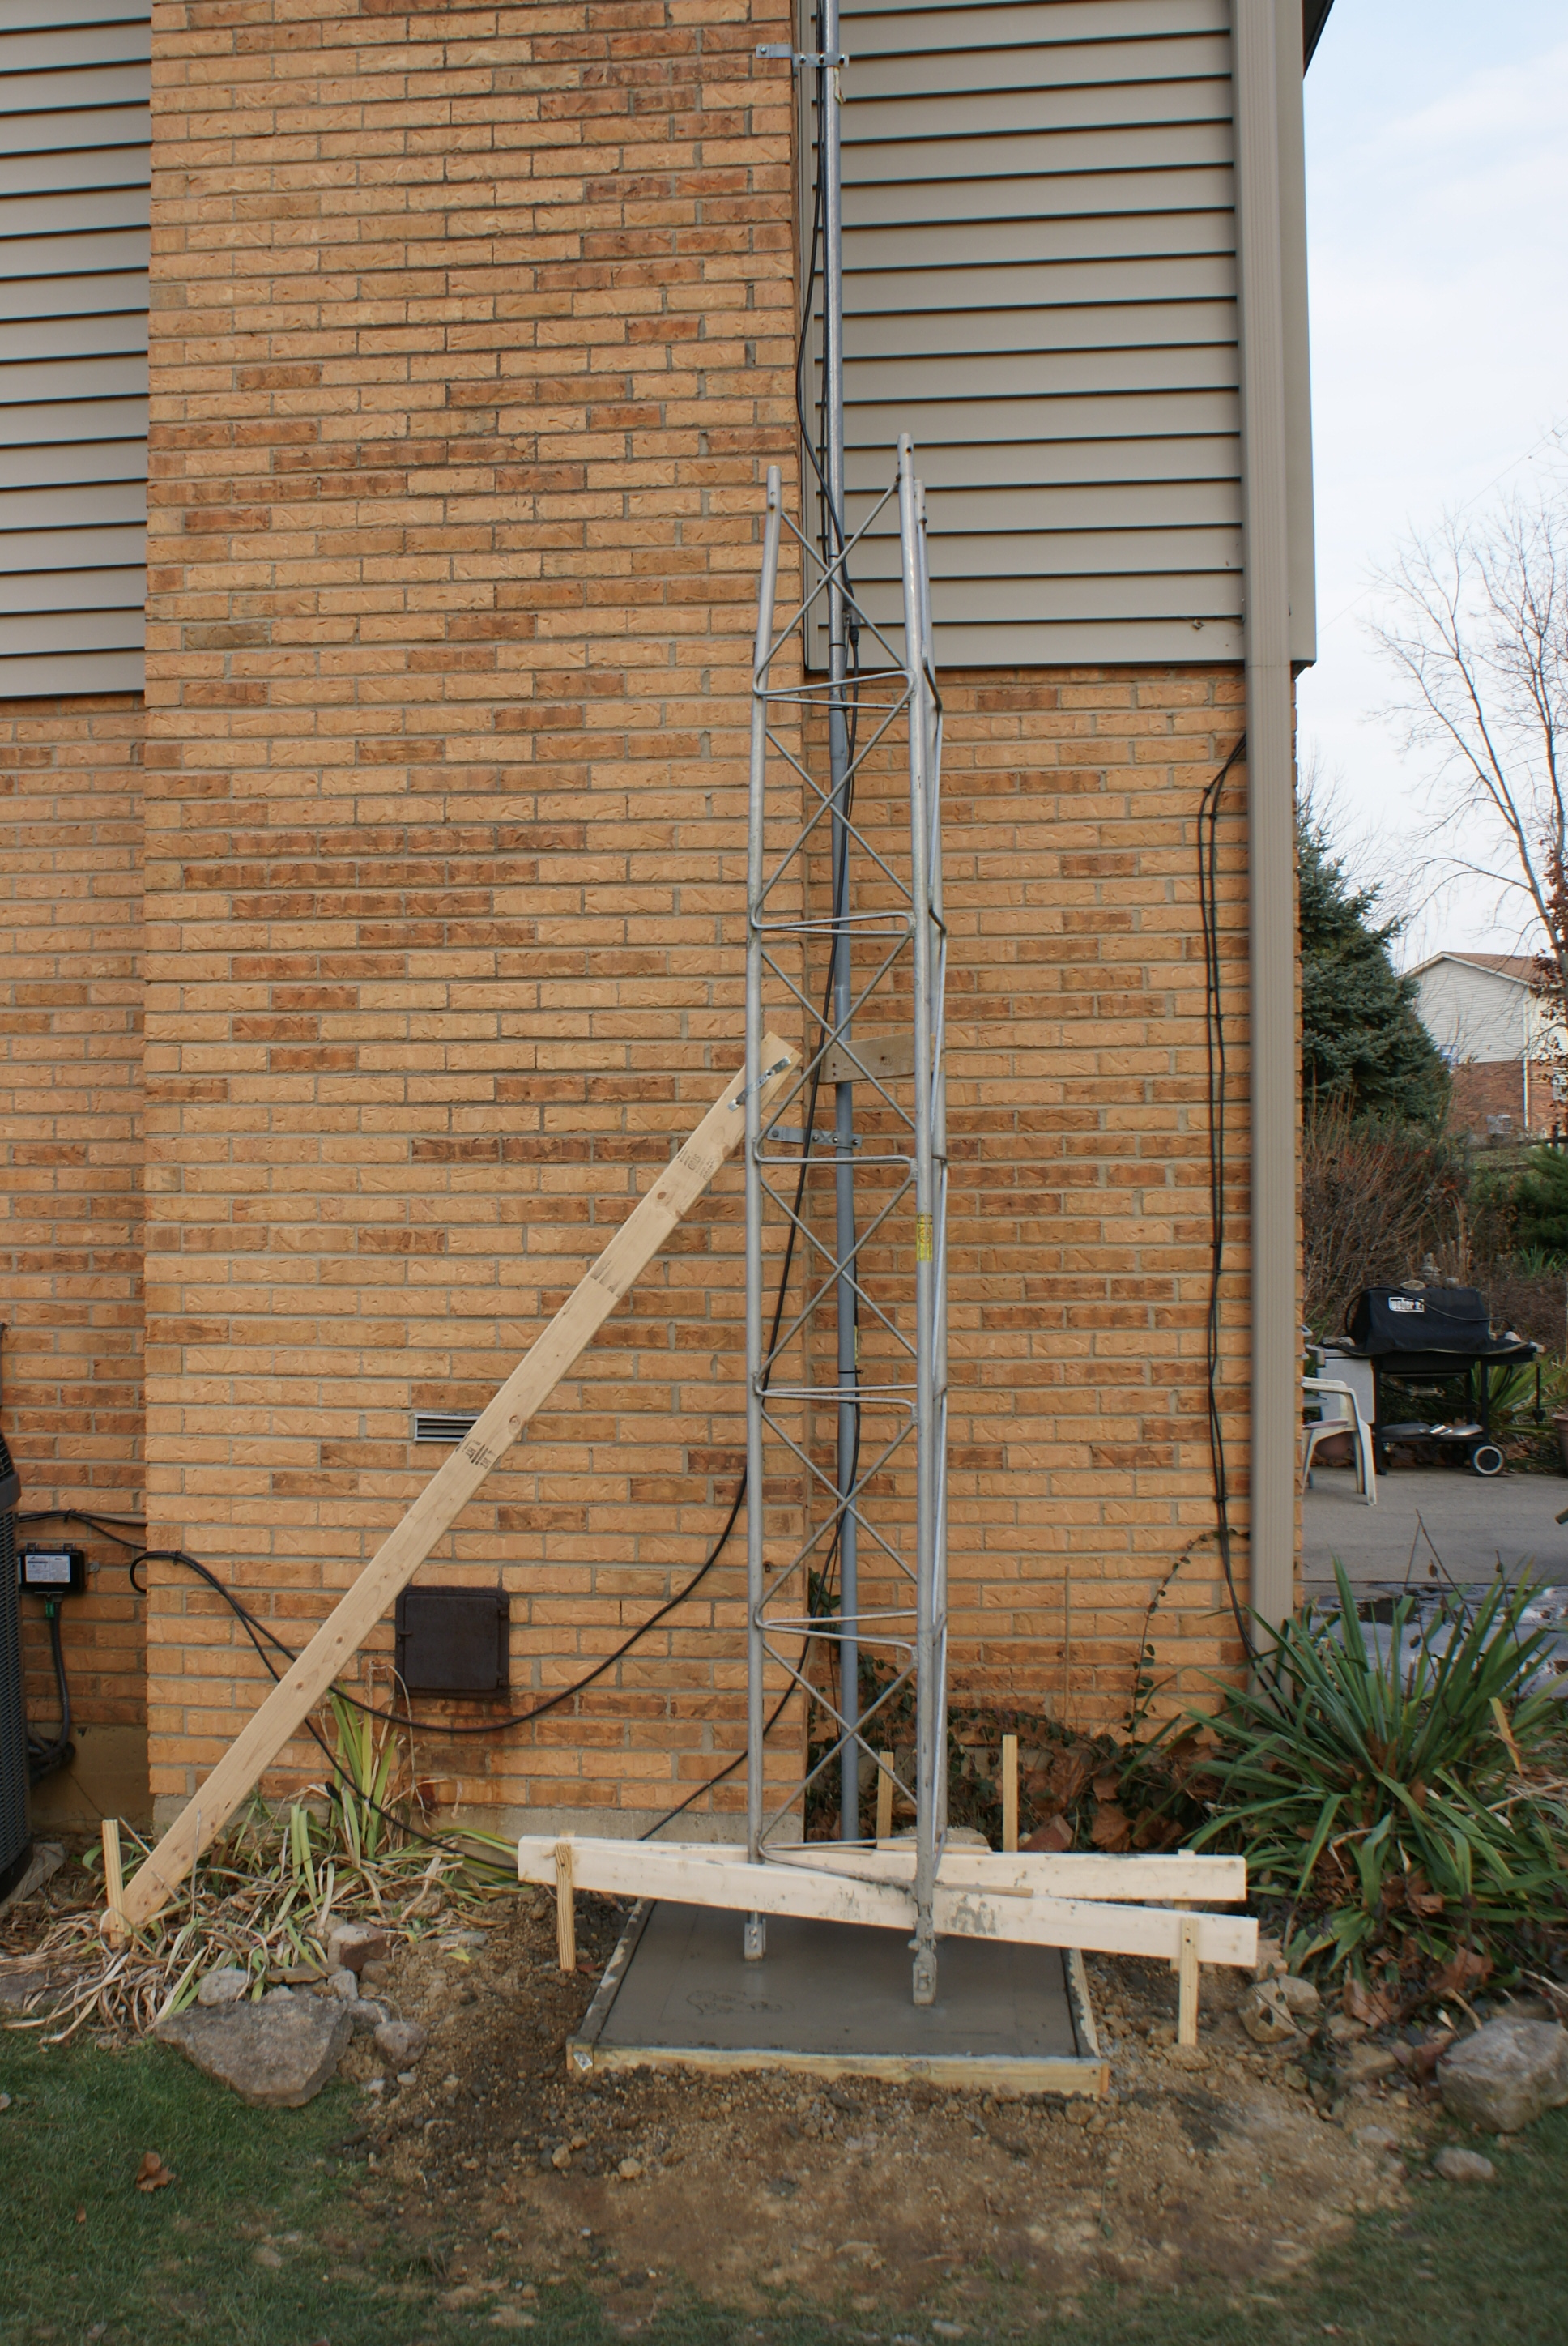
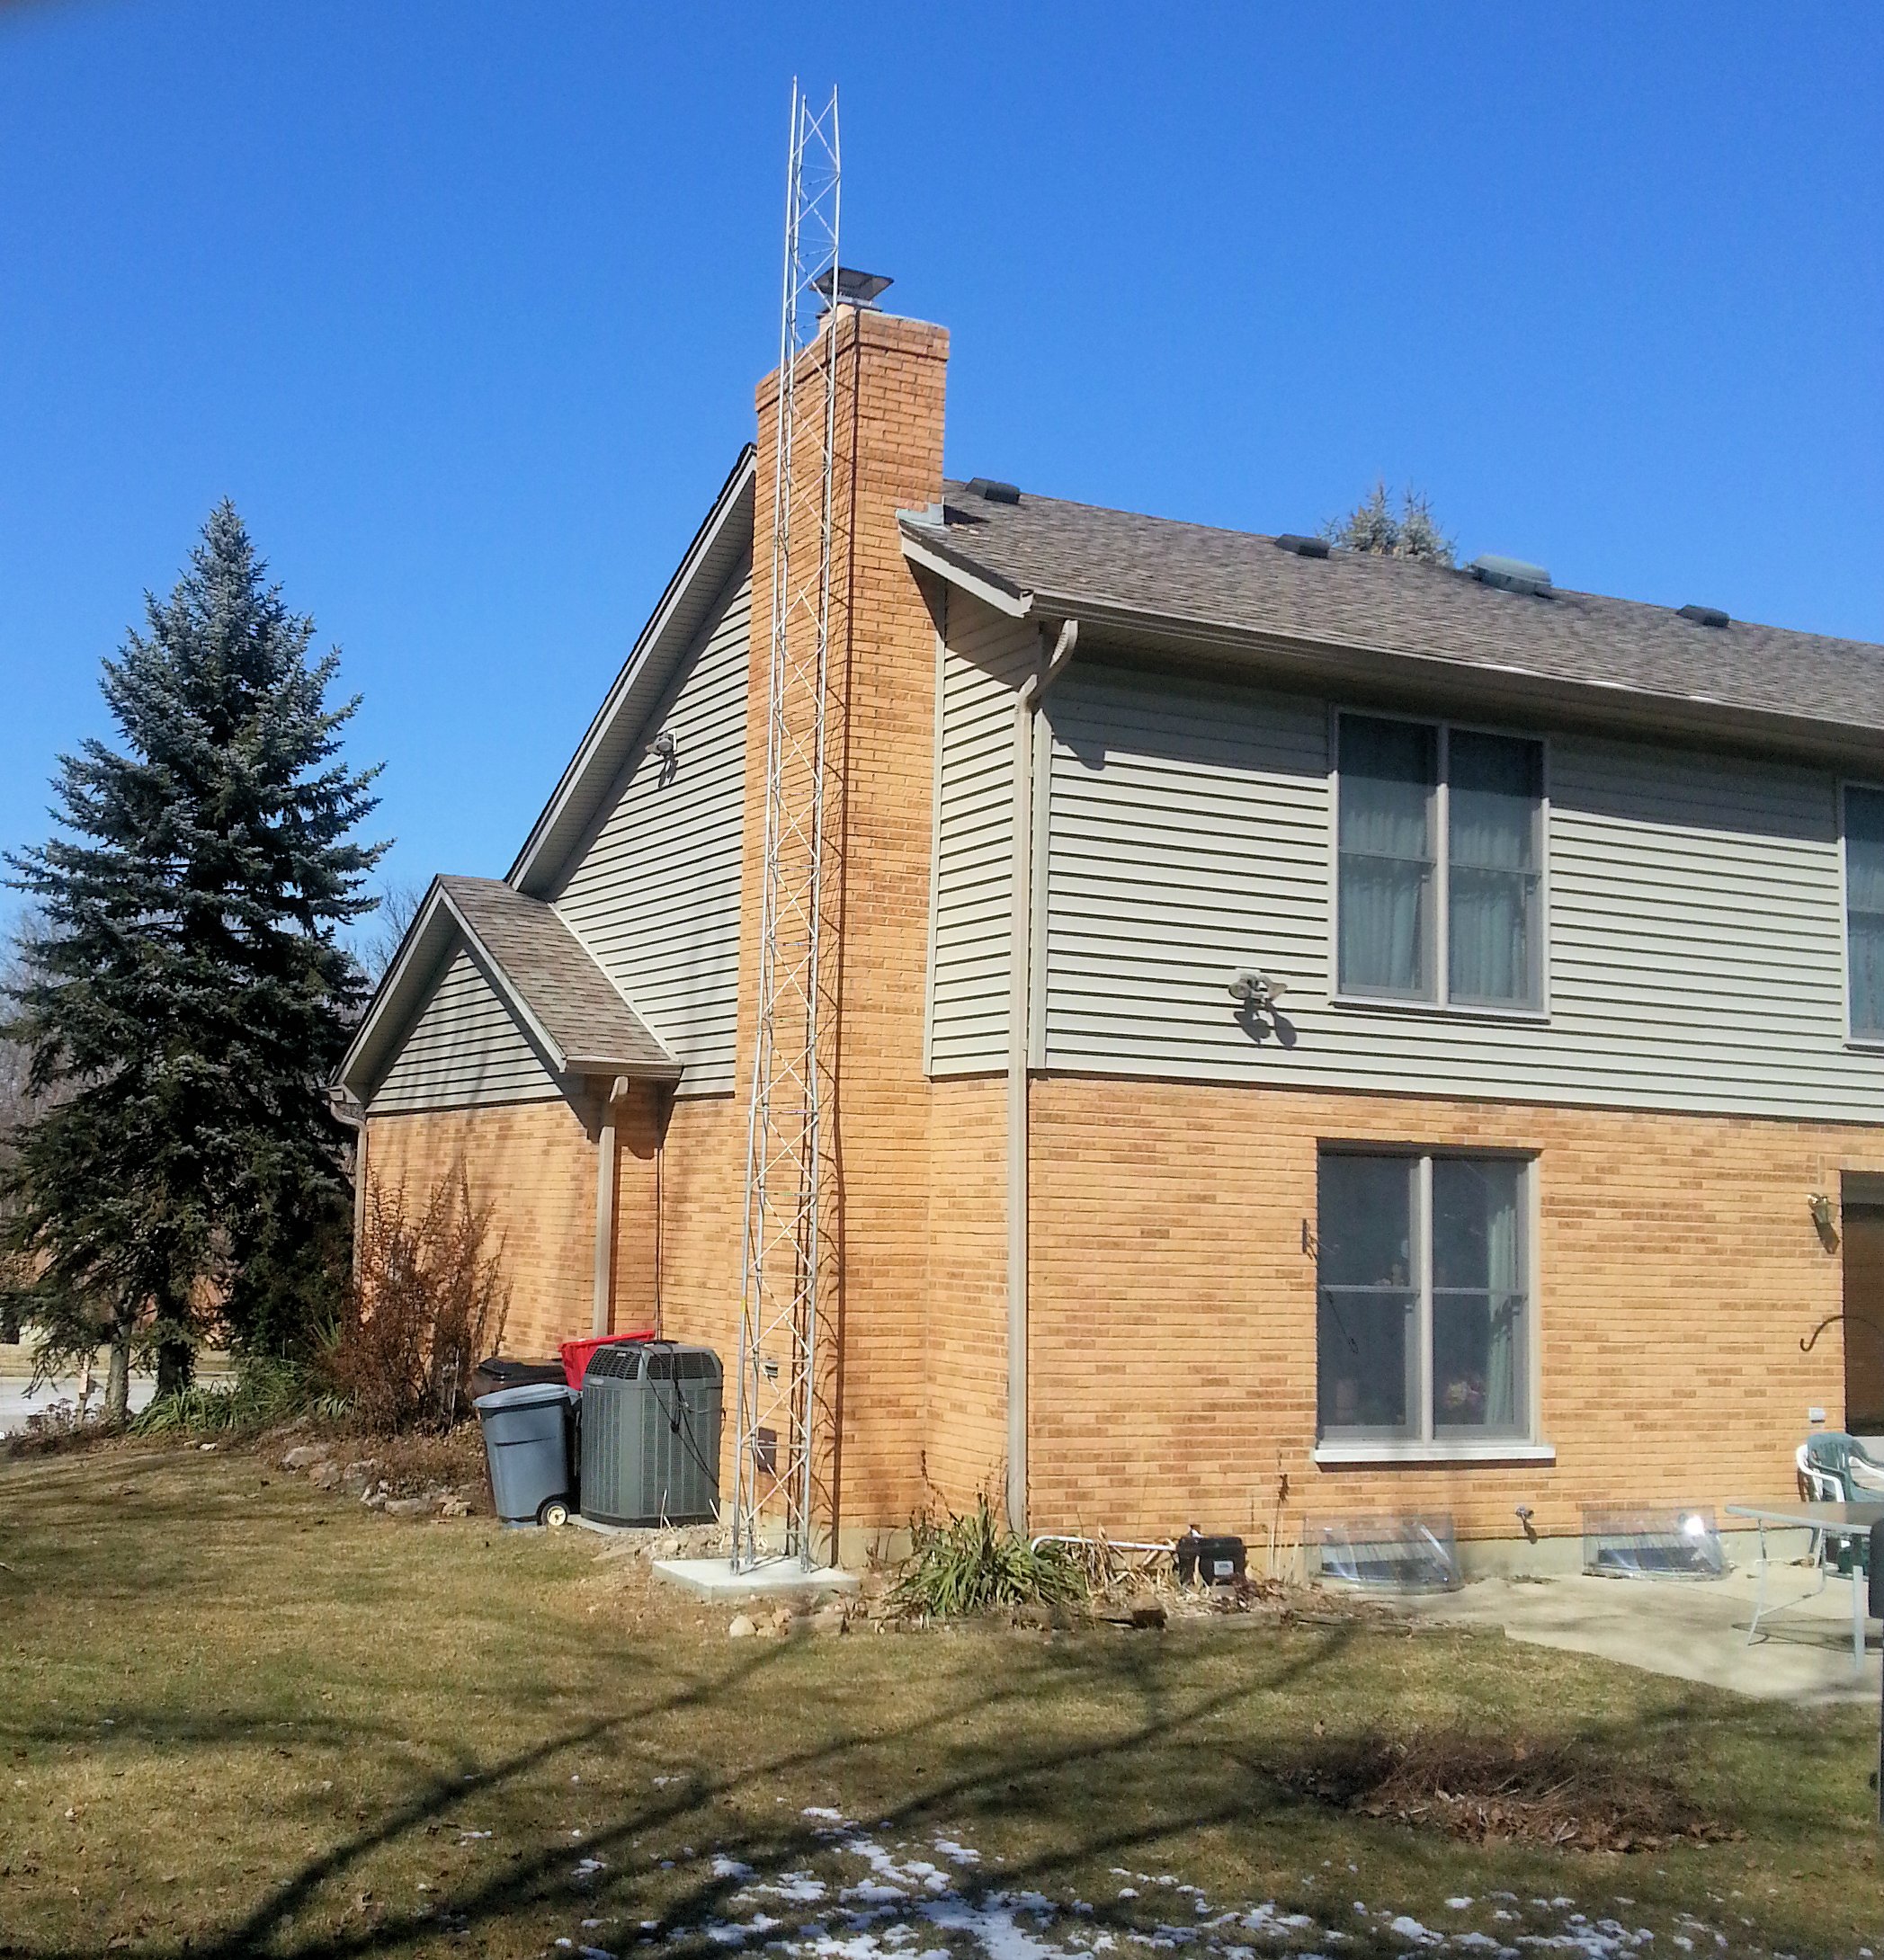
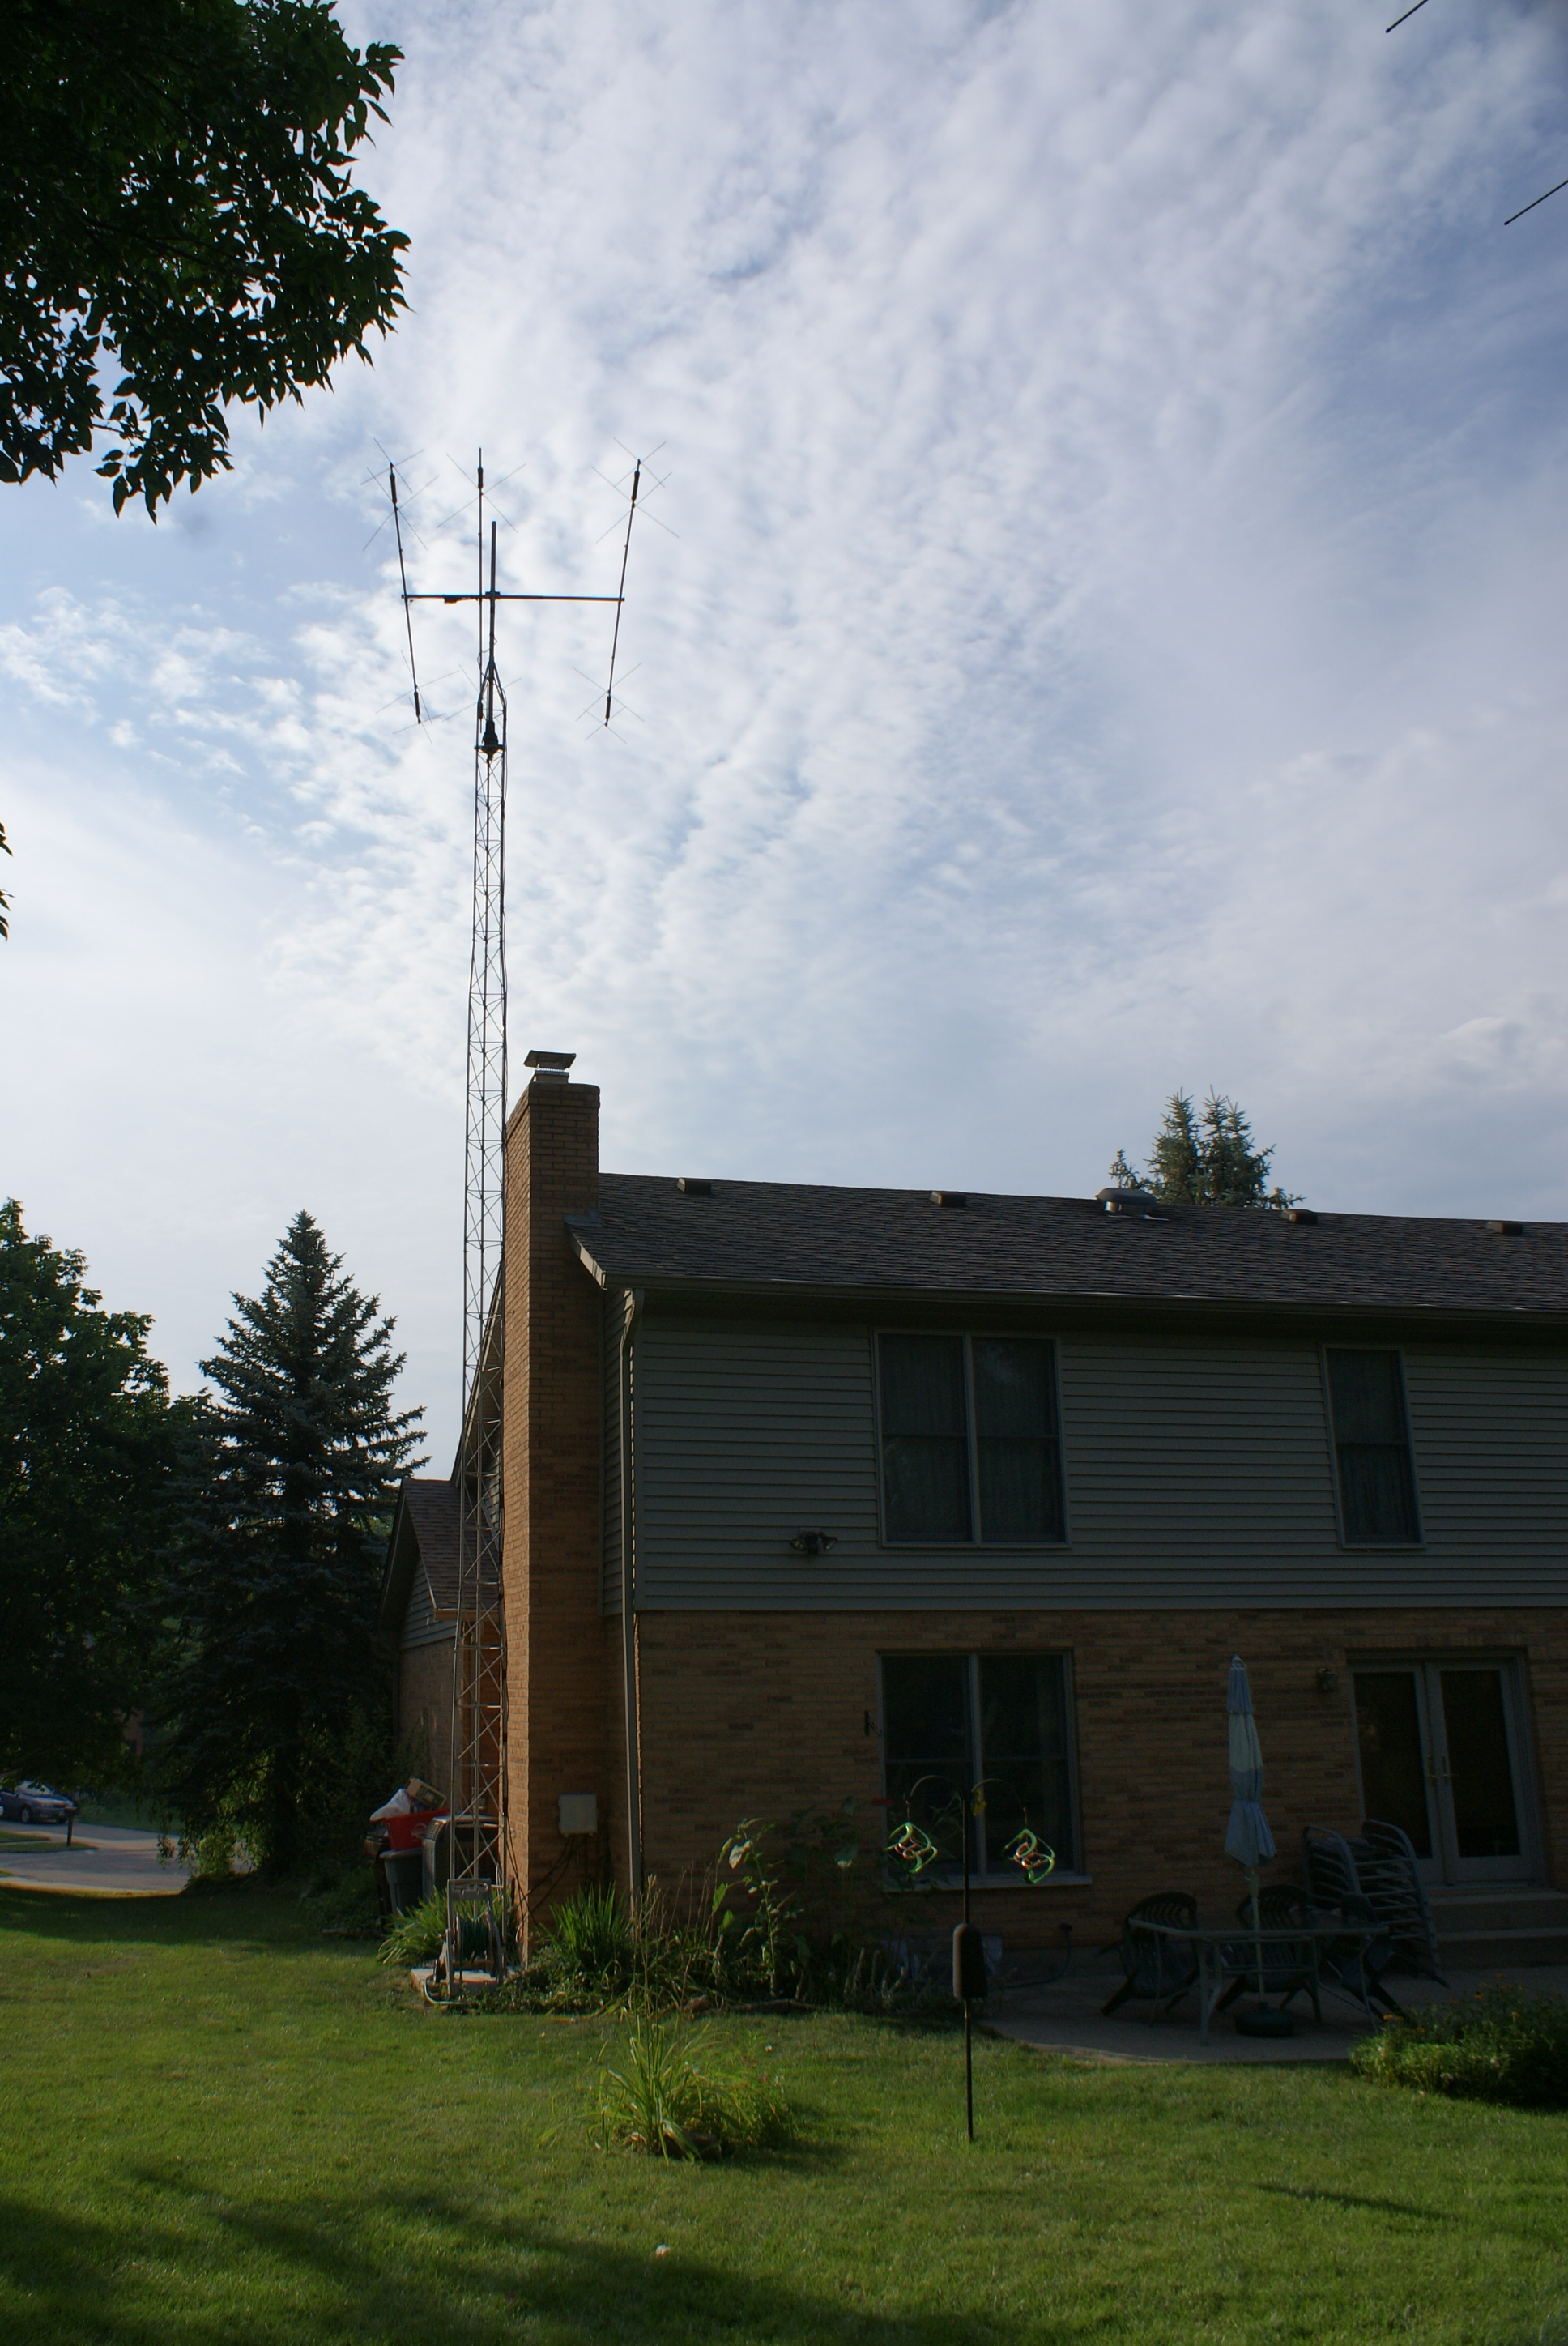
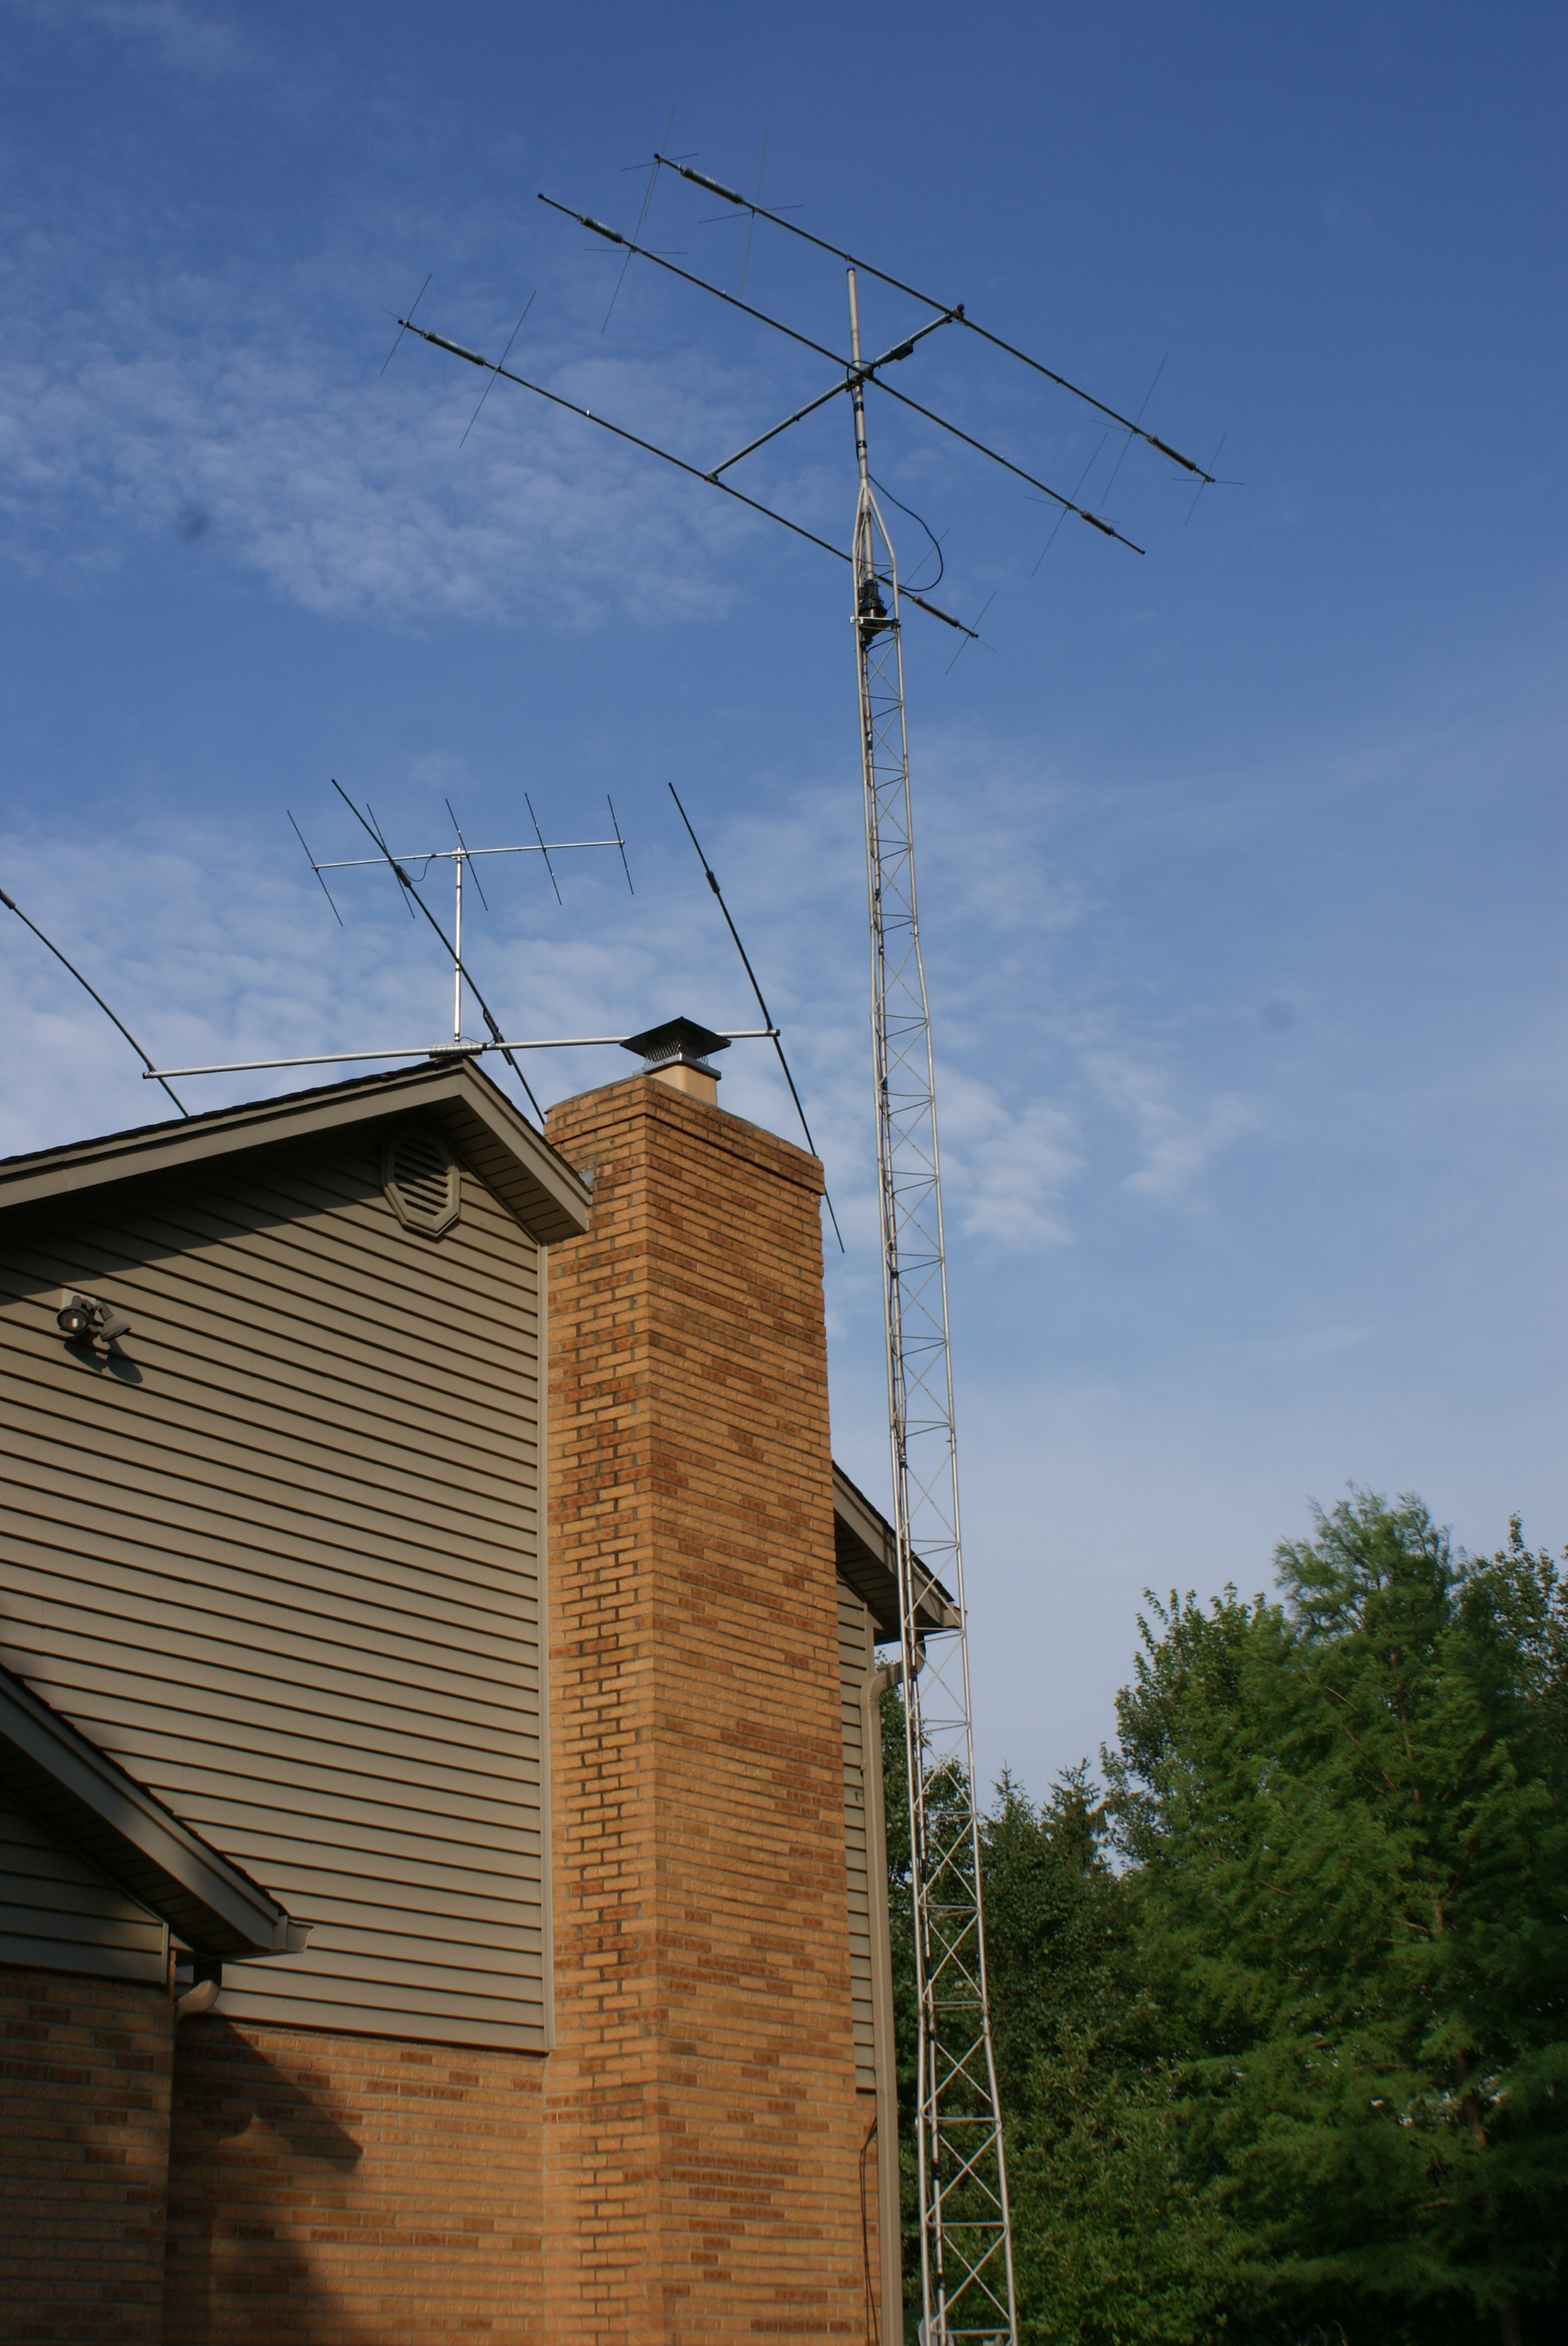
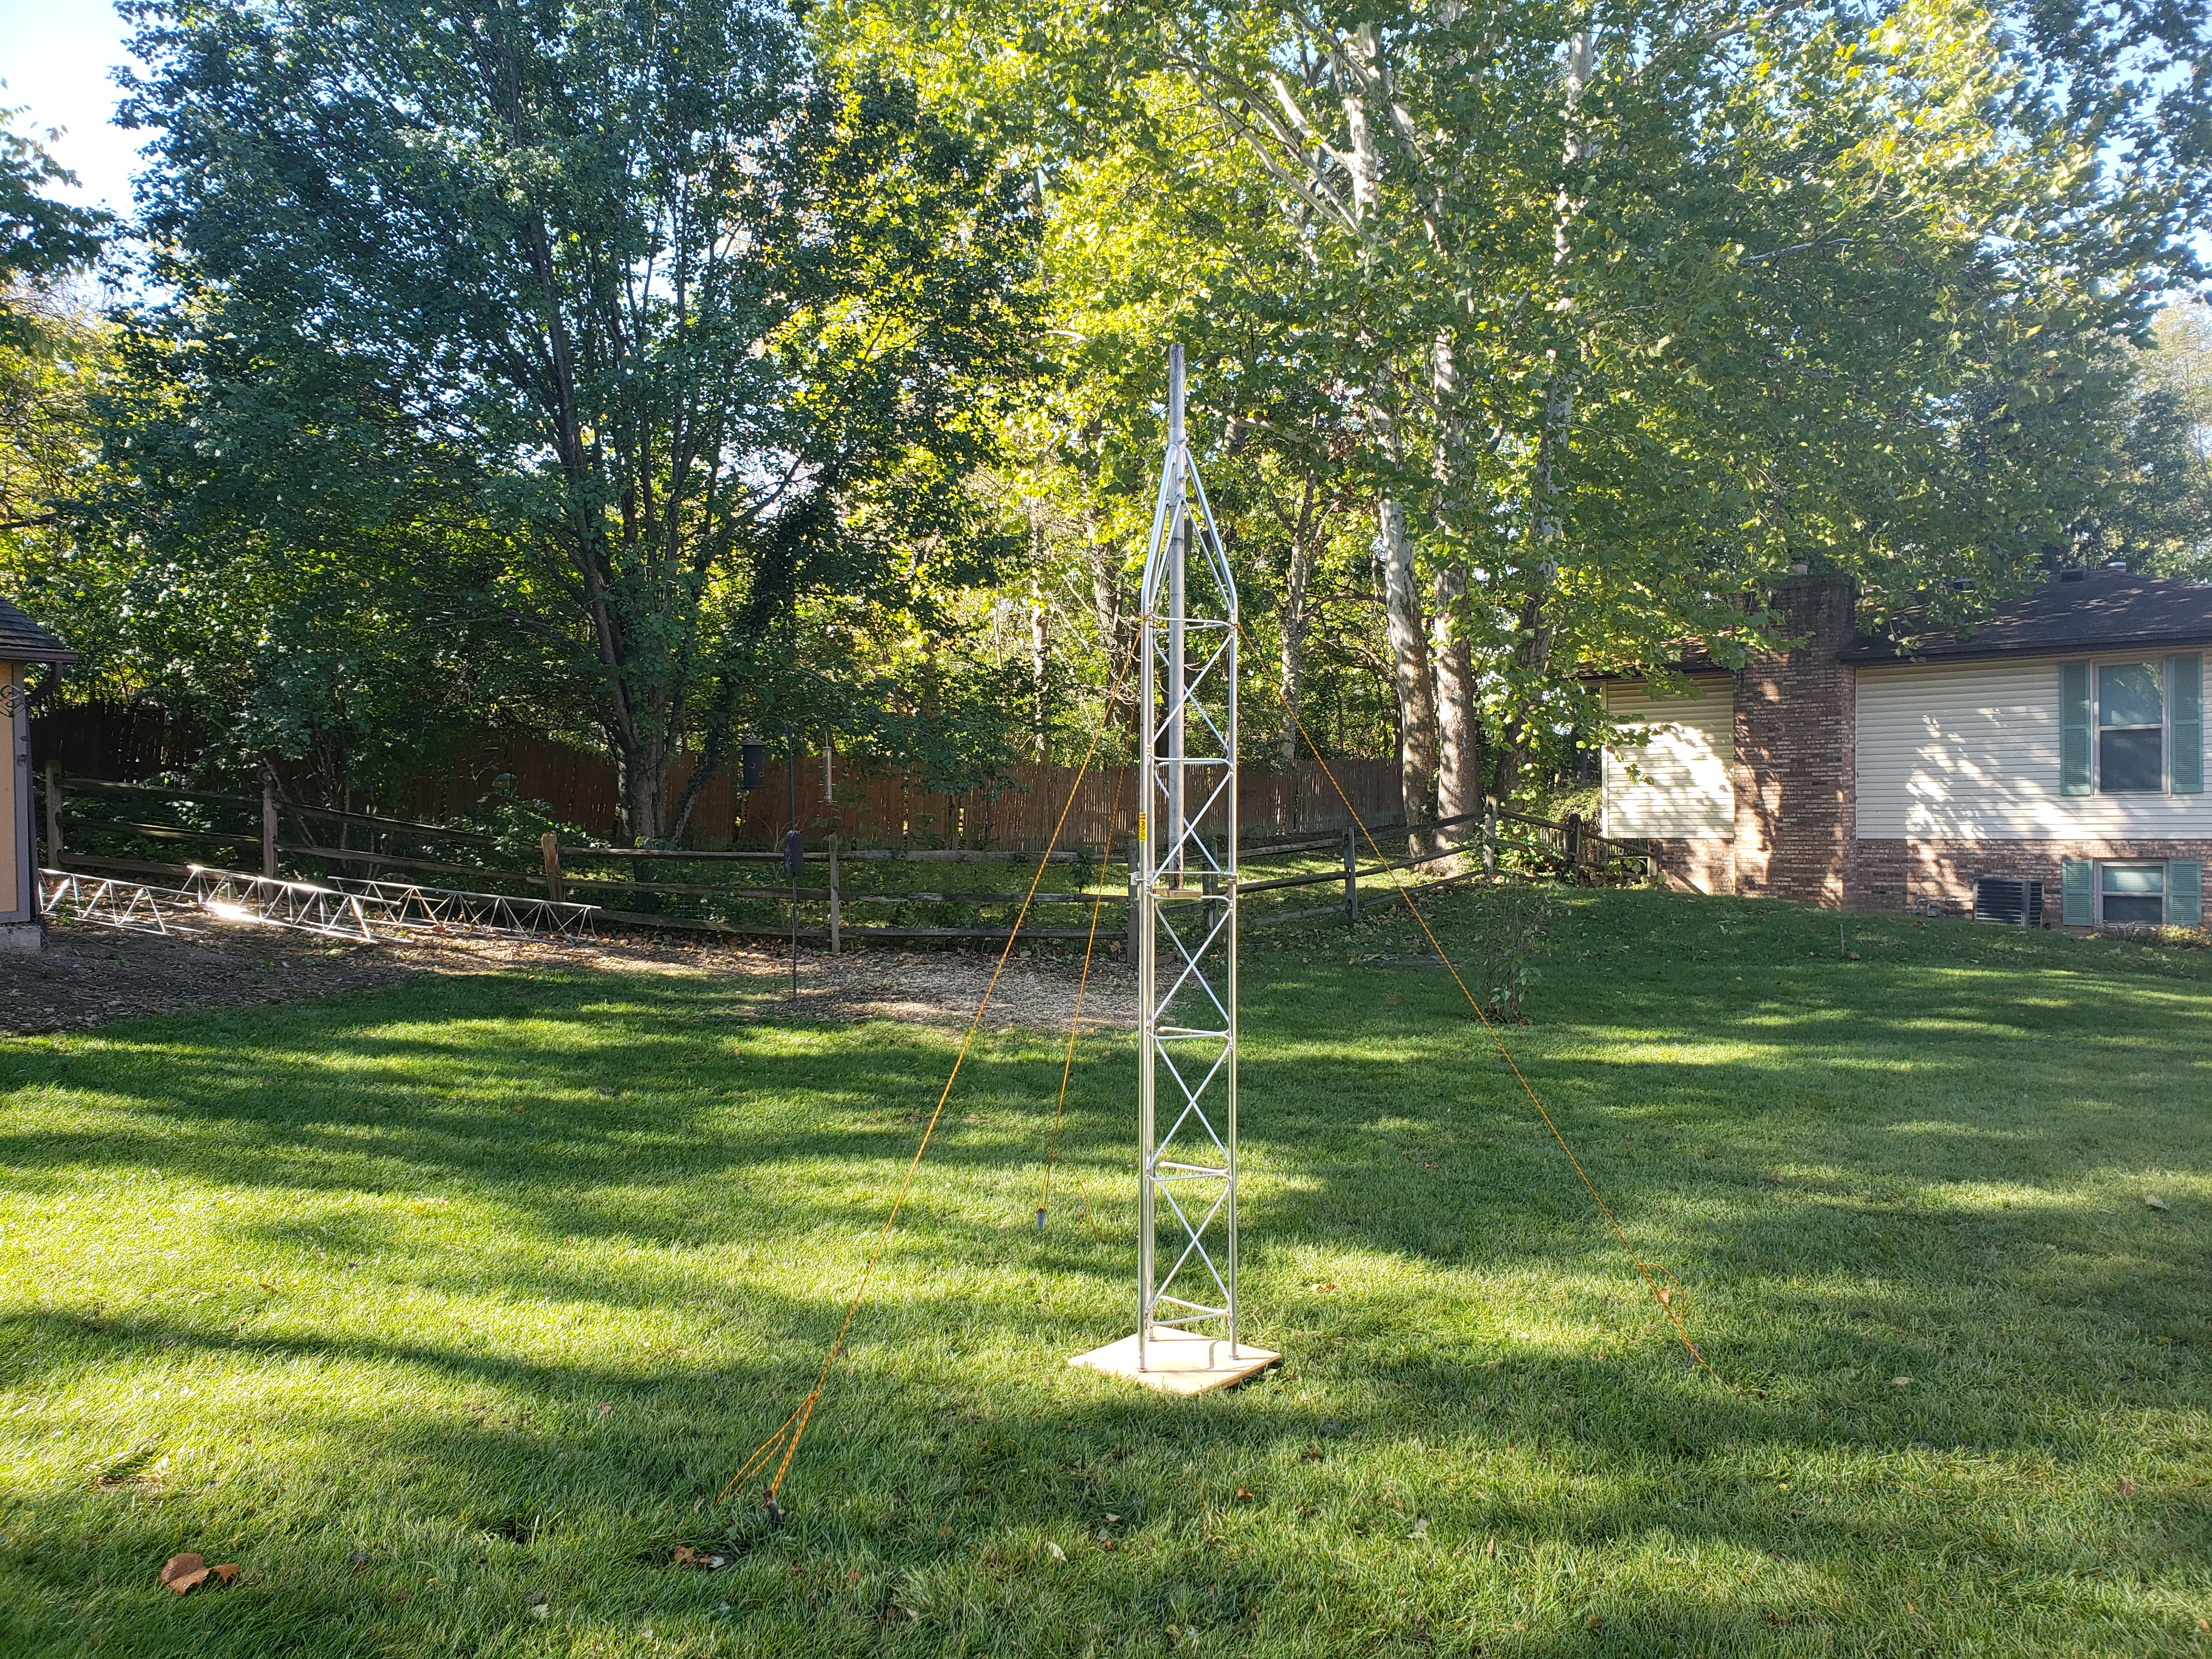
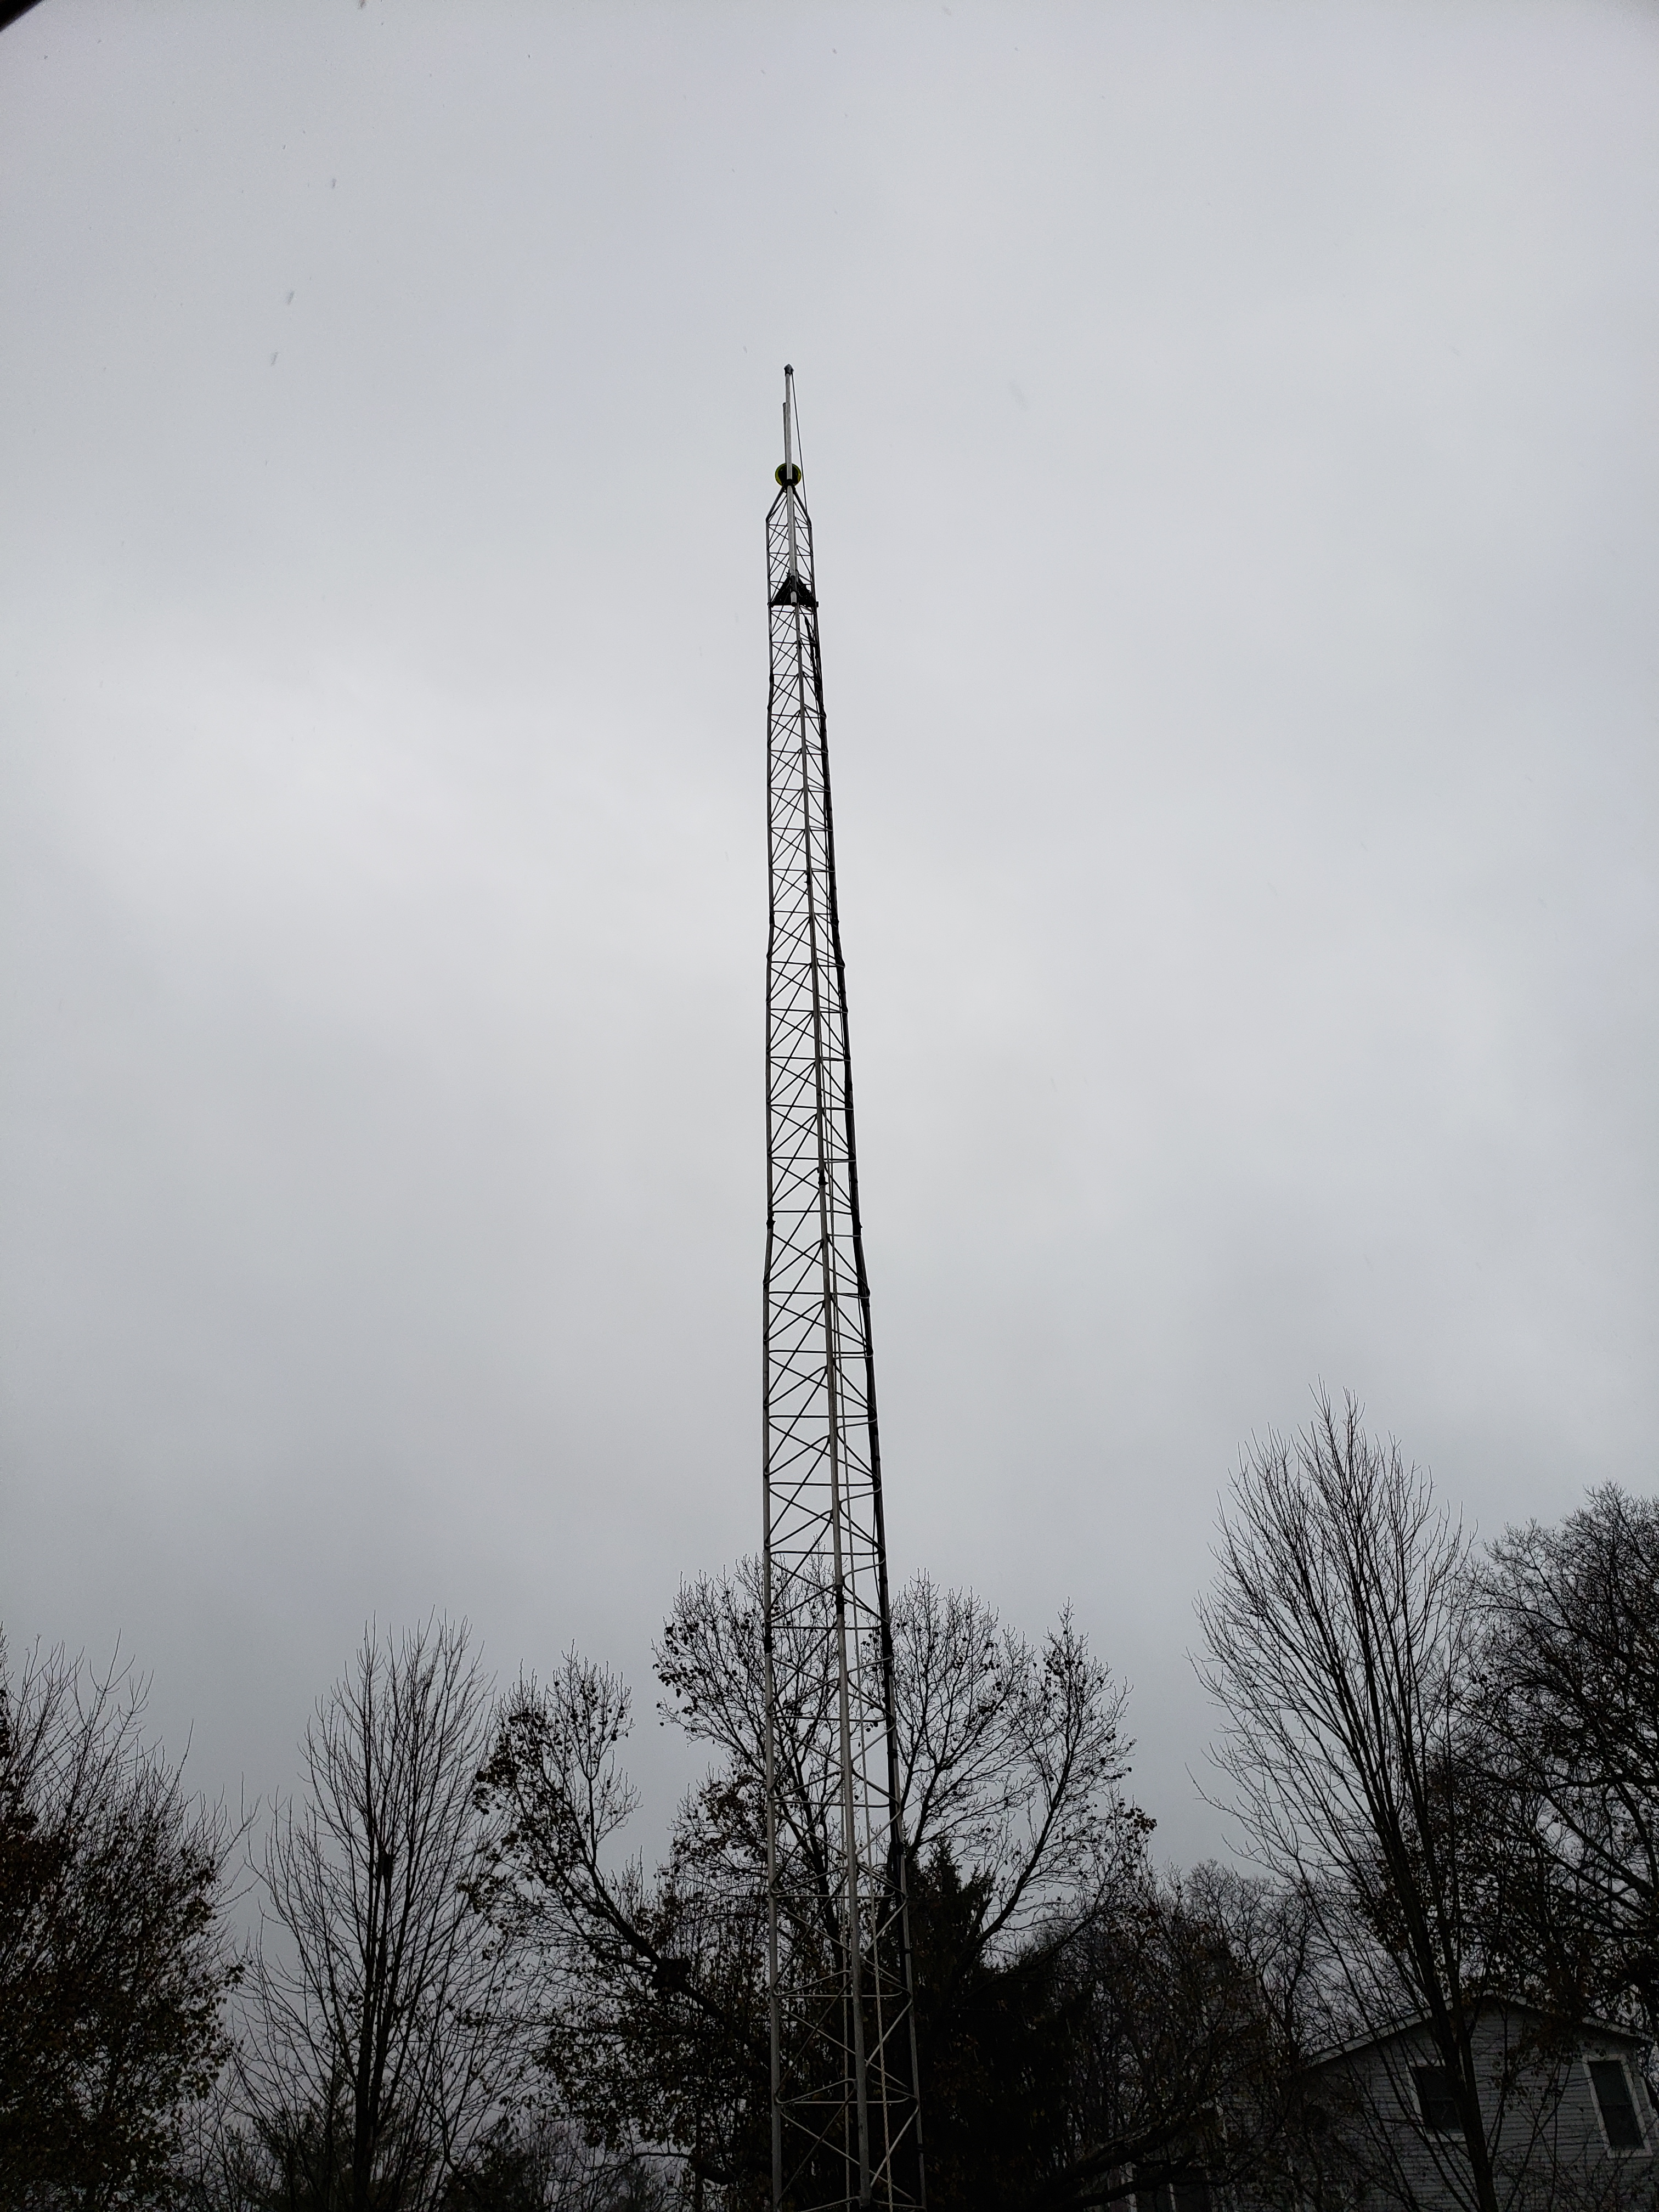
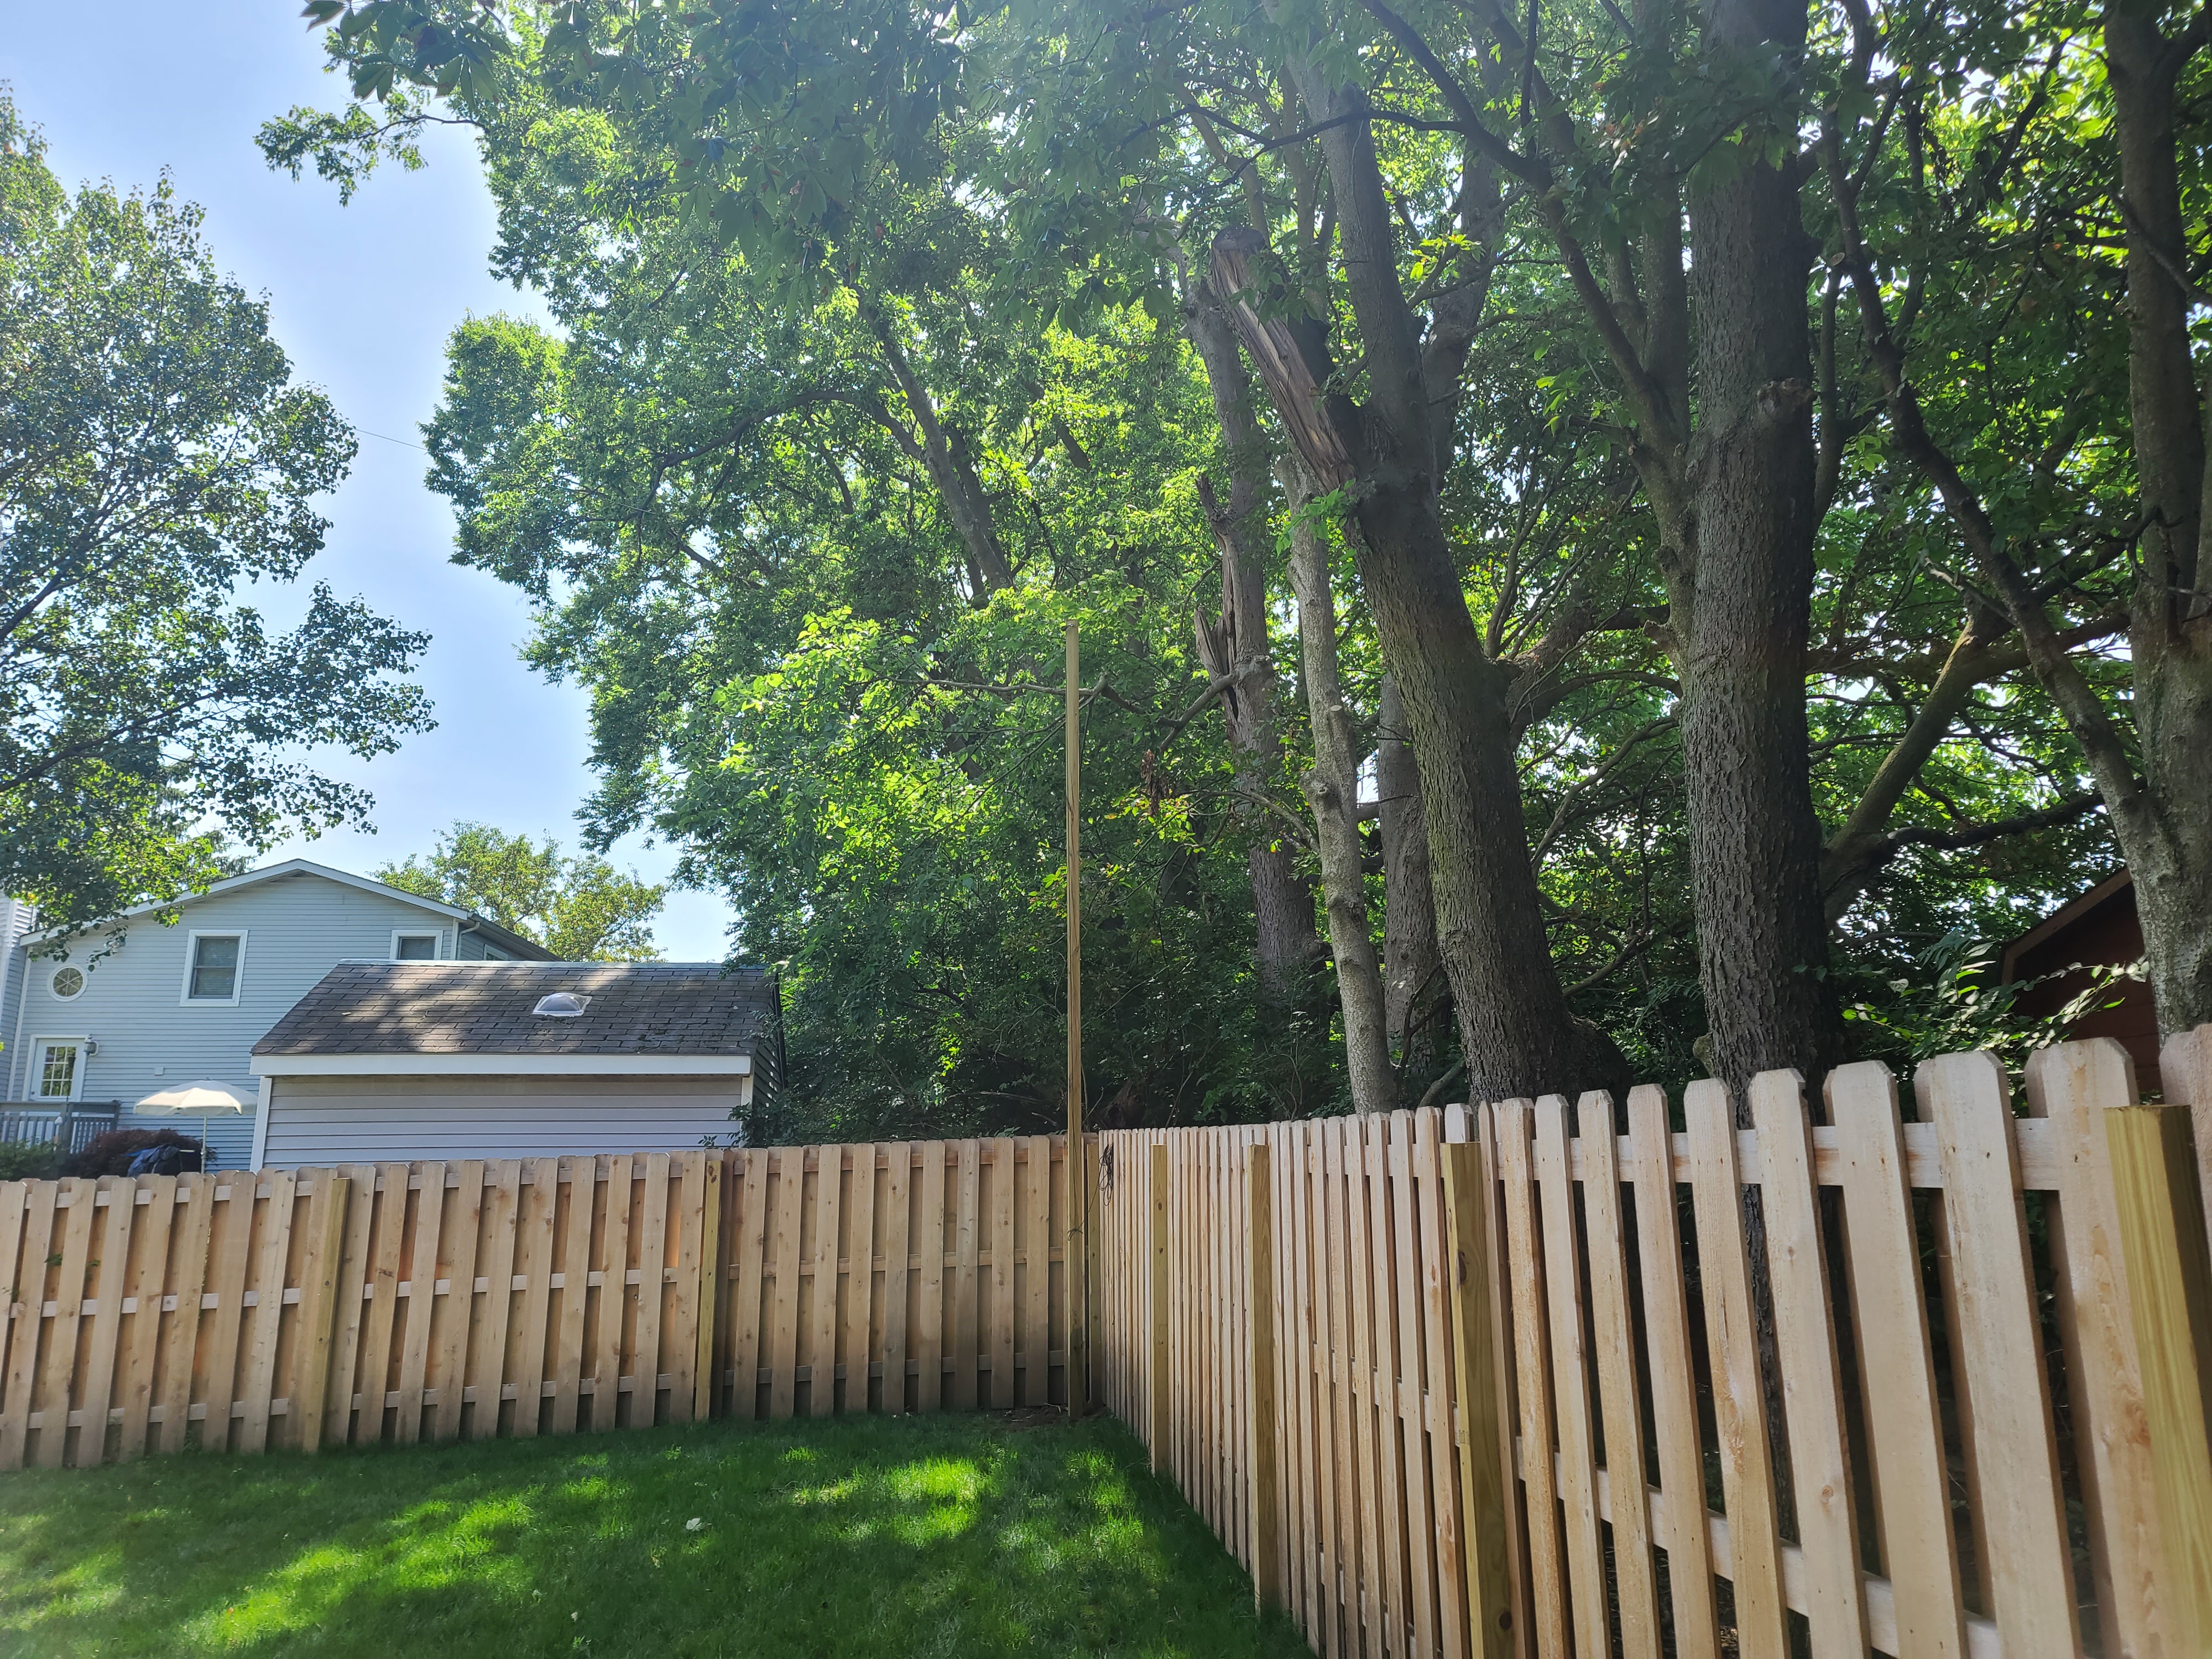
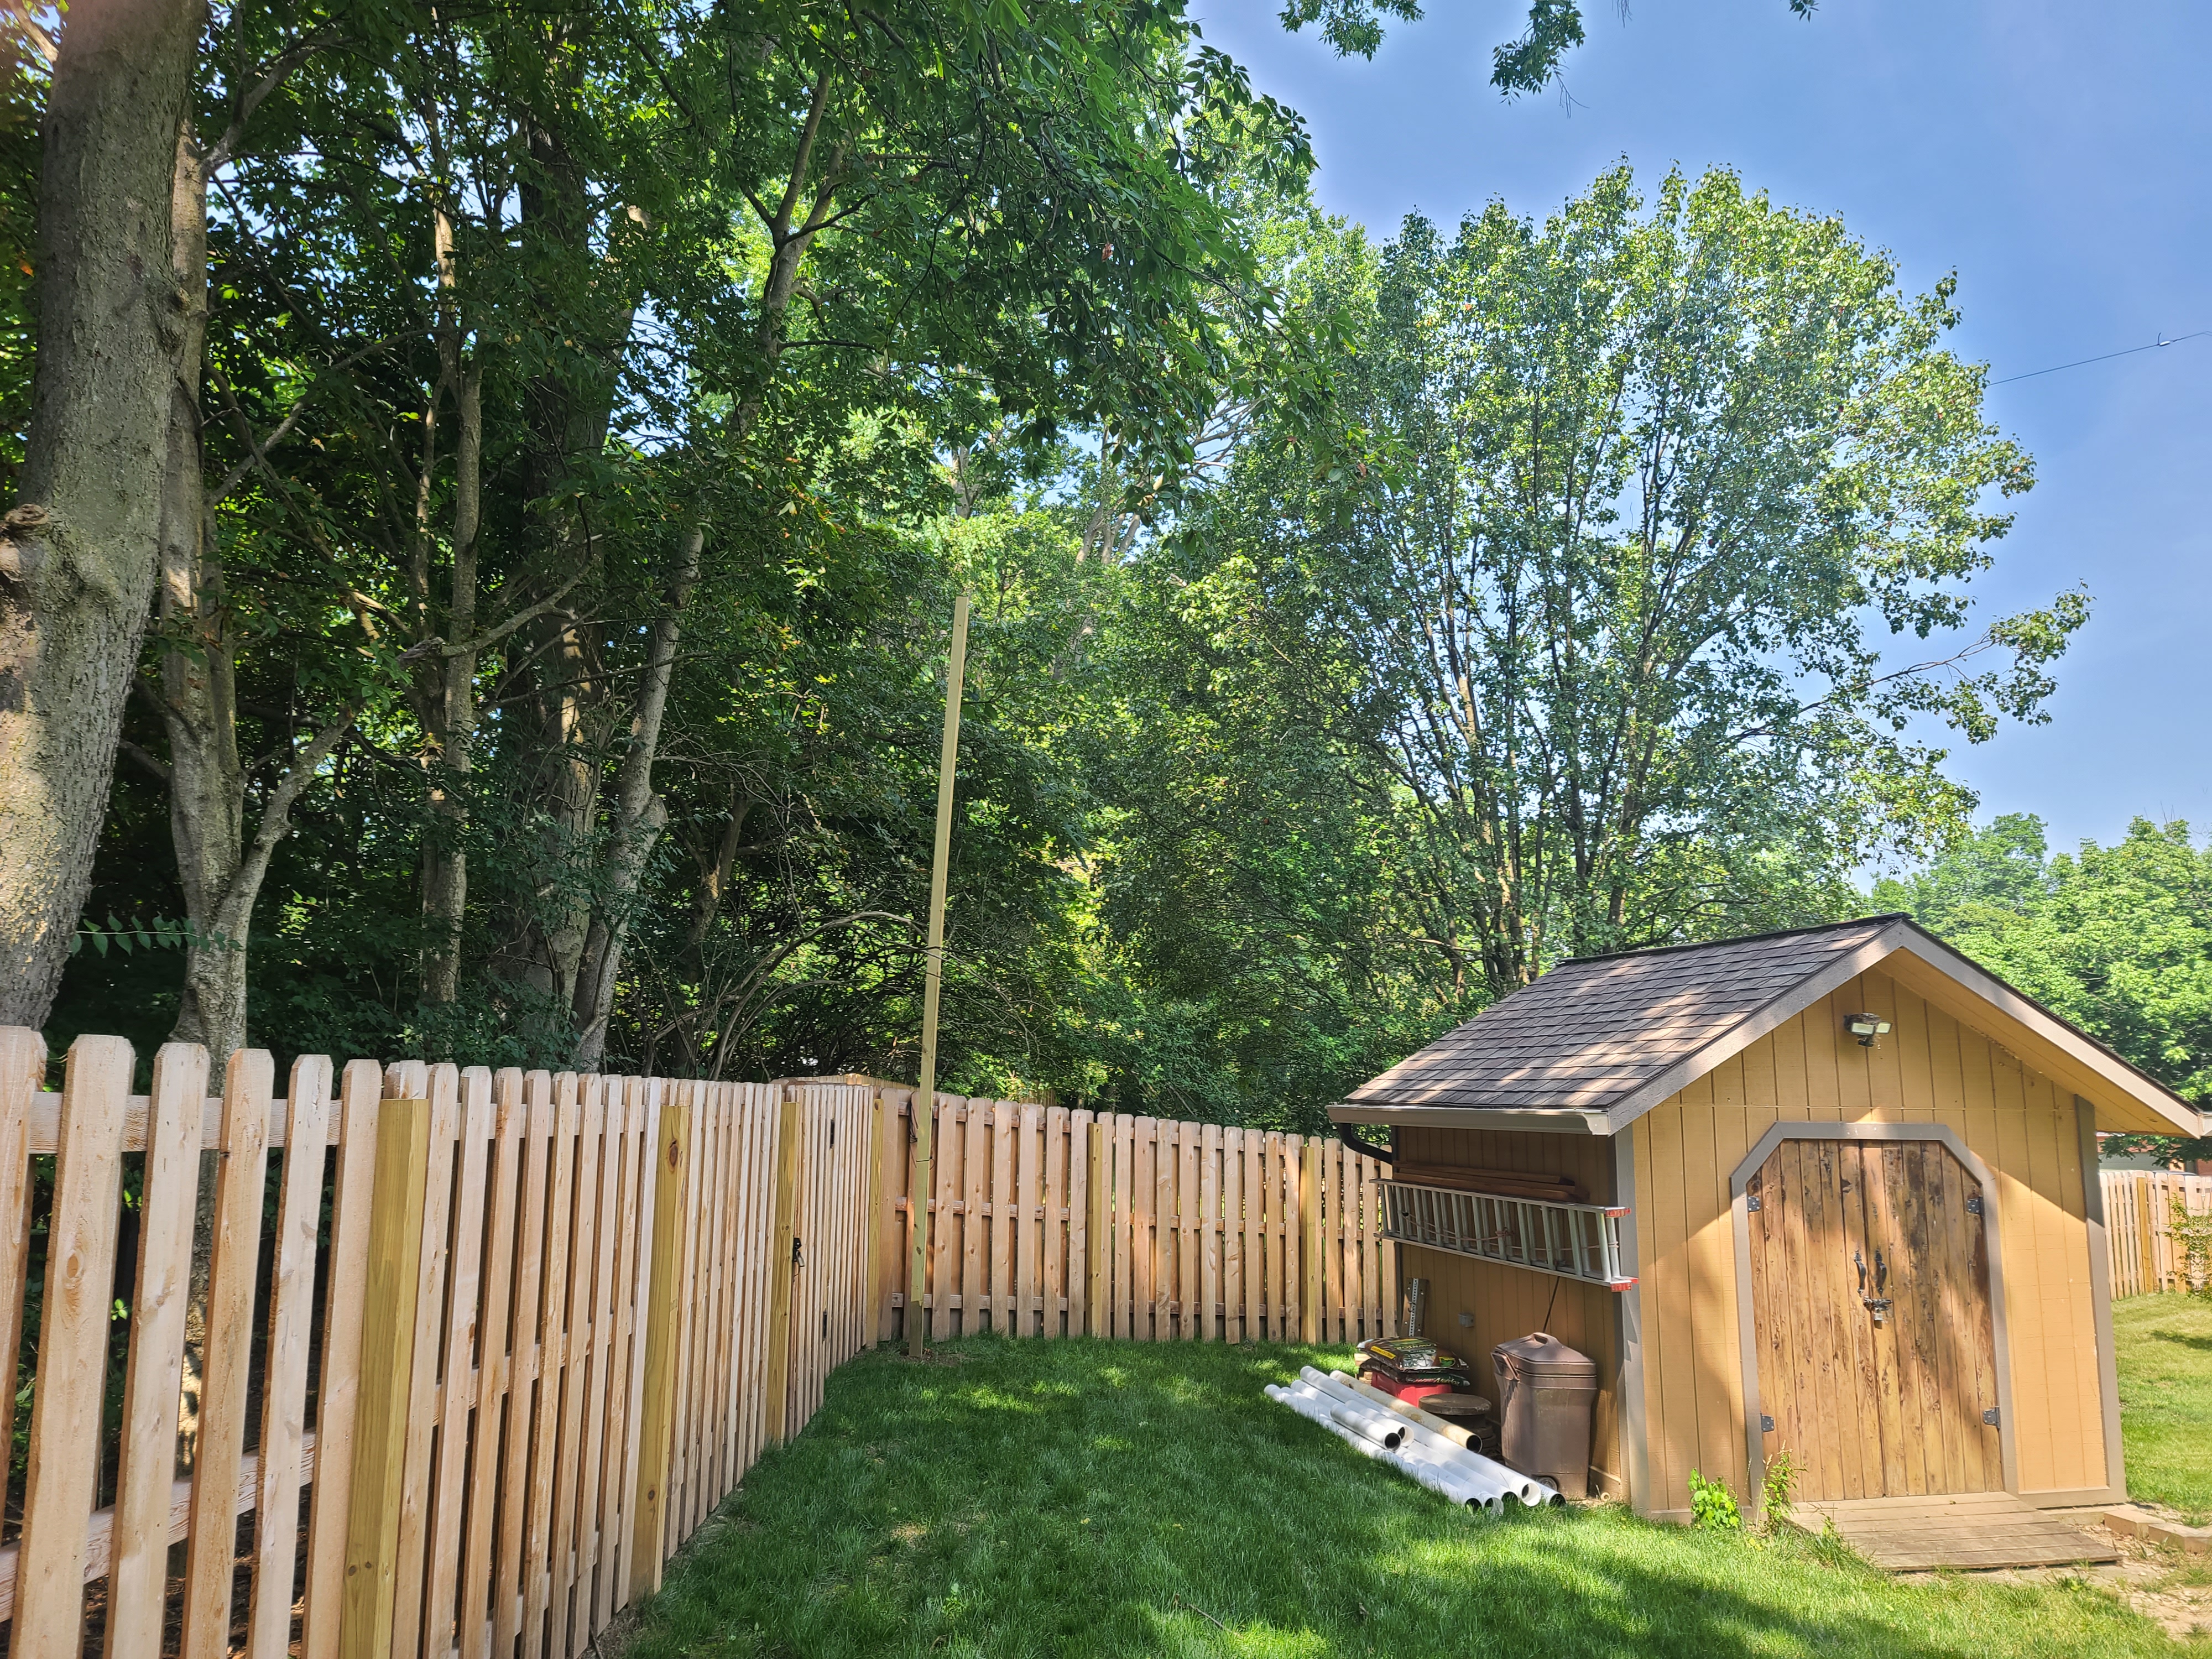
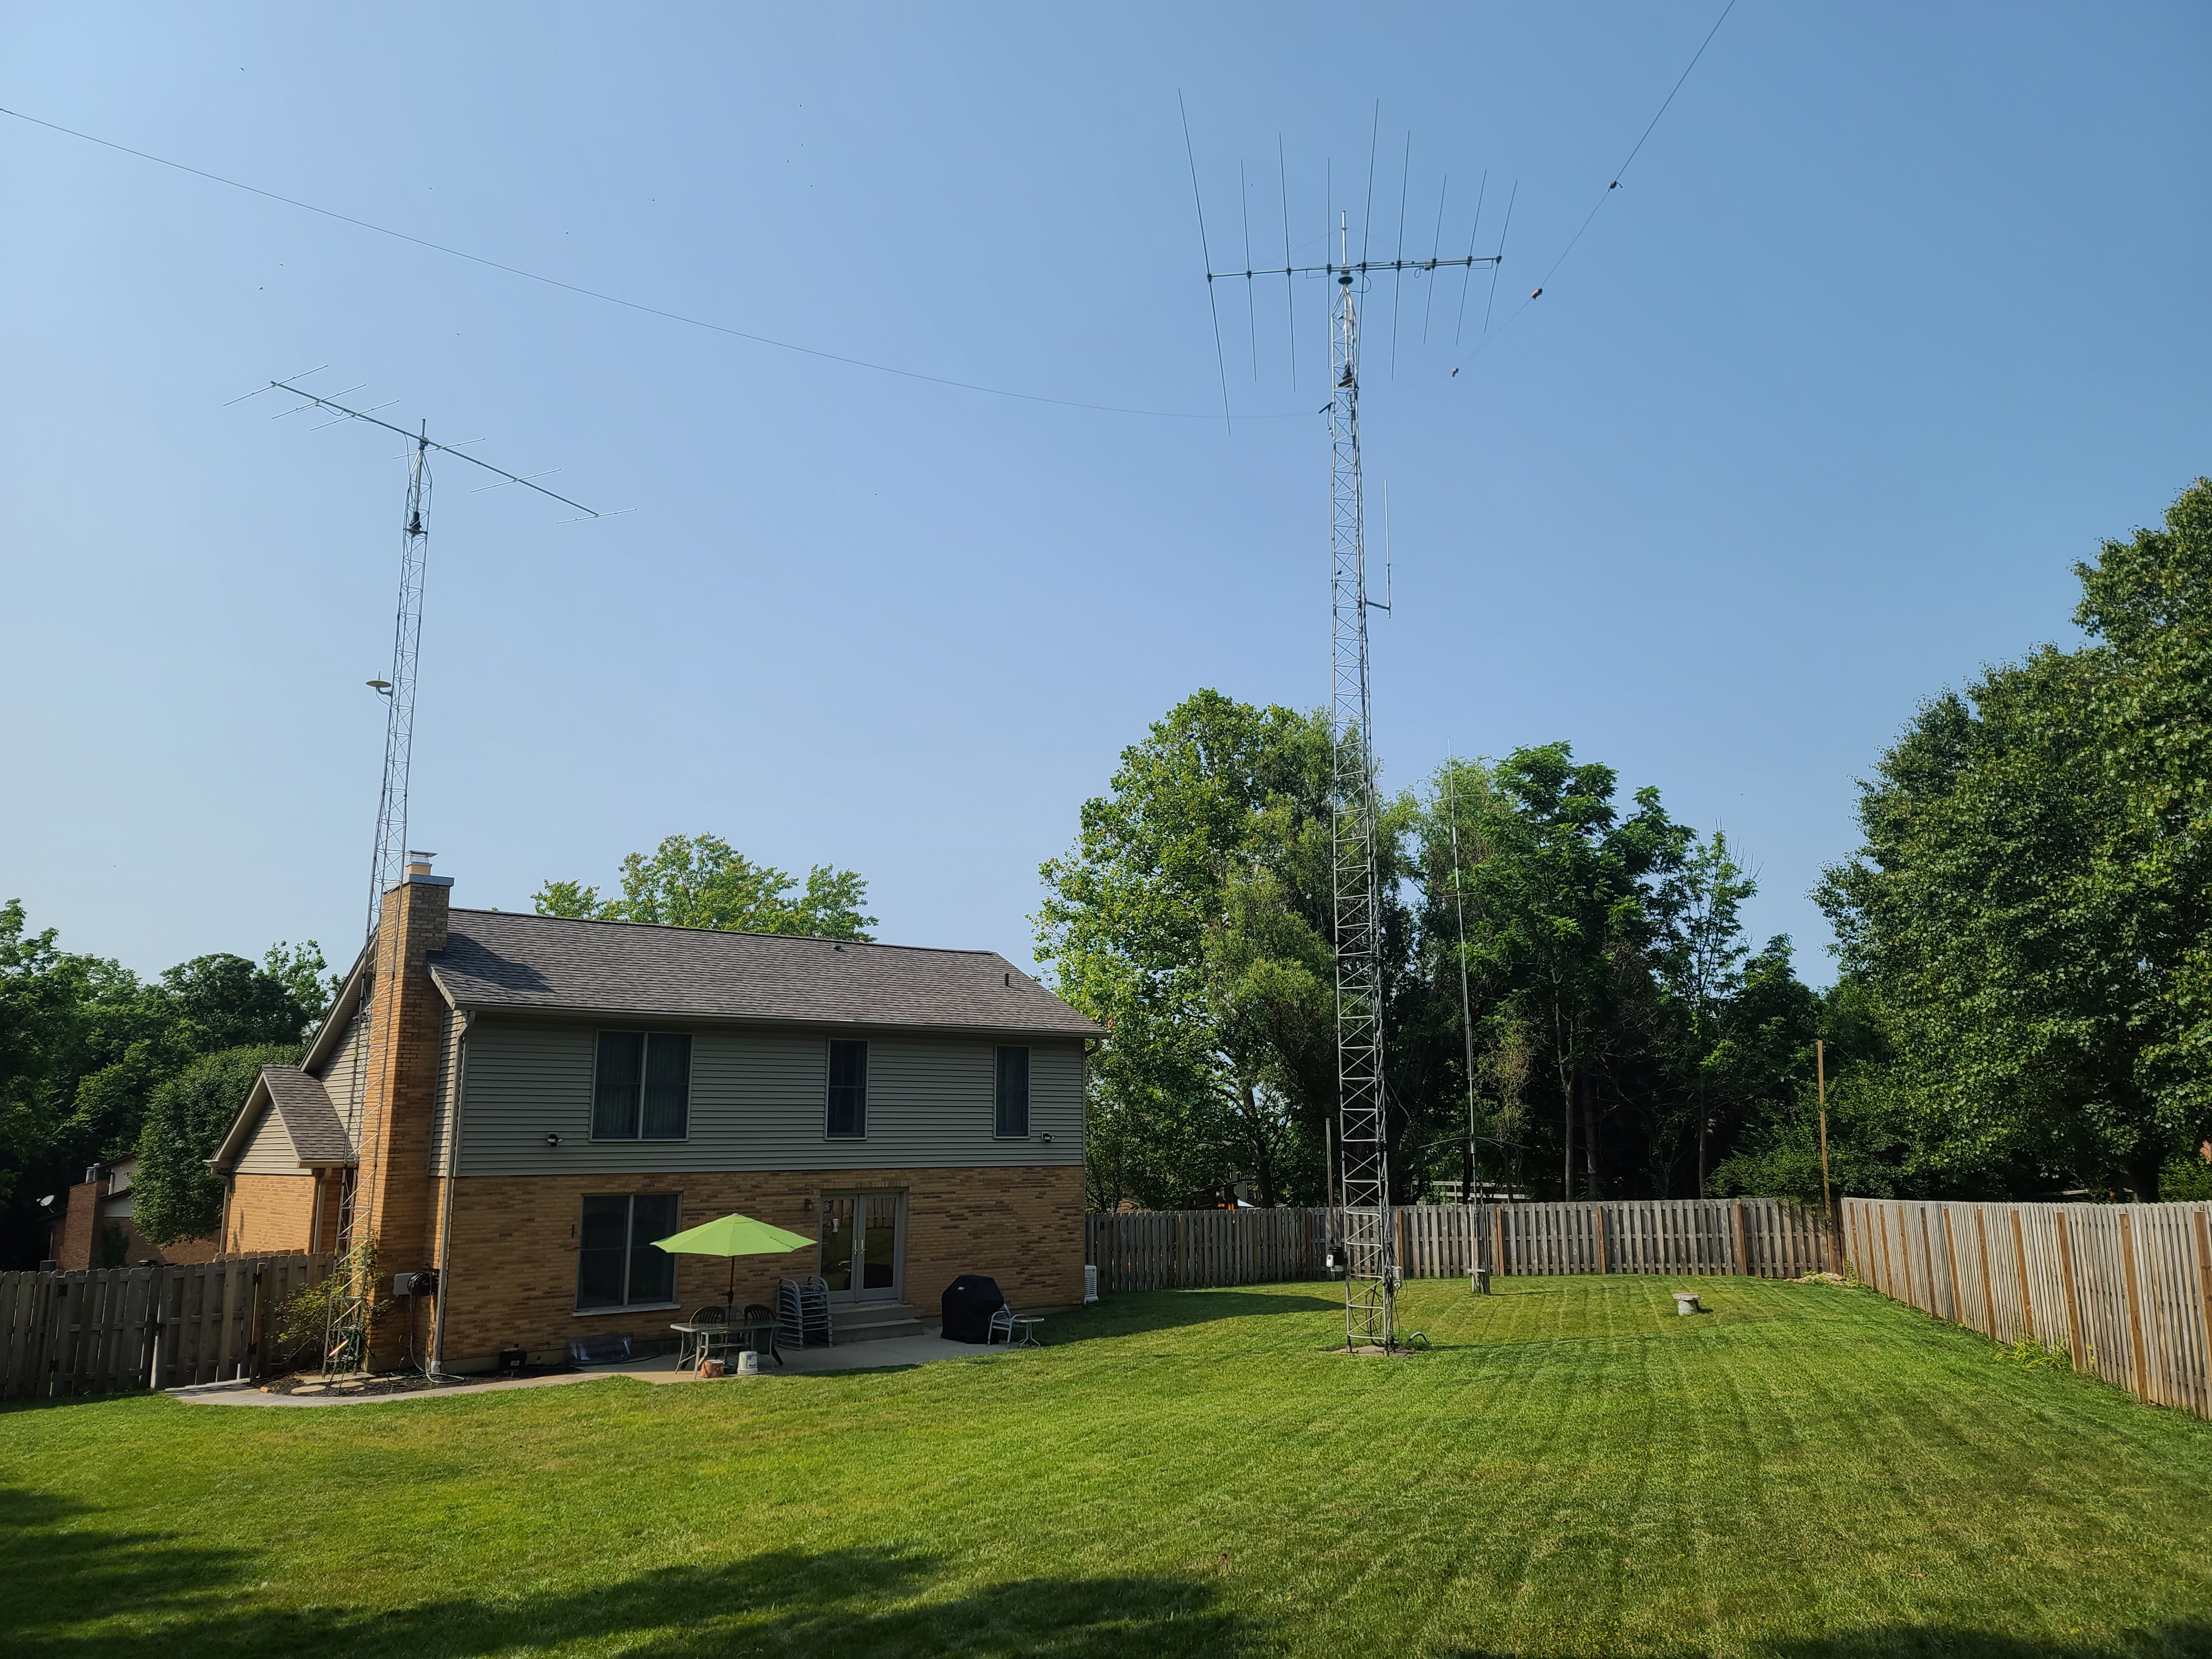
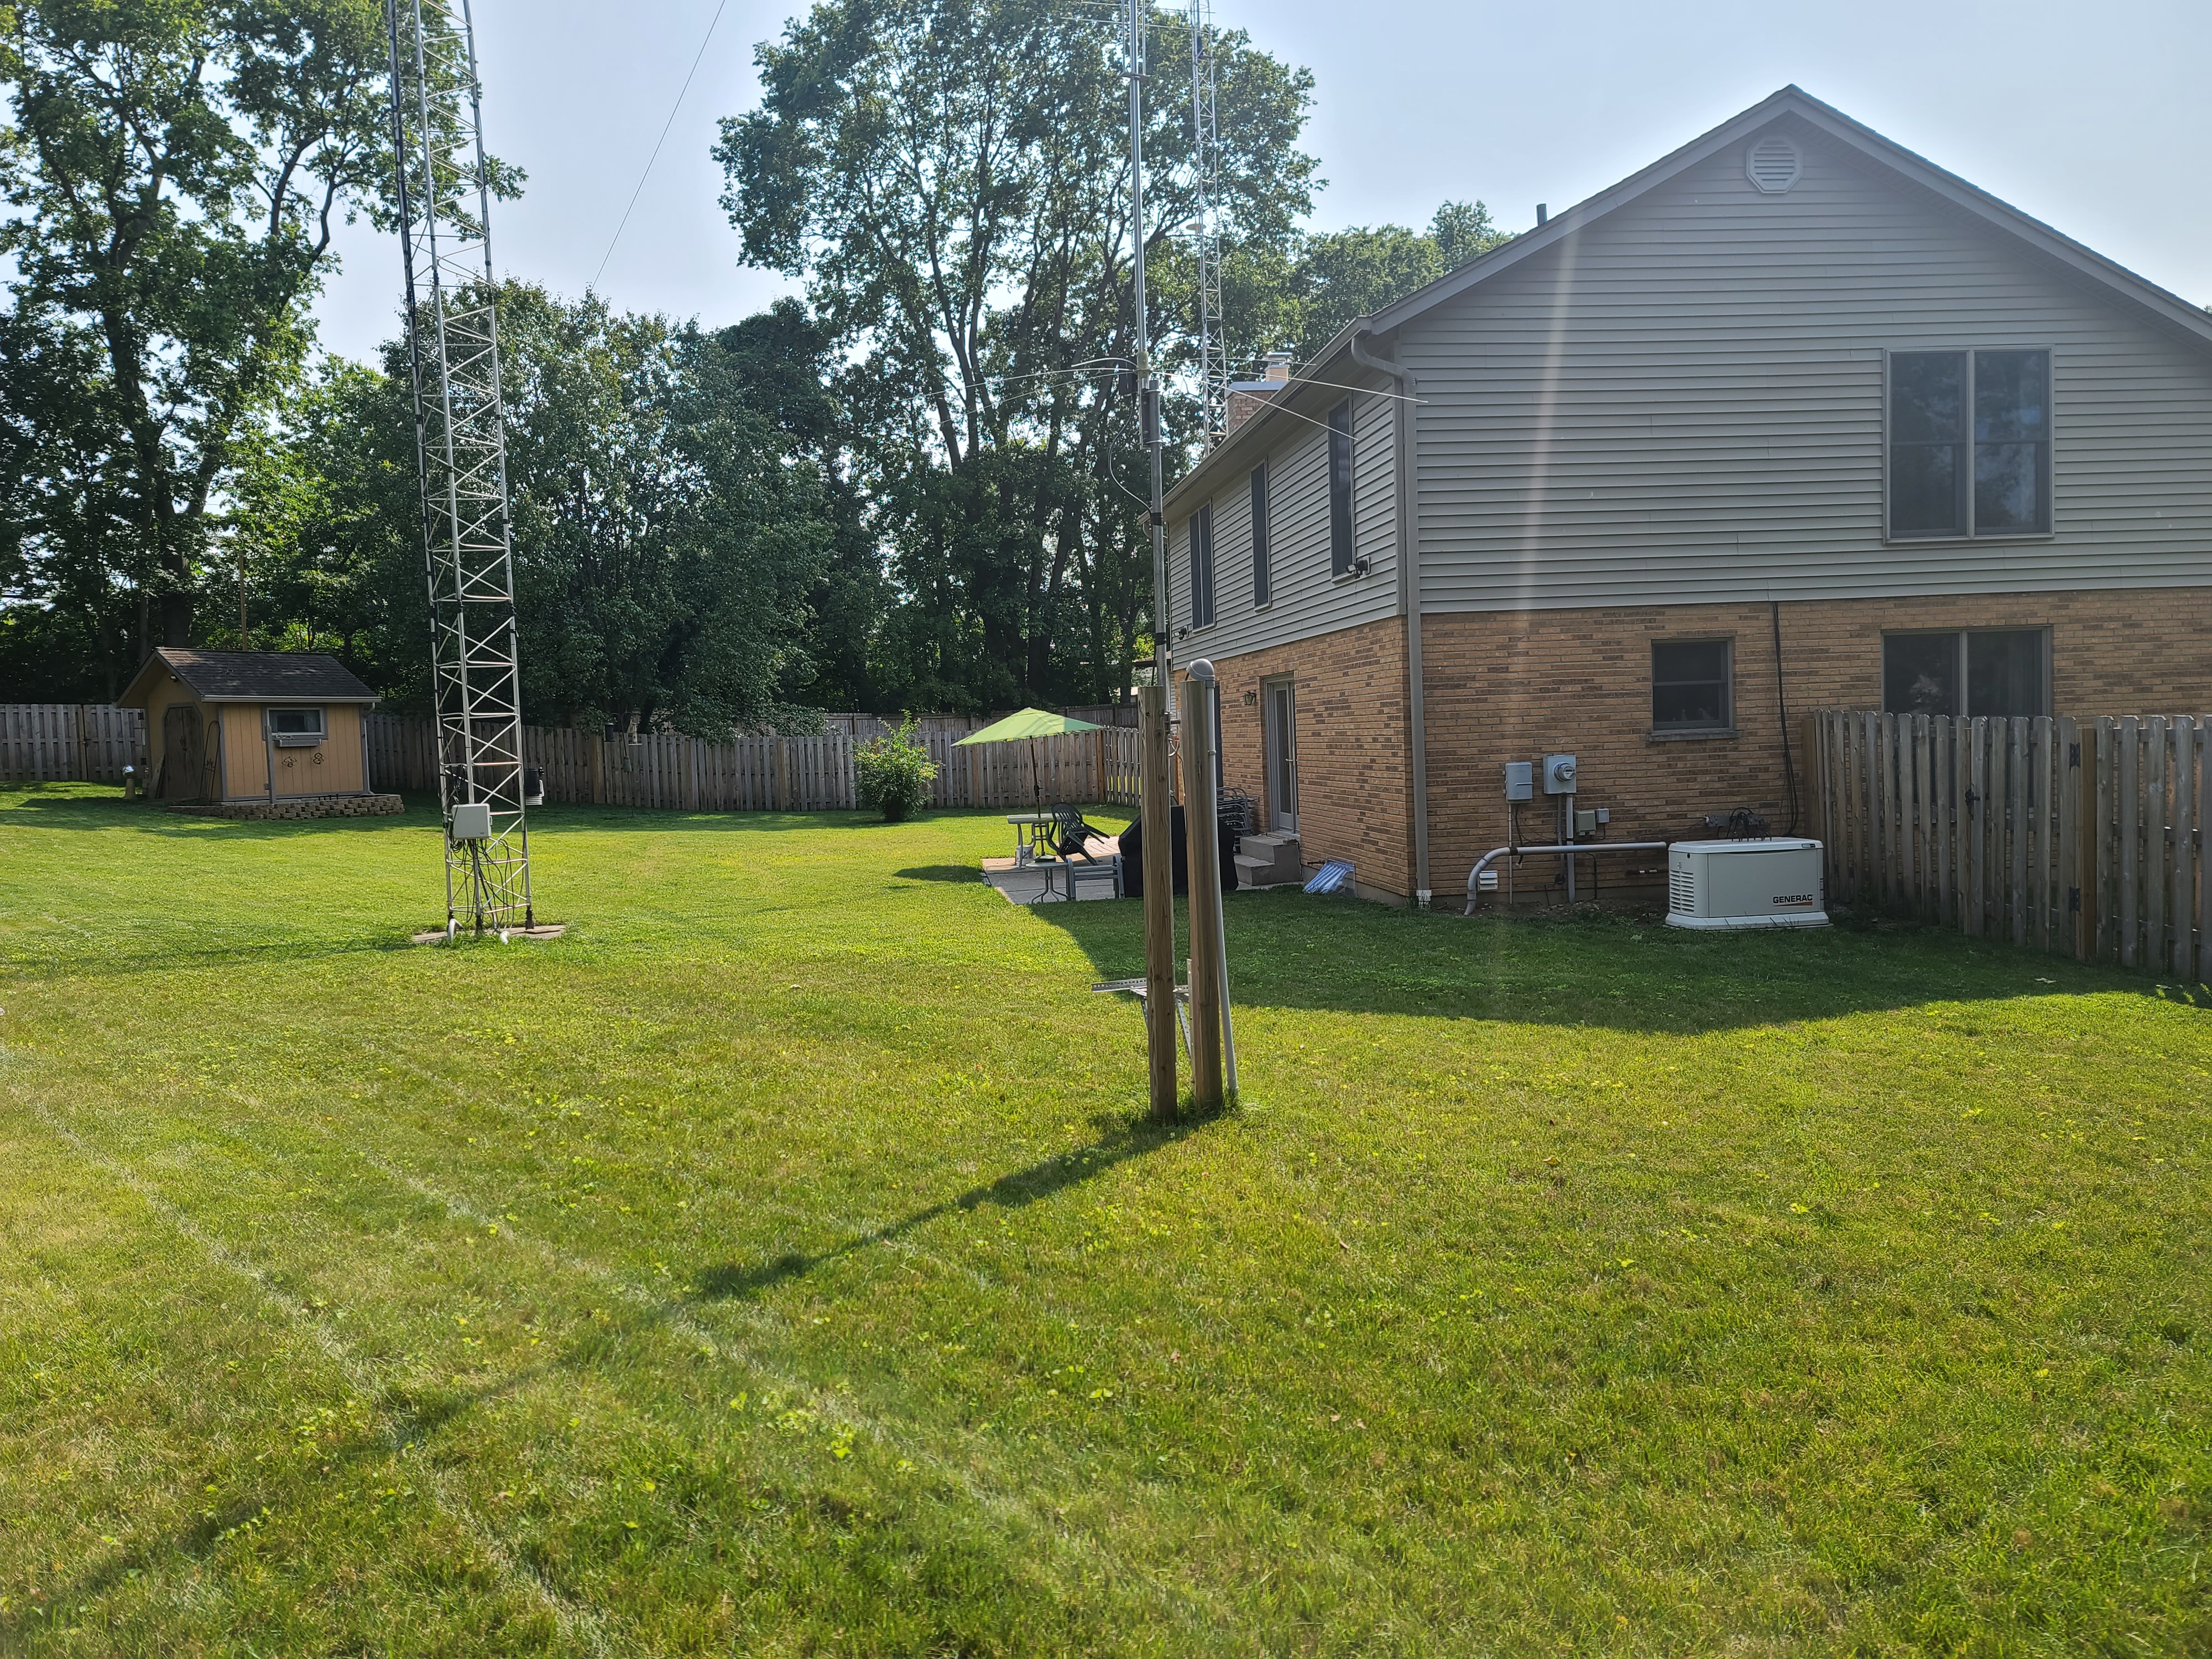
A few years later I took the MA5B off the chimney and built a 40’ tower next to the house and mounted my MA5B back on it, this antenna was my 20M workhorse. Cushcraft MA5B with a Yaesu G-450A rotor has been removed from the chimney, the bands were destroying the brick, it was about 30'. I dug the new pit and installed the 40' of Universal aluminum tower and a 5' aluminum mast. I have a Yaesu G-800DXA rotator to replace the G450A, it can be radio or computer controlled. In late 2017 I got a permit to raise it to 50’ which did not happen until November 2018. My wife had been fighting Leukemia and she took a turn for the worst. Totally distracted and emotionally distraught, I spent the remaining months by her until she passed on Easter 2018. ======================================================================================================================================= New tower installation for MA5B
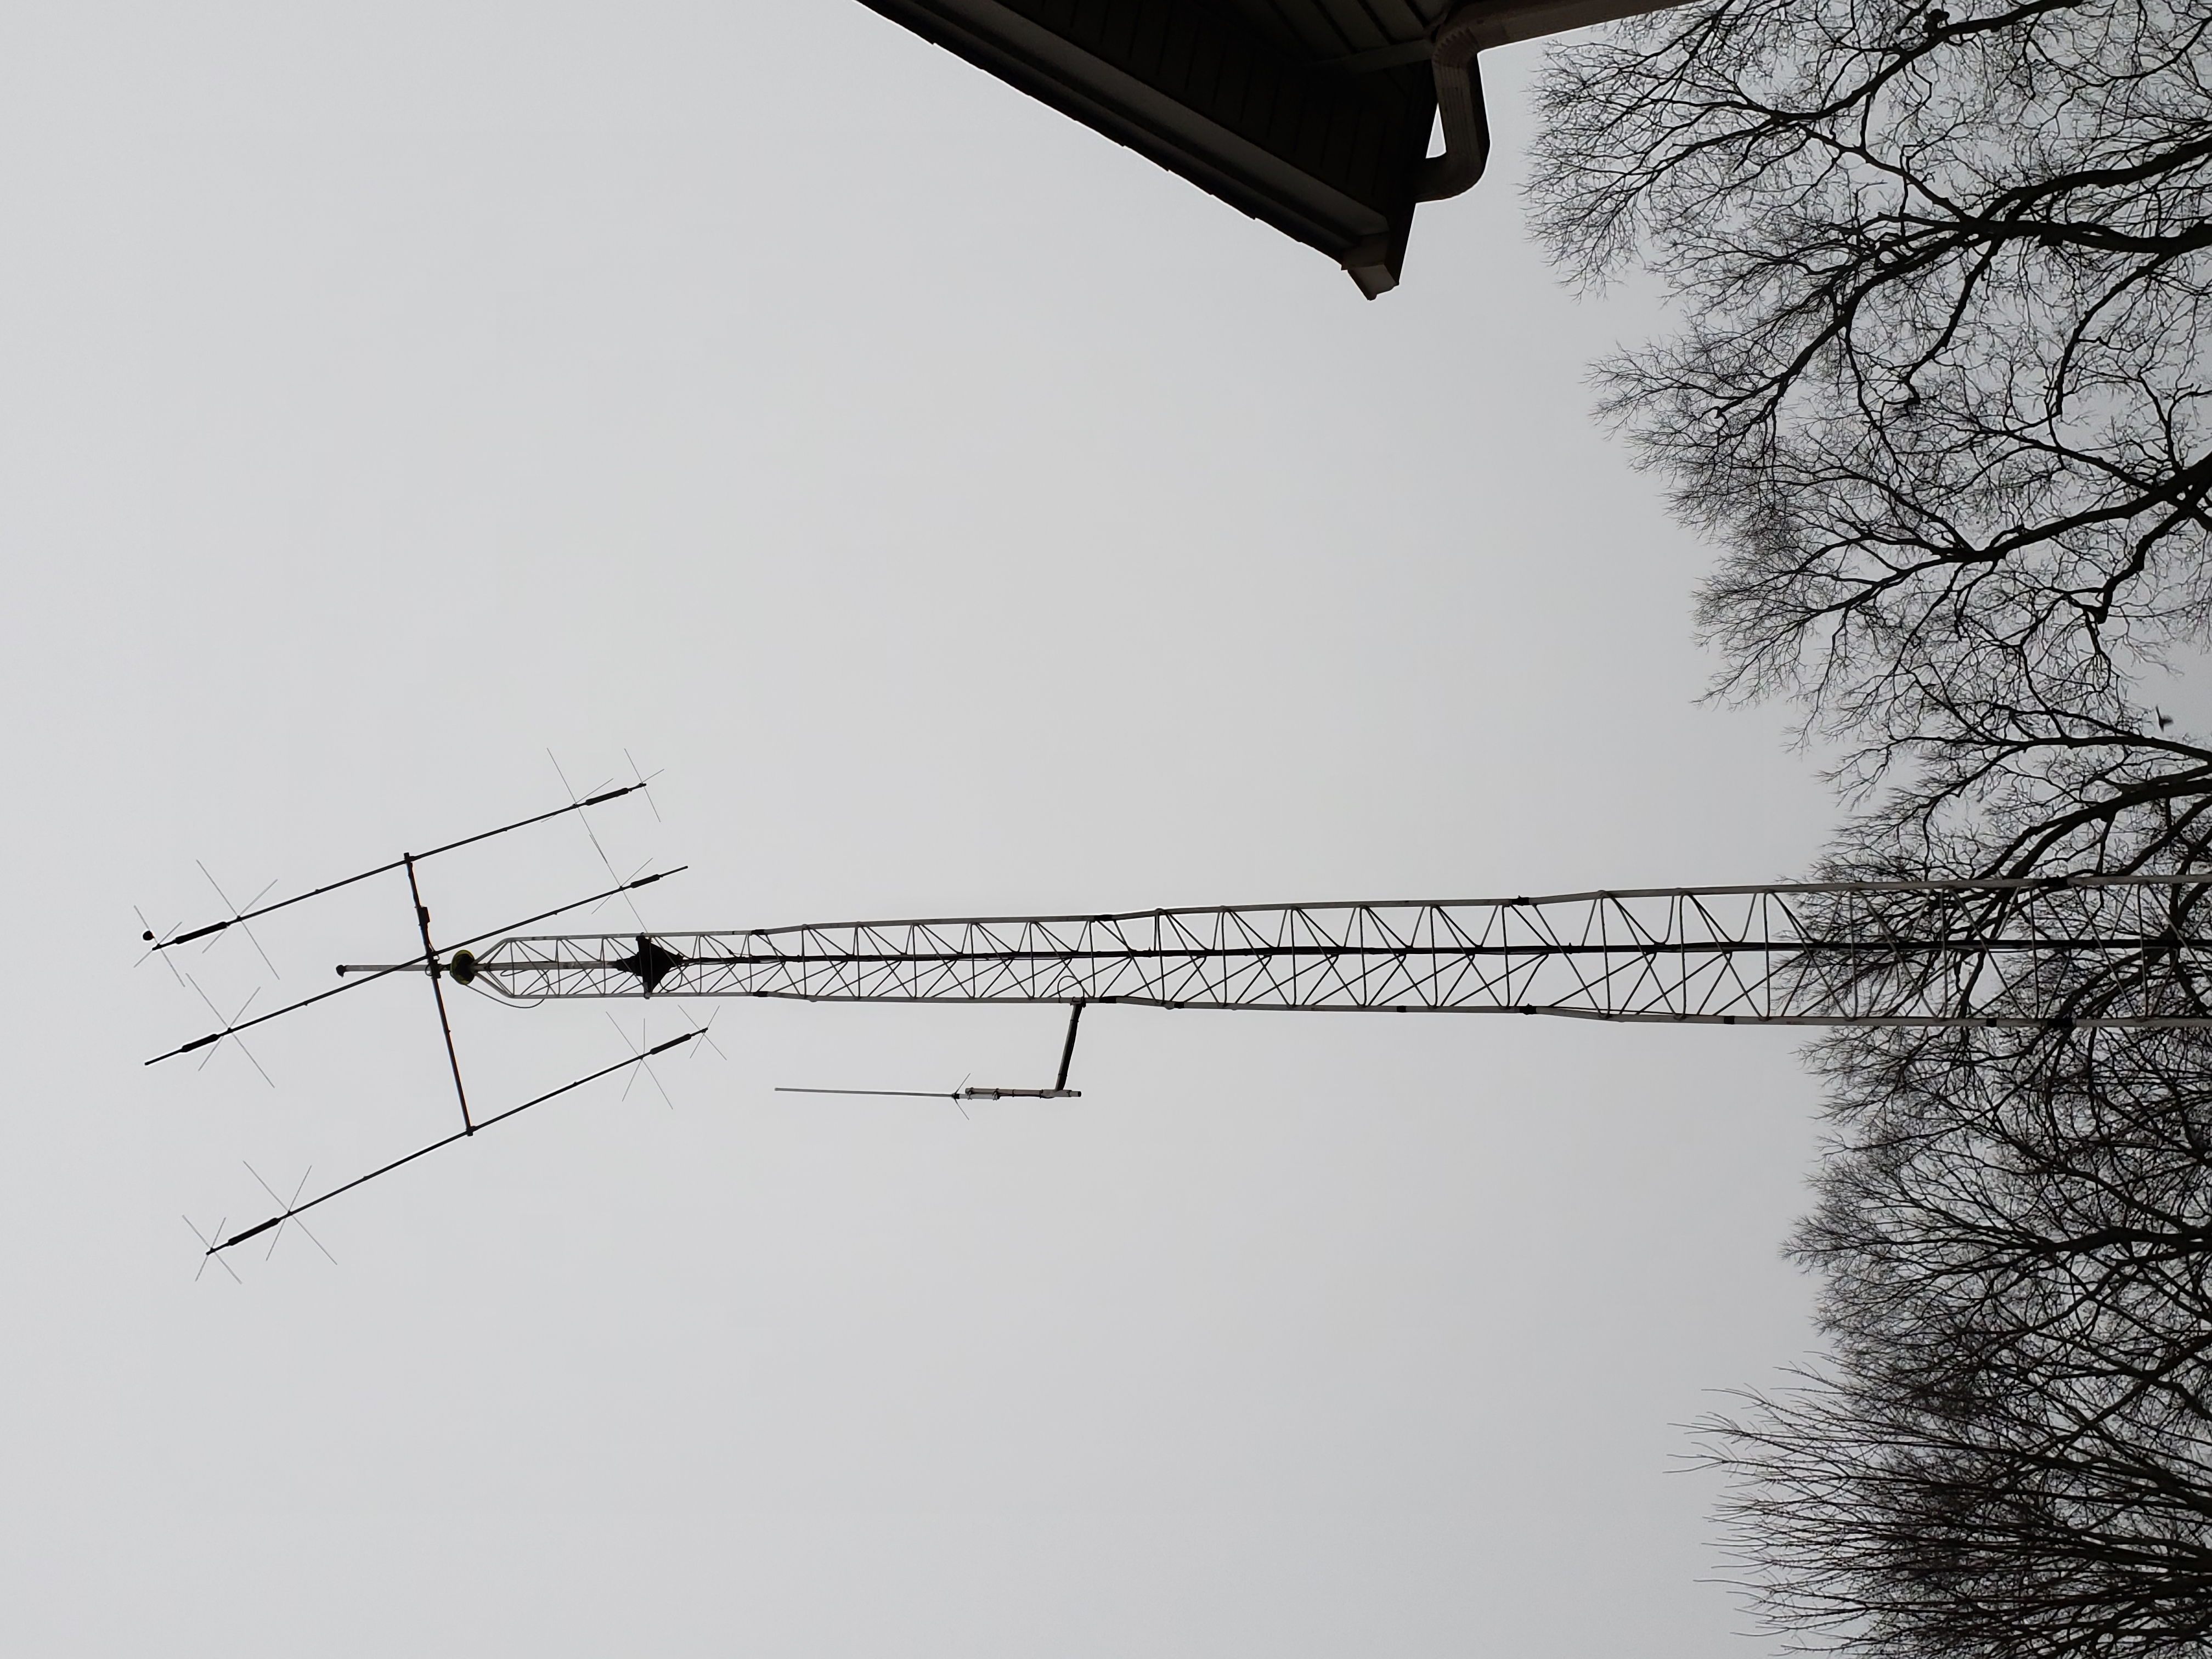
I ordered a 14" top section for the tower and two 18" bottom sections, the tower is now 50' tall. I raised the 50' tower with a new Cushcraft A50-6S 6 M antenna. Could not put it on the big tower, only had 6' of mast and that was not enough separation. I changed out the G-800 with the spare 2800, a little over kill. =======================================================================================================================================
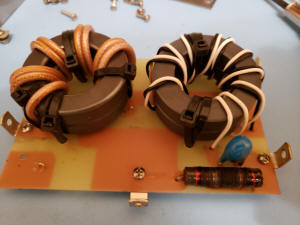
Hy-Gain AV-680, 80 thru 6M on a fold over mount with the base 10' above the ground. The new vertical is mainly for 80, 40 and 30M. I mounted it to two 4x4s 10' long with 2' buried in the ground. This is not permanent but adequate for the antenna. I have to repair the antenna, burnt out the RF choke in the current balun.
. I was working 80M SSB and switched over to FT8, forgot to bypass the amp,
did not last long on 900 watts, it was burnt out on the second transmit
cycle of FT8, GRRRR! The antenna is very narrow in band width, auto tuner can only handle
a small range. I repaired the balun and tuned the different bands to the
lower region, close to the FT8 frequencies, 20 30M don't need the
tuner. The 80M is off will try to retune later.
This antenna has performed very well on 30M FT8, it is also good on 40, 20,
17 & 15, 10 & 12 propagation is so bad I have no frame of reference. I never
had a 30M antenna before so everything was open, WAS, DXCC etc. I started
using 30M on October 27th 2019, it took 5 days to WAS and confirm, DXCC took
a little longer, 2 months. I
have worked Australia, New Zealand, South Korea, Japan and Guam, not bad for
a vertical in southwest Ohio. I sold the AV-680 and installed the Cushcraft R9 in it's place. The antenna is a little taller and works very well on the bands I need; 80, 40 and 30 meters. I might use the other bands for a contest but they do no come close to the OptiBeam.
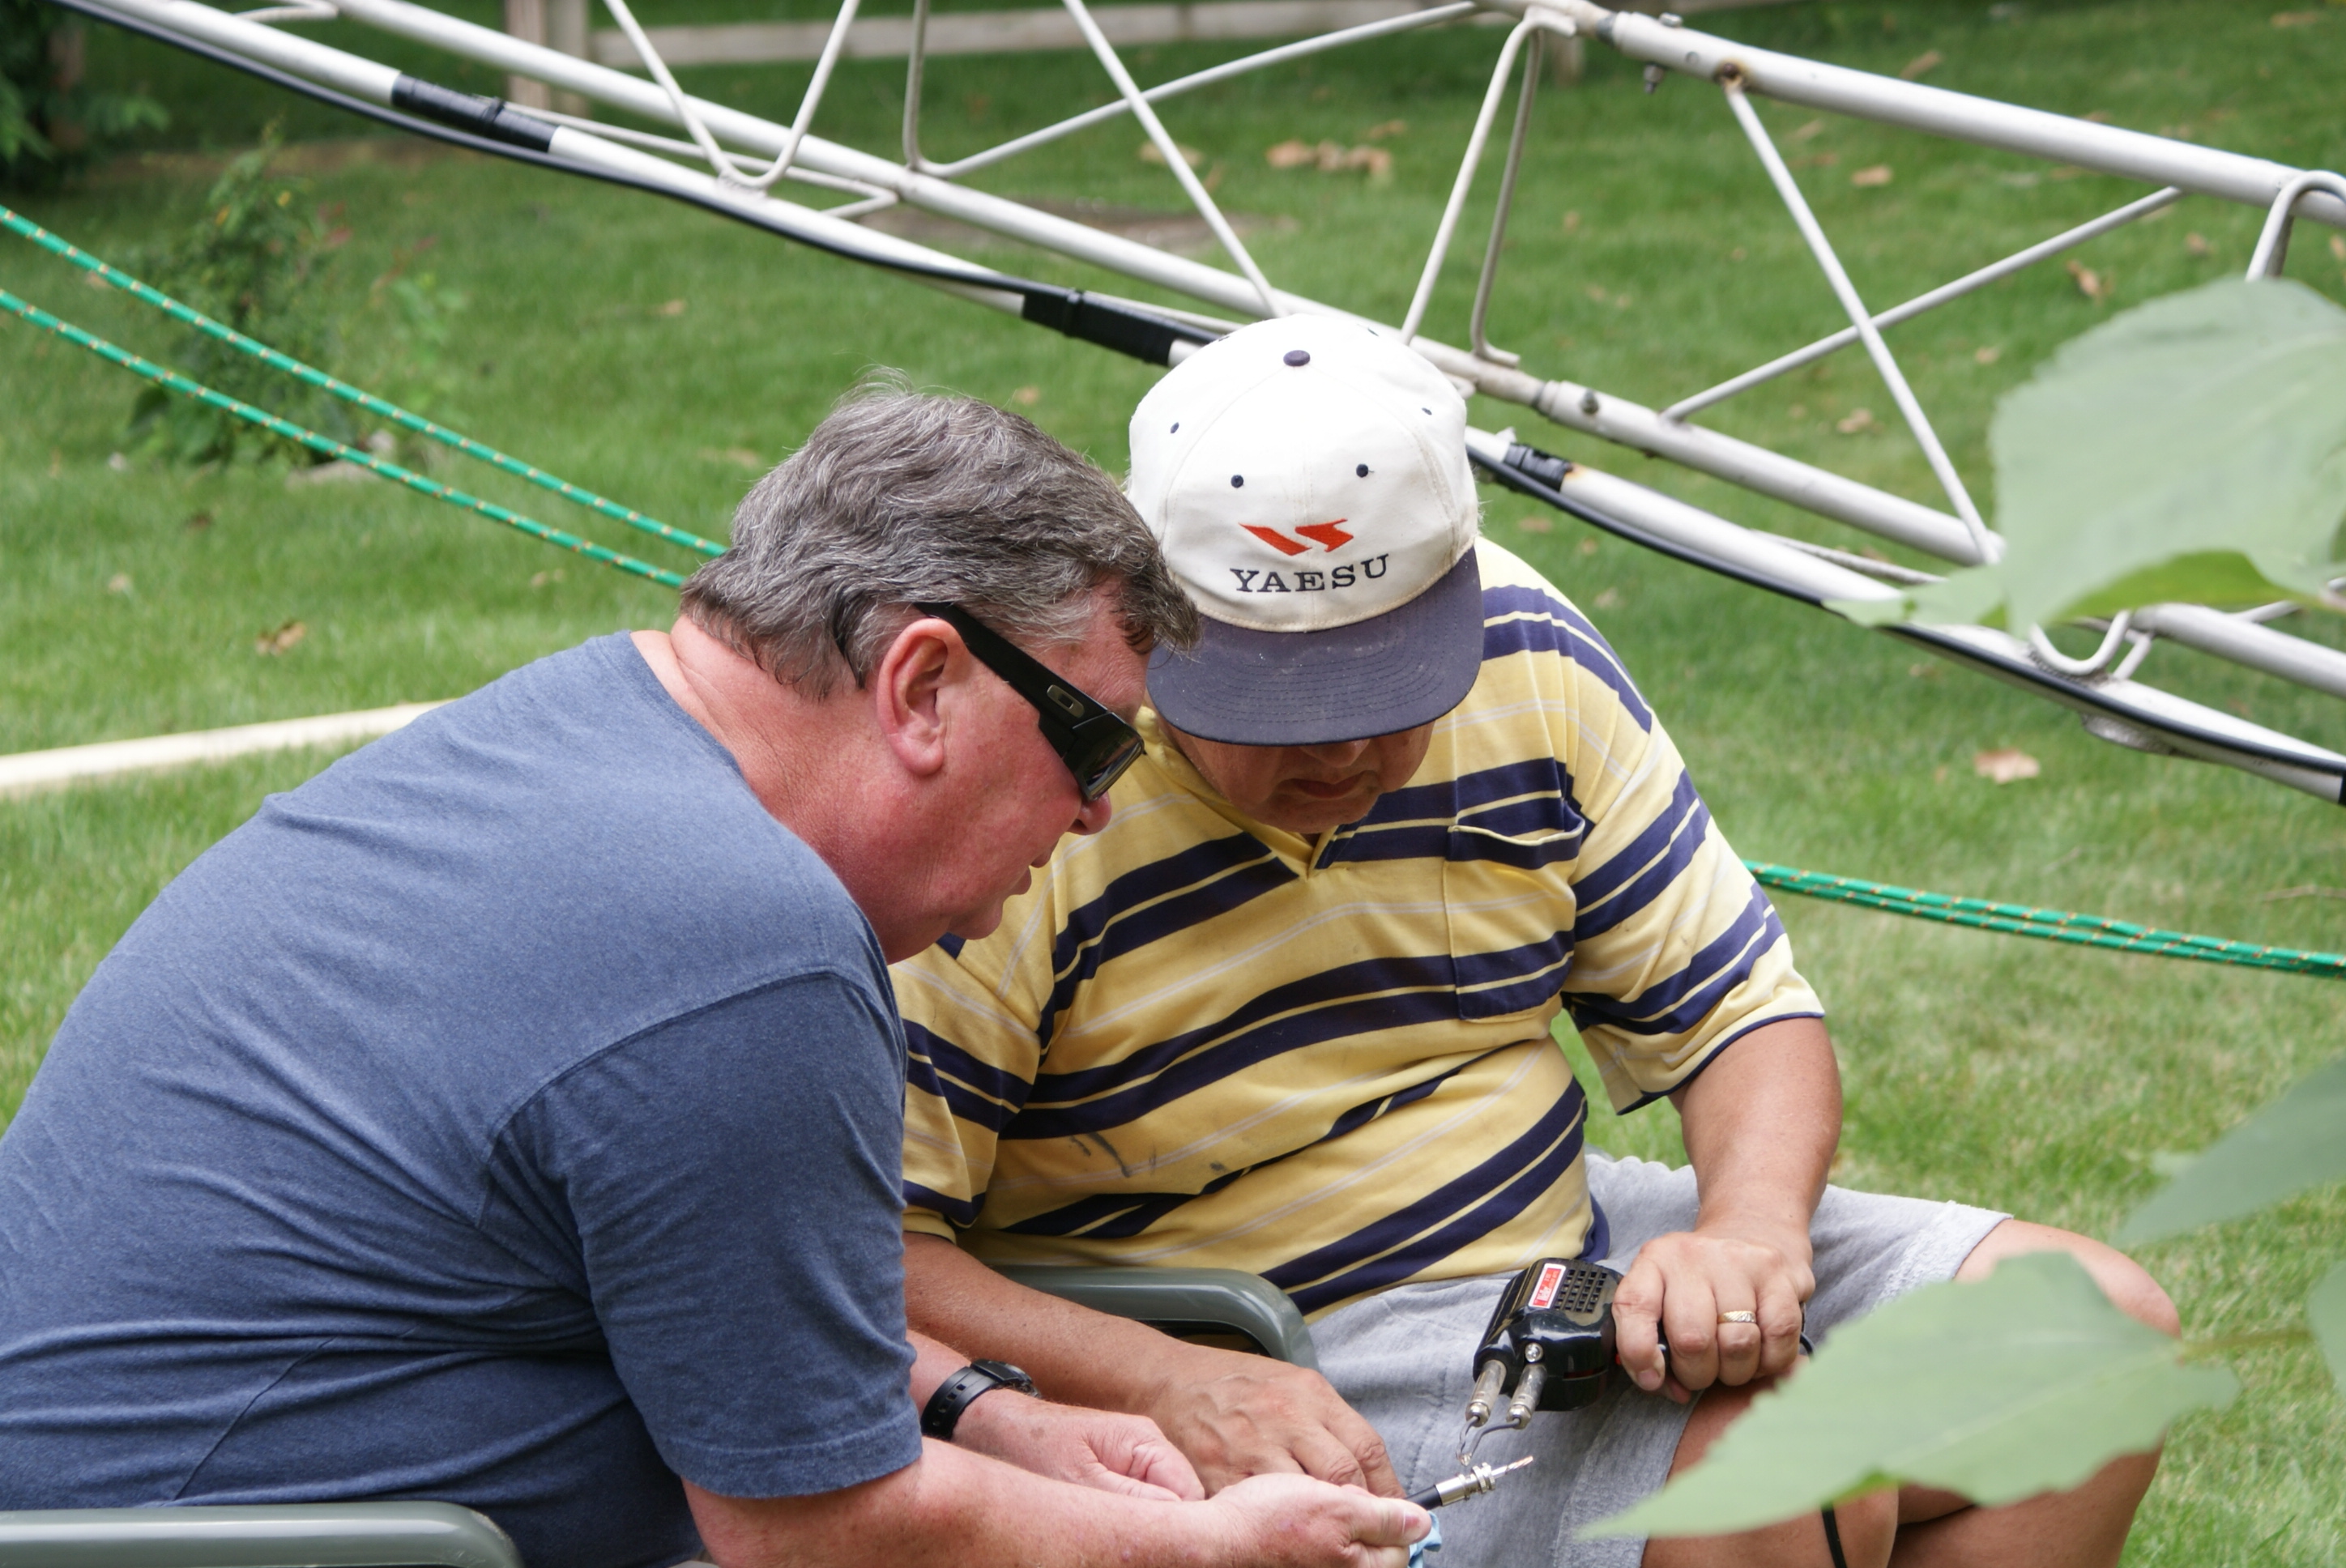
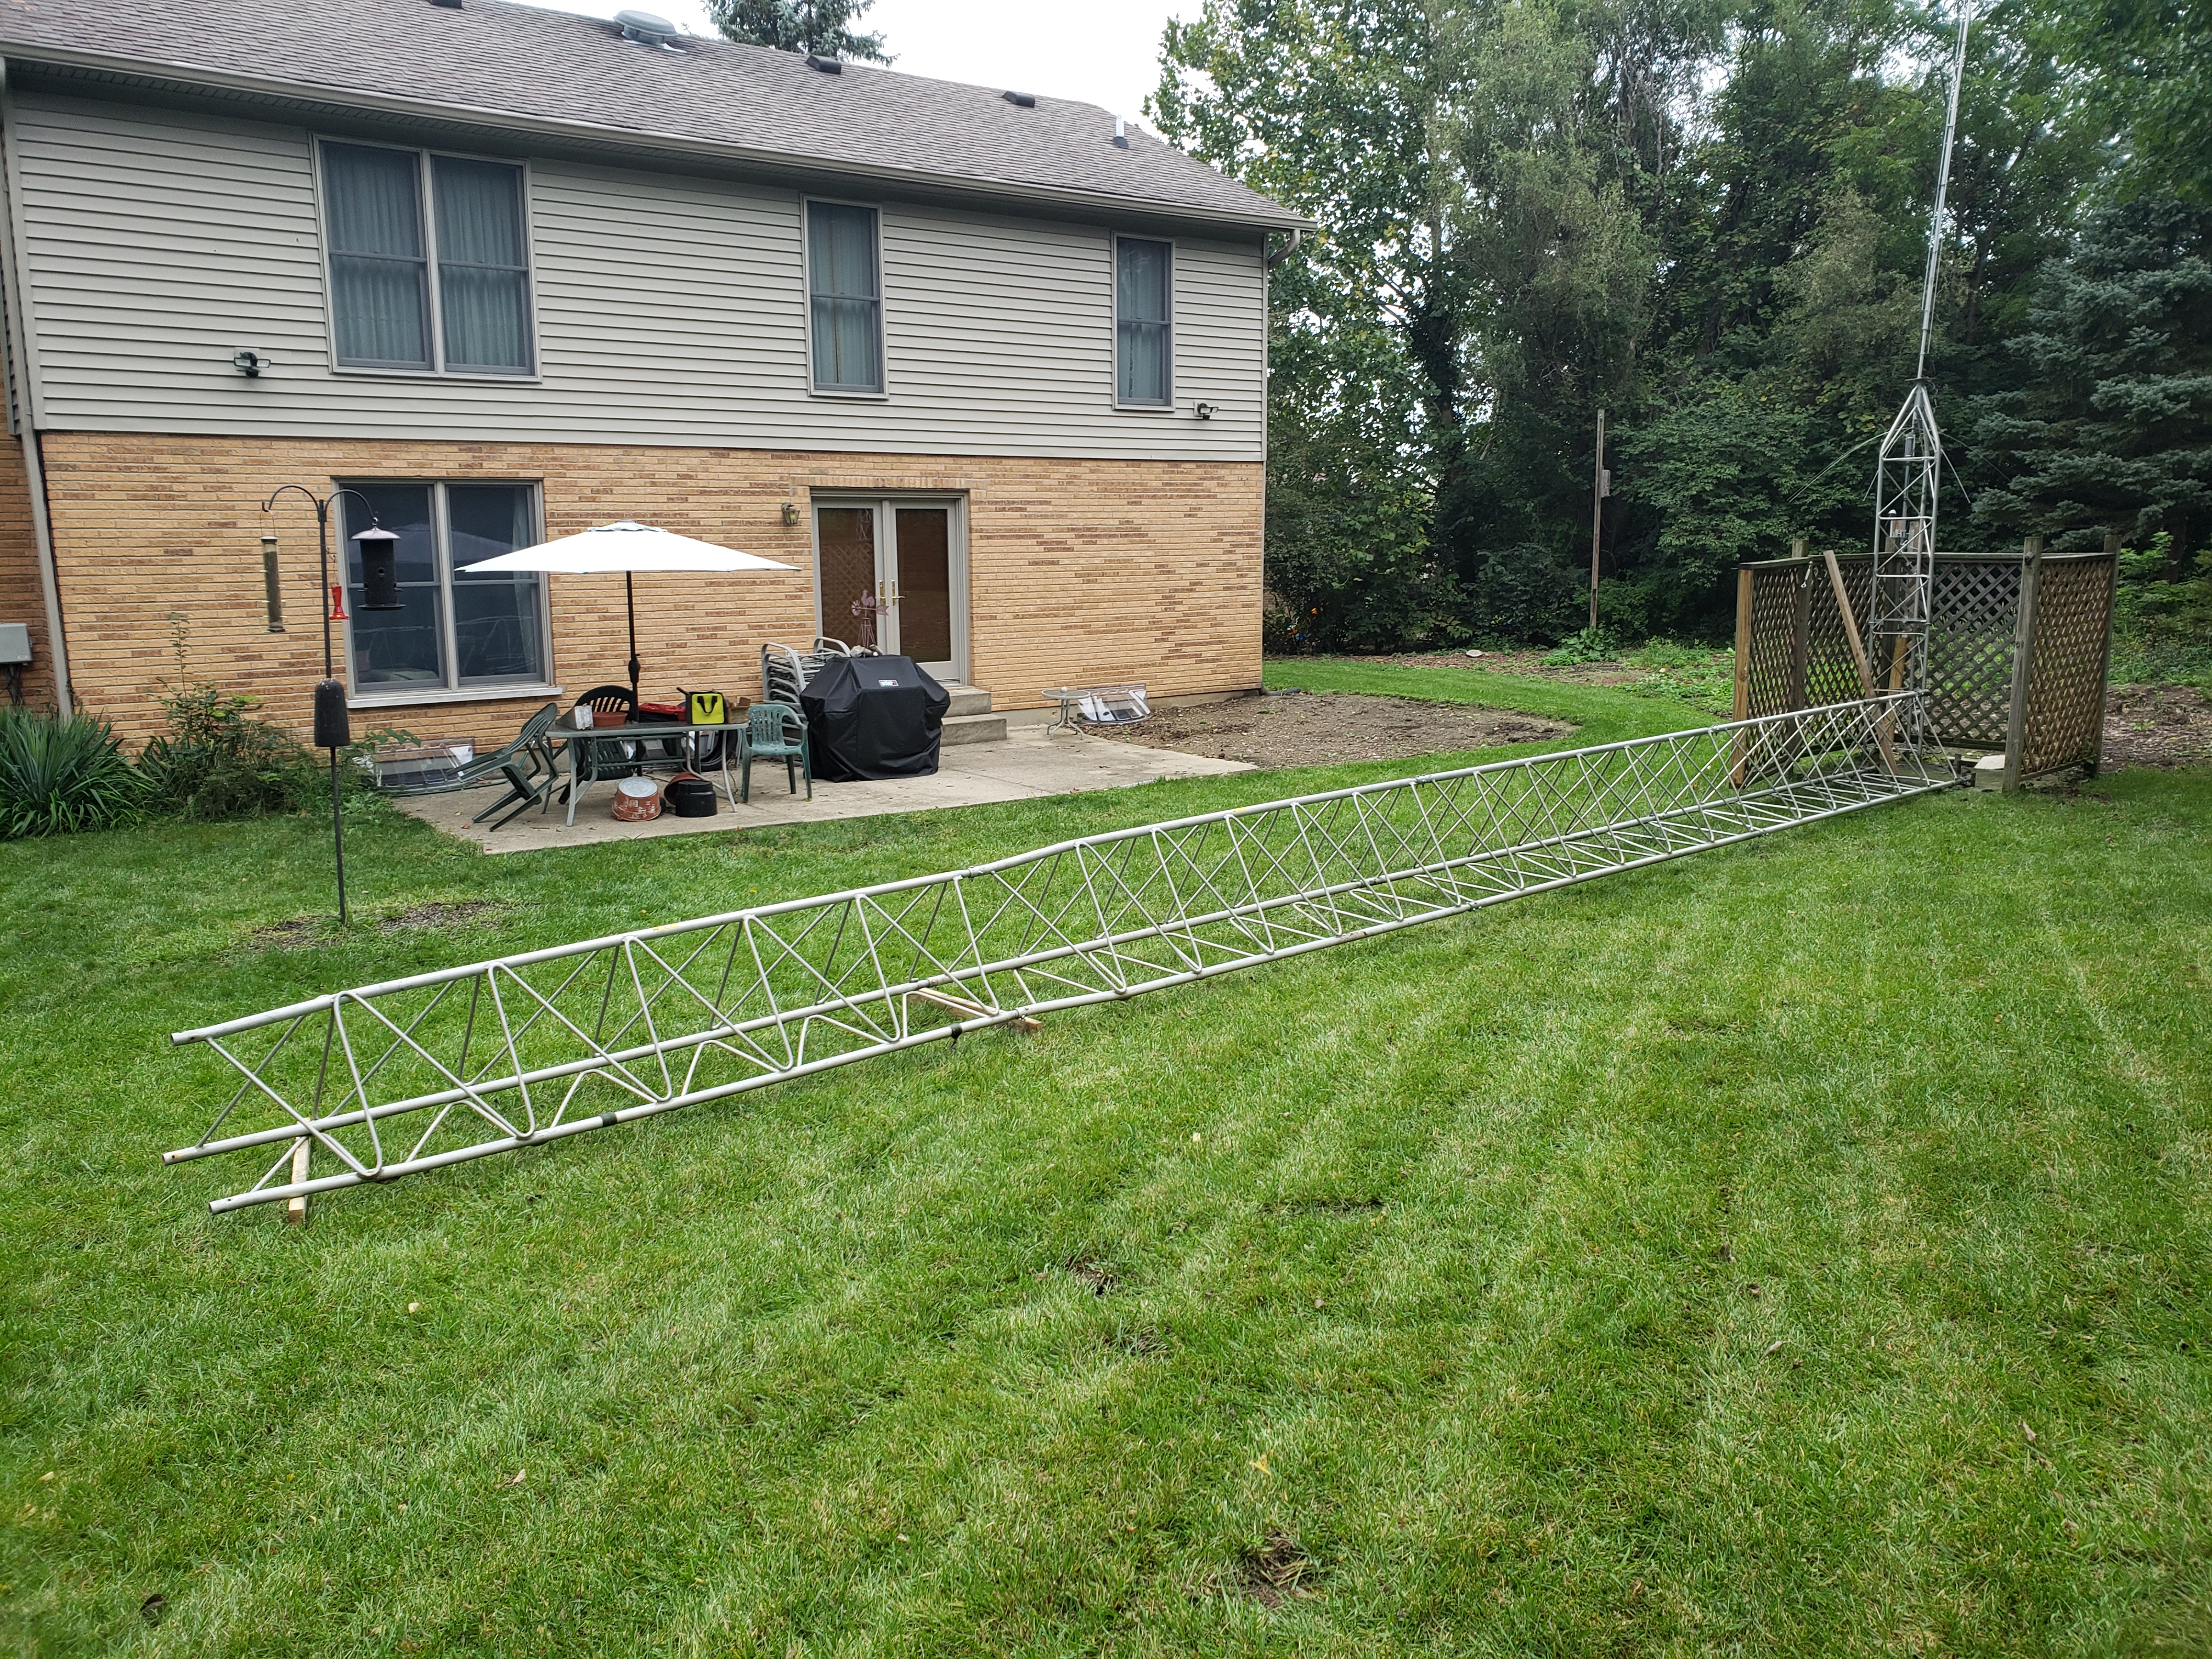
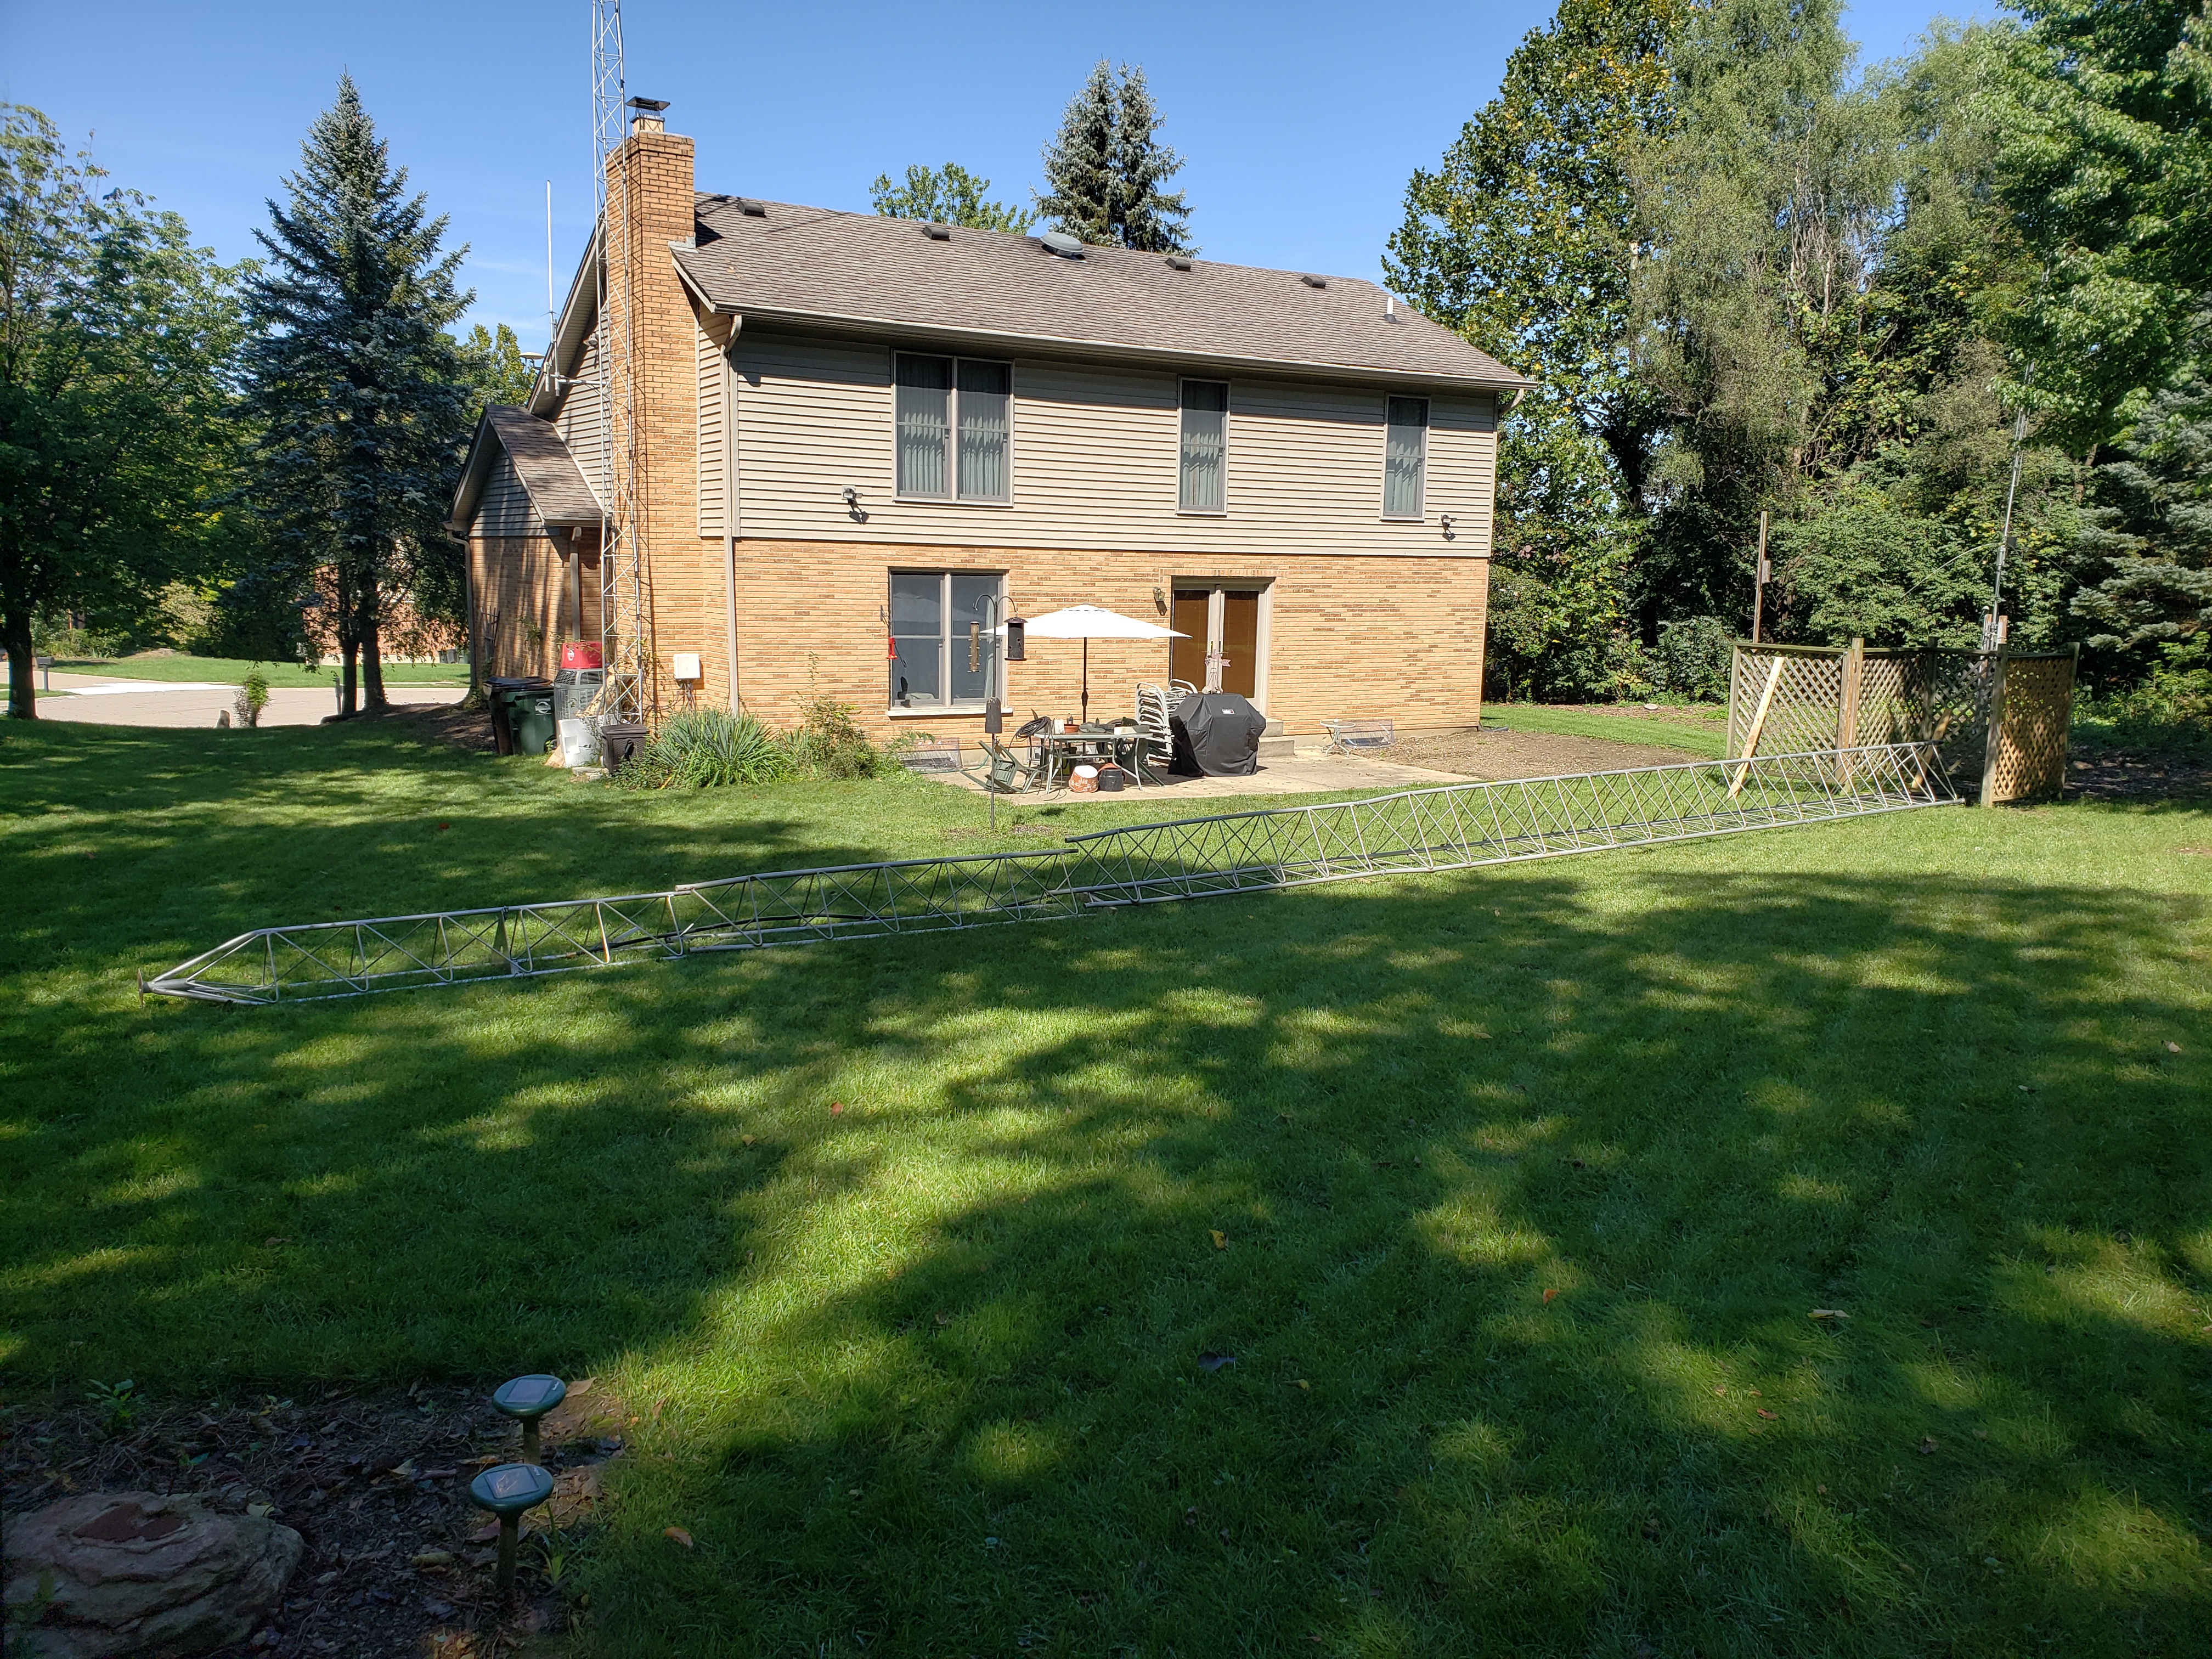
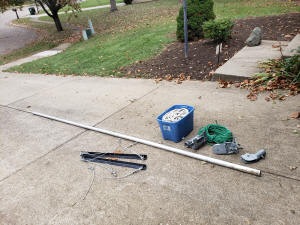
========================================================================================================================================= Pro67-C3 saga continued I should never attempted a major project thinking it would be a good way to keep busy and not get depressed about my loss. From here on out bad turned to worse. I had the good fortune to see a Pro67C3 on QRZ, new in the boxes, for $2500, I negotiated a $2200 cash price, Rick, K8WWA (SK), and I headed to Kentucky down by Lexington to pick it up. We brought it home and stored the 4 boxes in the garage, one being 12’ long. I opened the “open me first” box and took out the instructions. I wanted to be fully knowledgeable about assembly before starting, something I should have done with the S-33. If I can alibi at all about the S-33 was that most, if not all, the color coding was gone after years in the air and the original manual did not show the turns for each trap coil like the new manual did. As I was reading the instructions it stated, as it did in the S-33 manual, the traps will fit both ways and make sure the color code goes toward the boom. A little further it stated “failing to do so will result in high SWR“, GRRR!!! Well, now I know what went wrong with my S-33. I can only imagine what I could have done if I had paid attention to detail. When ordering the new traps I inadvertently used the wrong part number for the outside traps. Its a new day and I have a bigger and better antenna. Bigger by the number of elements but the foot print is identical. The new antenna is 134 pounds, 40 pounds heavier than the S-33. I decided to try for a 70 'variance, 66’ is the maximum under current zoning, why 66’ no one knew. I was denied the variance so instead of fighting it I went for 66’. I had purchased a 30” 10’ section of Universal tower from a friend so I was ready to go. We took down the S-33 and the tower and I reassembled it with the new section. I decided to take my Yaesu 2800 rotator apart and re-grease it, how hard can that be? When I reassembled it I got the stop on the wrong side of the reversing lever and I stripped the nylon gear that turns the positioning pot. I called Yaesu about the part, good news only 40 cents, the bad news 4 to 6 weeks delivery. I had 2 Green Heron controllers so I emailed them and bought a new rotator, winter was coming on, can’t wait for the parts. After all that the parts came a week before the tower was to go up.
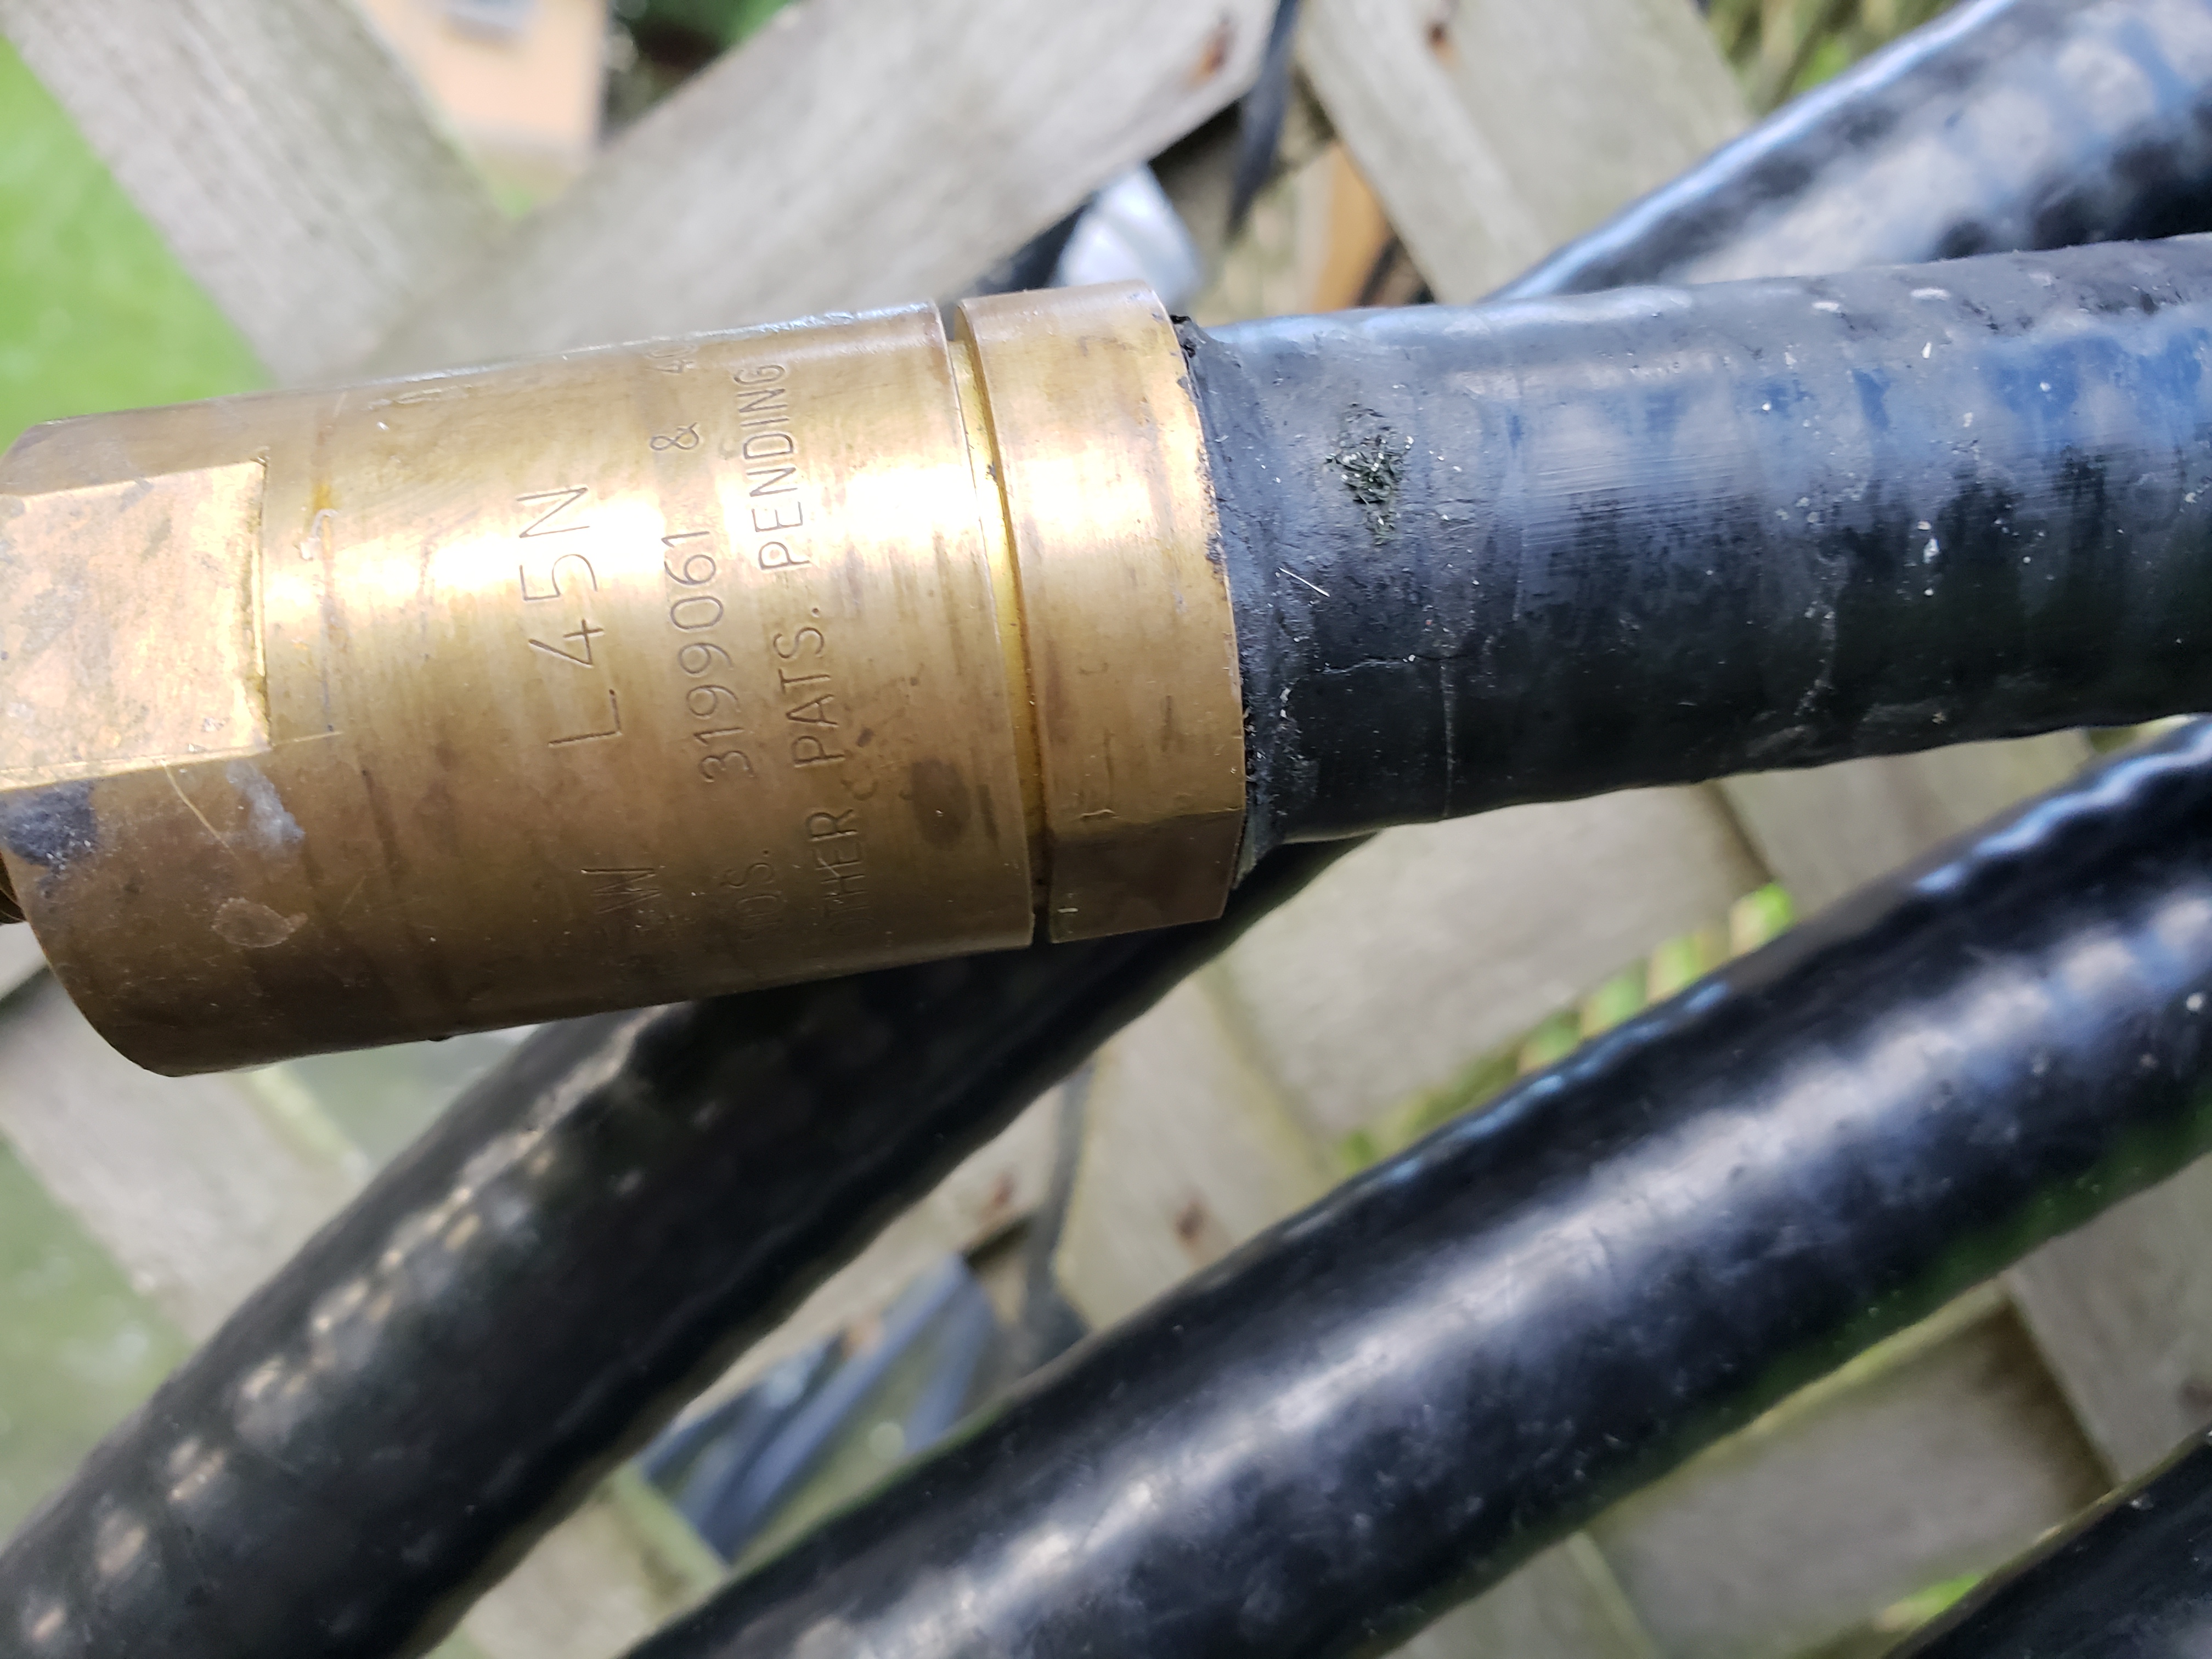
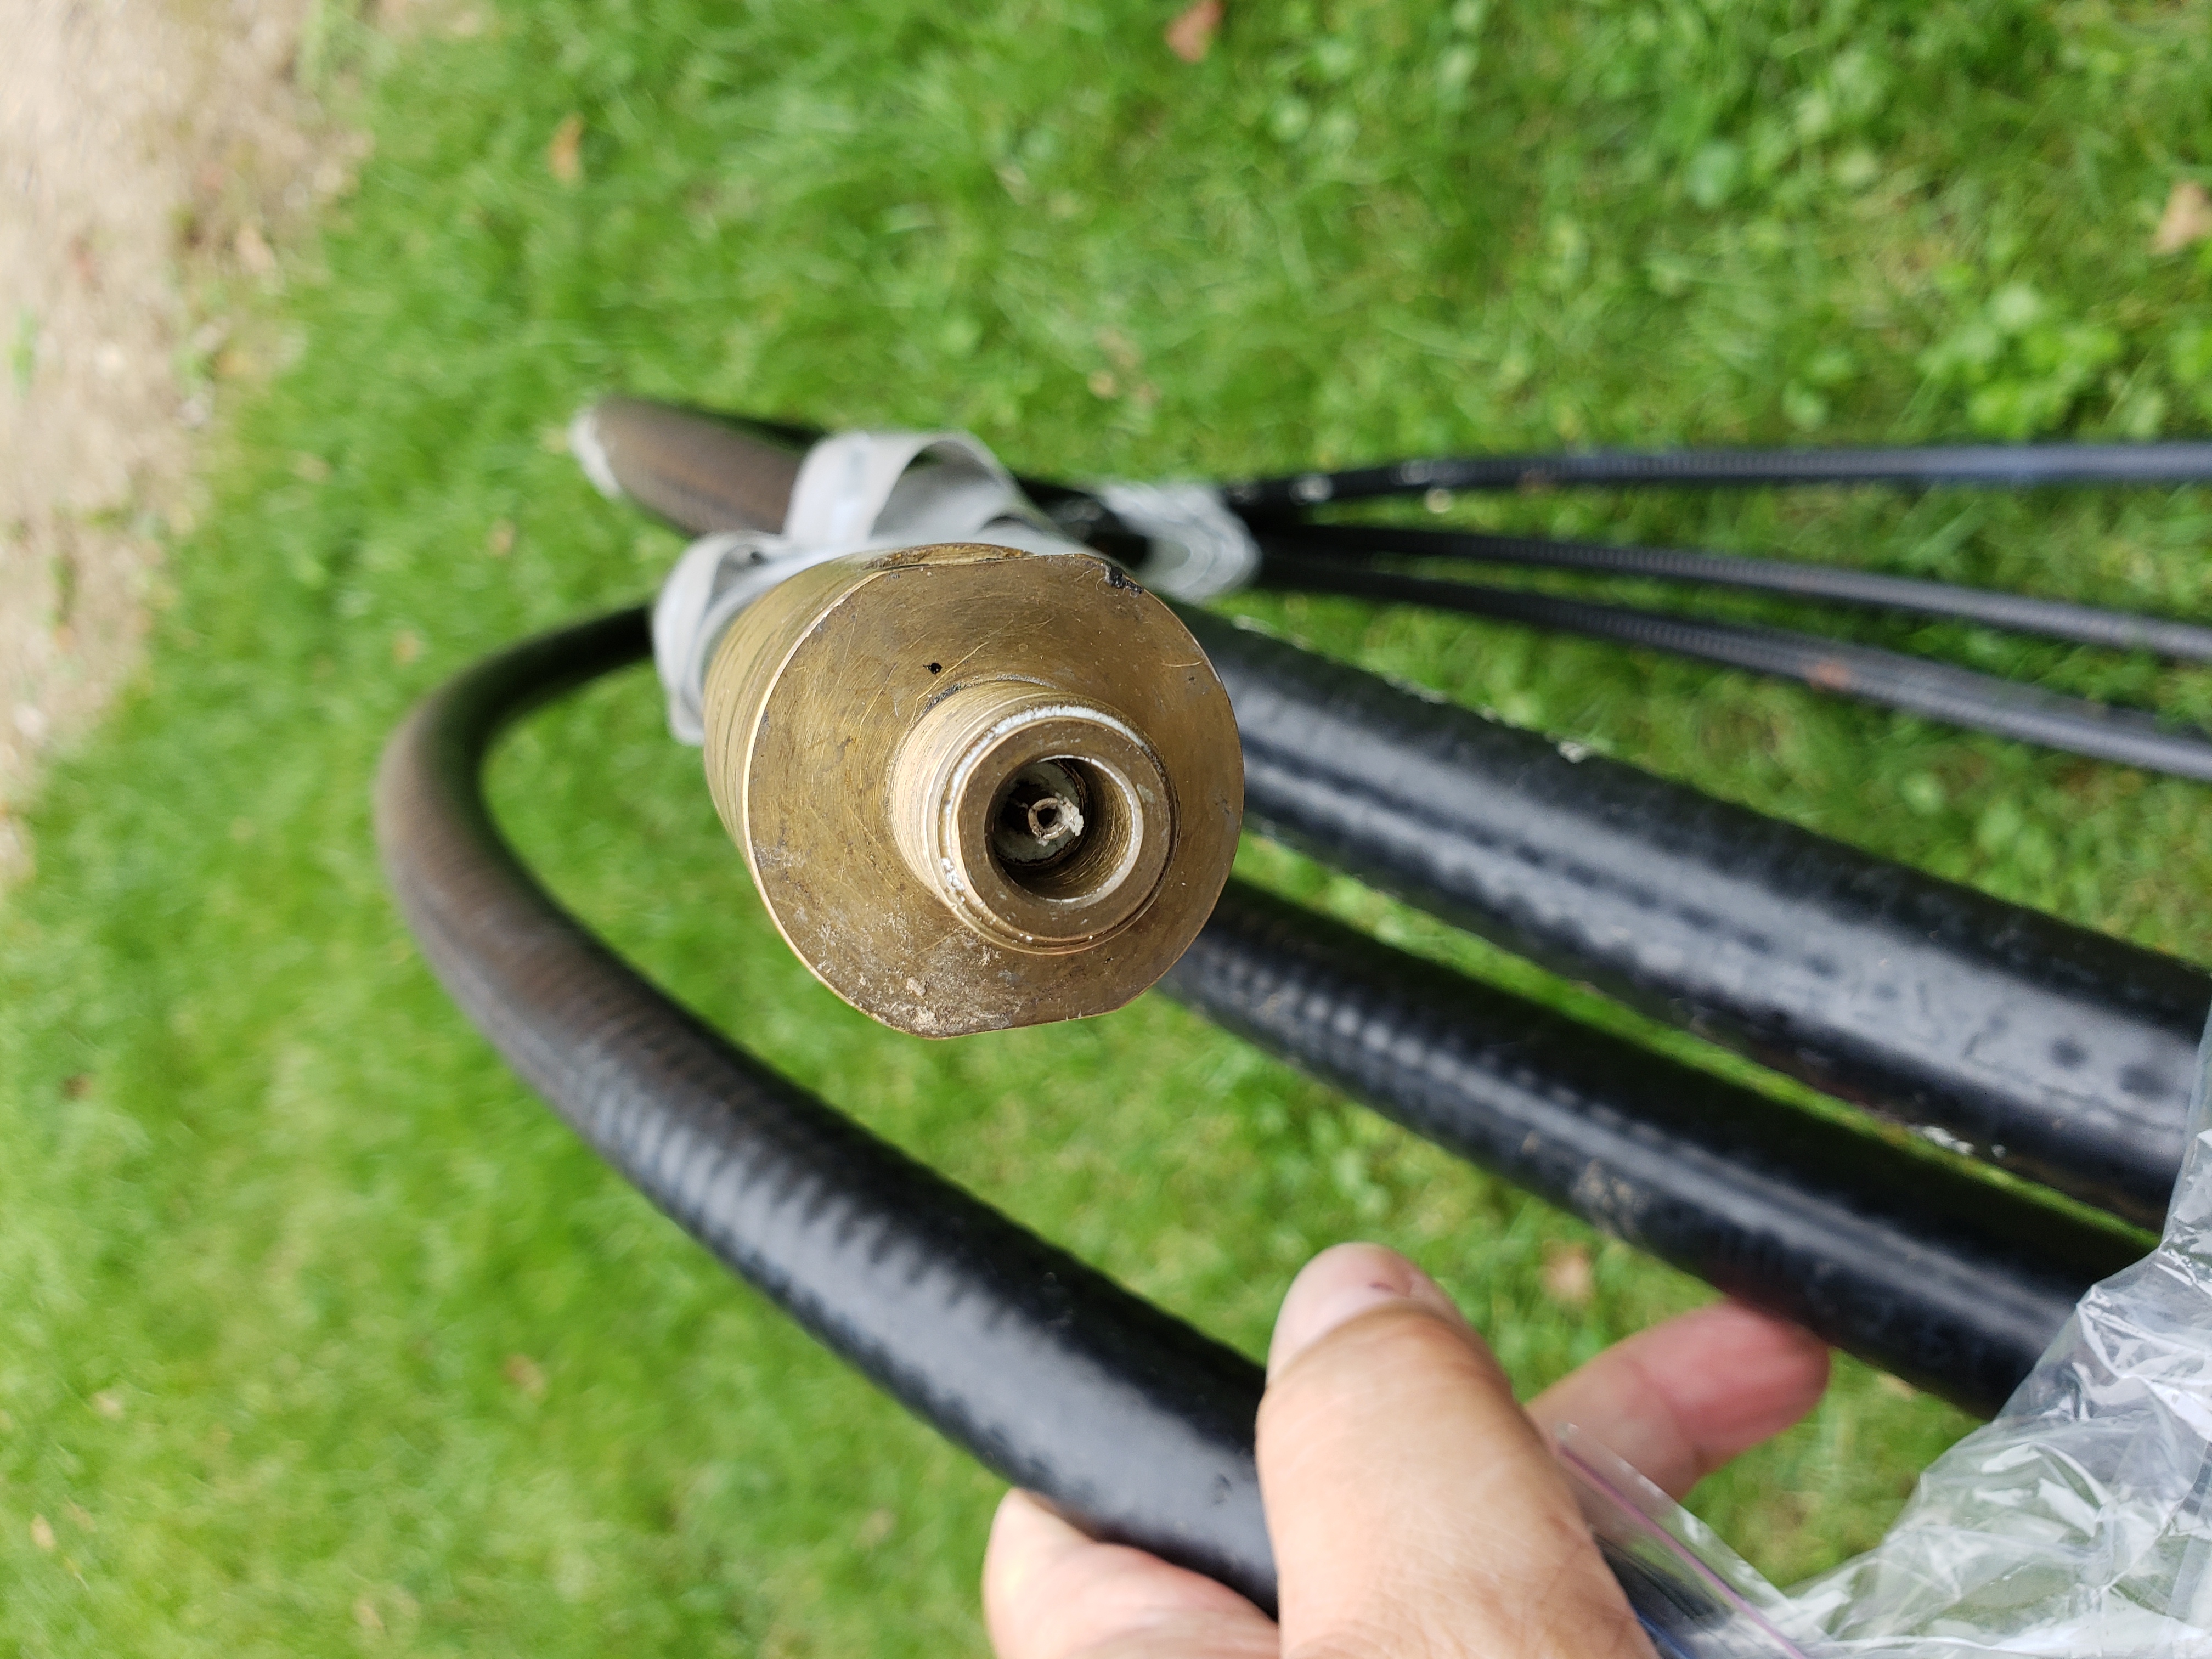
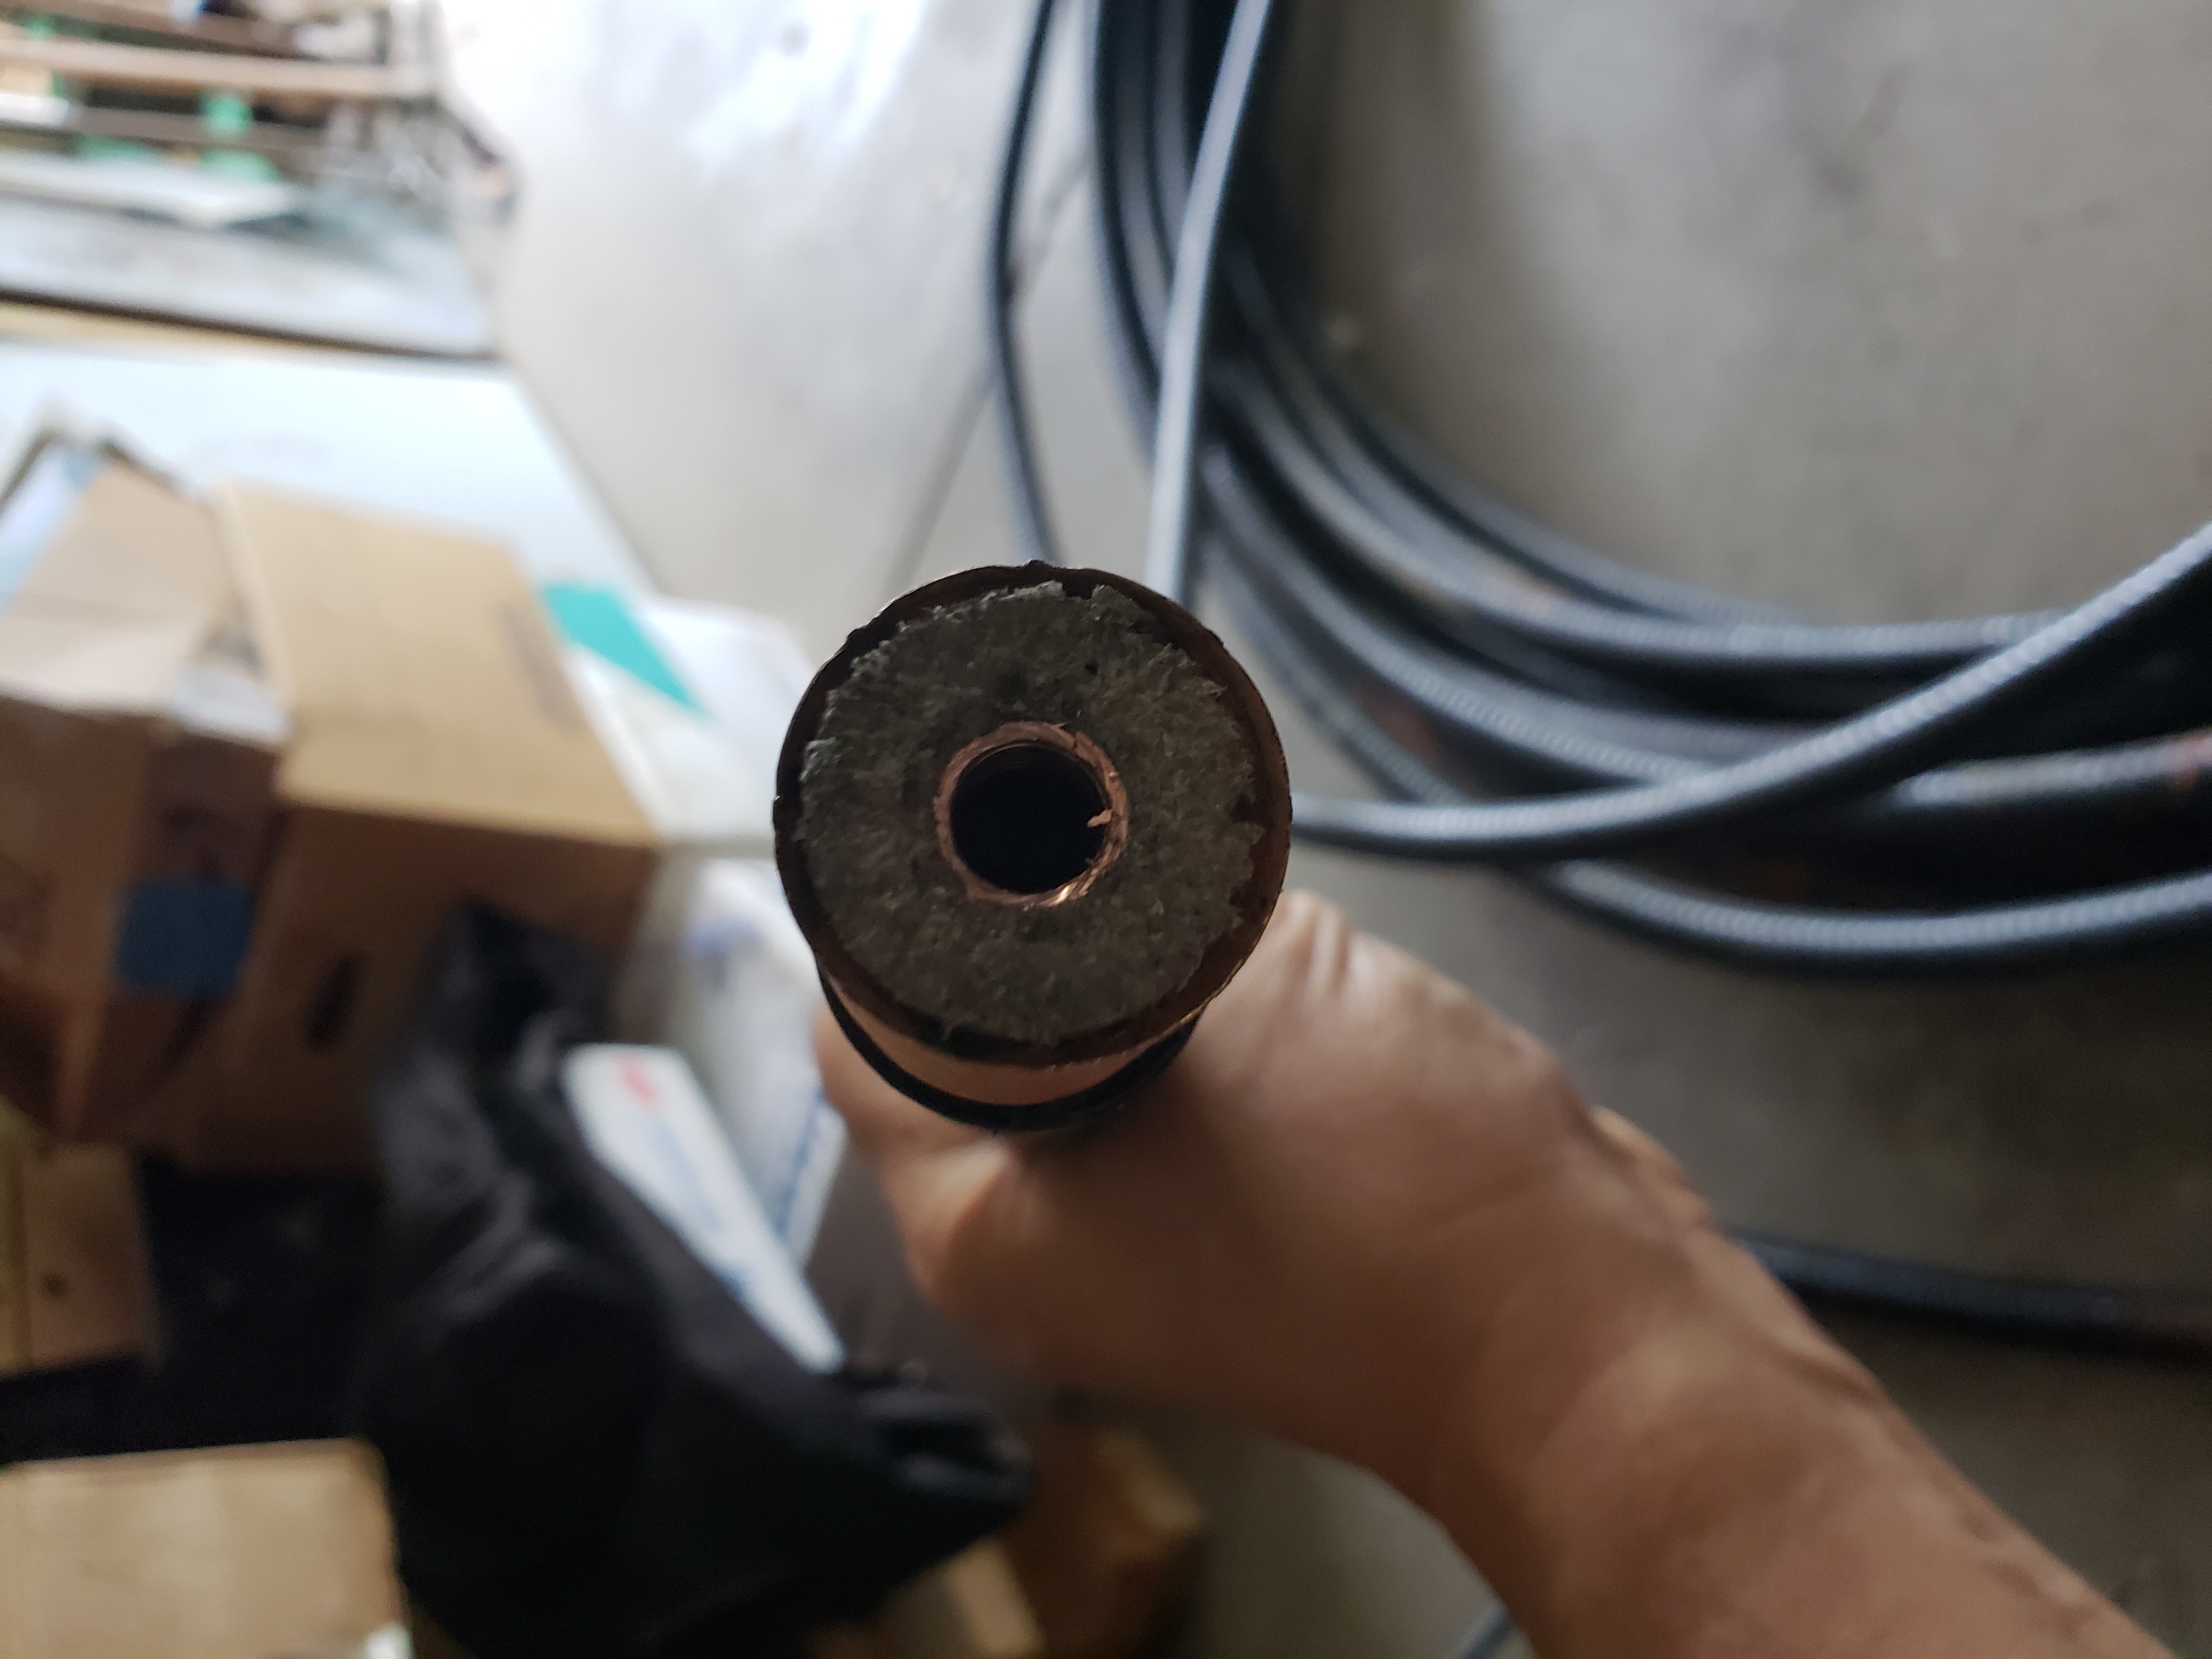
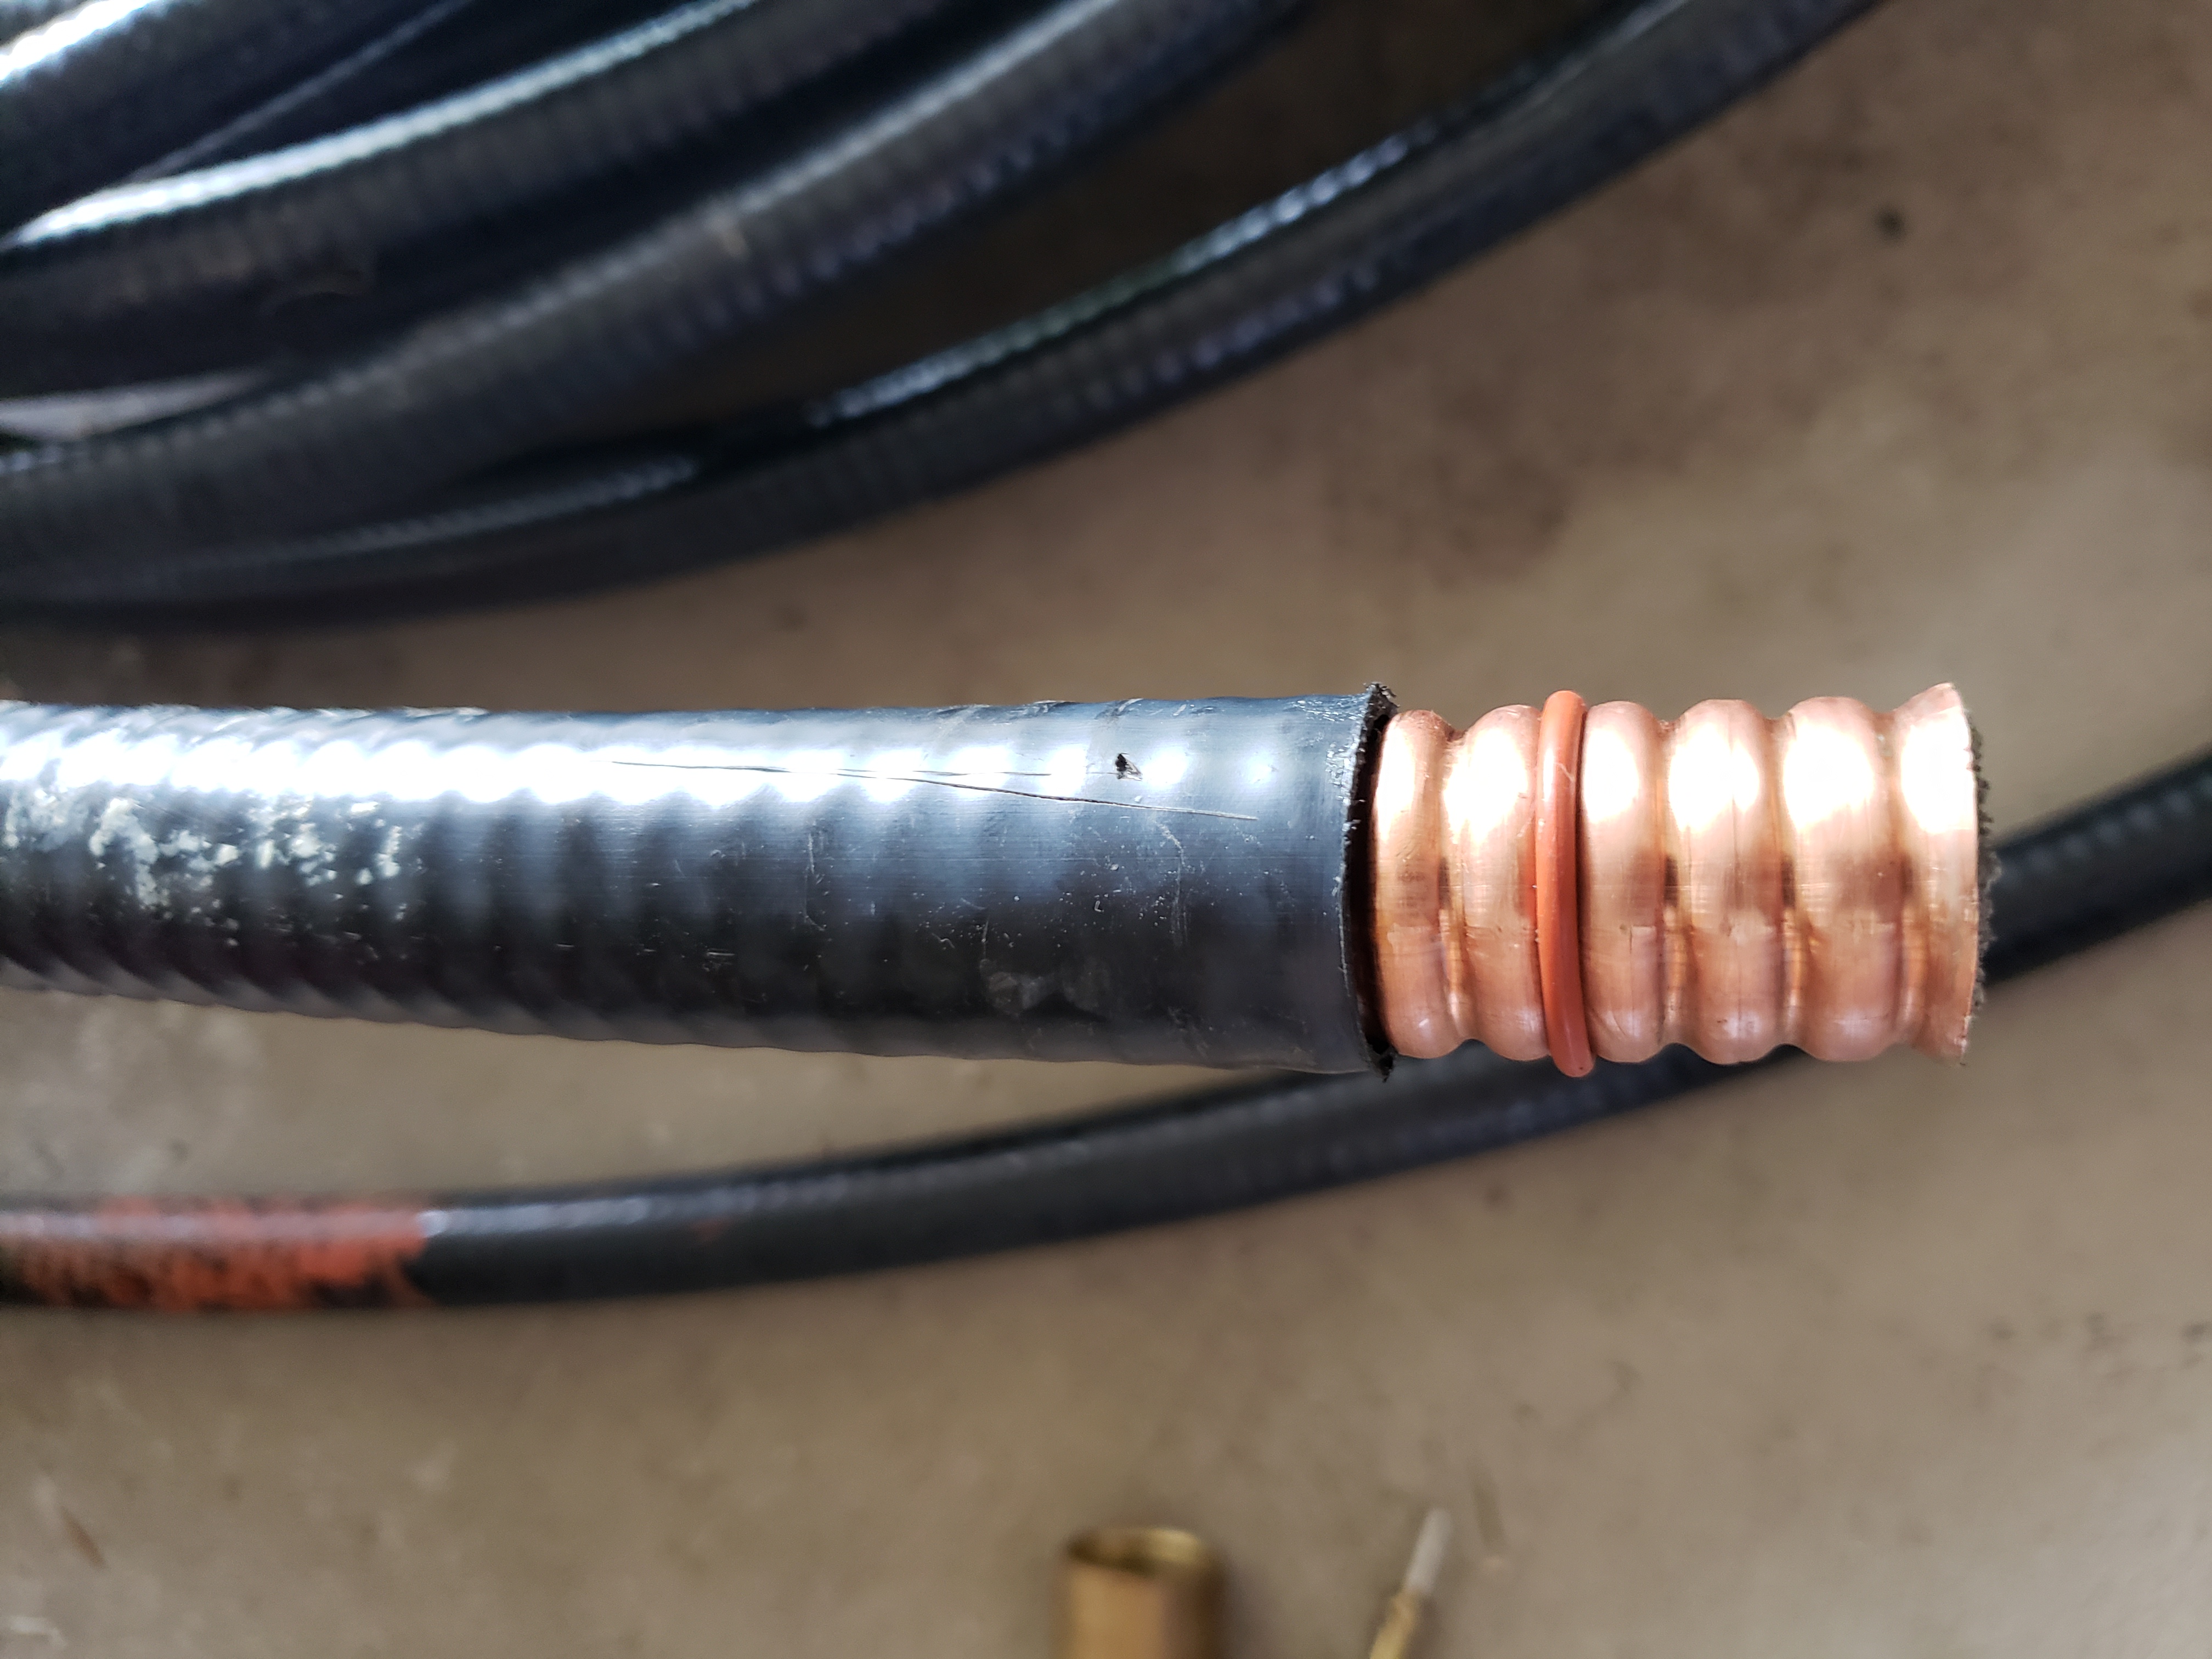
I had also bought some 7/8” hard-line
from the same friend I got the tower section from. It turned out the hard-line was
a little over 10’ too long, no problem buy parts cut the cable and reassemble
it, wrong, parts for the Anderson connector and cable are not made anymore.
After endless searching I found, on eBay, a company in England who had 5 of the
connectors at $45 each. After a few exchanges he gave me a good deal and I
bought all five. I cut and reassembled the cable with a brand new connector,
loaded it up and tested it at 100 watts, perfect SWR. With the first 40’
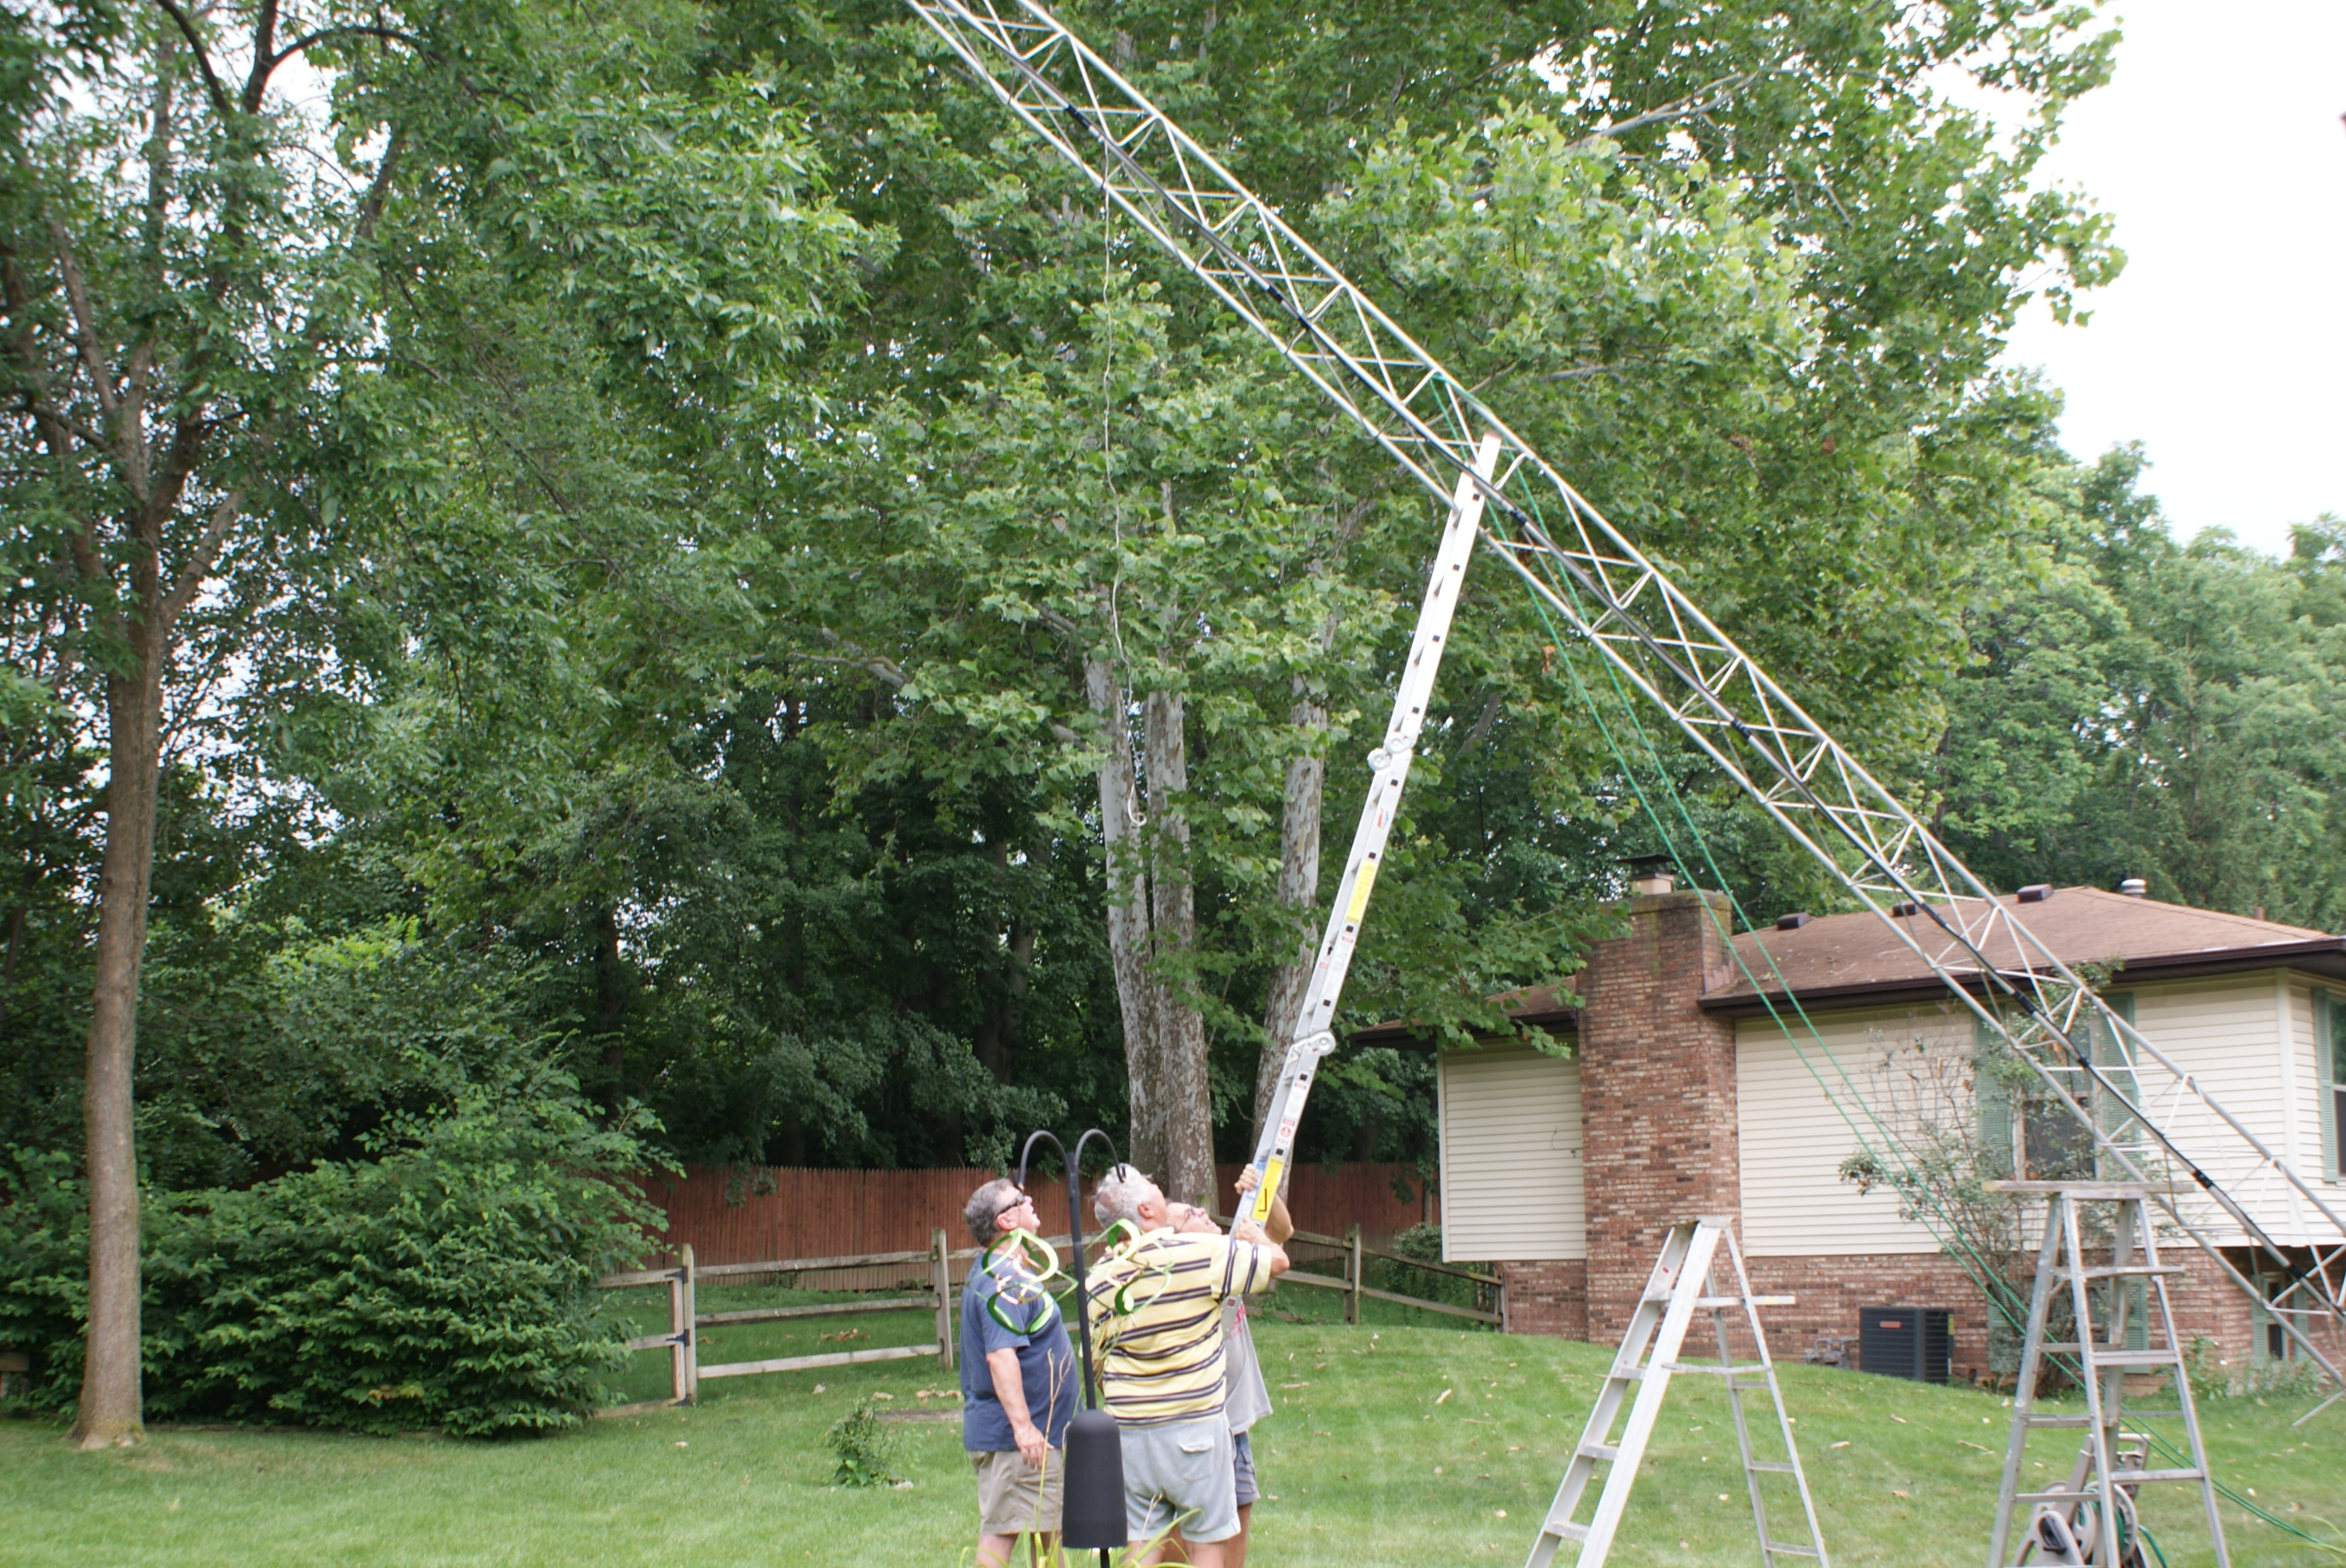
of tower assembled on the ground we fed the rotator cable and hard line up the middle a
little above 40’, and the 4 of us tilted it up and locked it in place. Next we
gin poled up the last 2 sections, mounted the rotator, mast and checked the mast
bearing for good alignment. The rotator was connected and the hard-line pulled
up and strapped to the top tower section via a grounding strap I attached
earlier. All the cables were ty-wrapped and taped to the tower sections.
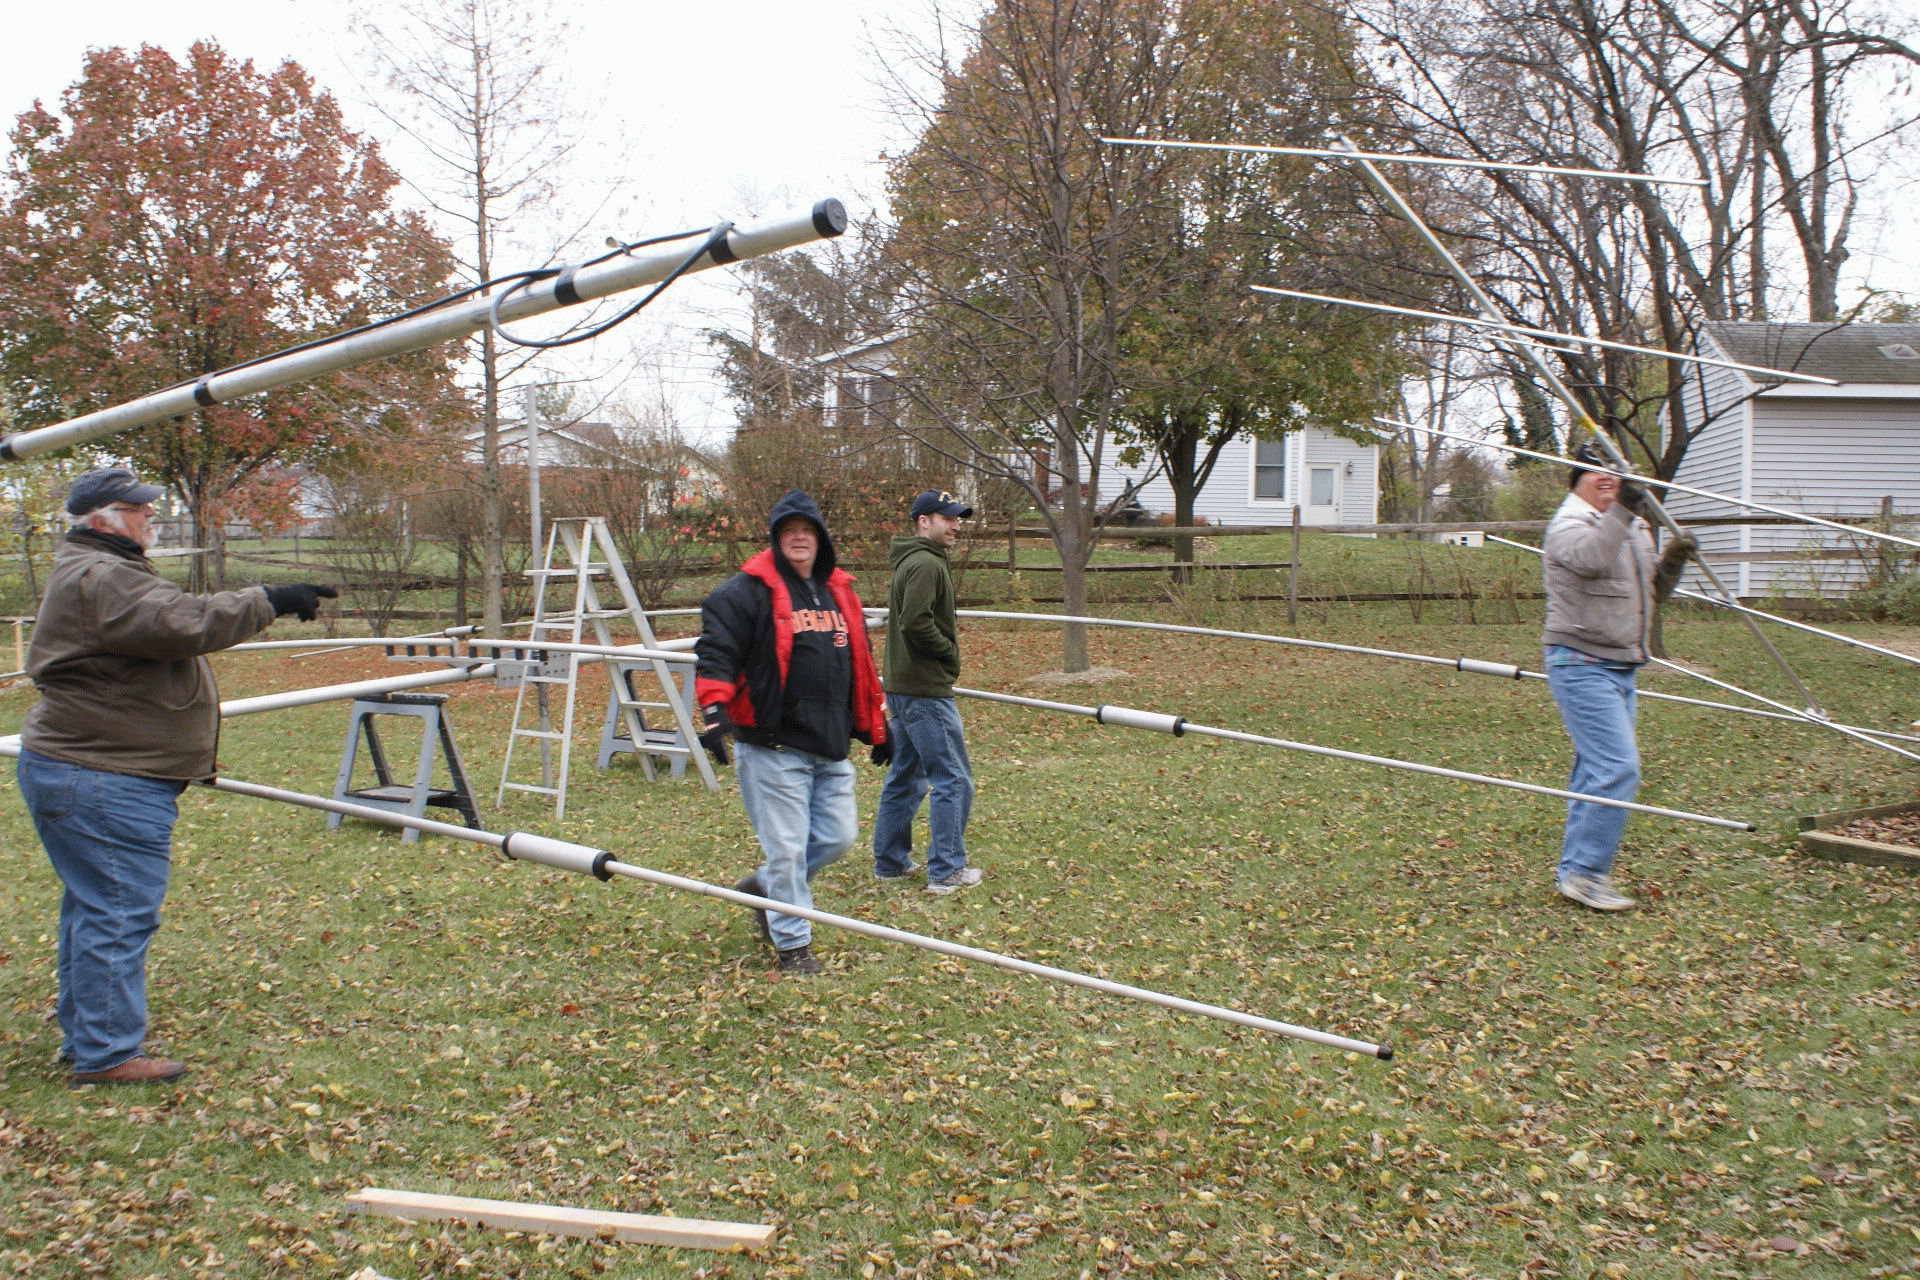
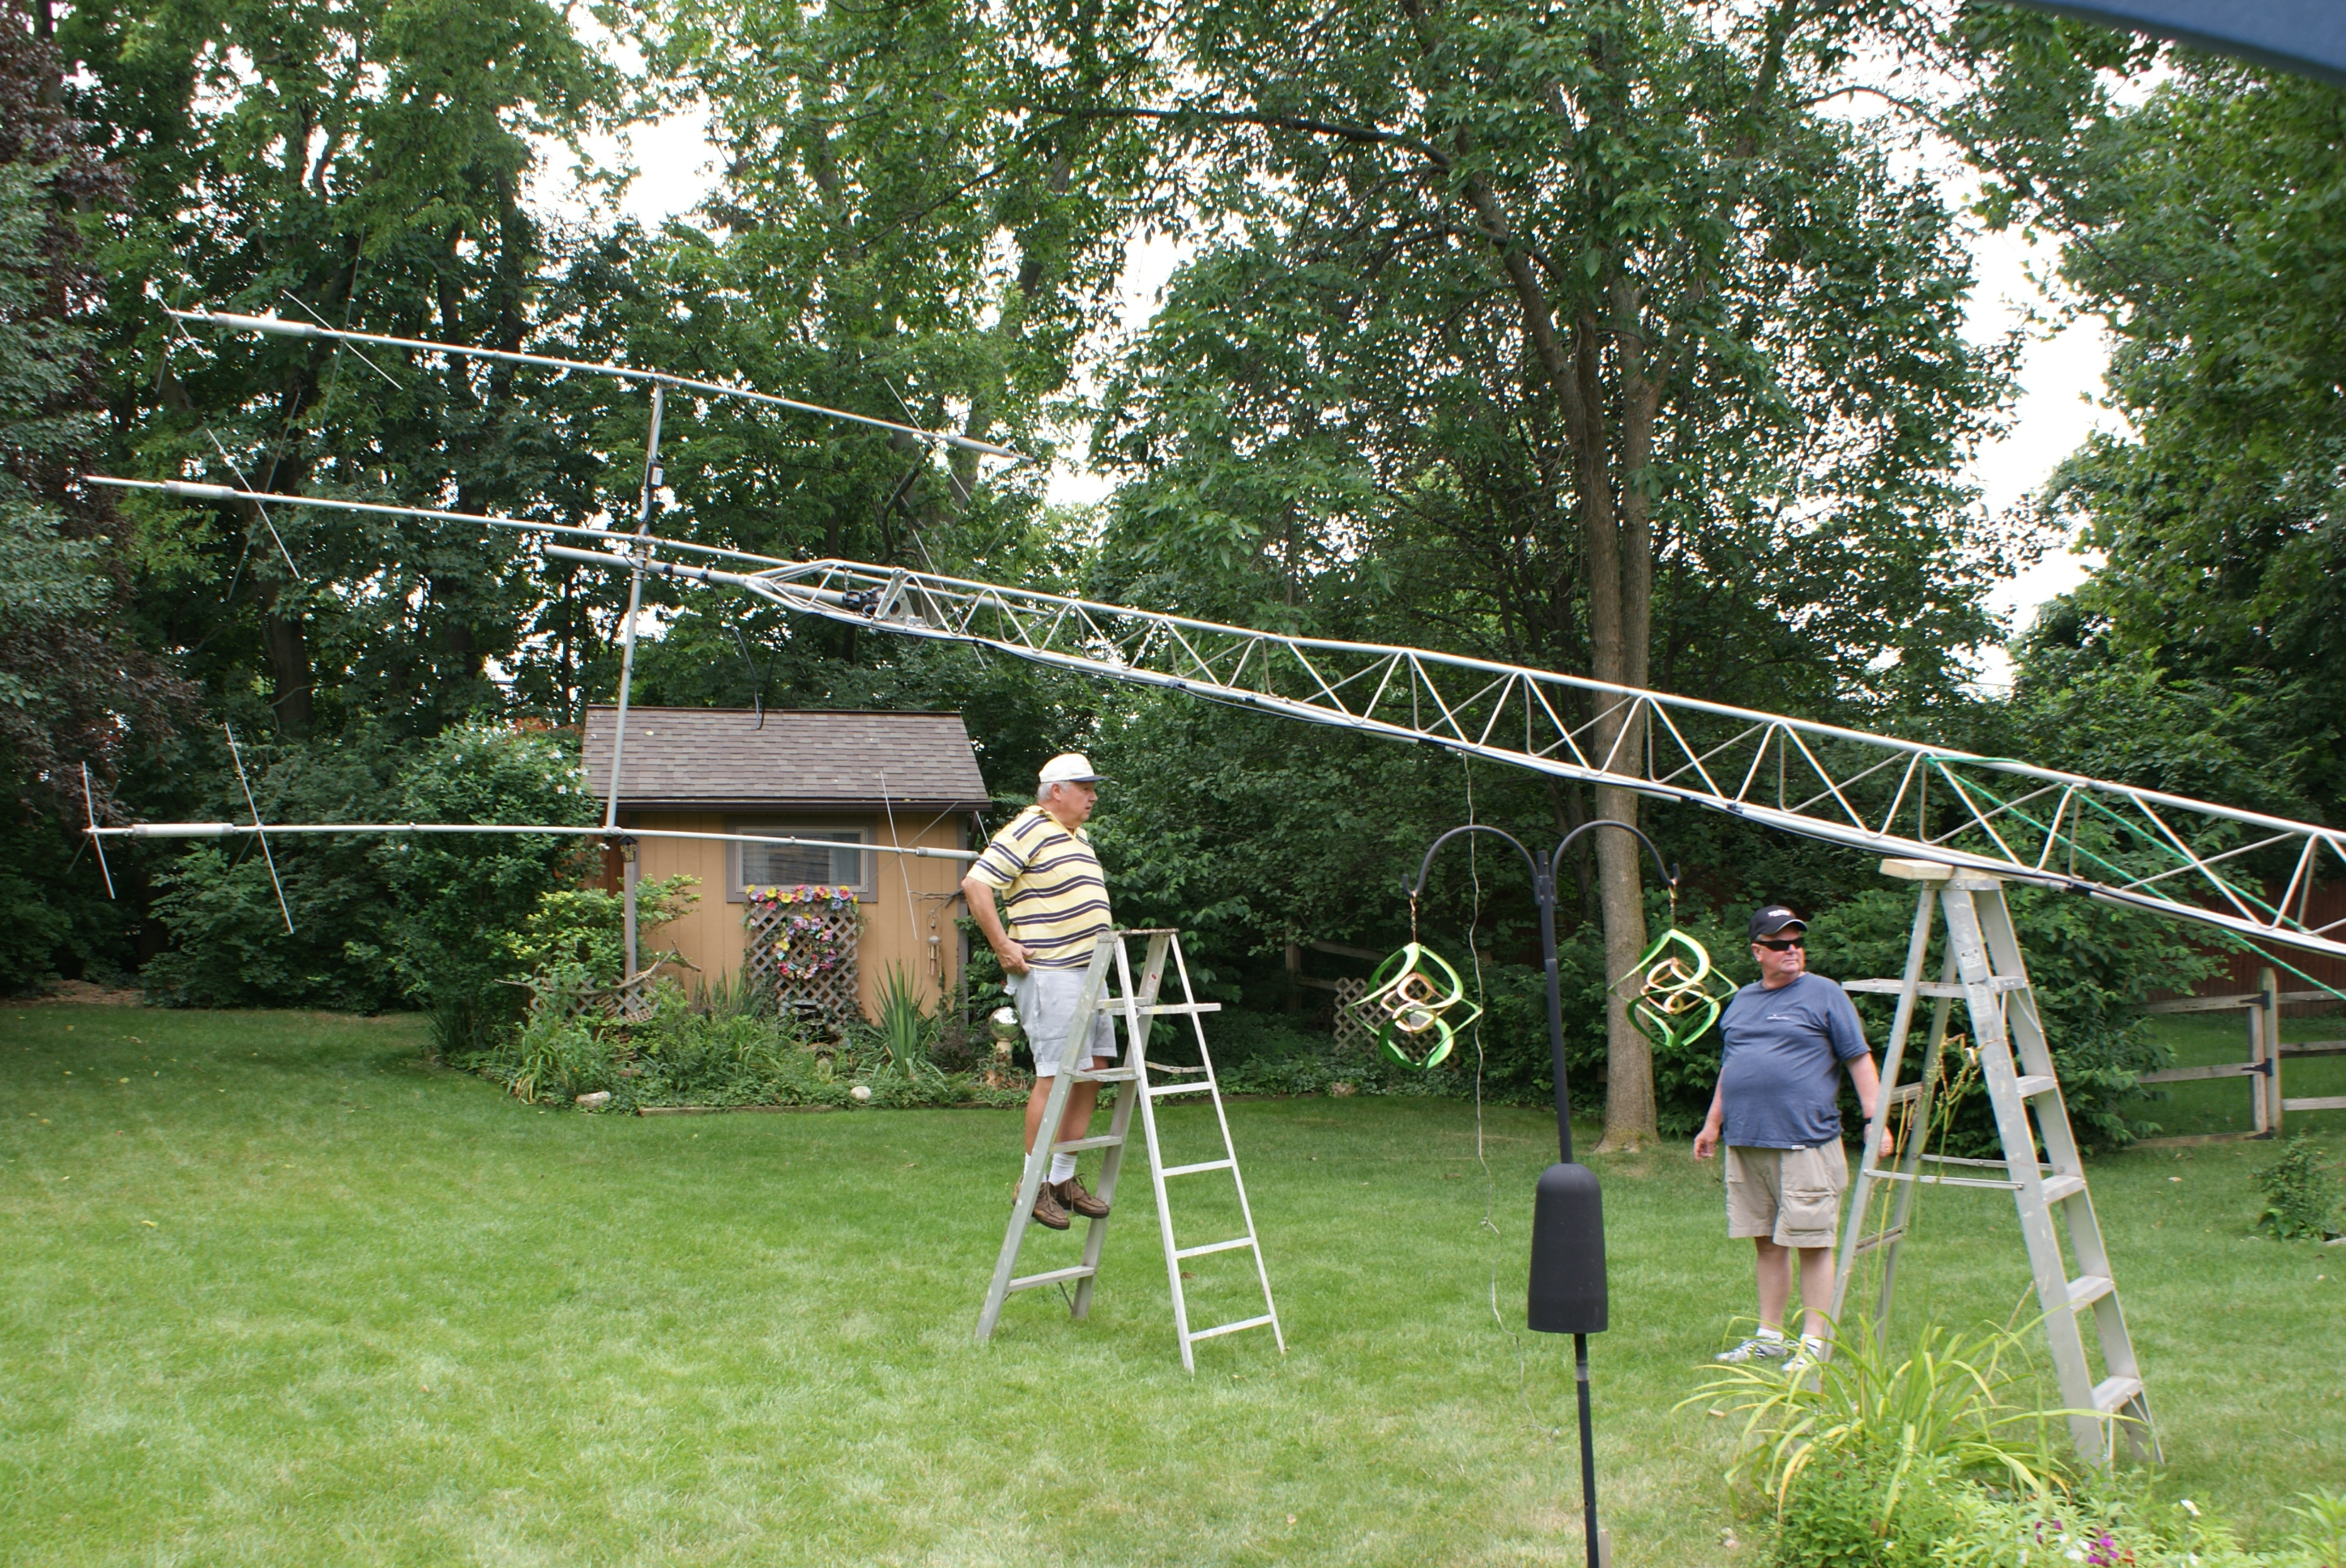
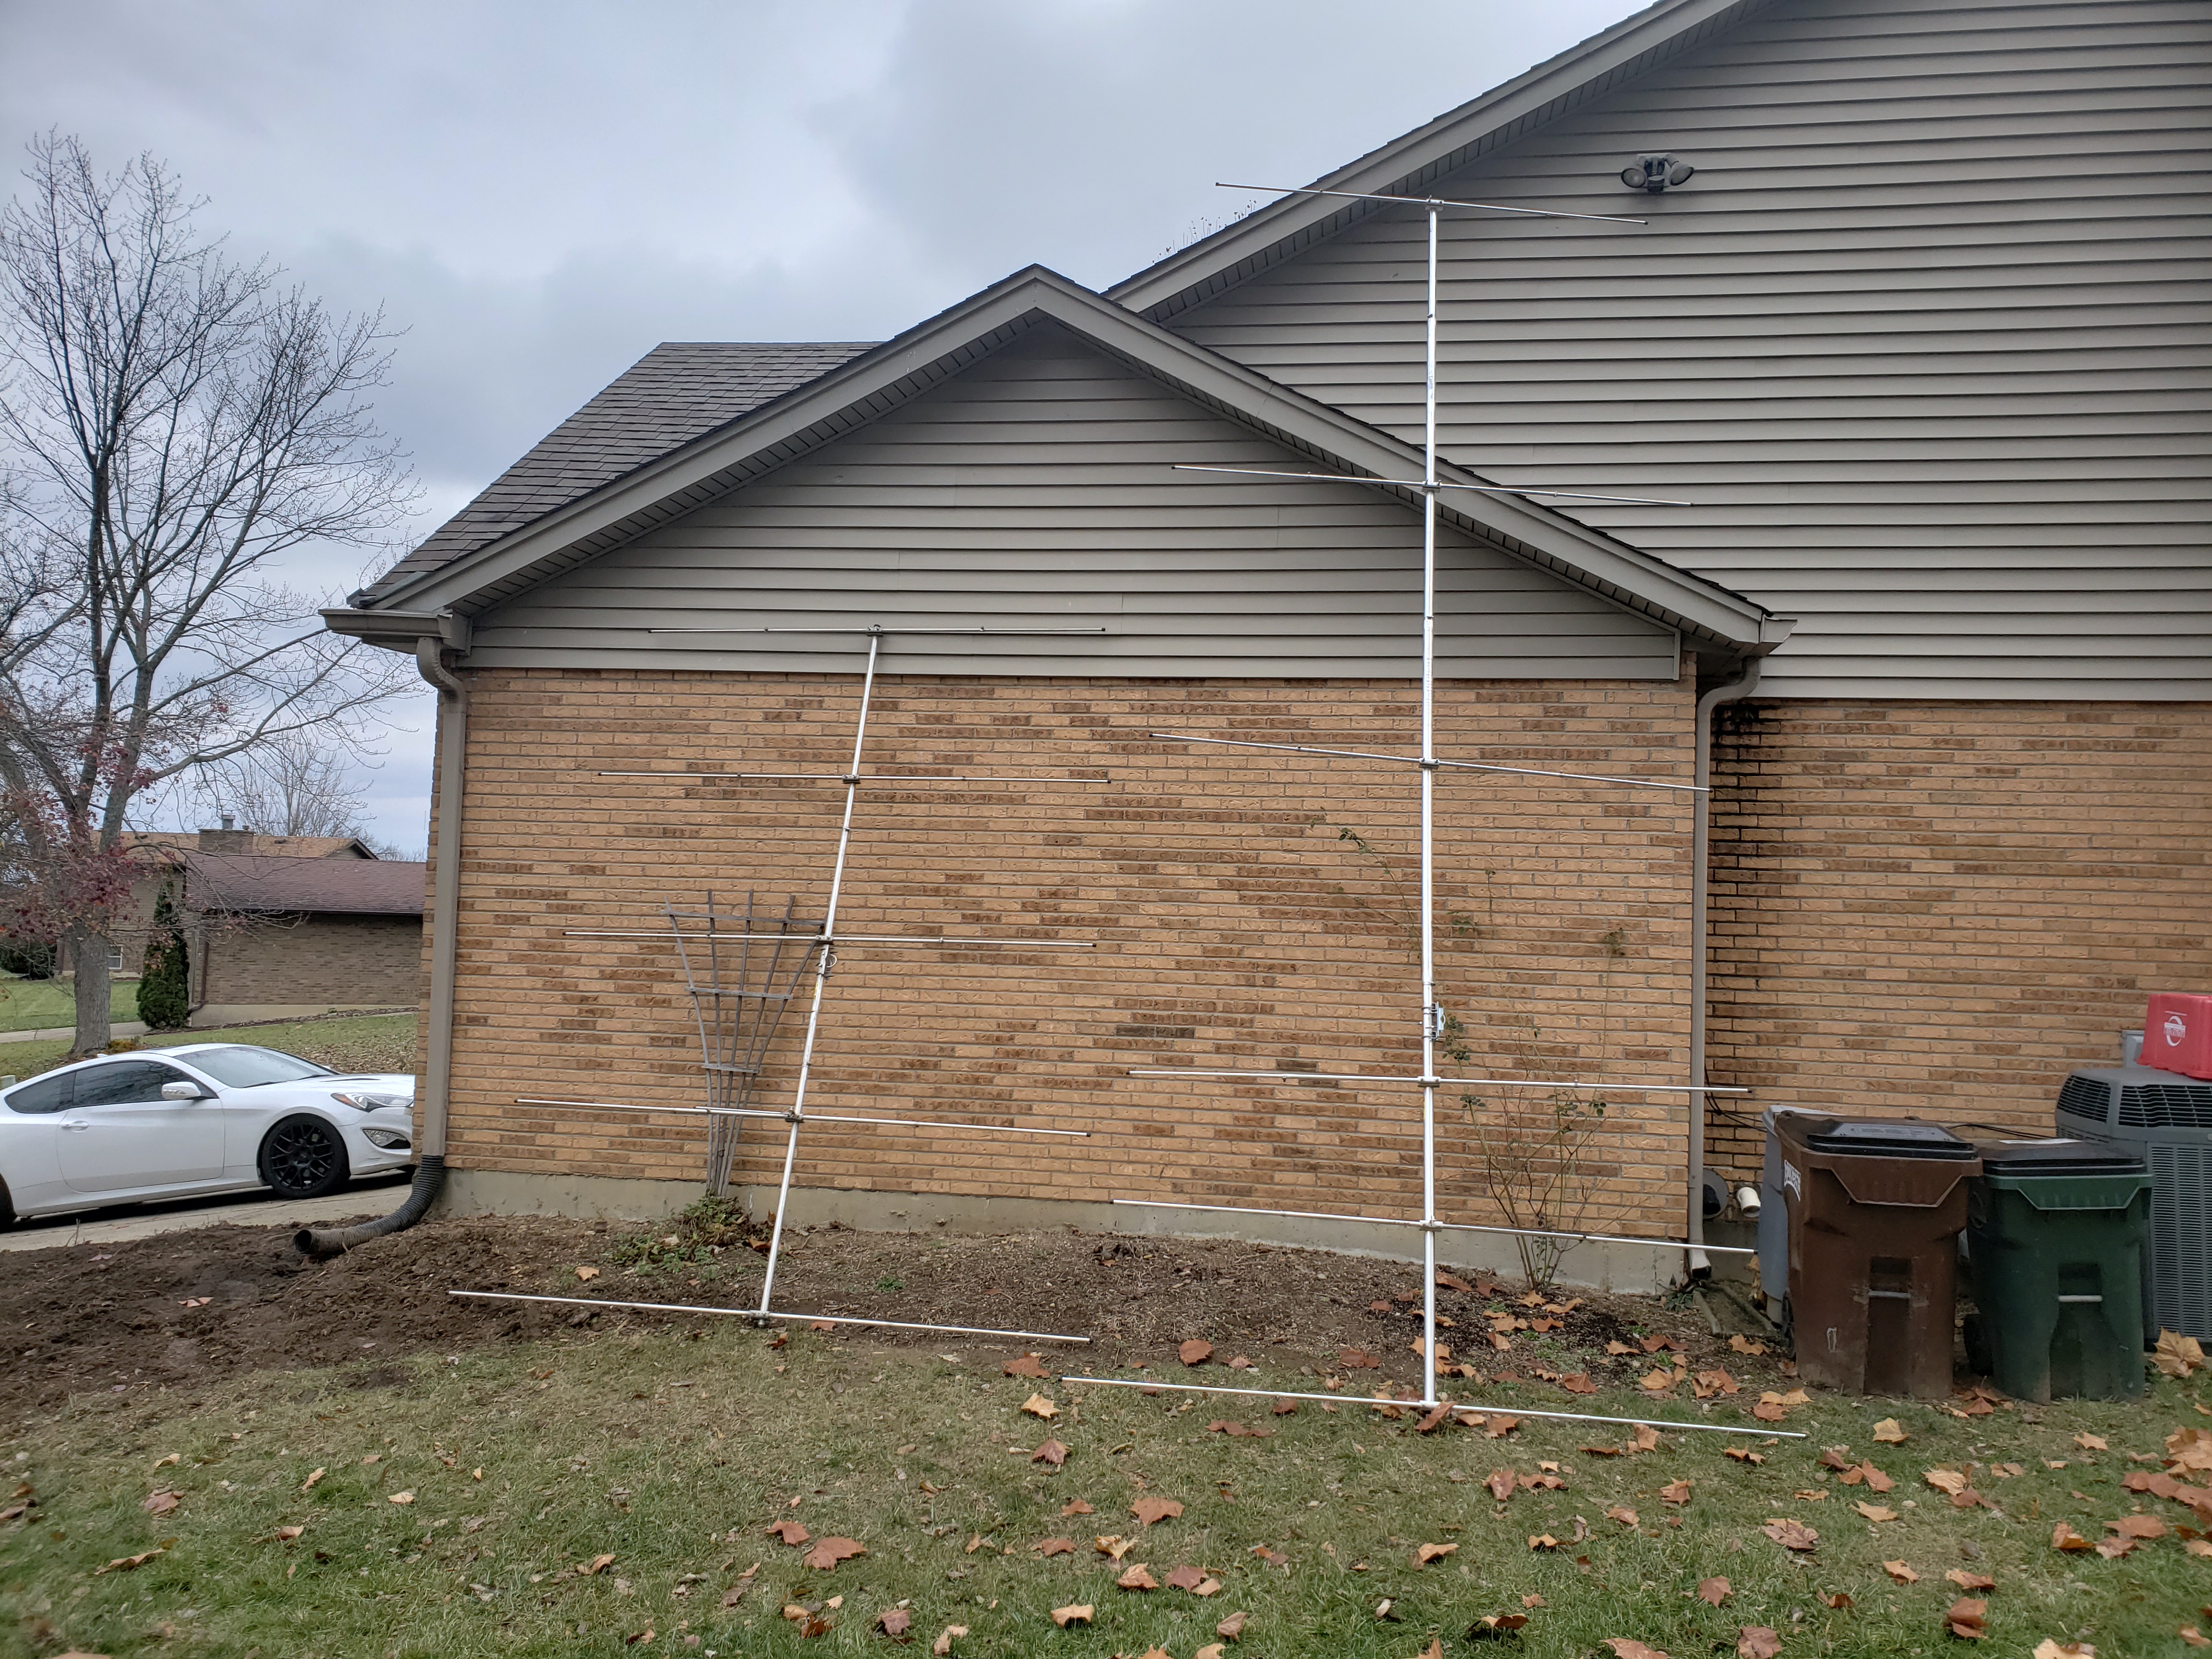
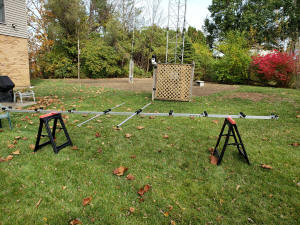
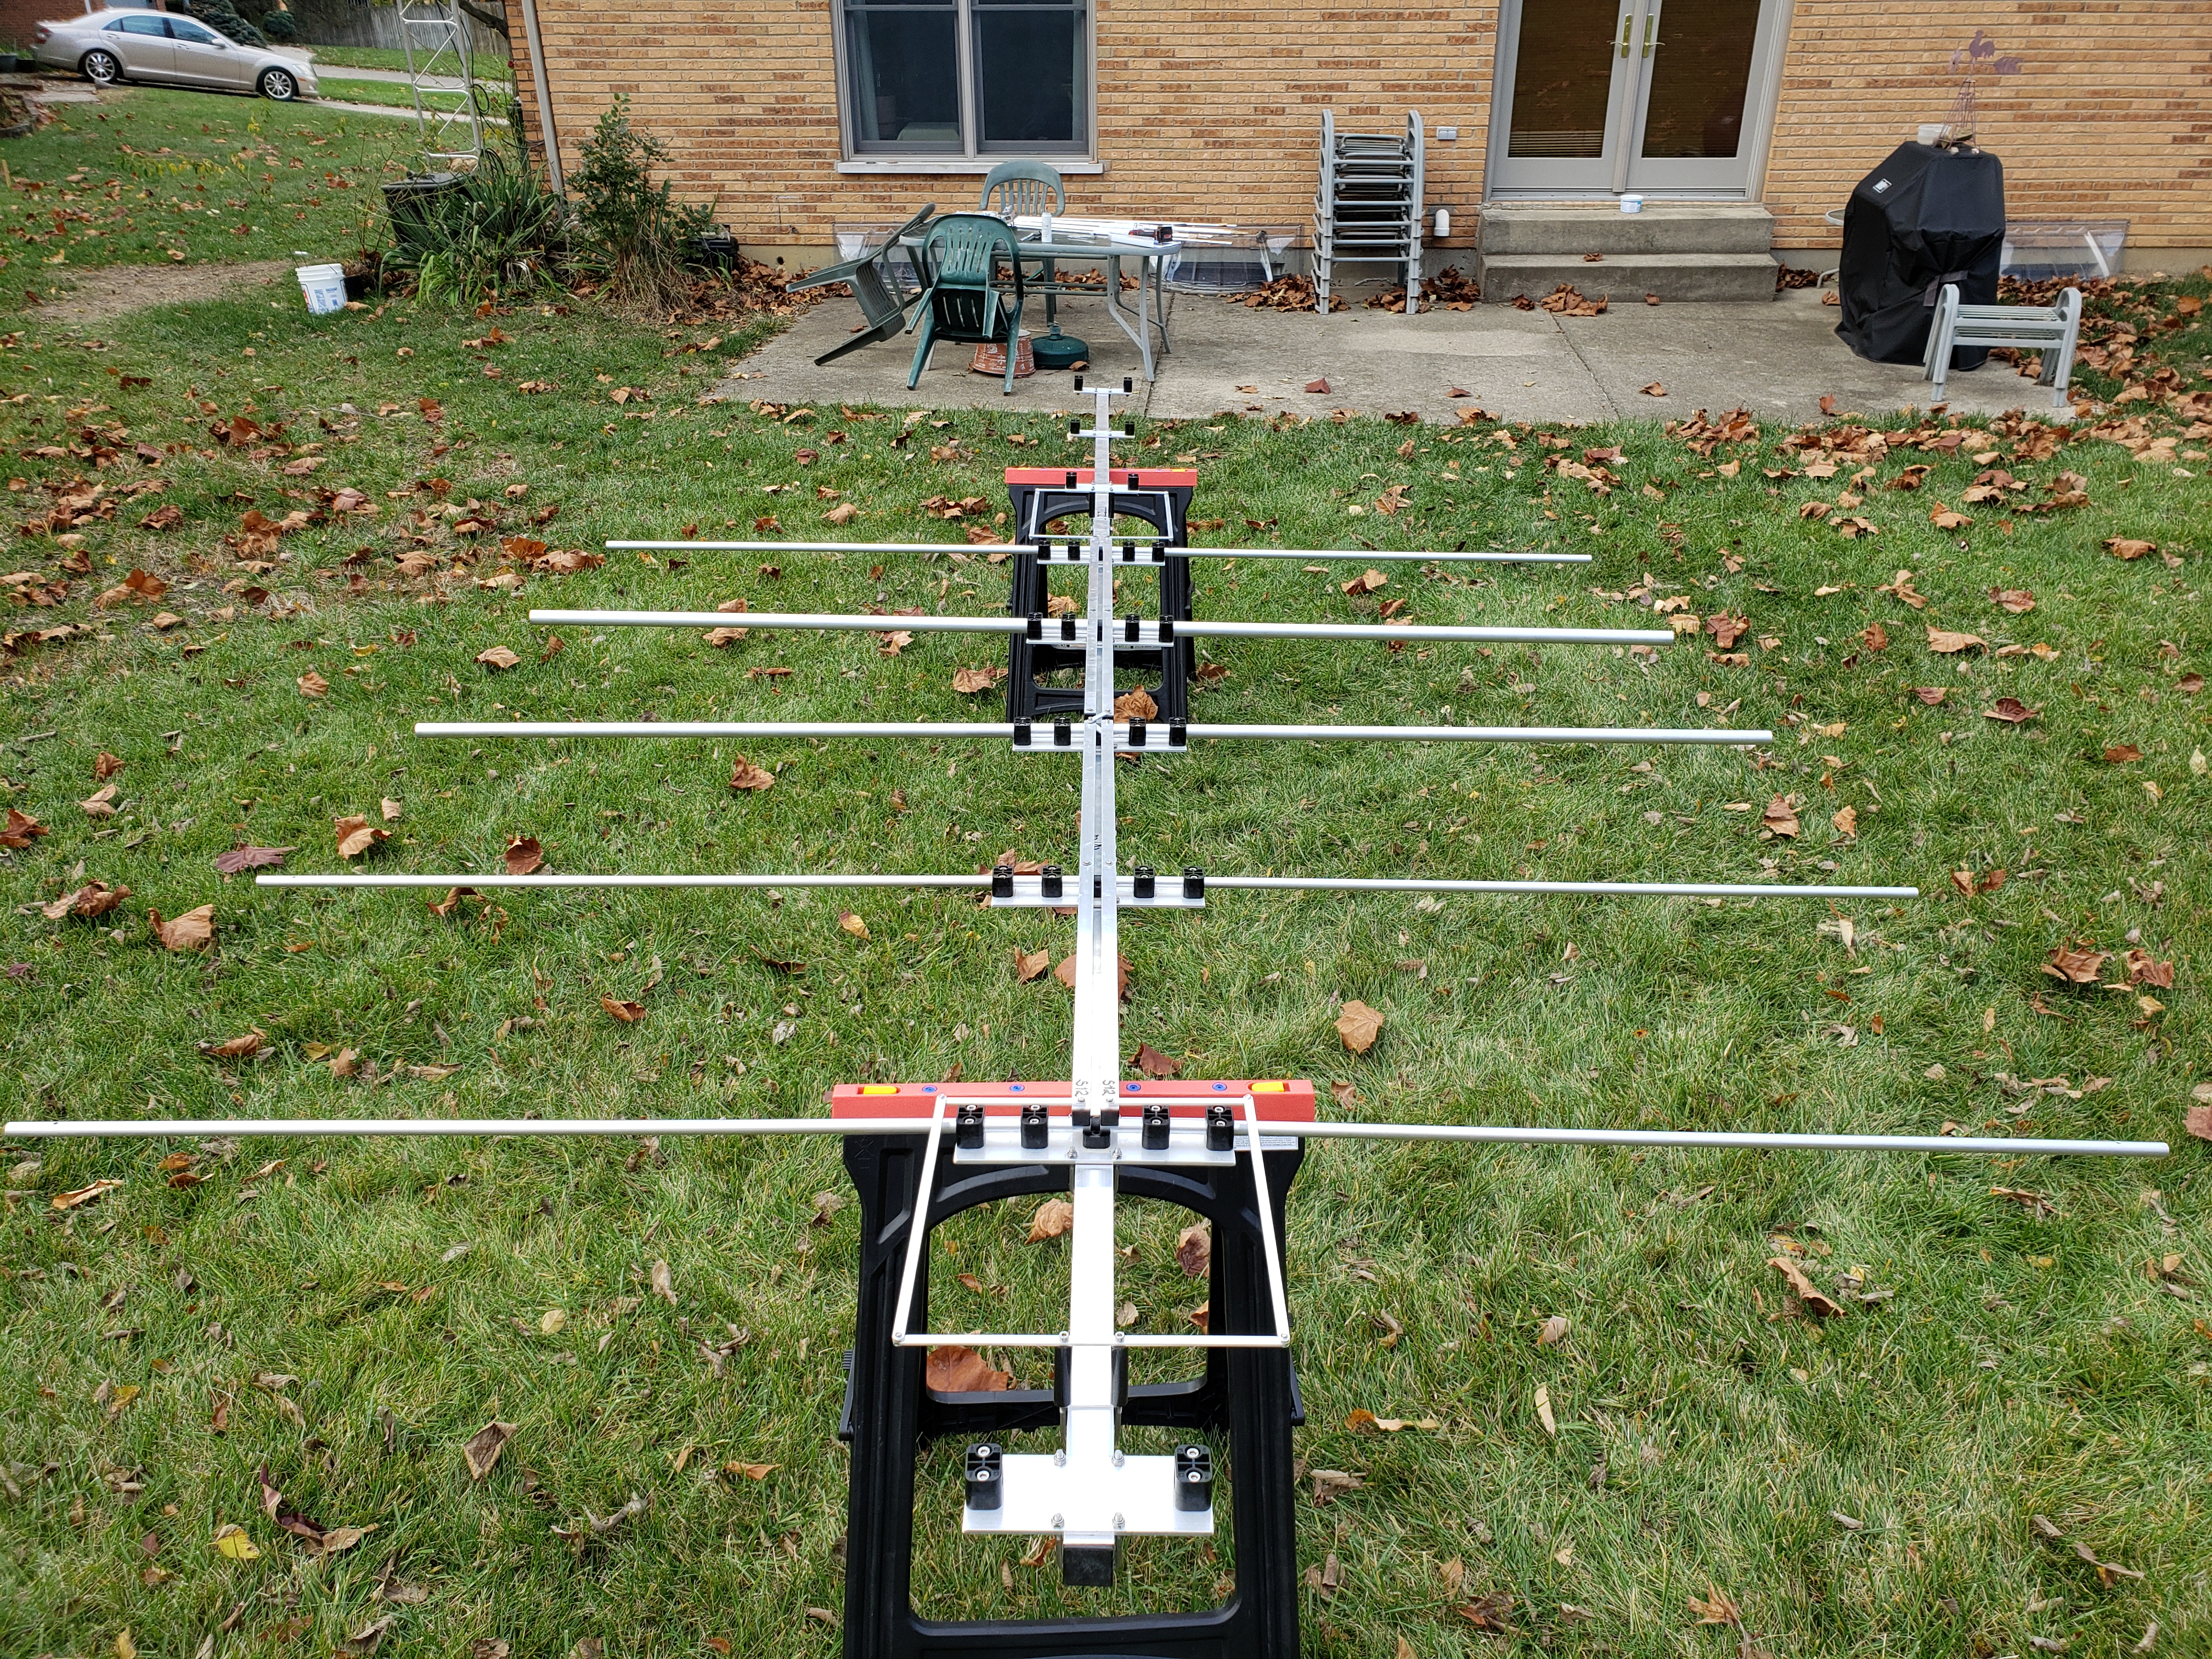
Now is time to build this new antenna. I
decided to build it on a spare 10’ top section of tower and 2” mast I had, it
turned out to be more difficult than I expected. Well anyway, all went pretty
smooth, being very careful to check and double check and triple check
everything. I put the antenna analyzer on it and it responded as expected but I
also knew 10’ was not far enough above the ground to be real accurate but close
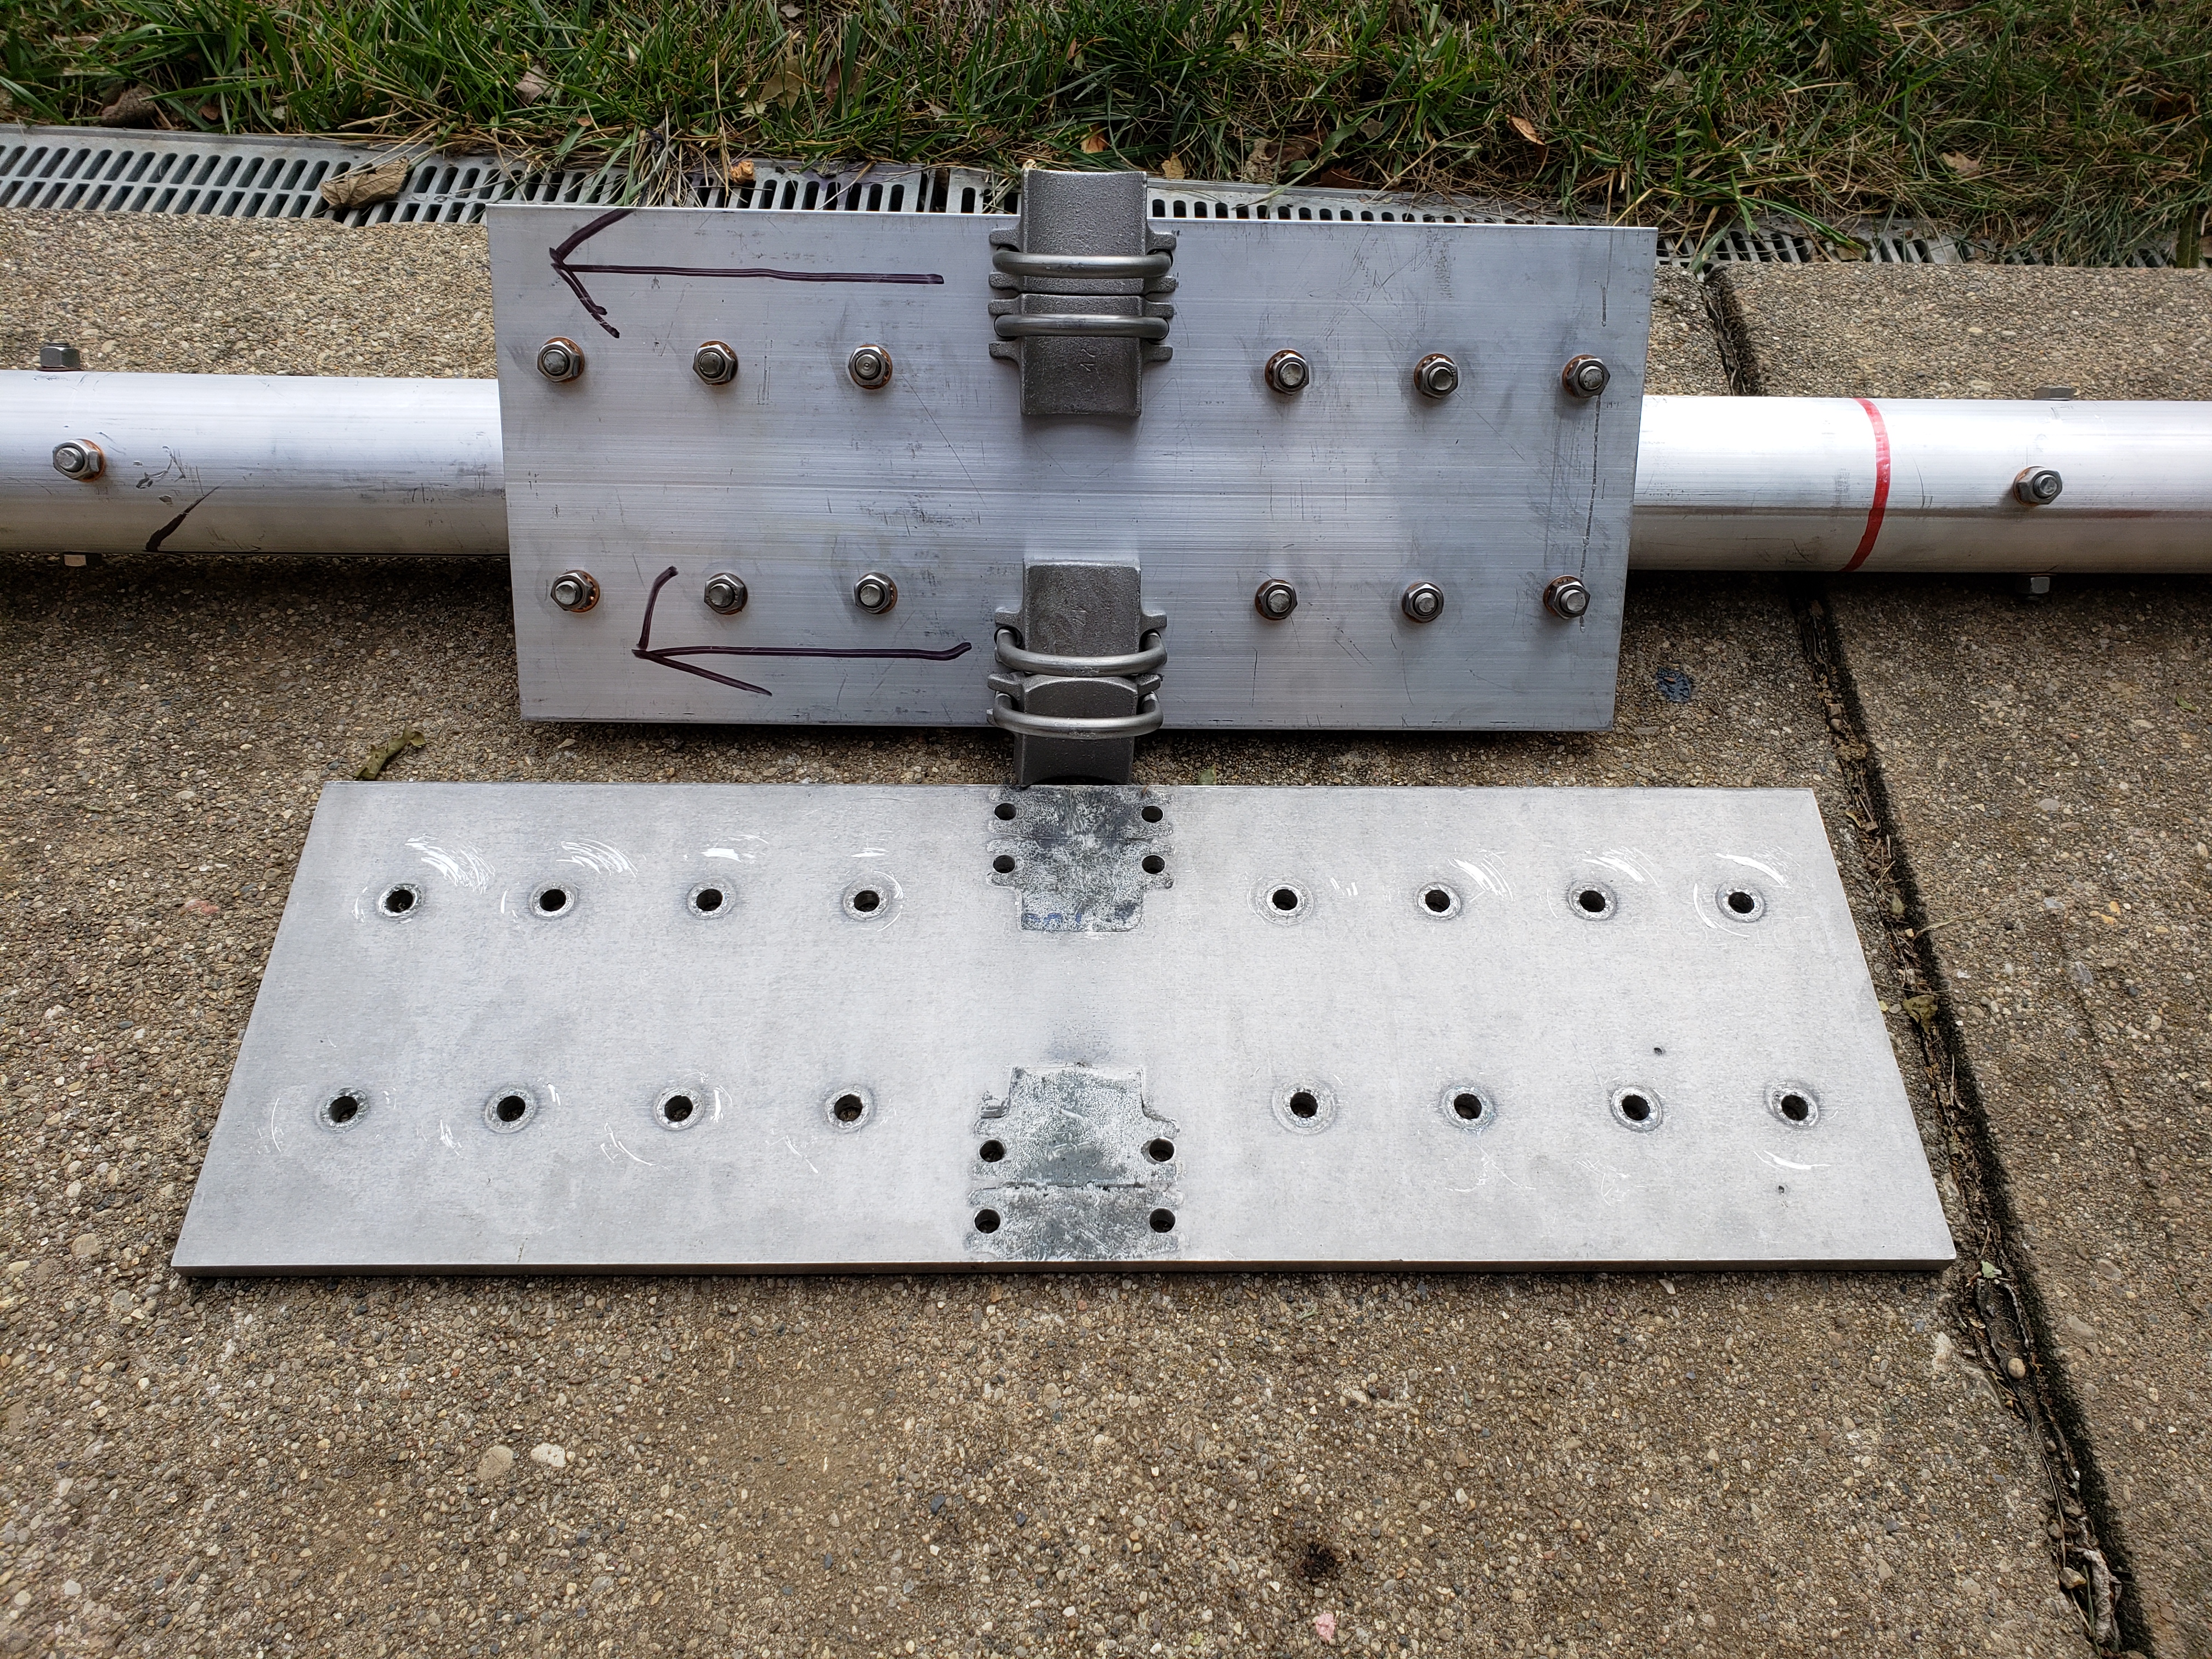
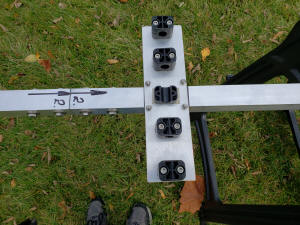
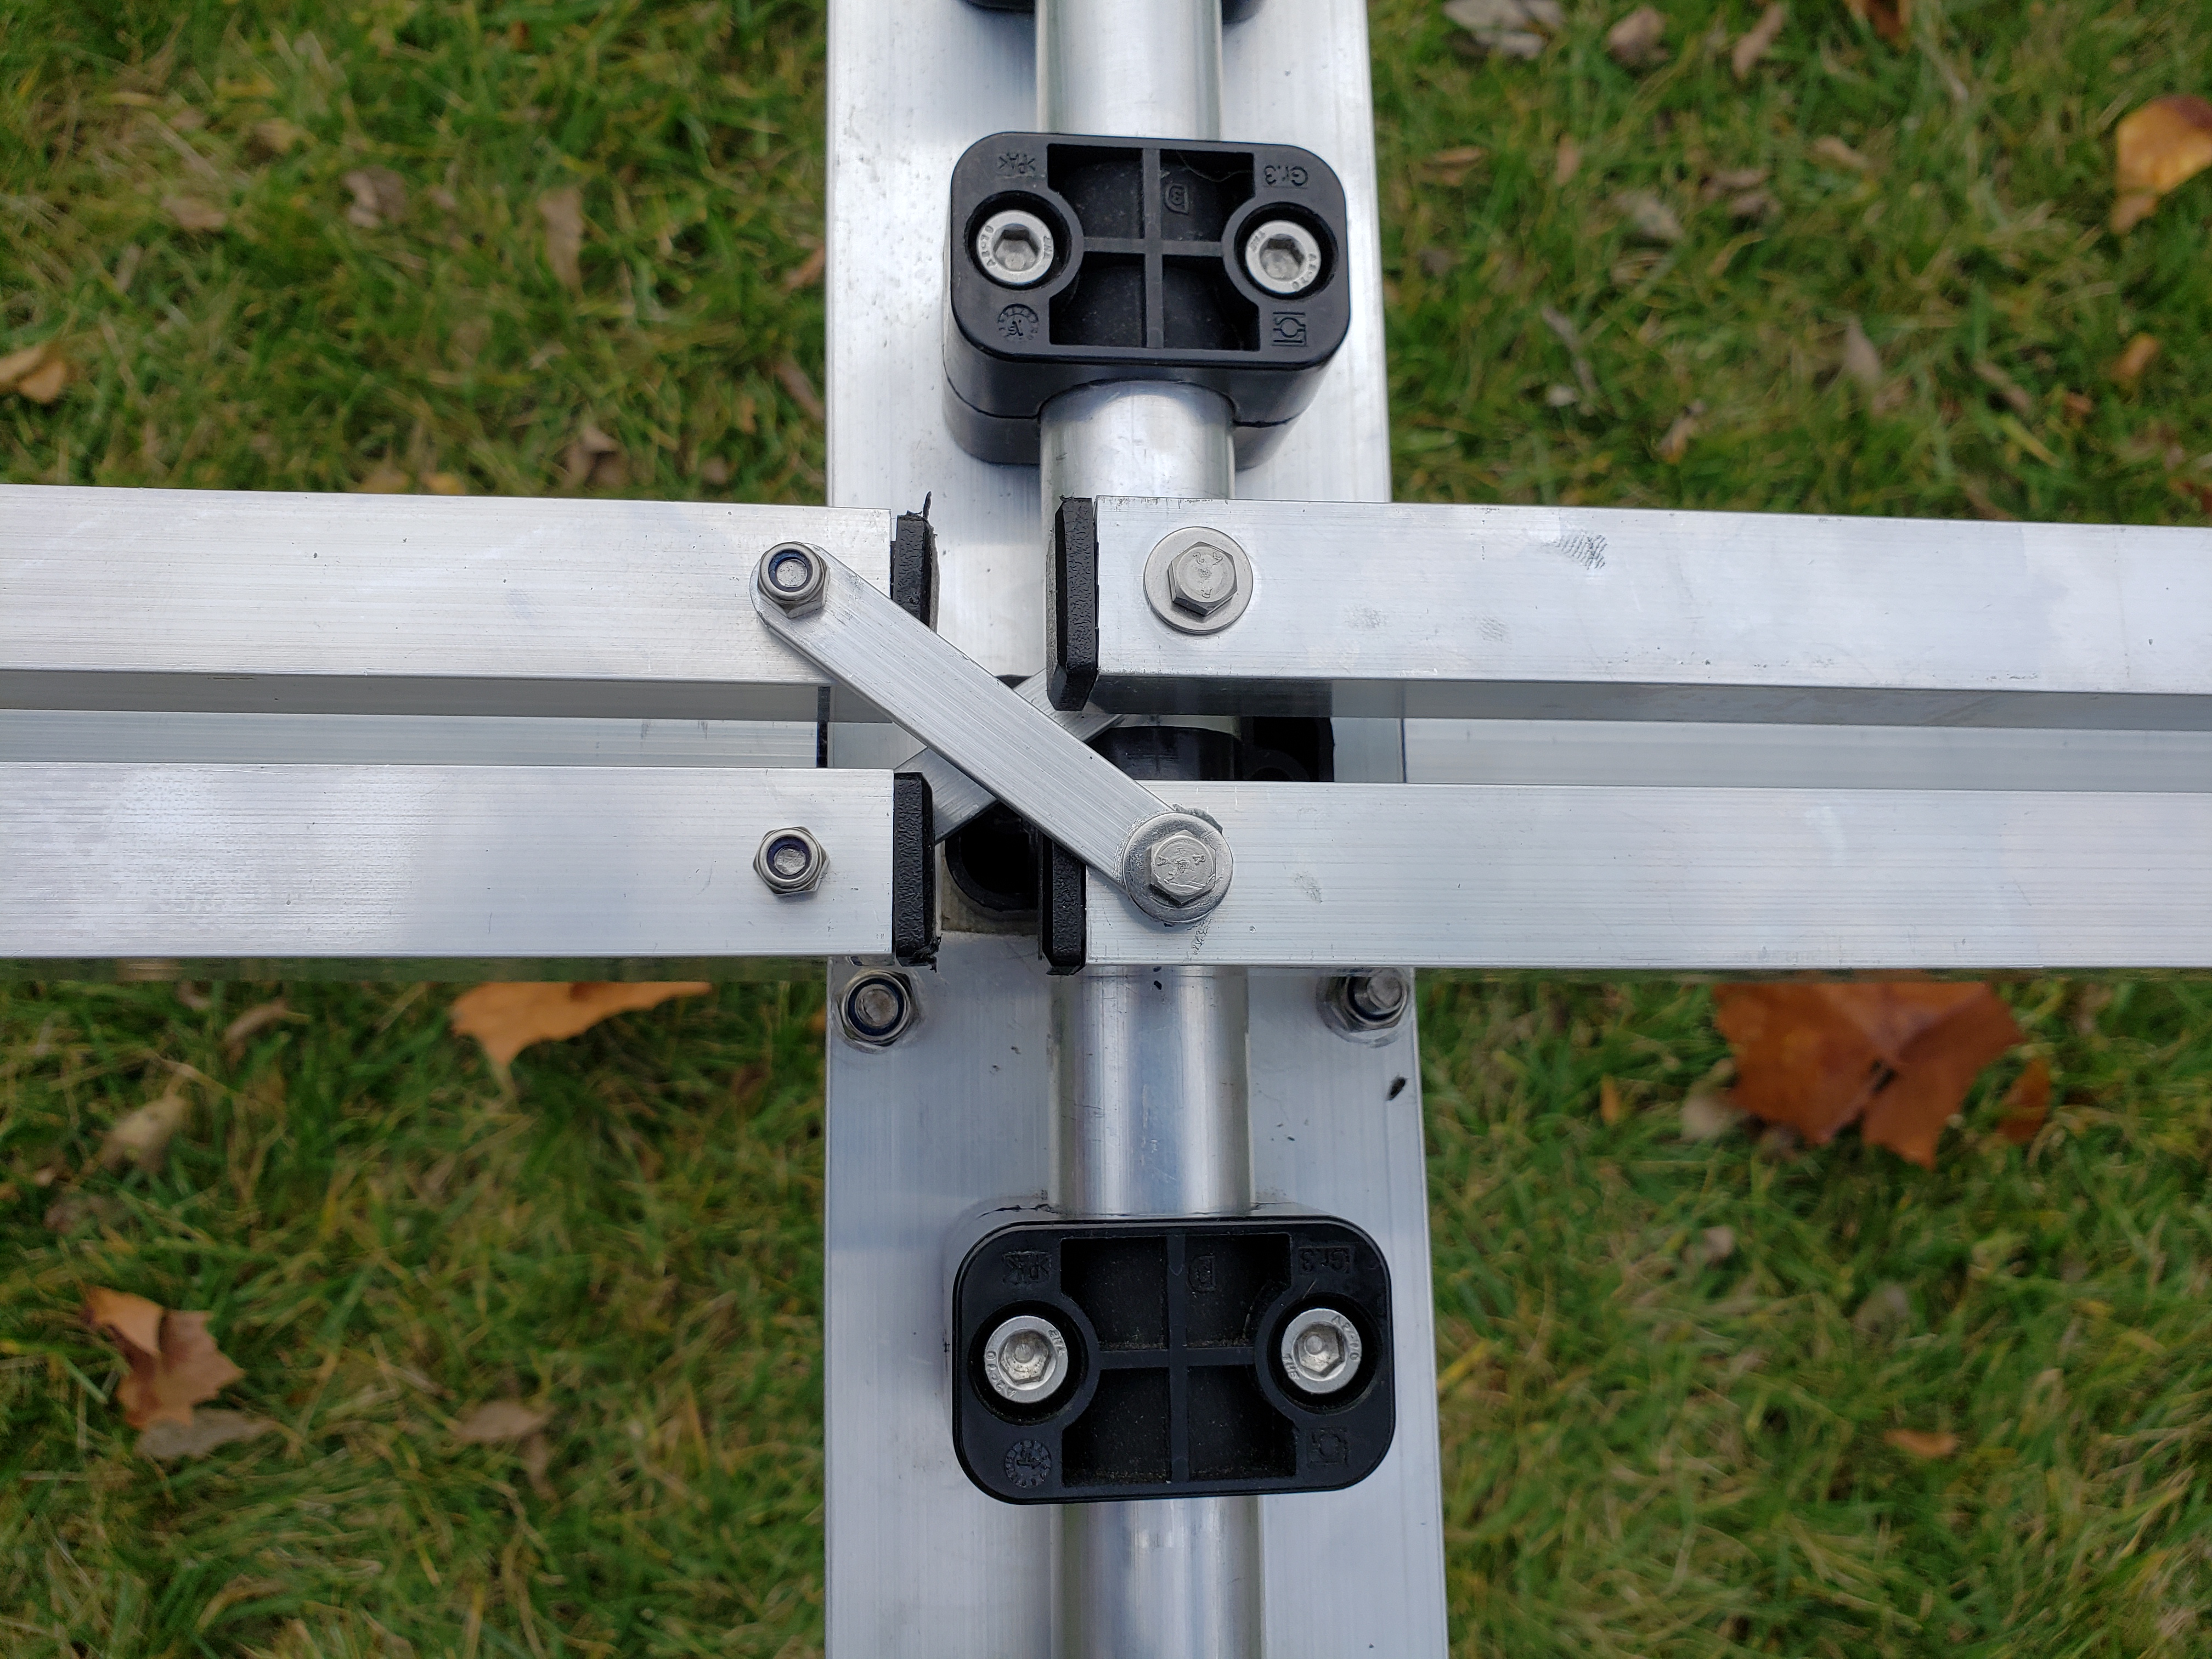
enough. I found it interesting that the new Mosley antenna boom plate was 6"
shorter than my S-33. It seemed strange that a bigger antenna, more elements and
heavier, would have less support in the middle. I checked an older Pro67C3
manual and sure enough the boom plate was 6" longer. Why they would shorten the
plate is beyond me, one would hope it was not to save a few bucks.
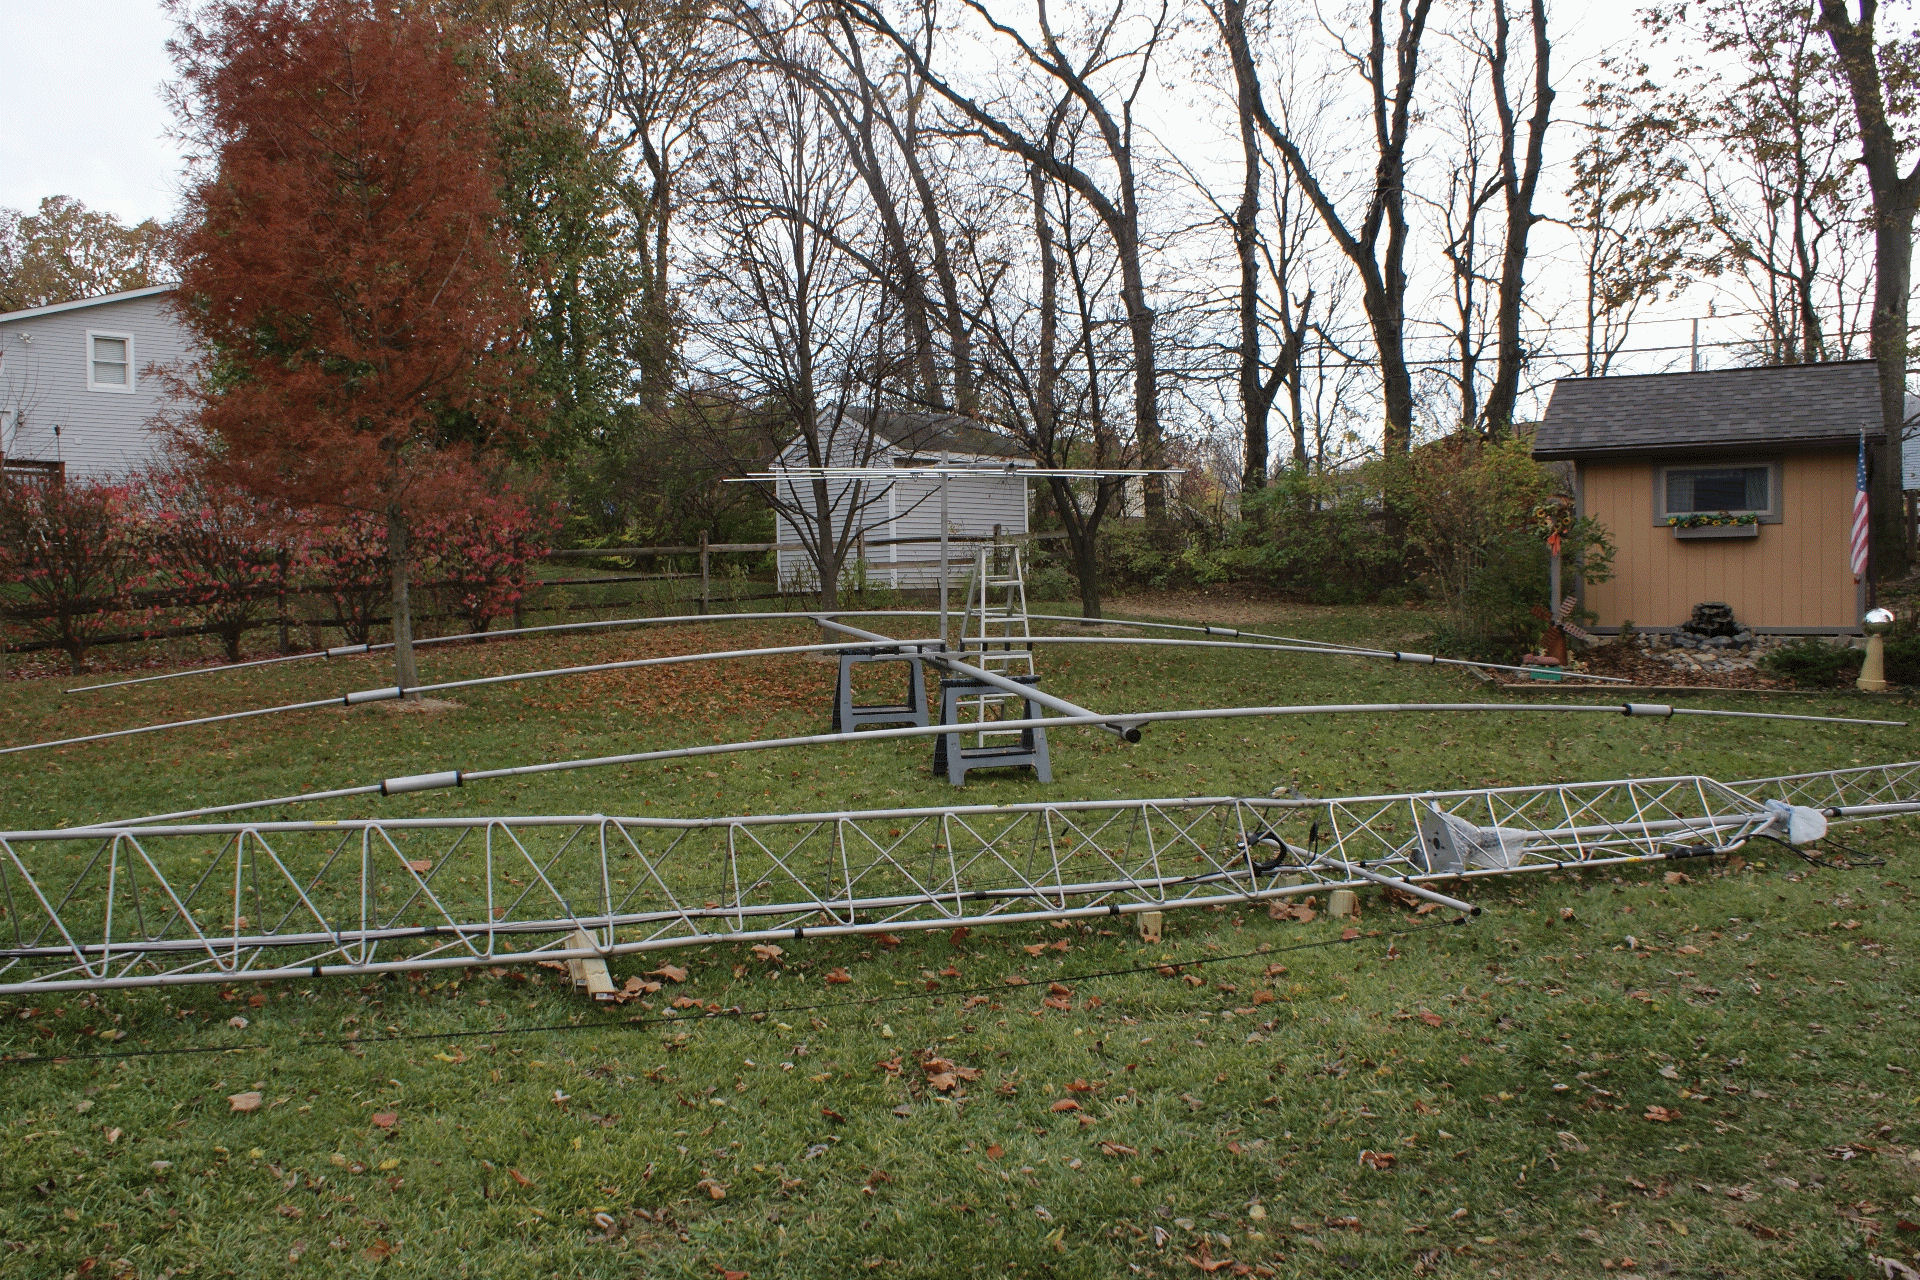
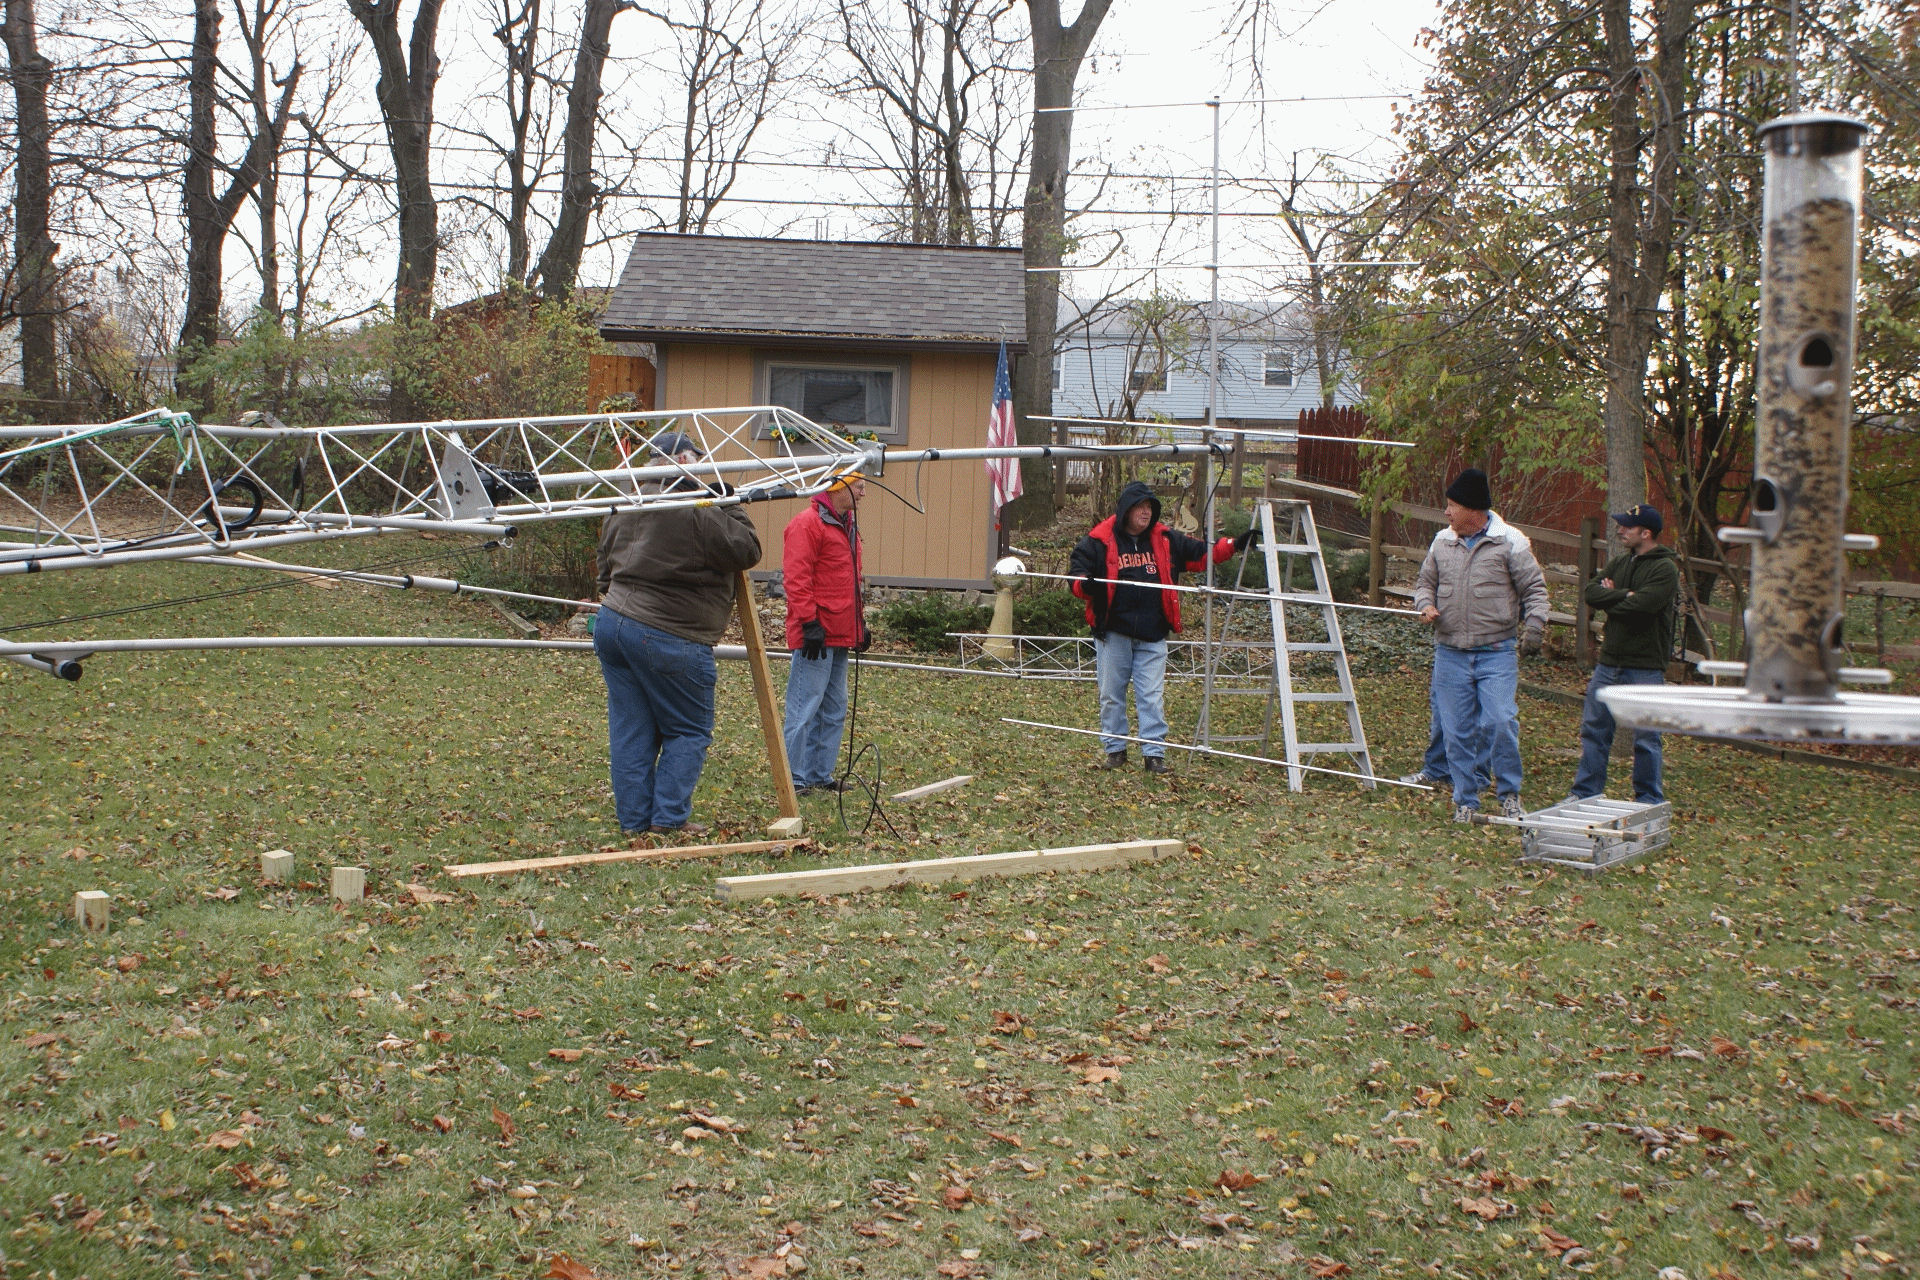
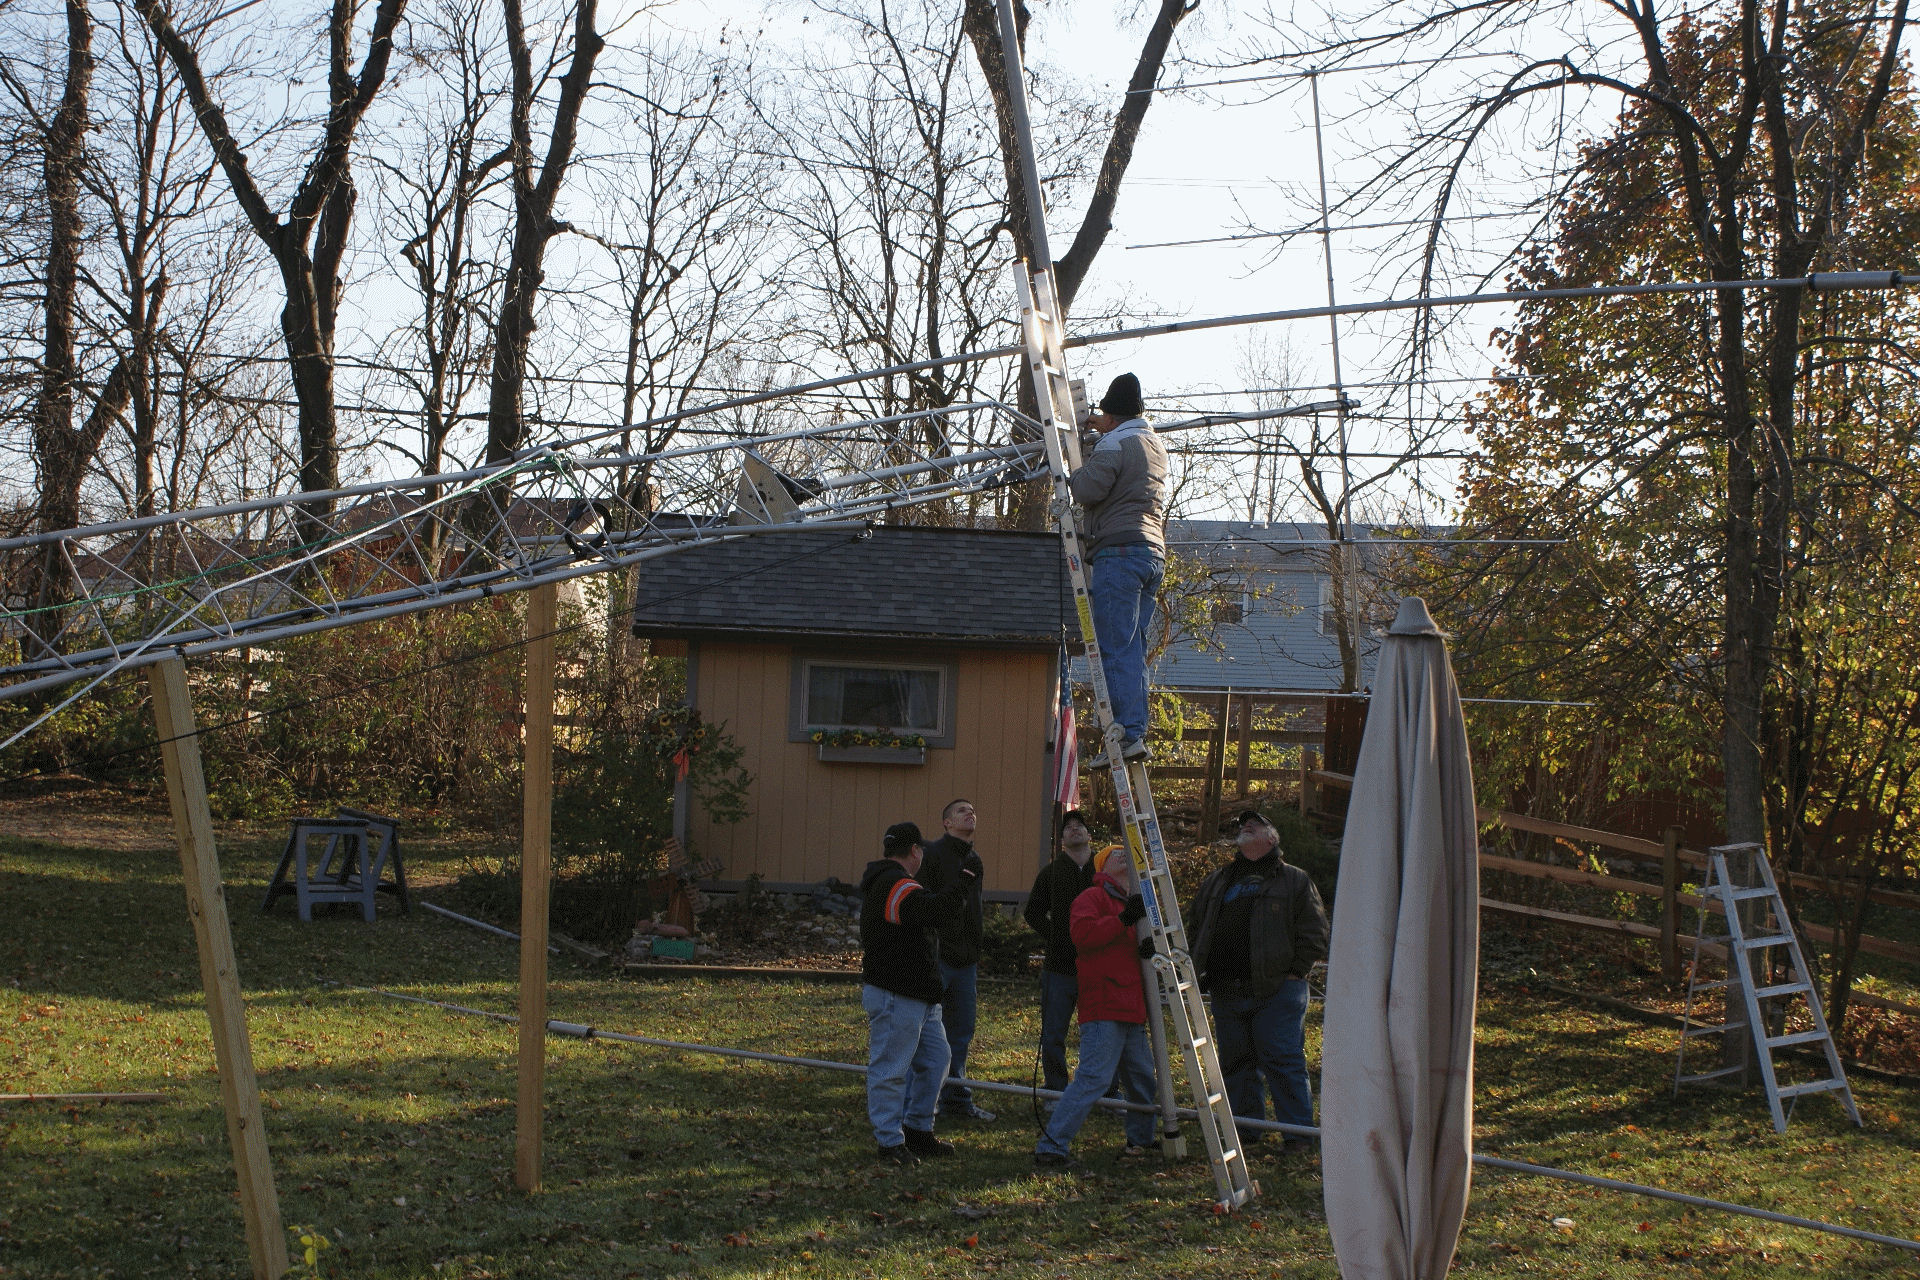
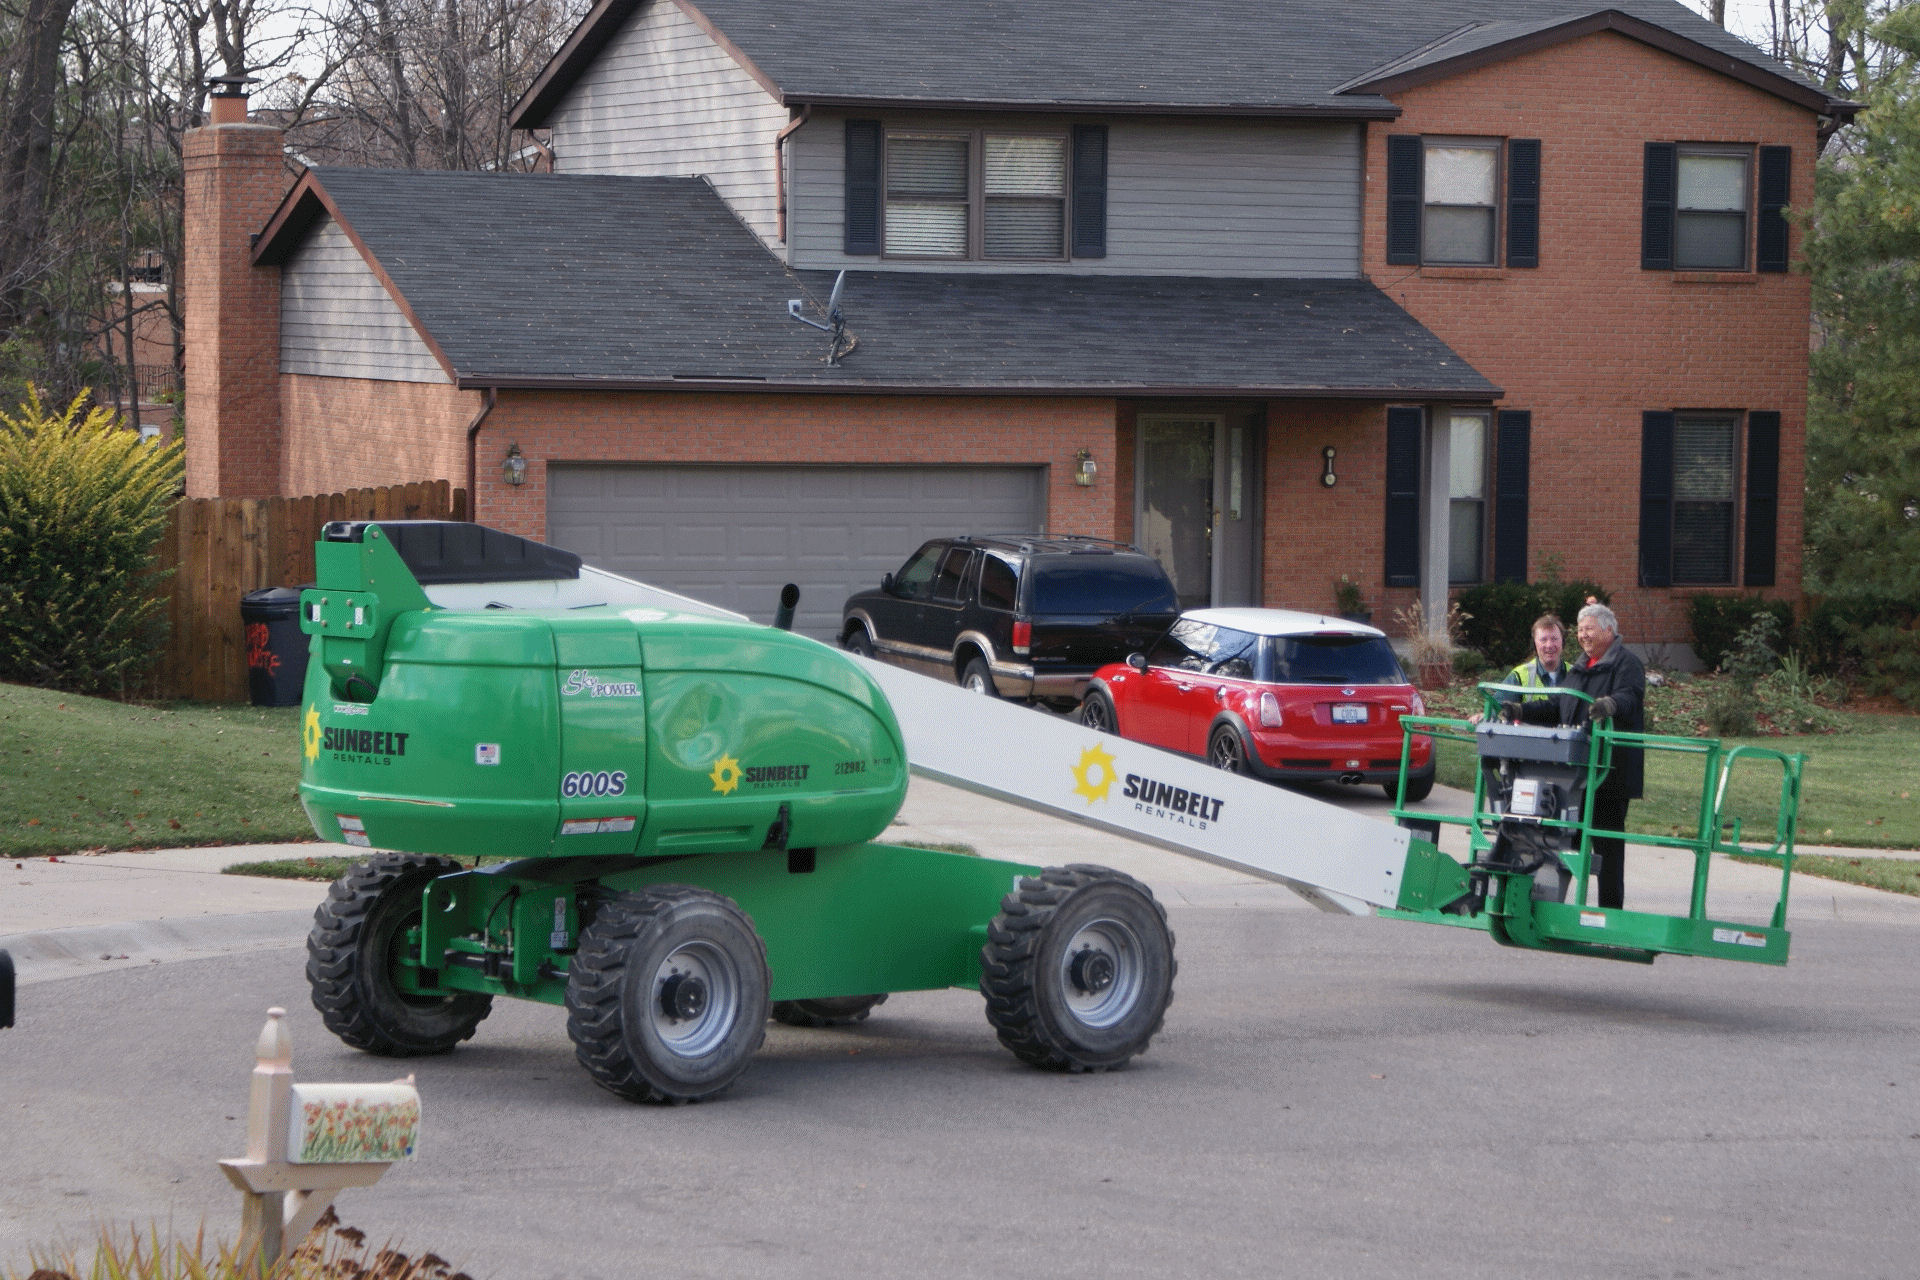
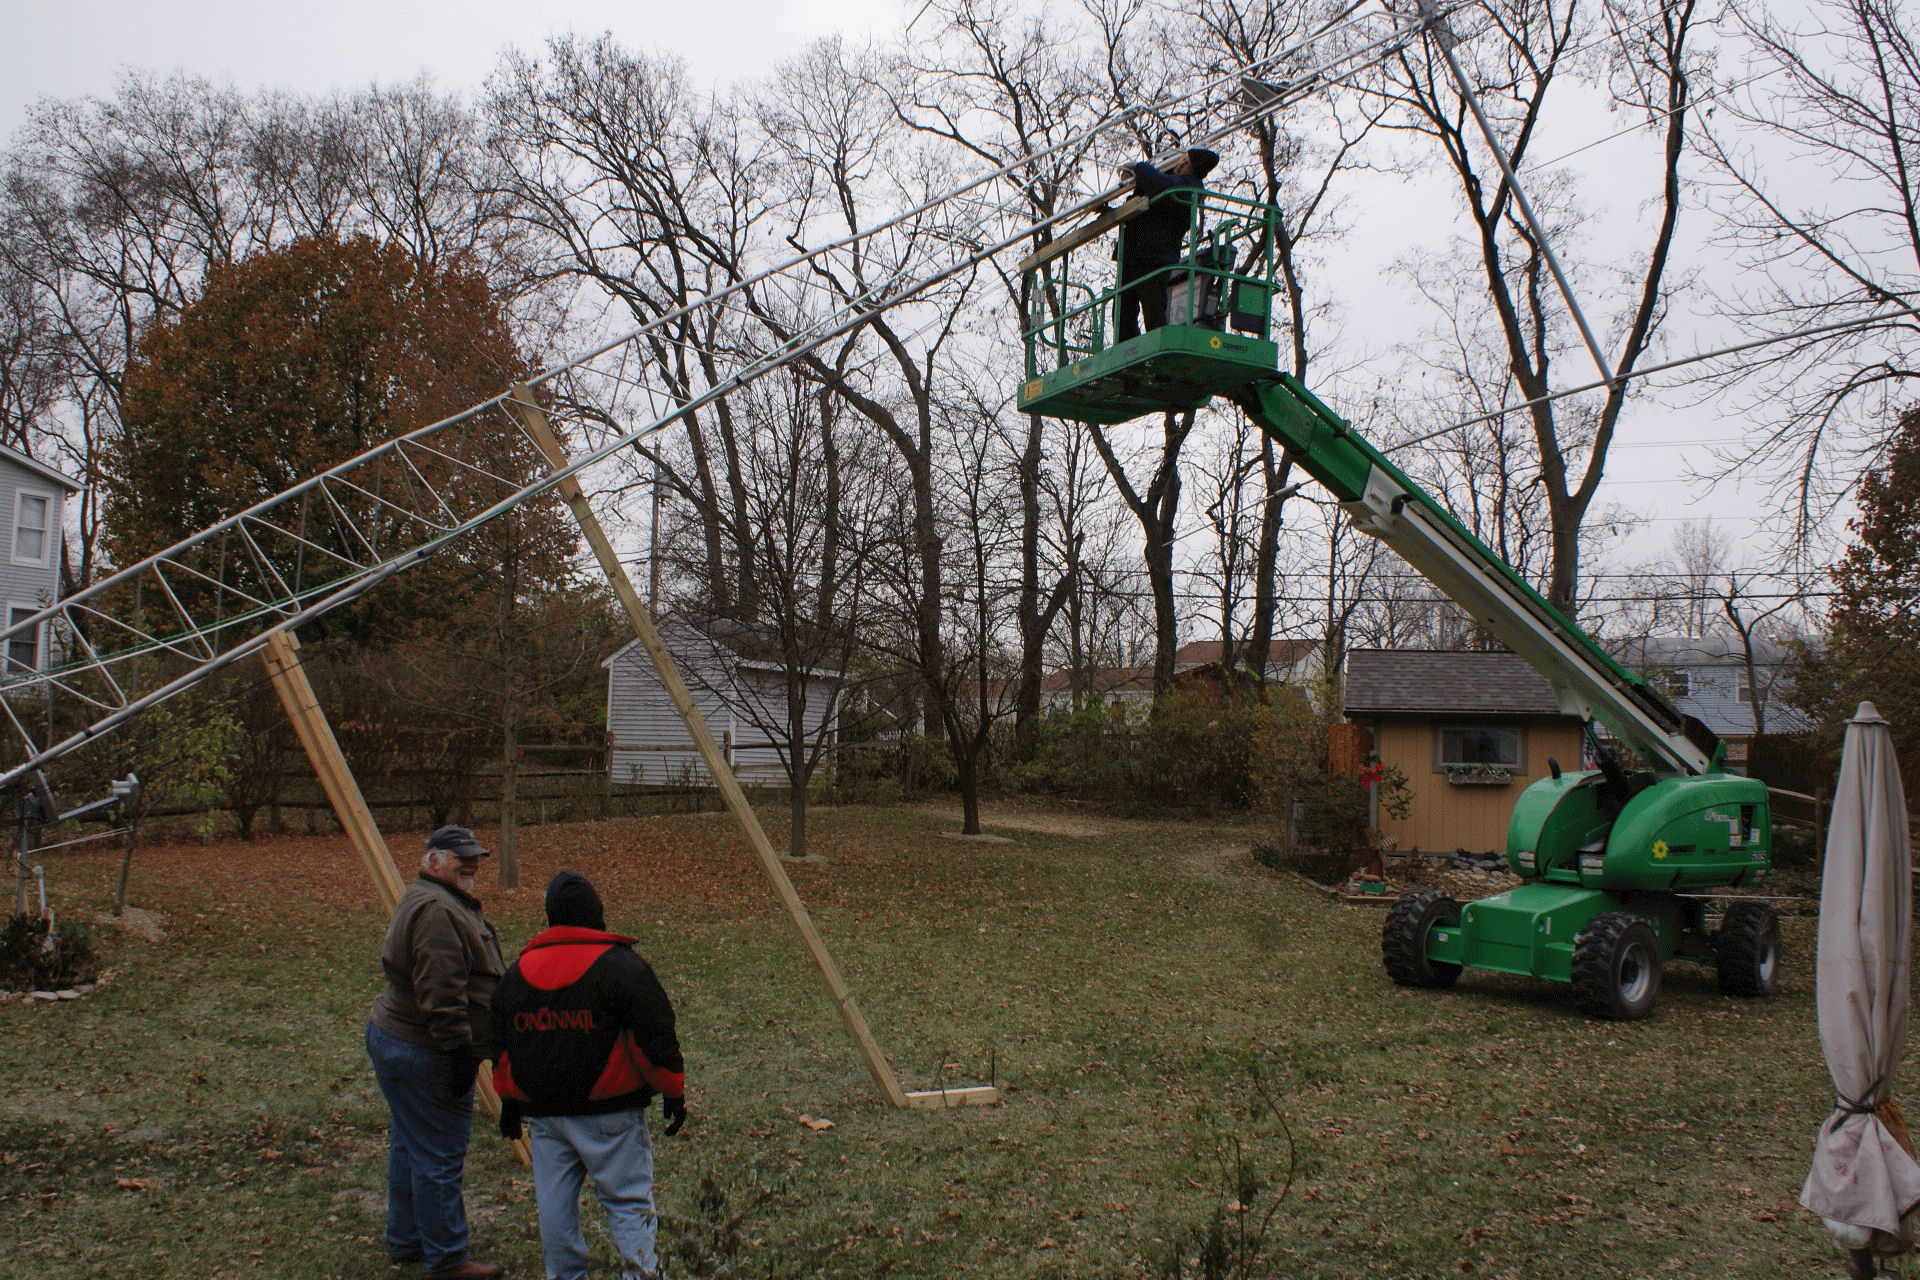
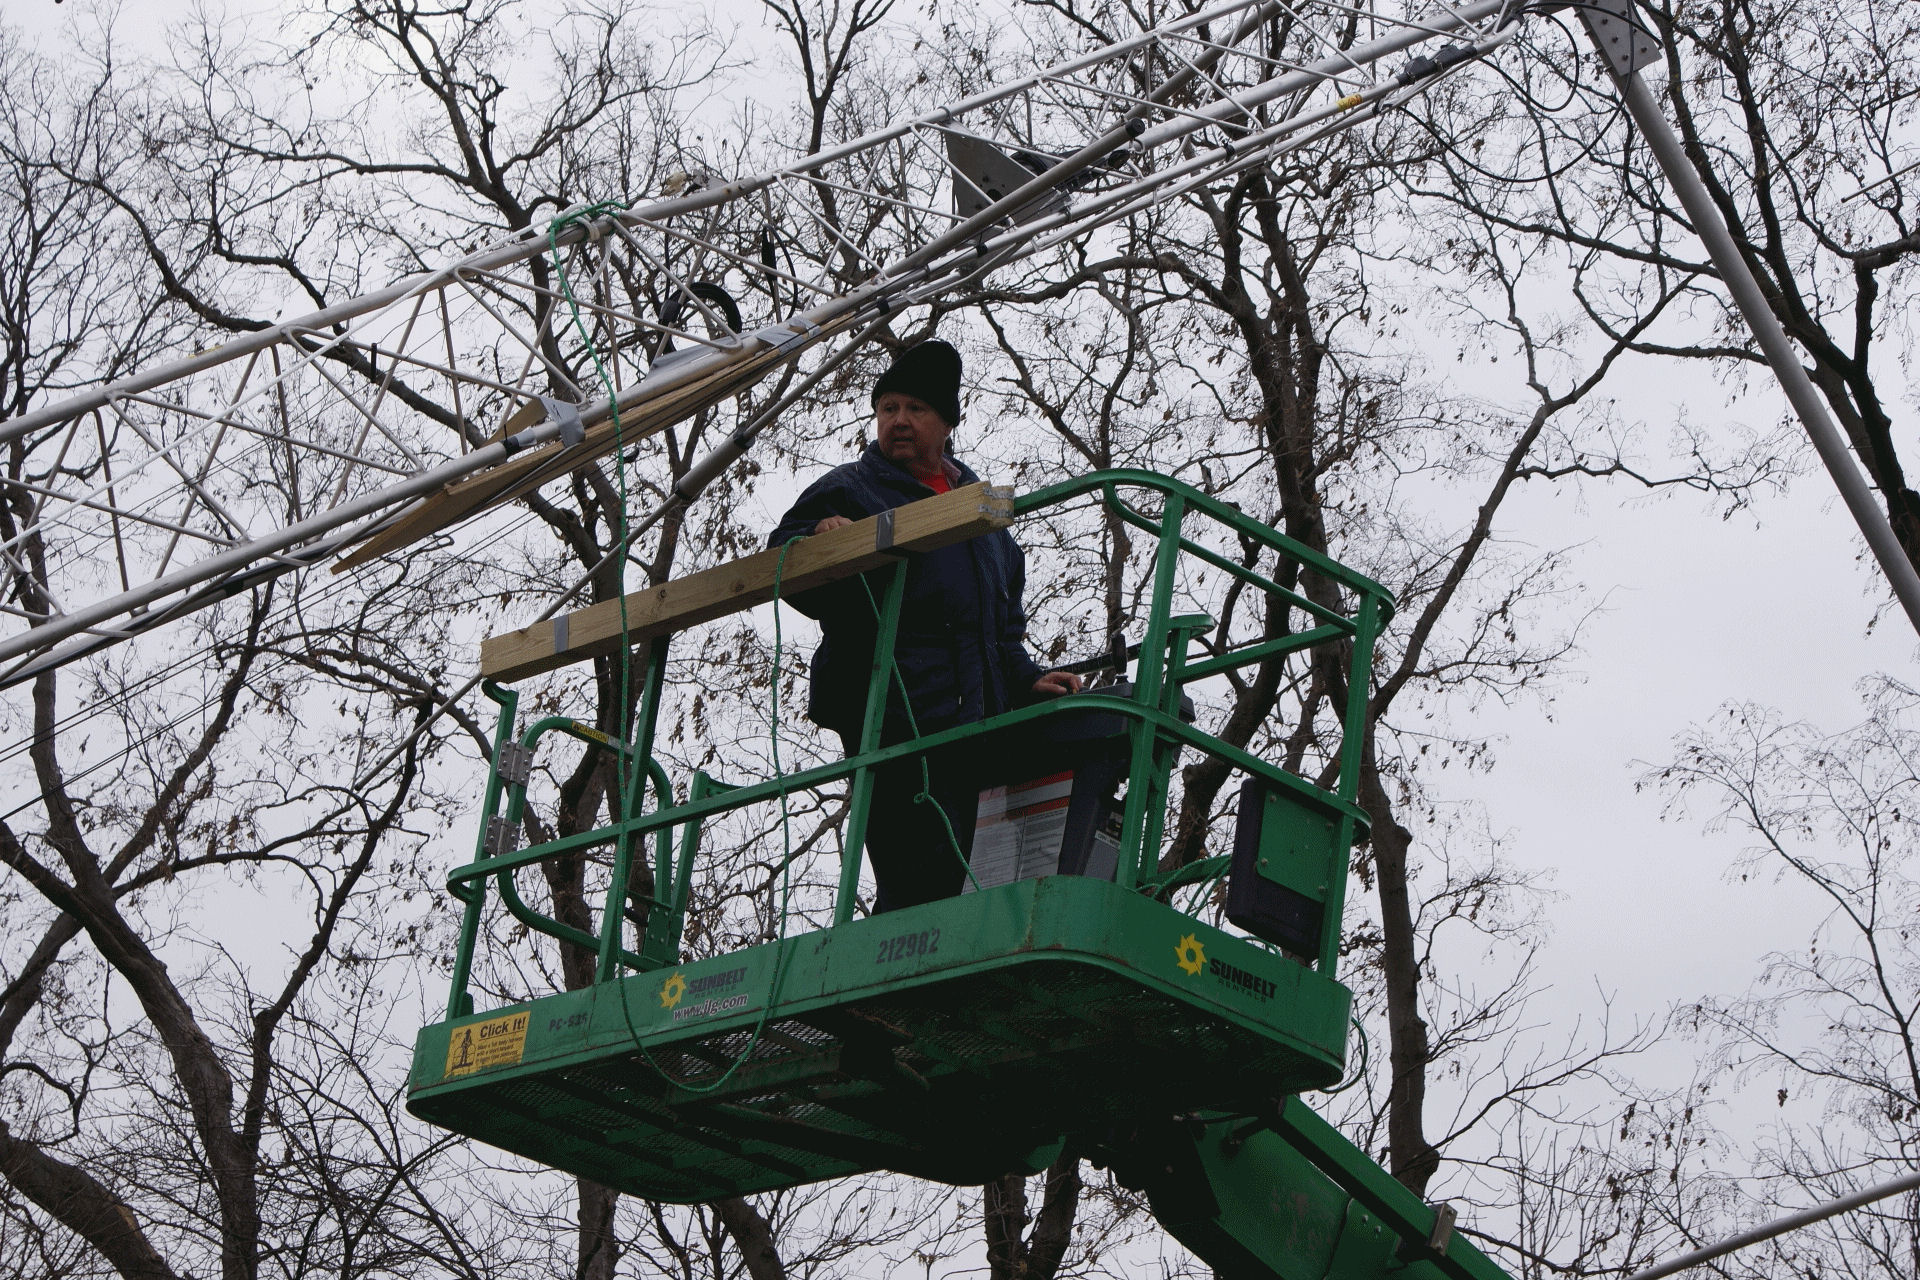
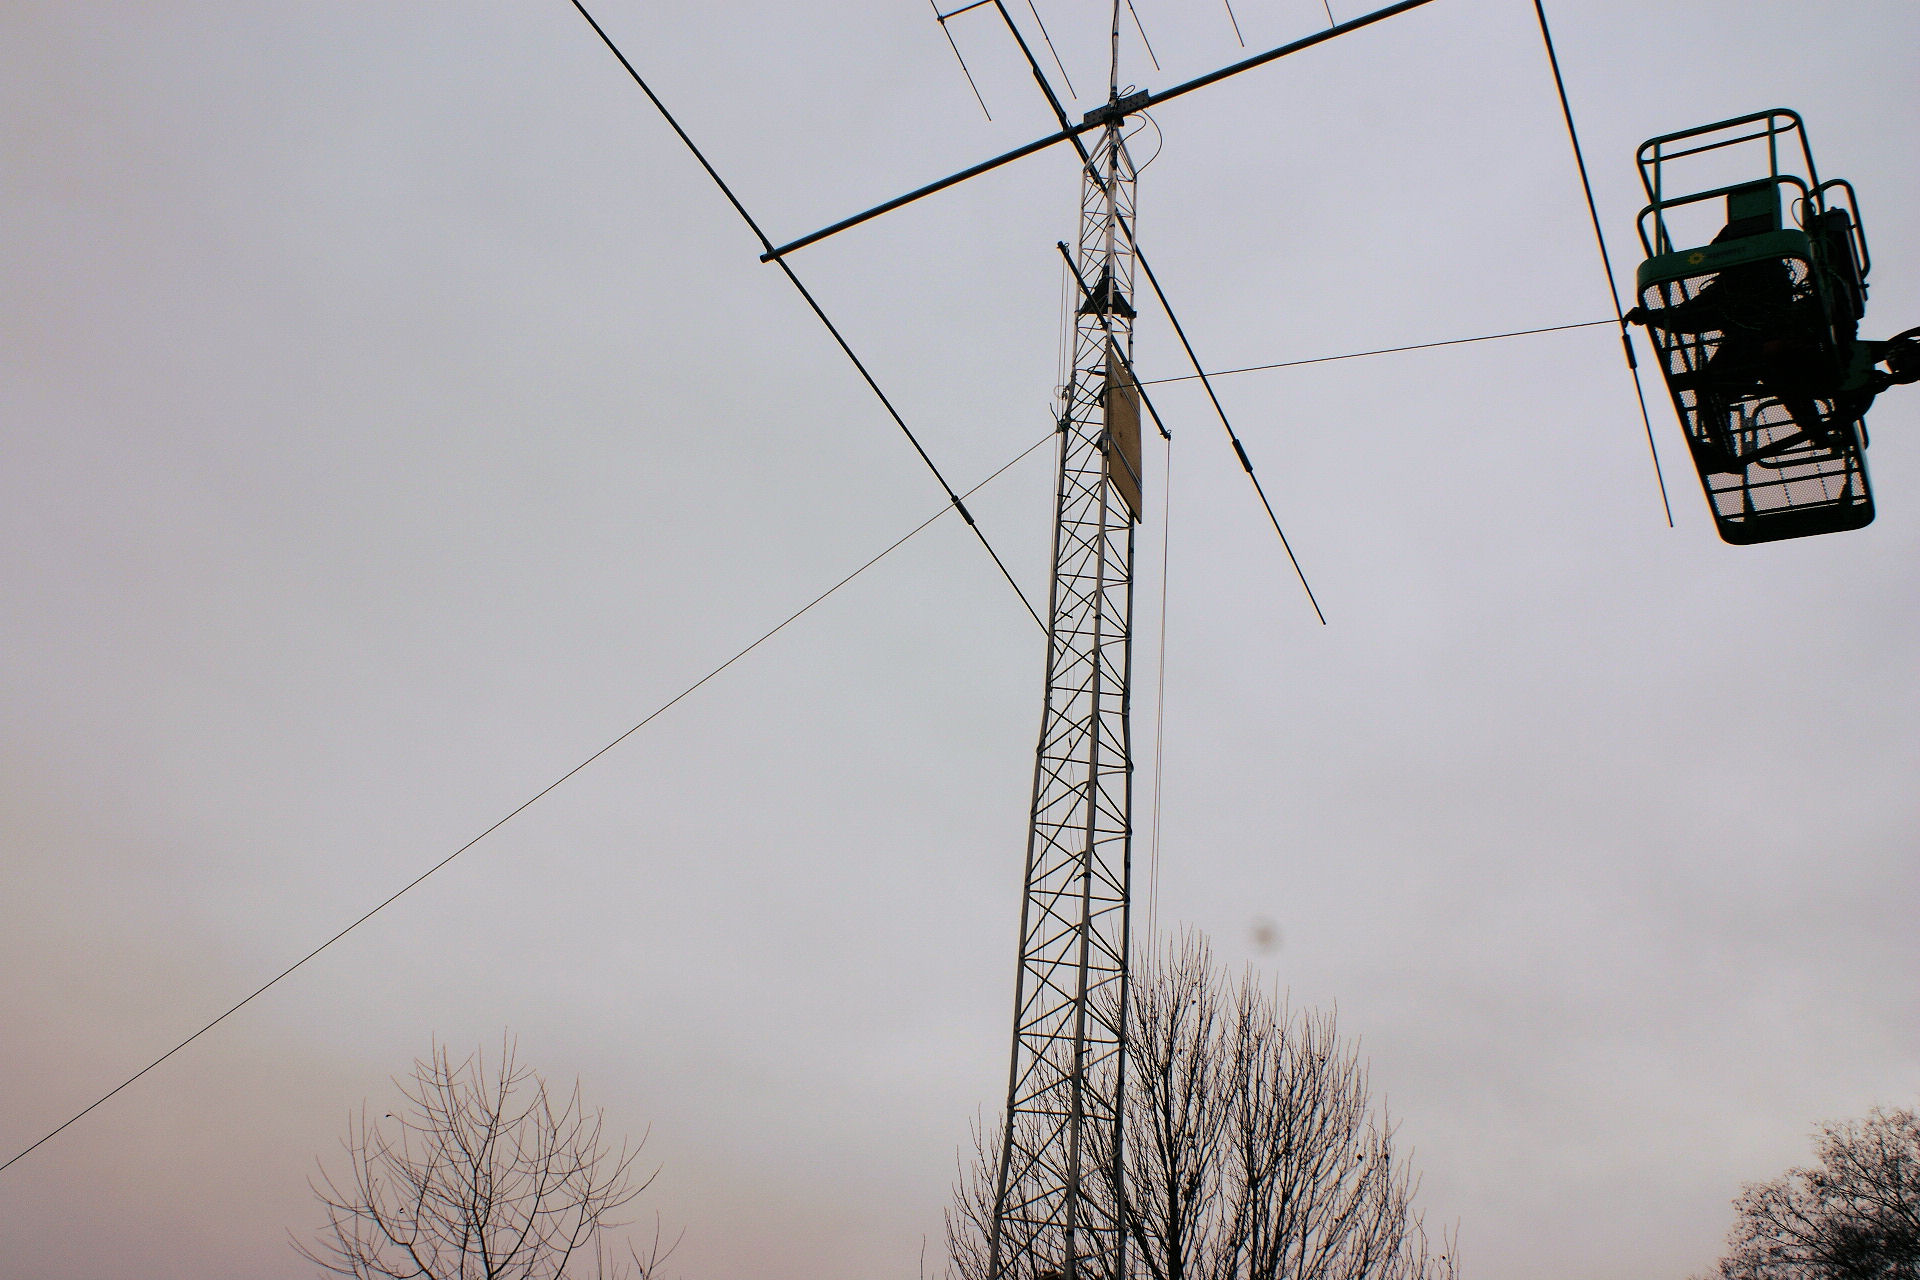
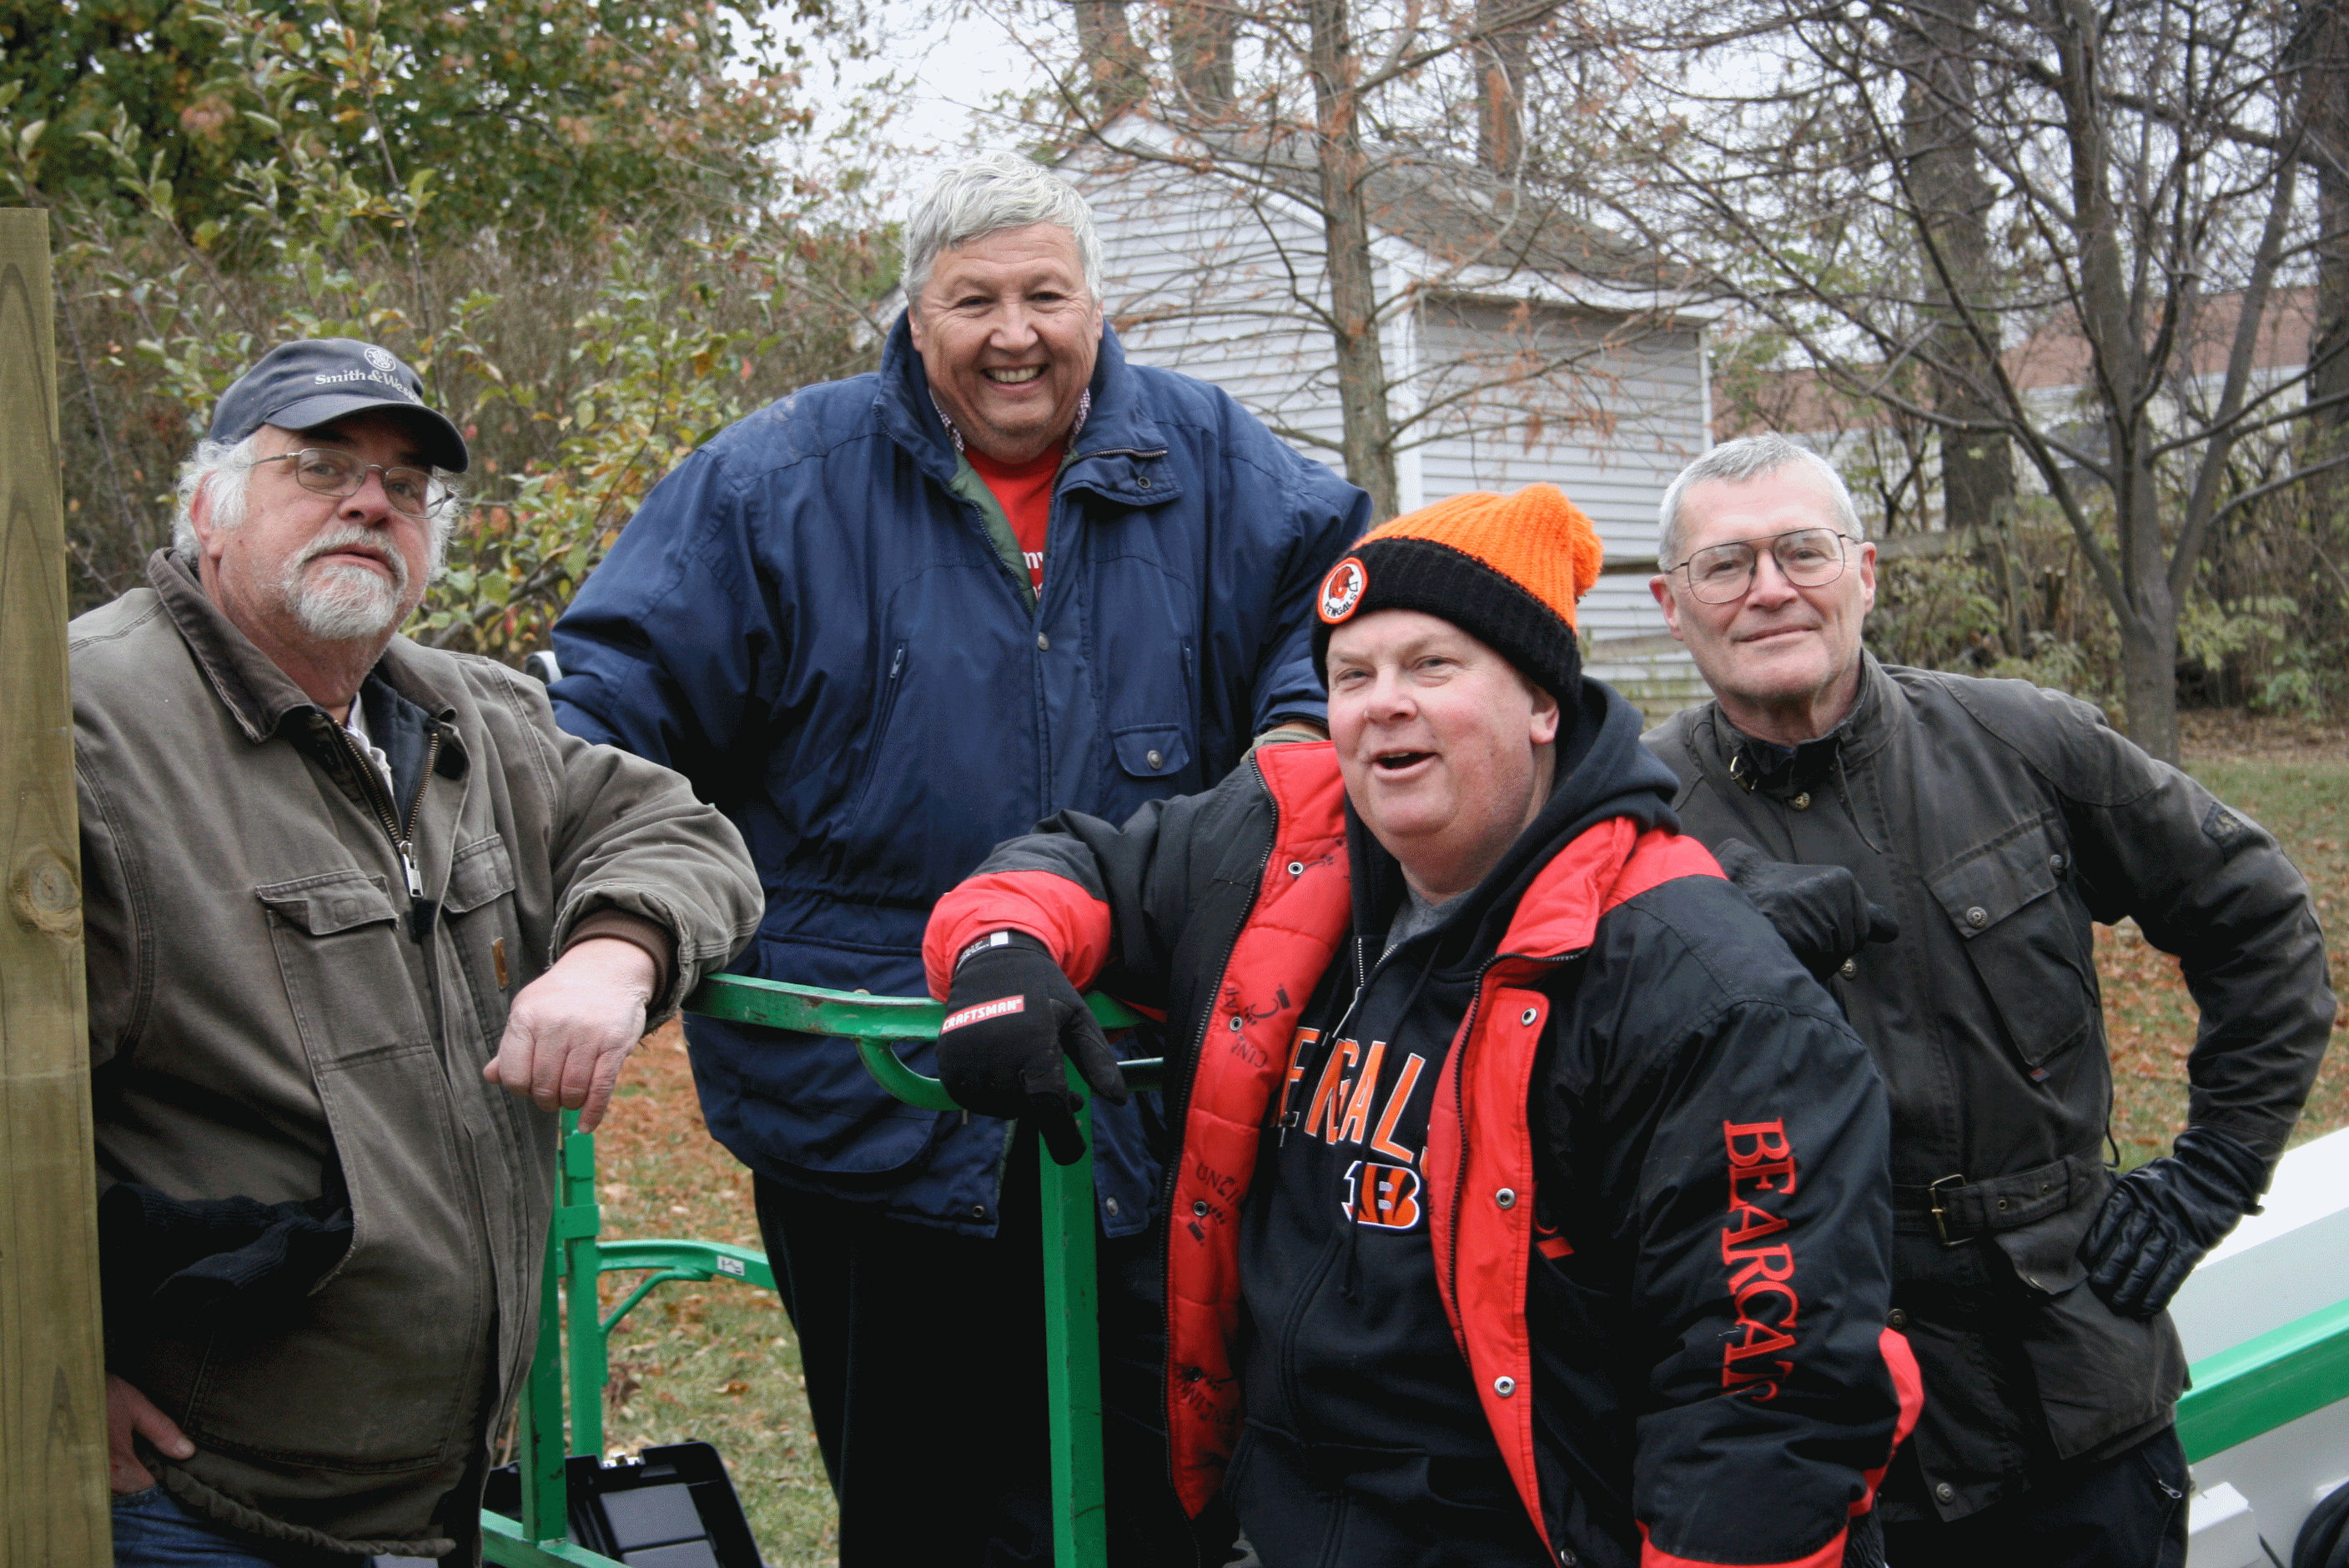
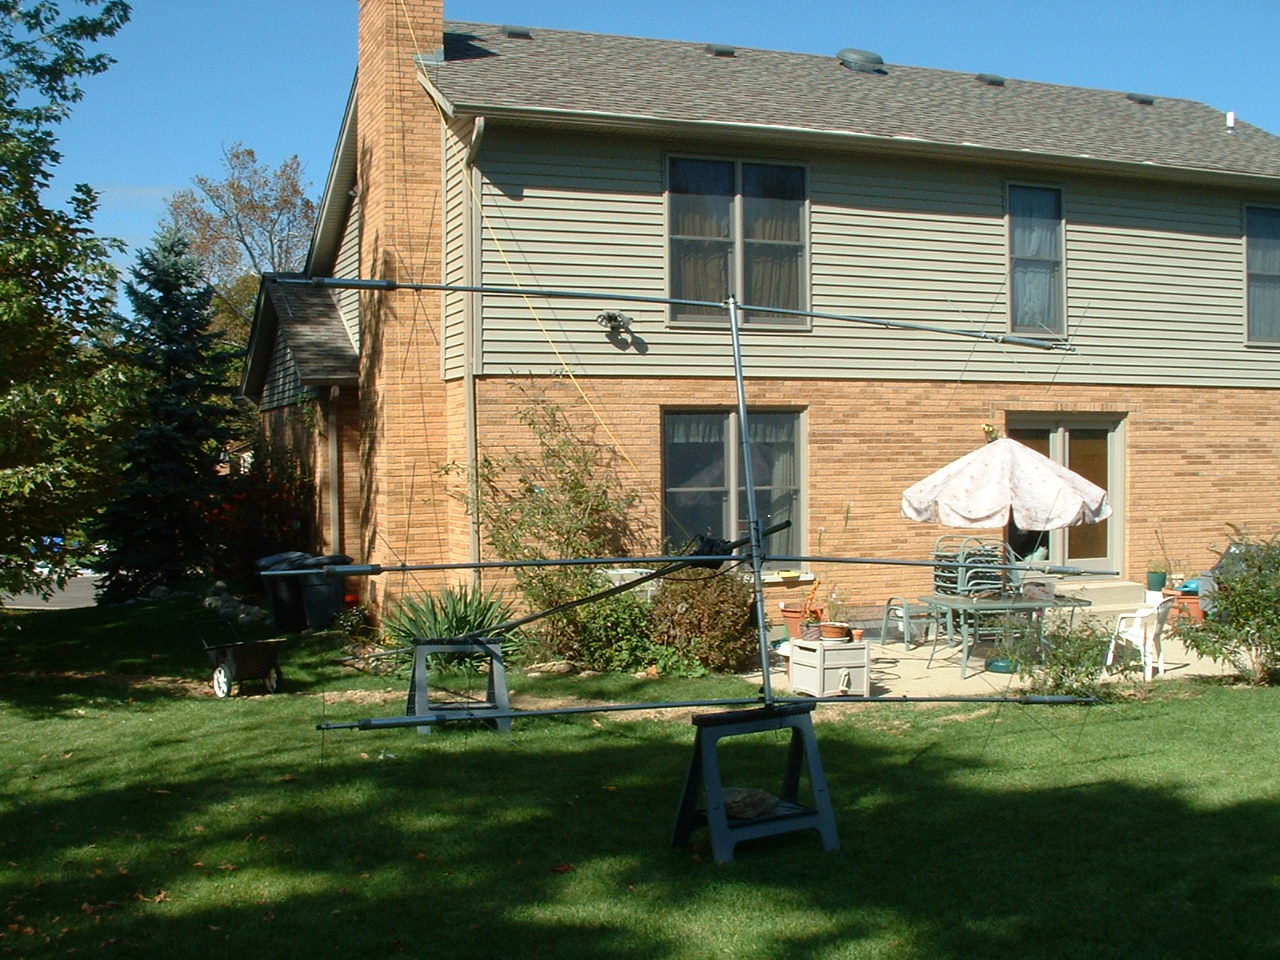
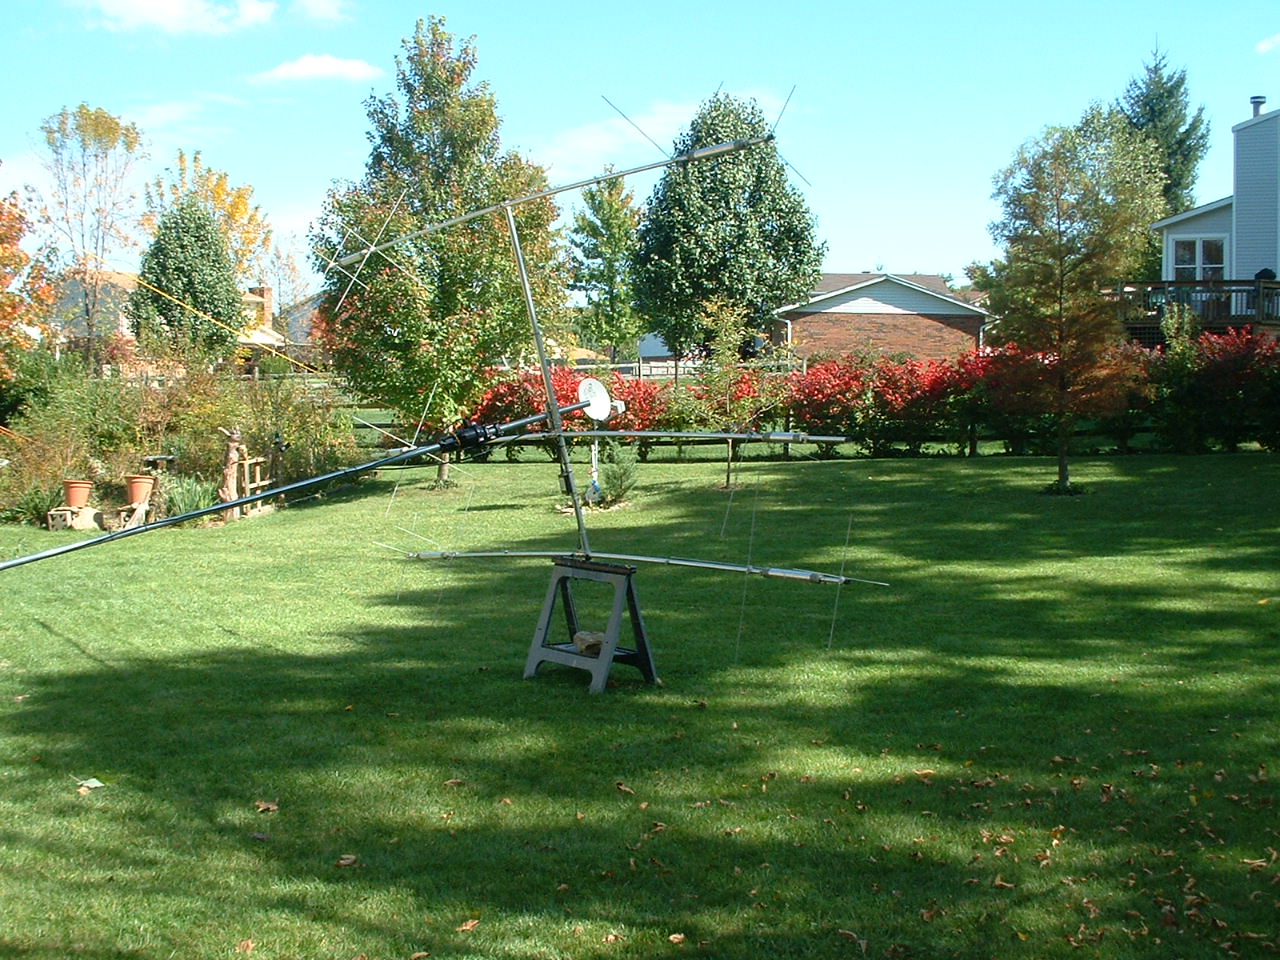
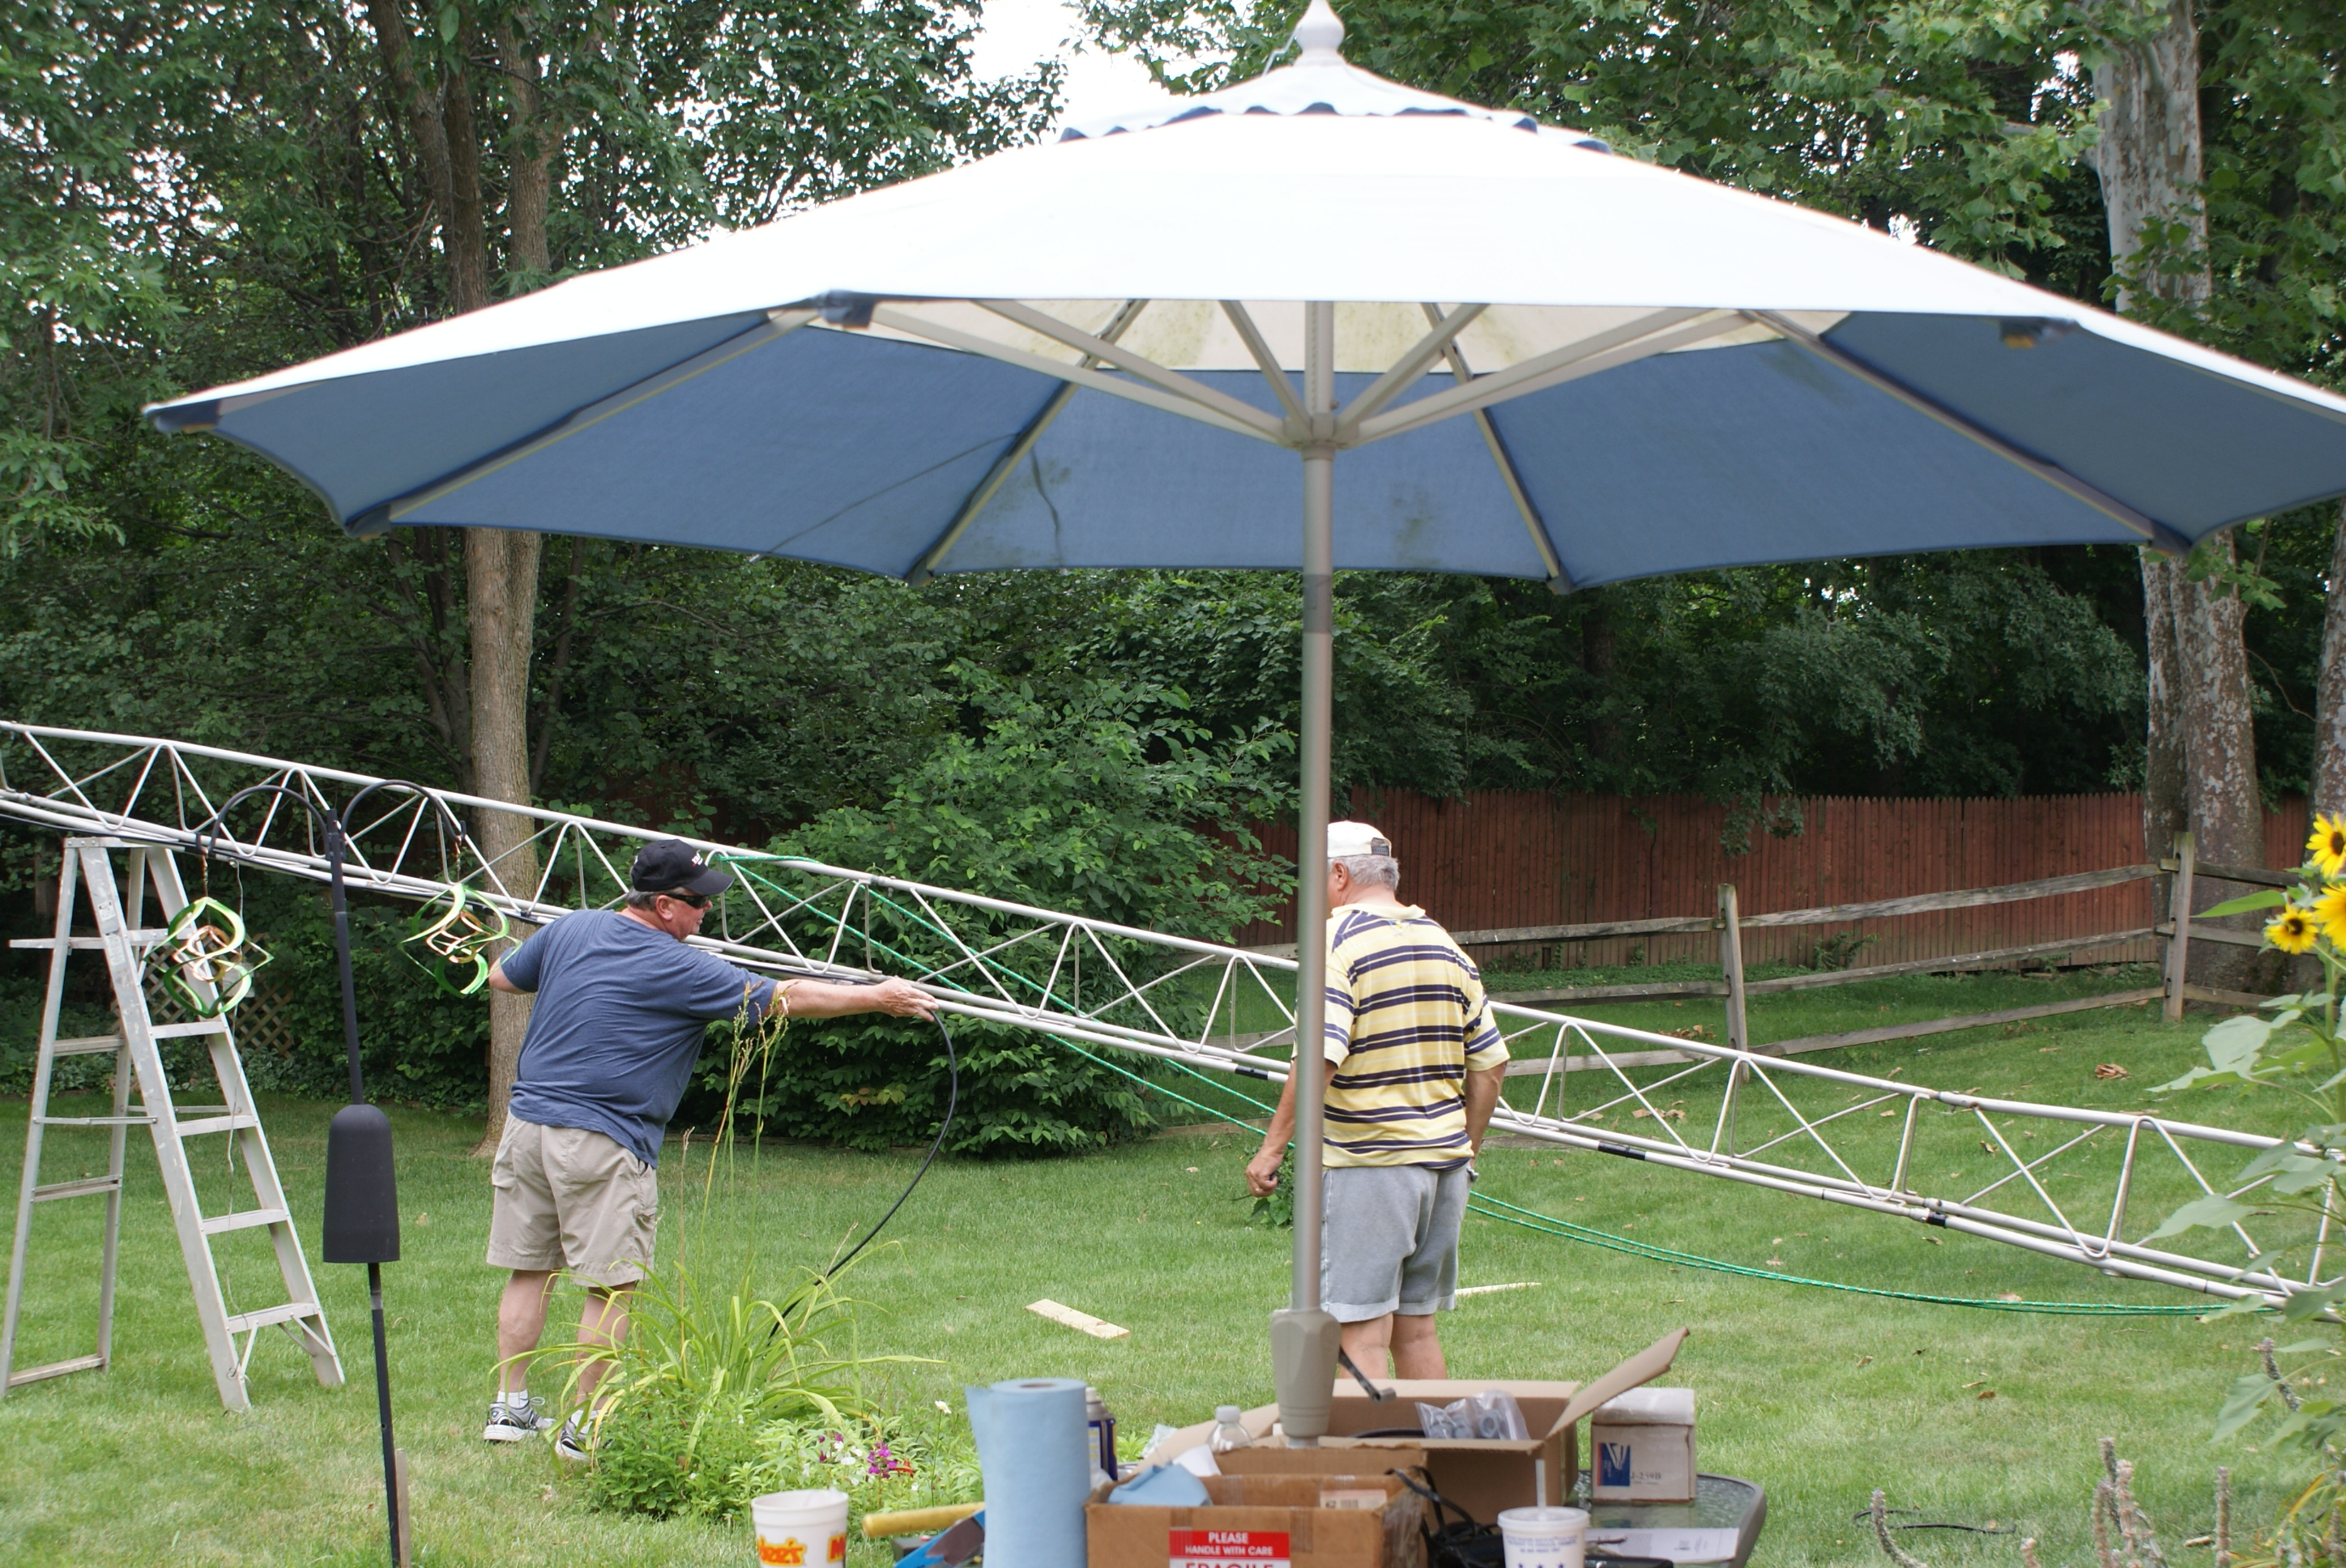
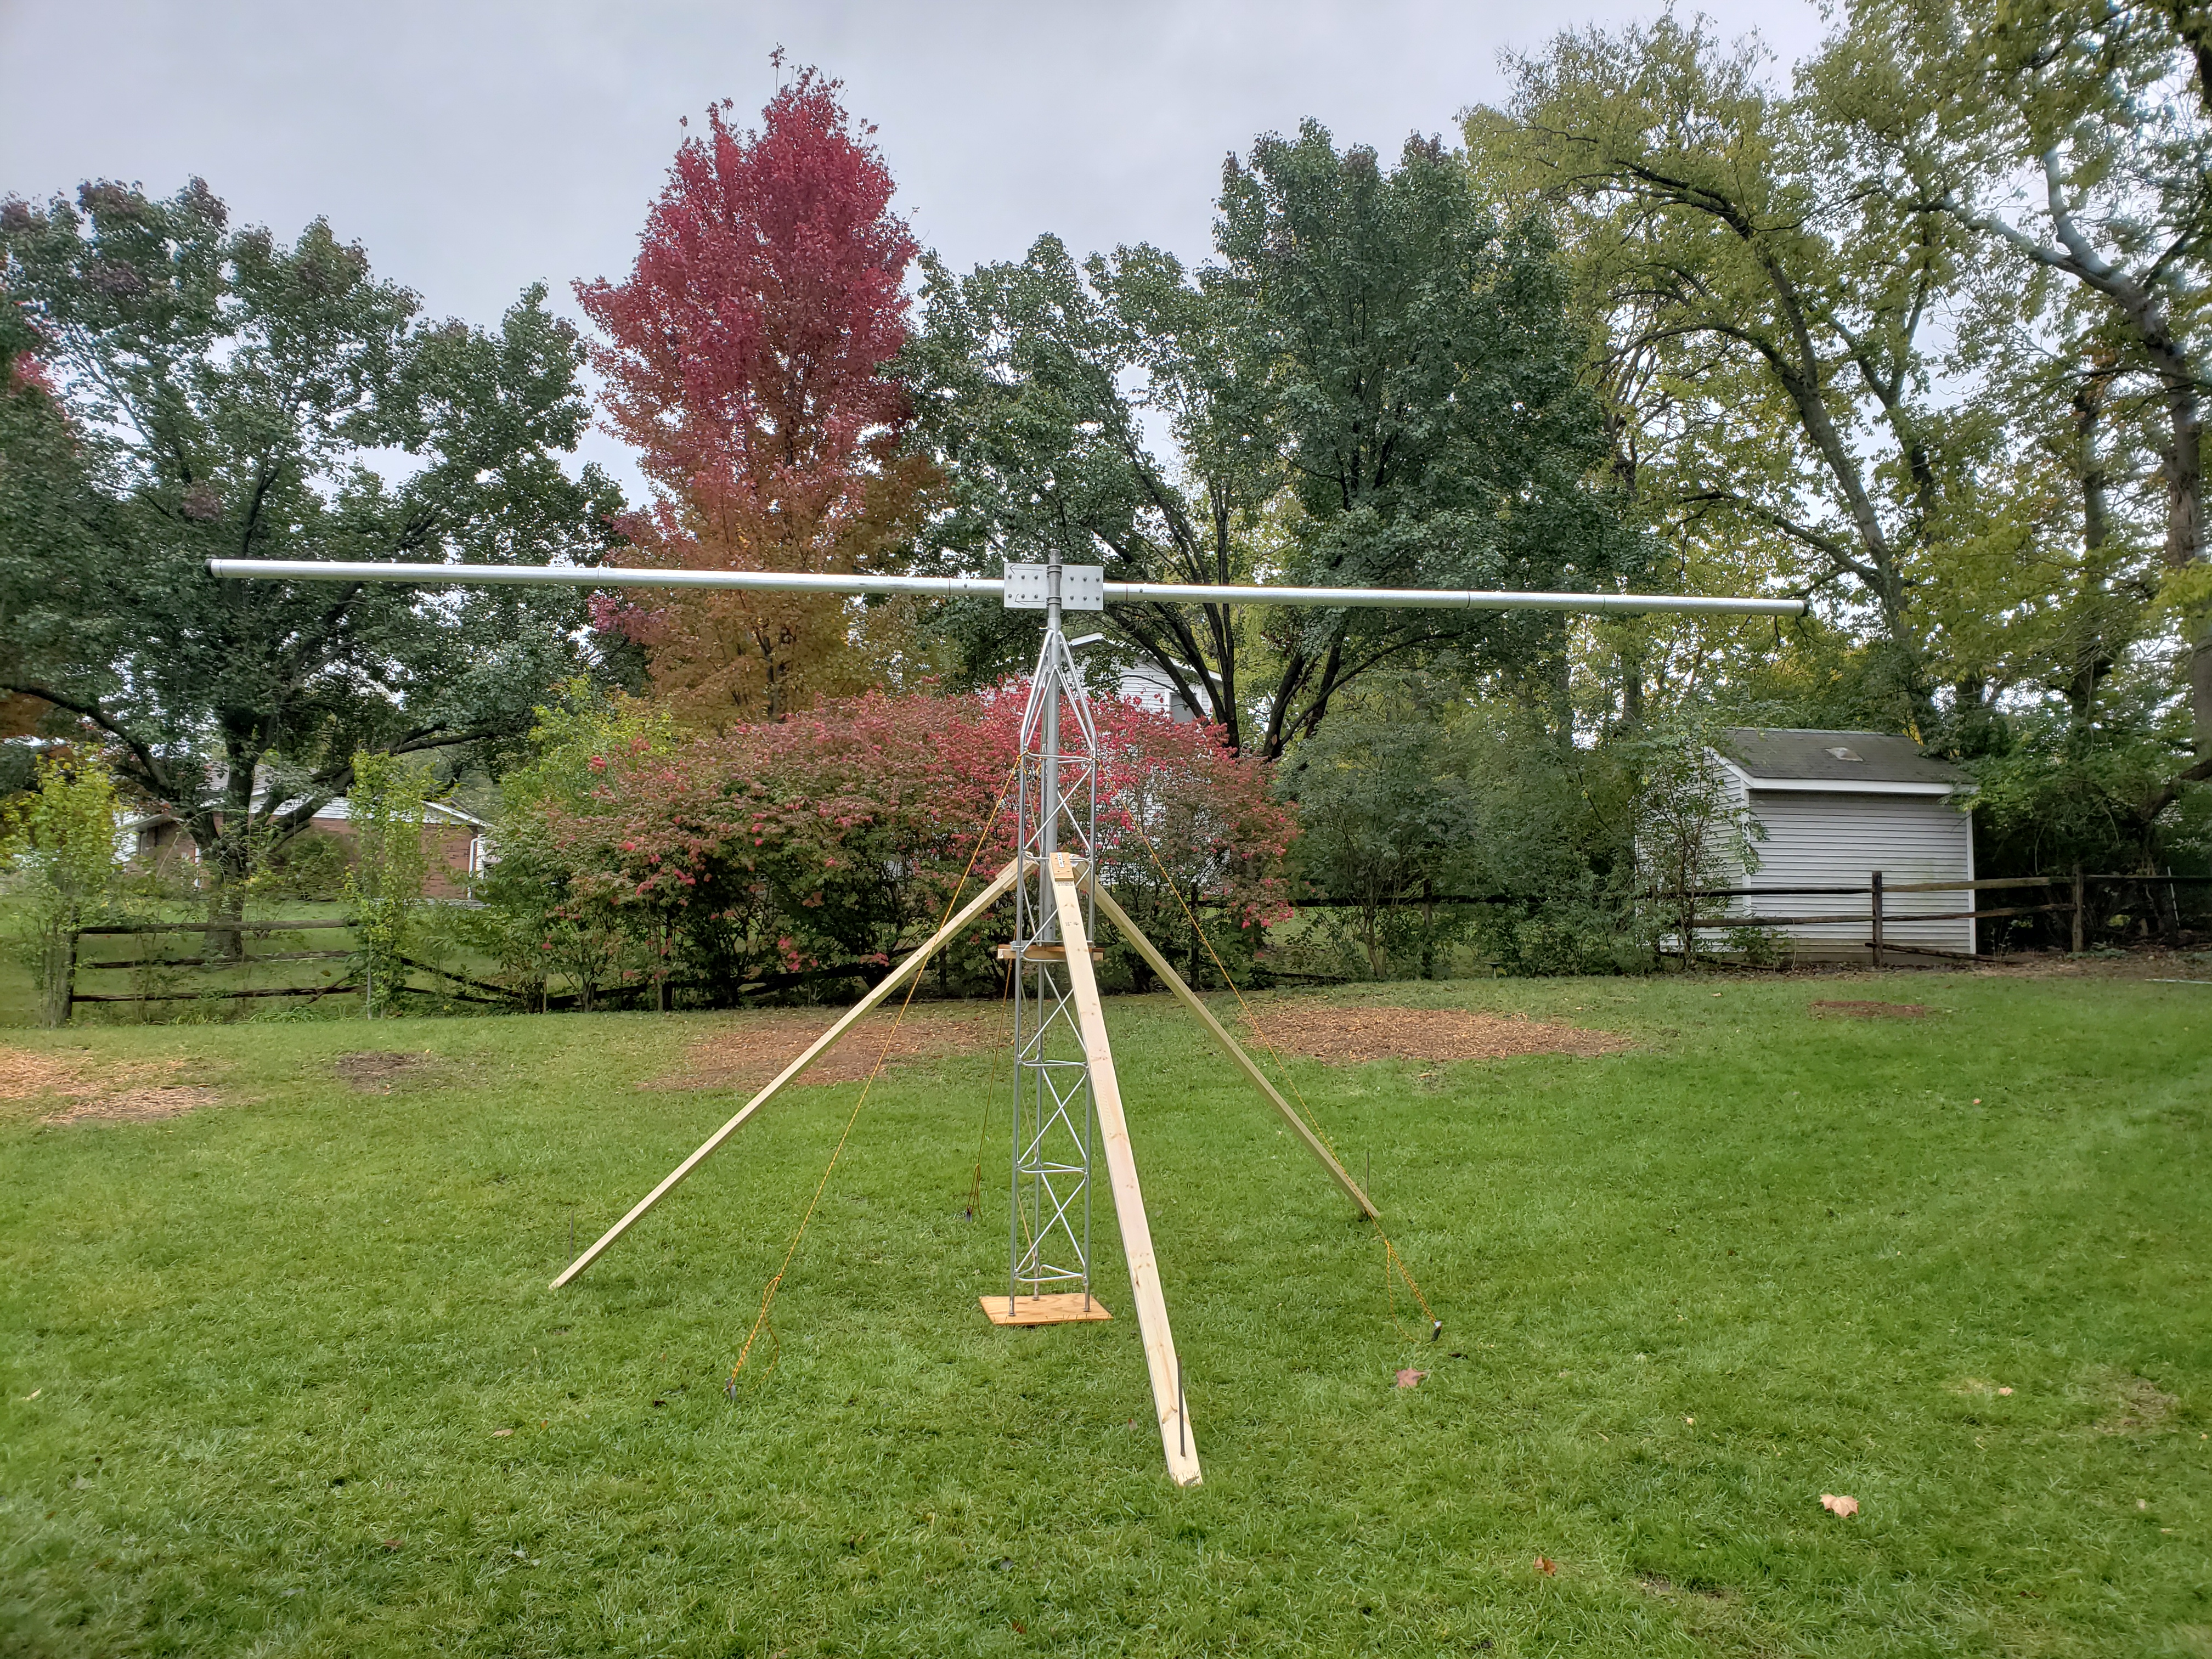
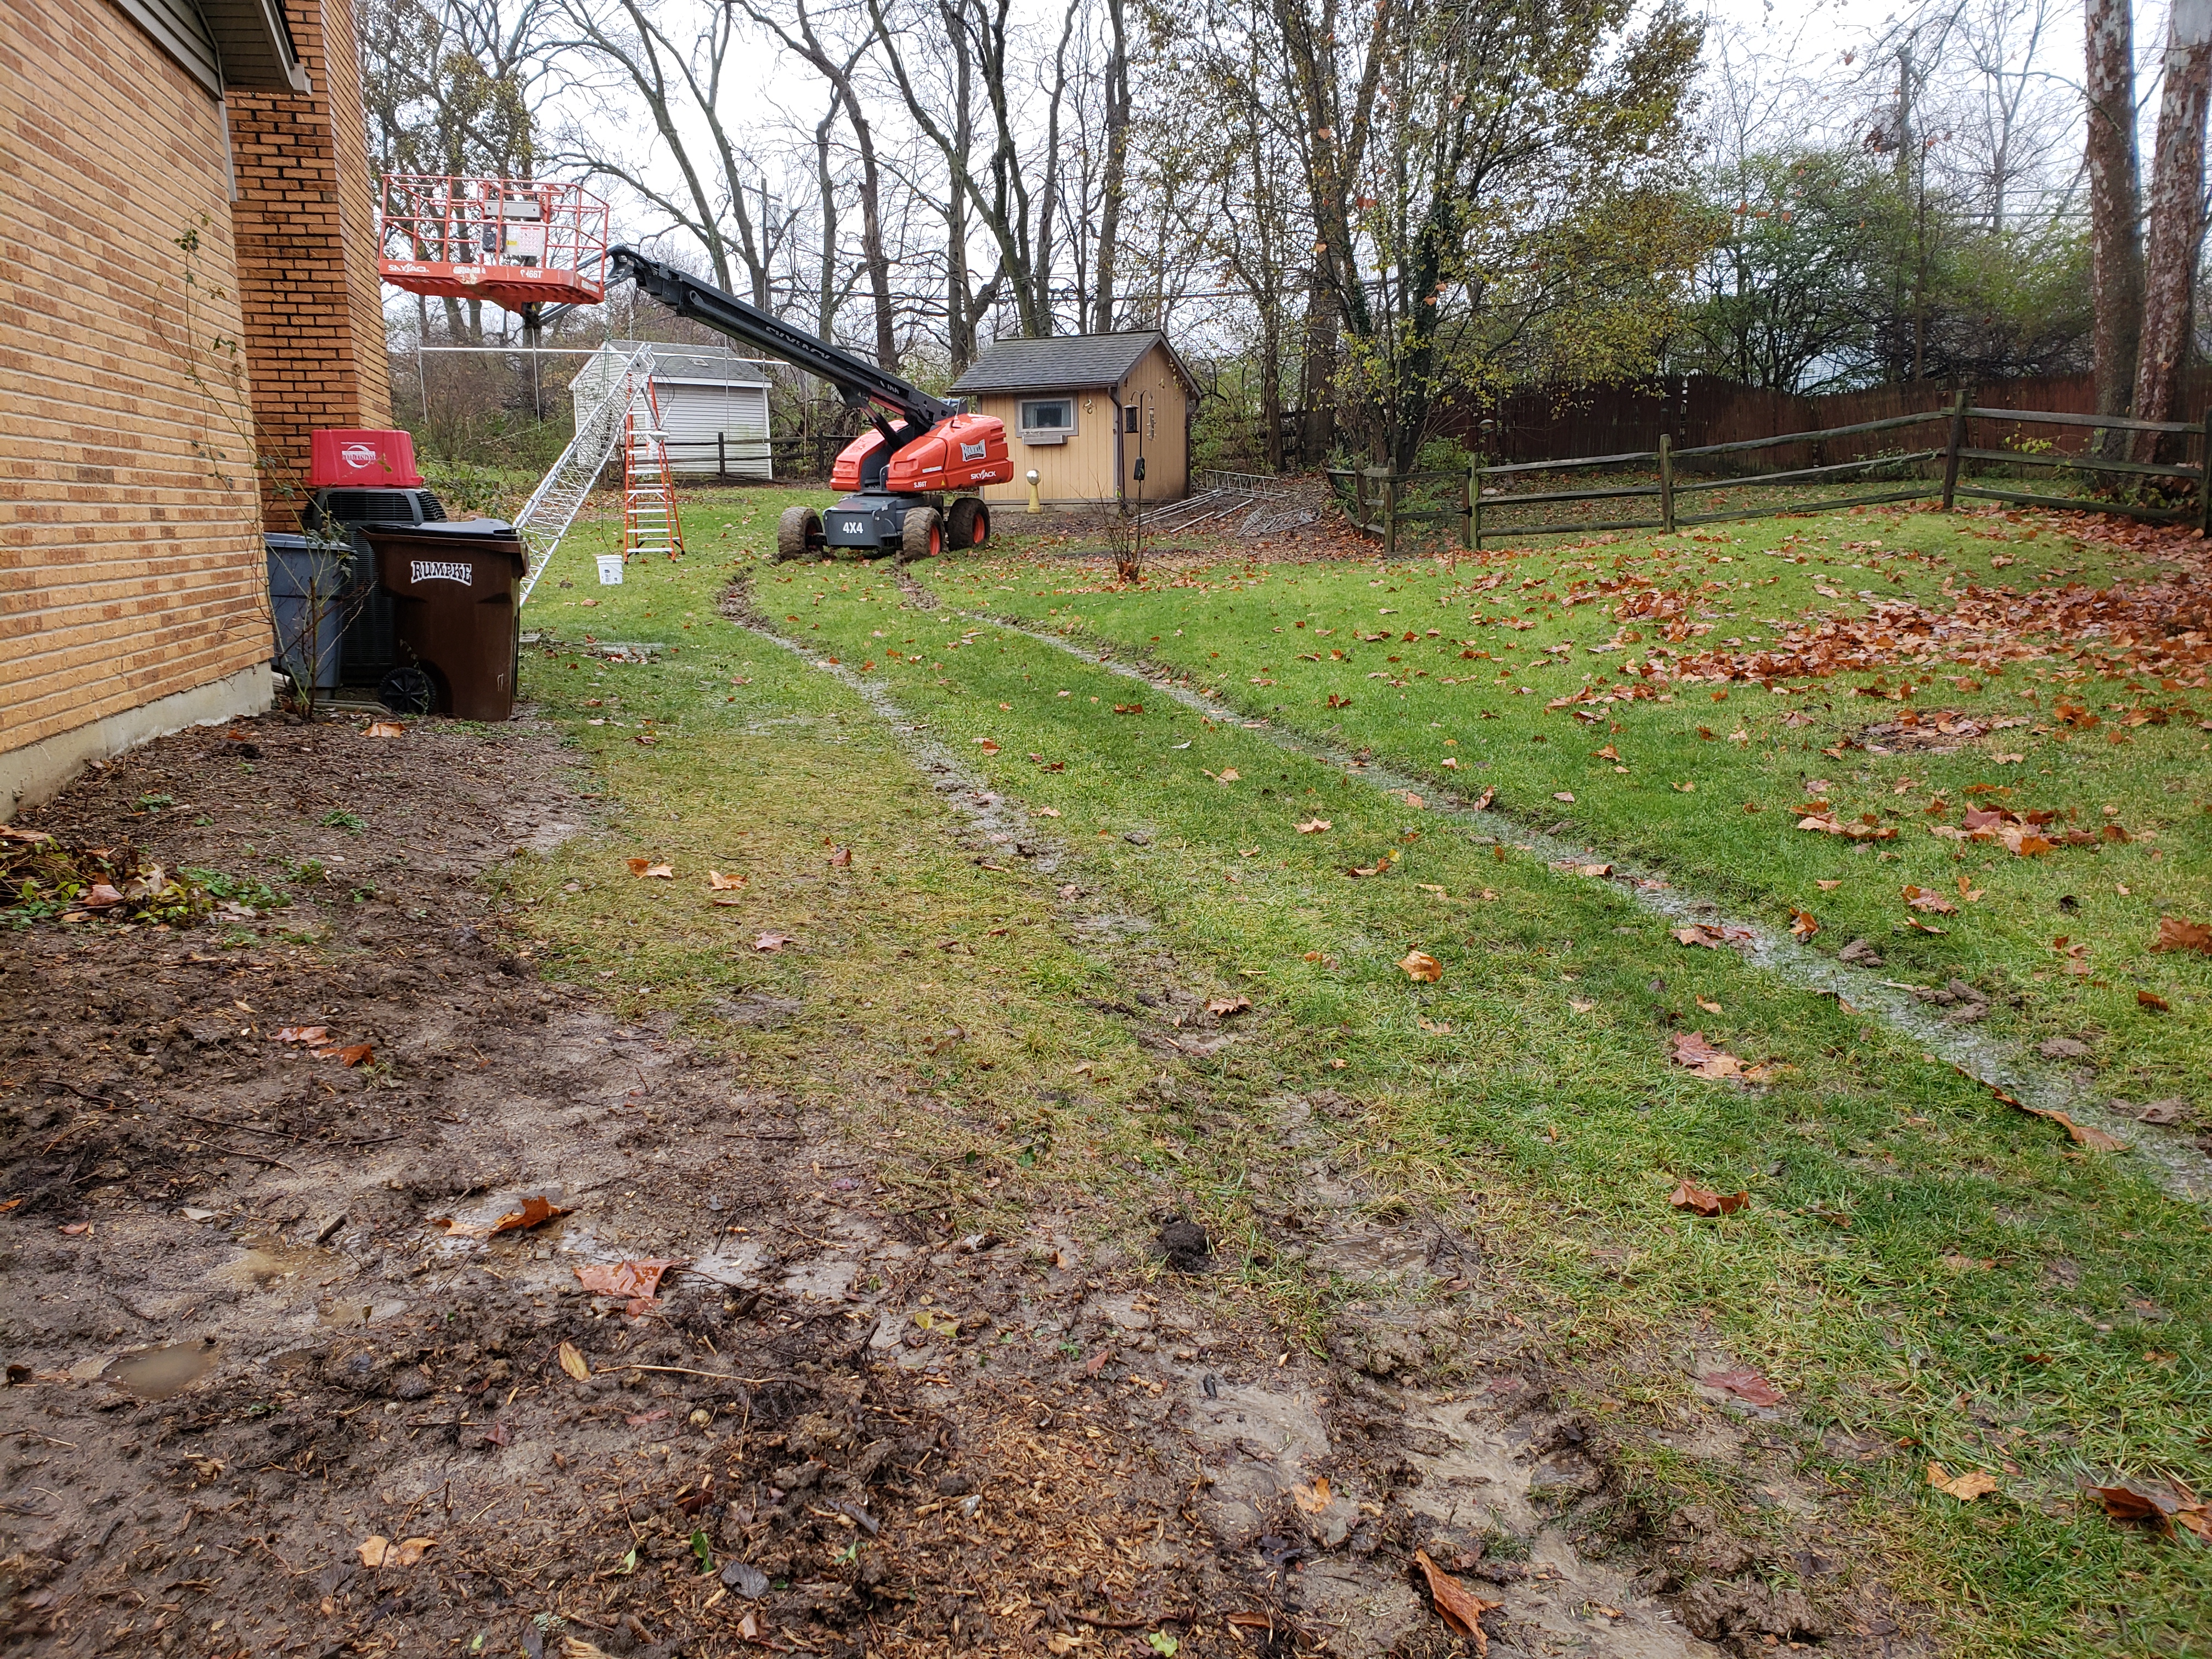
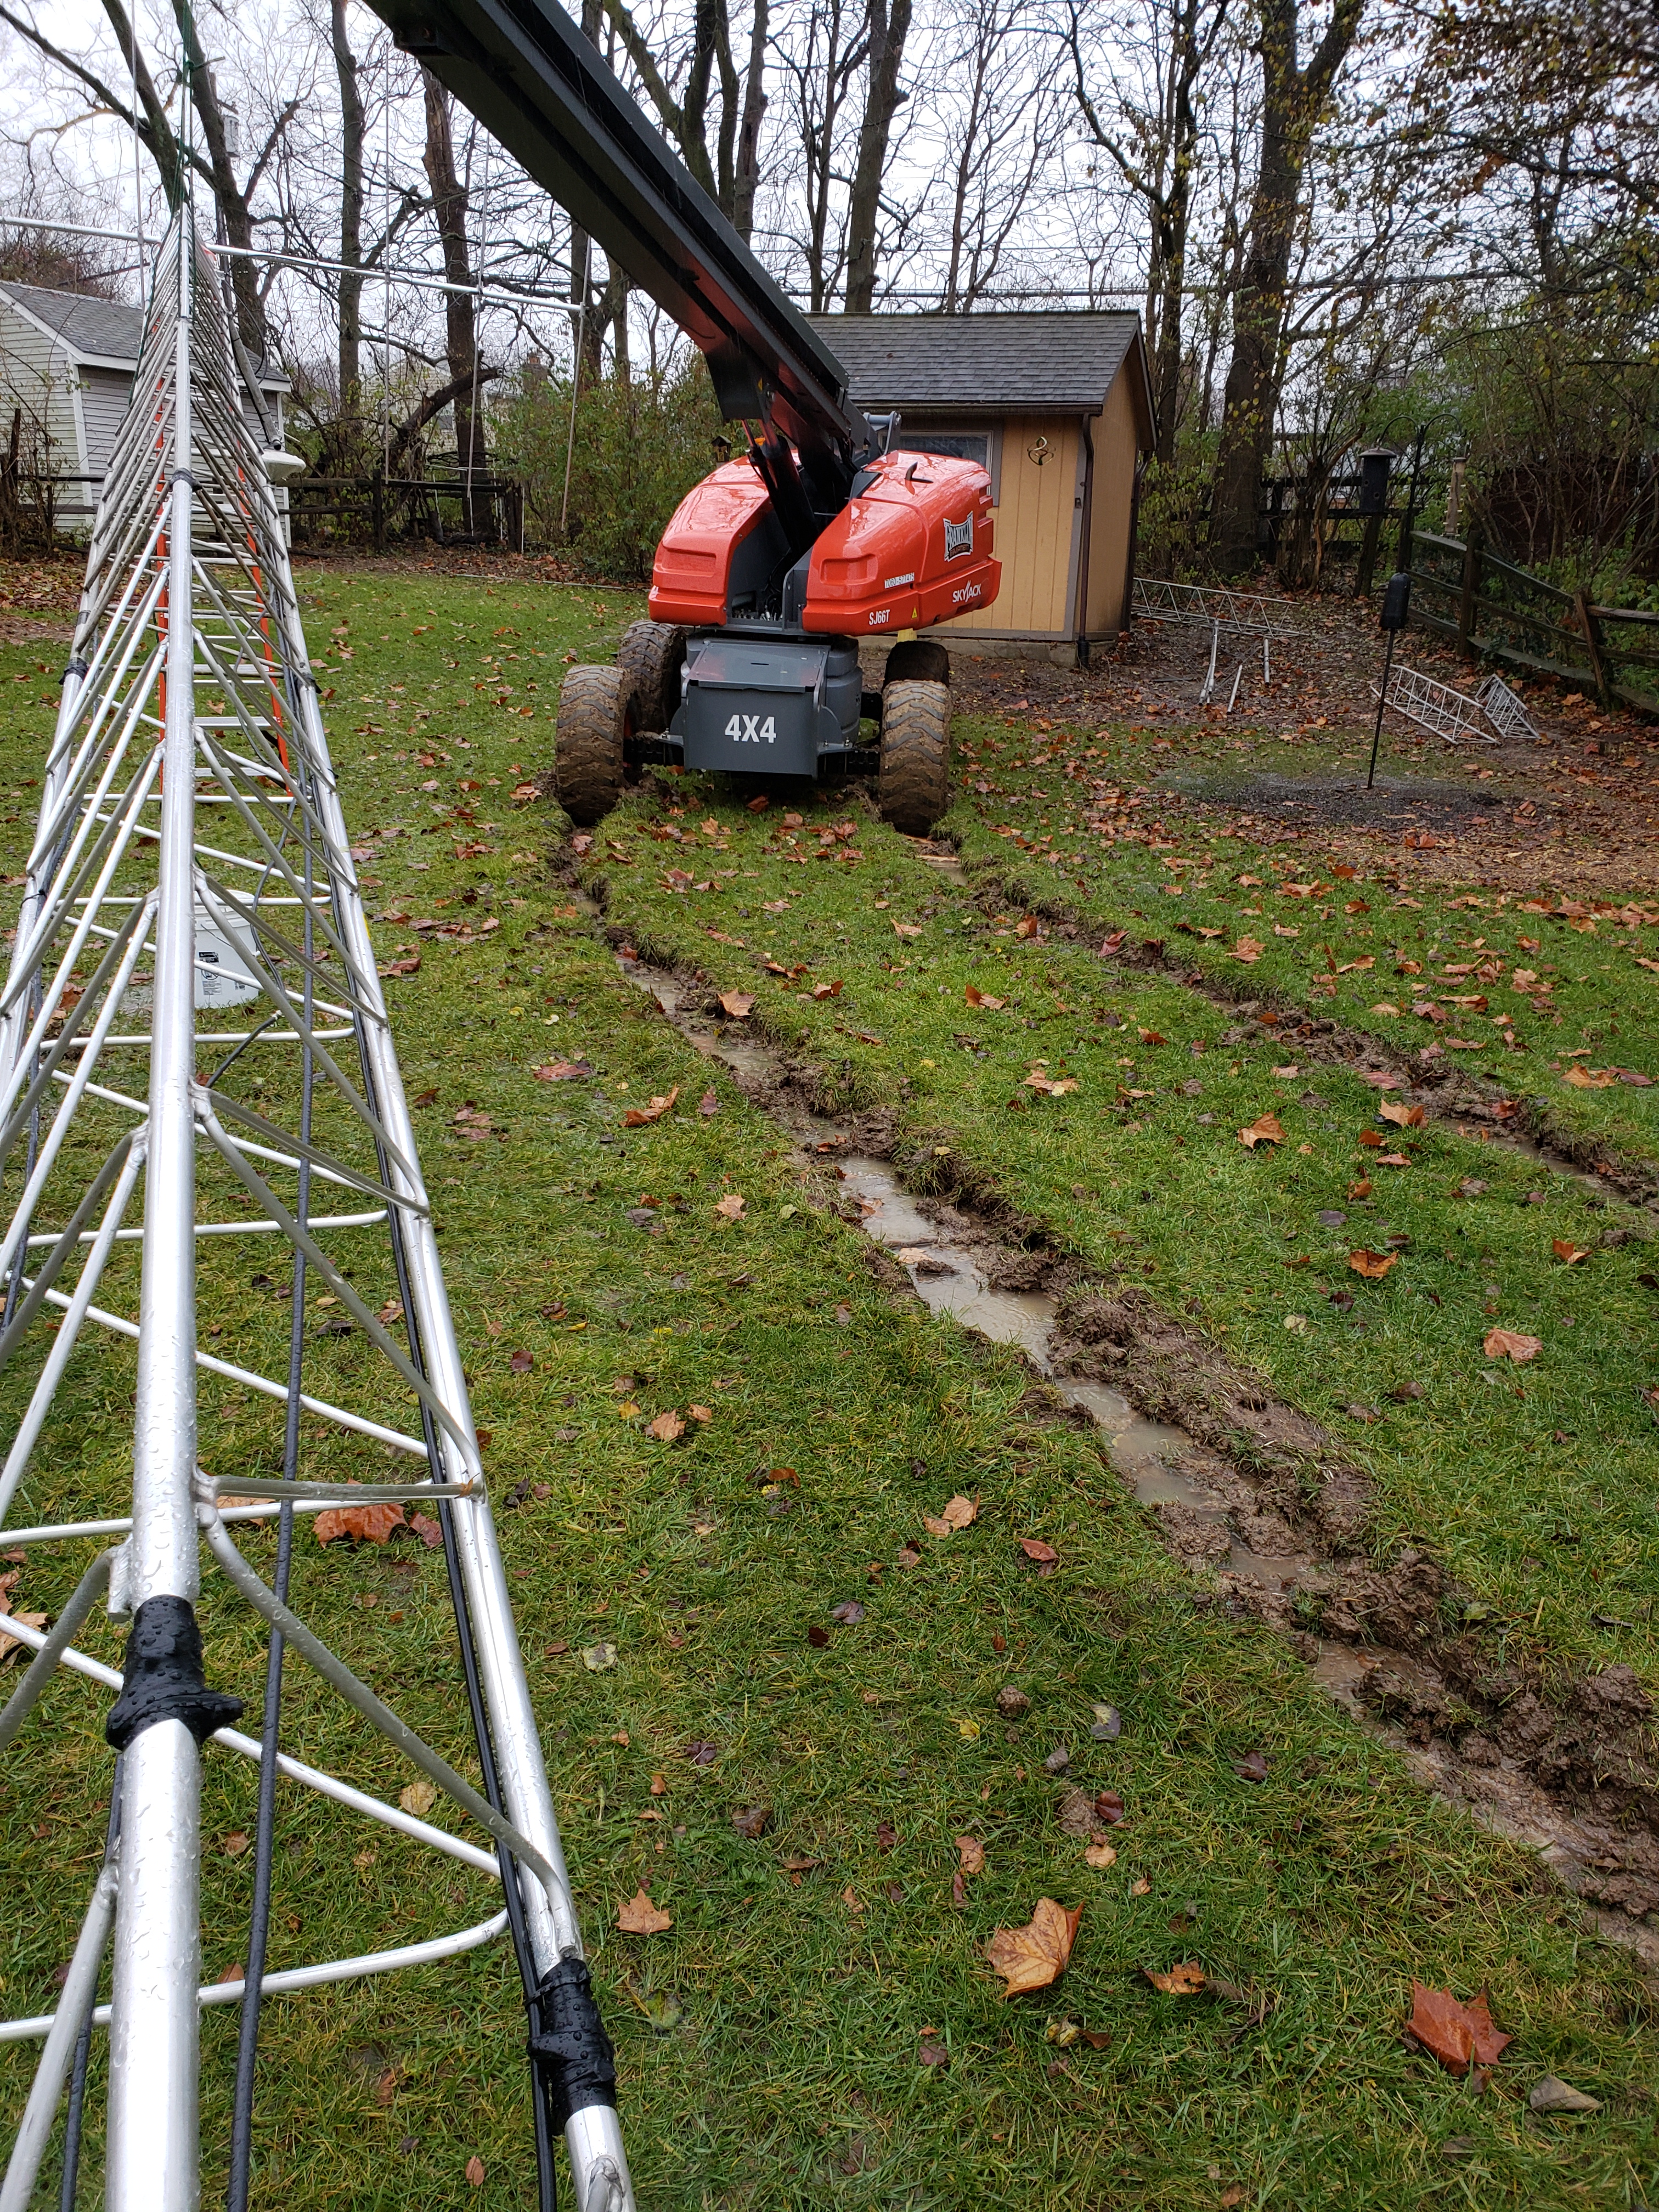
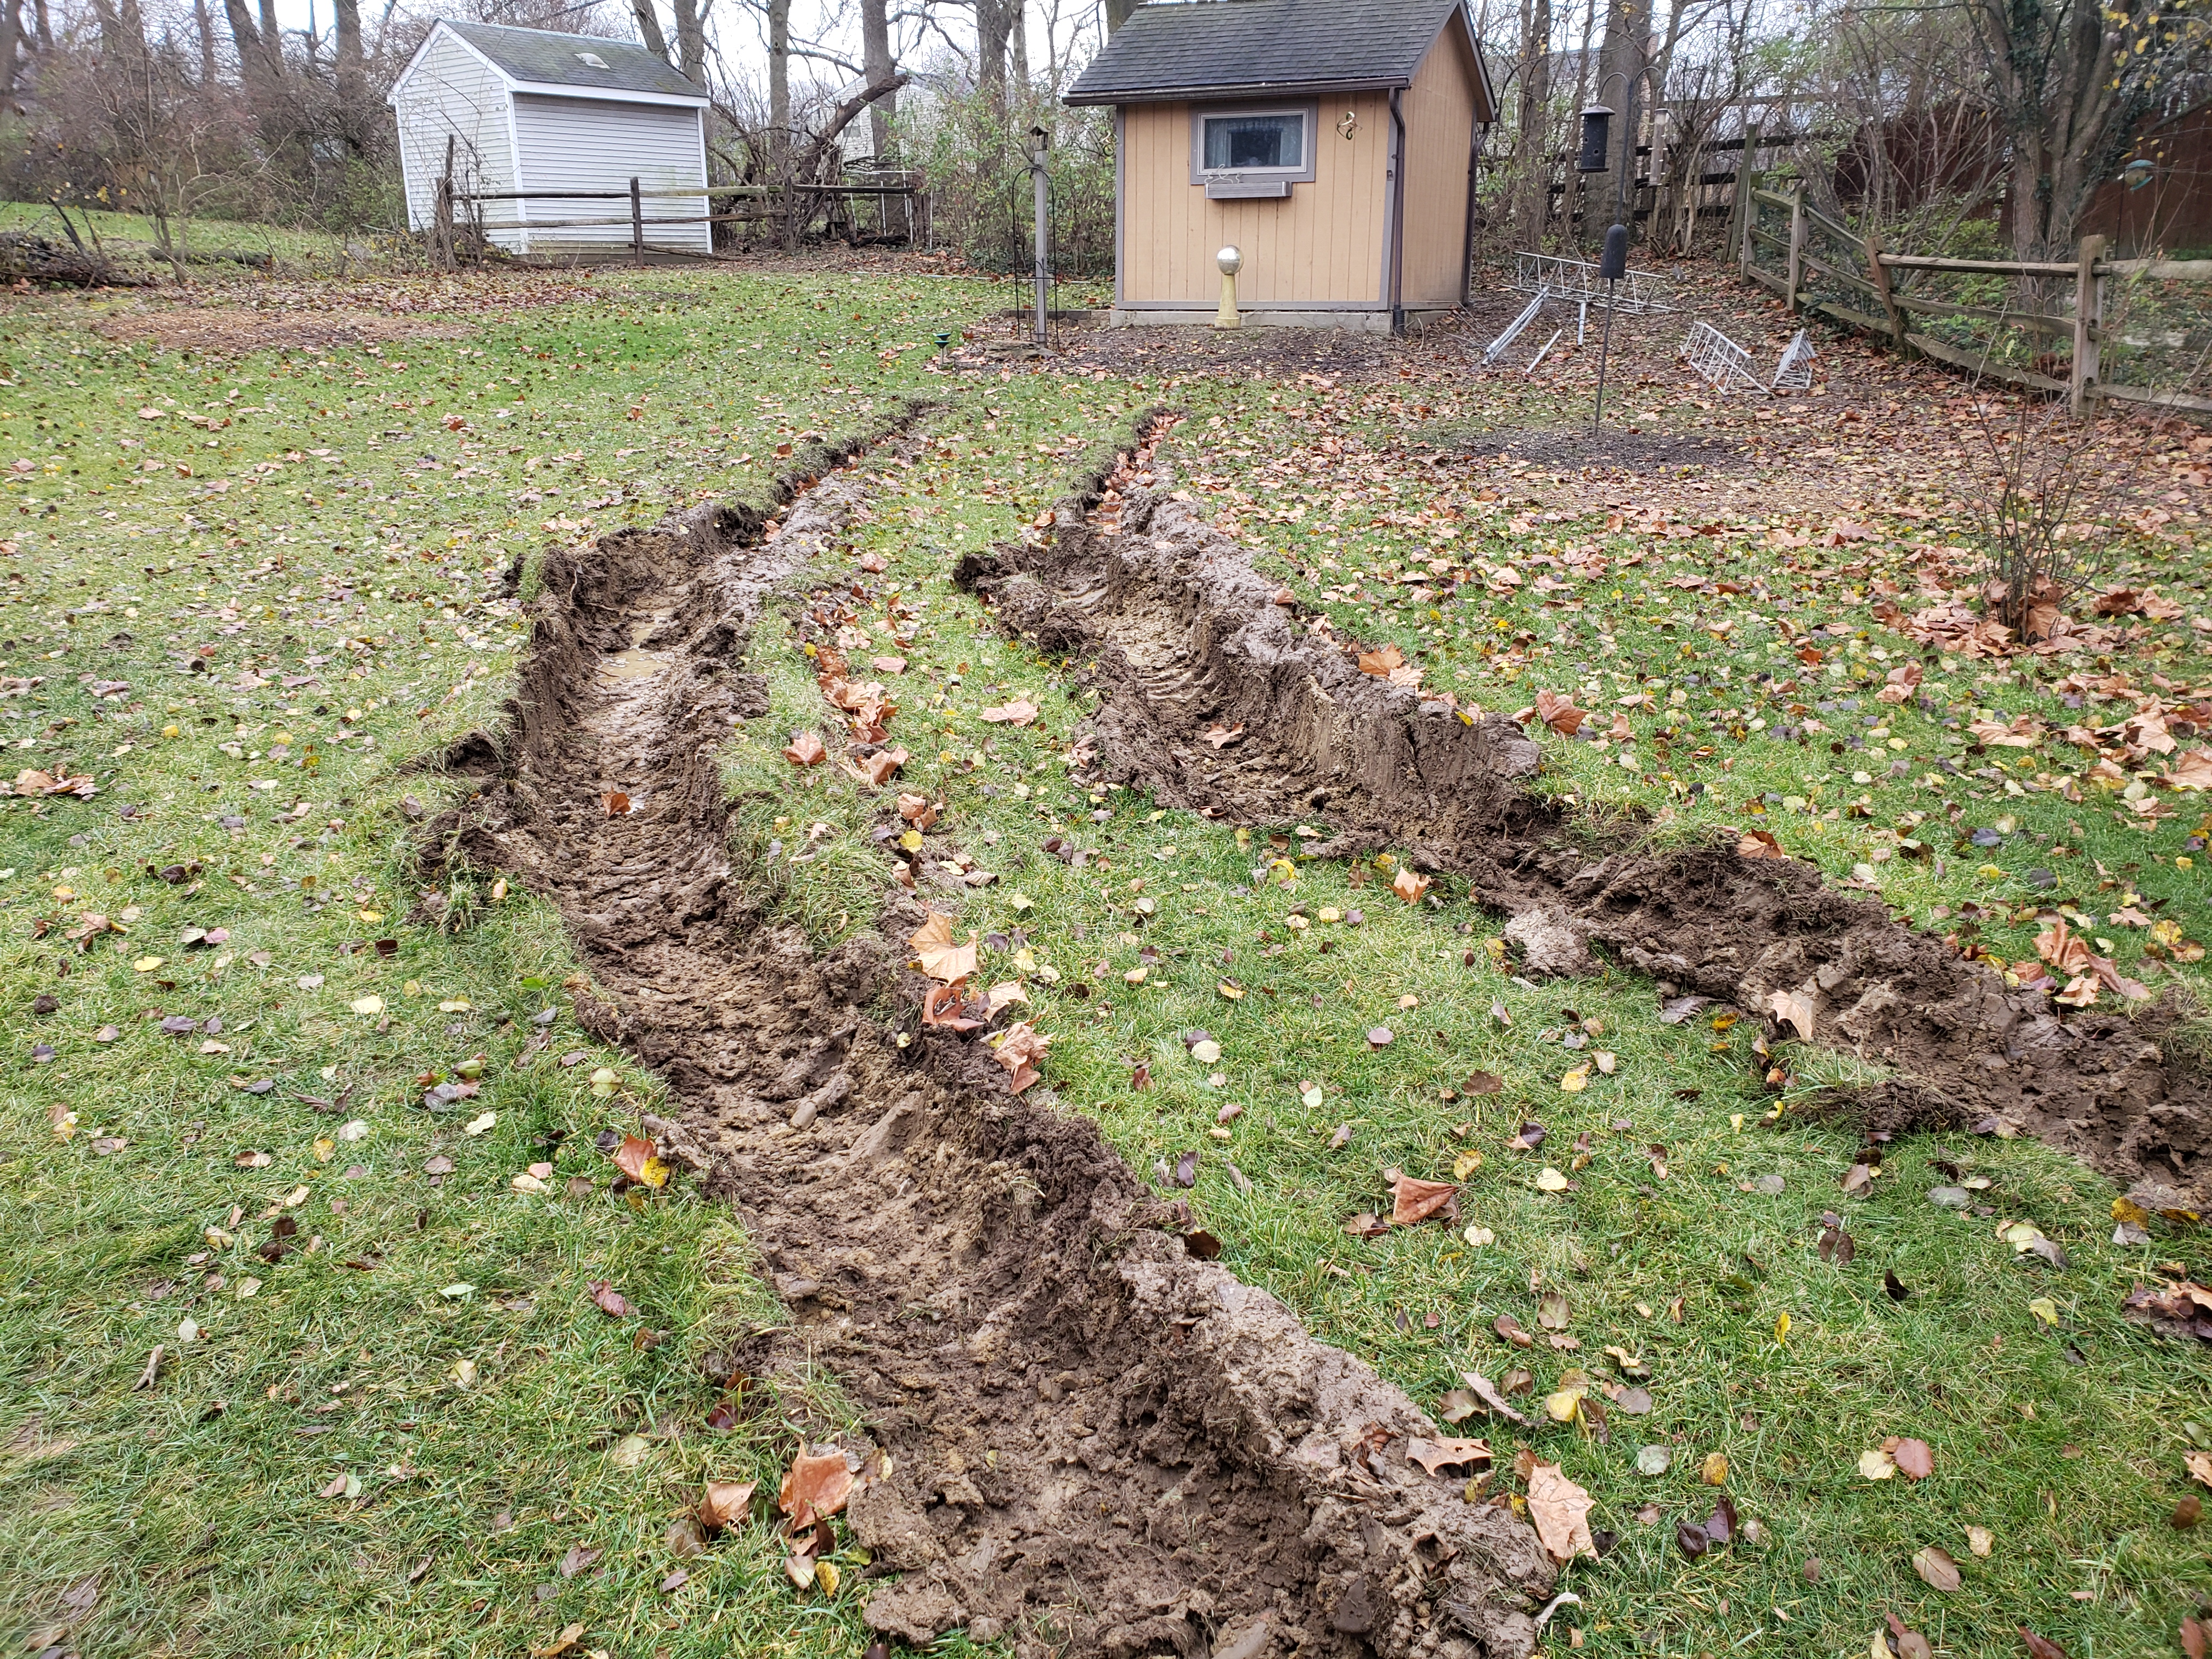
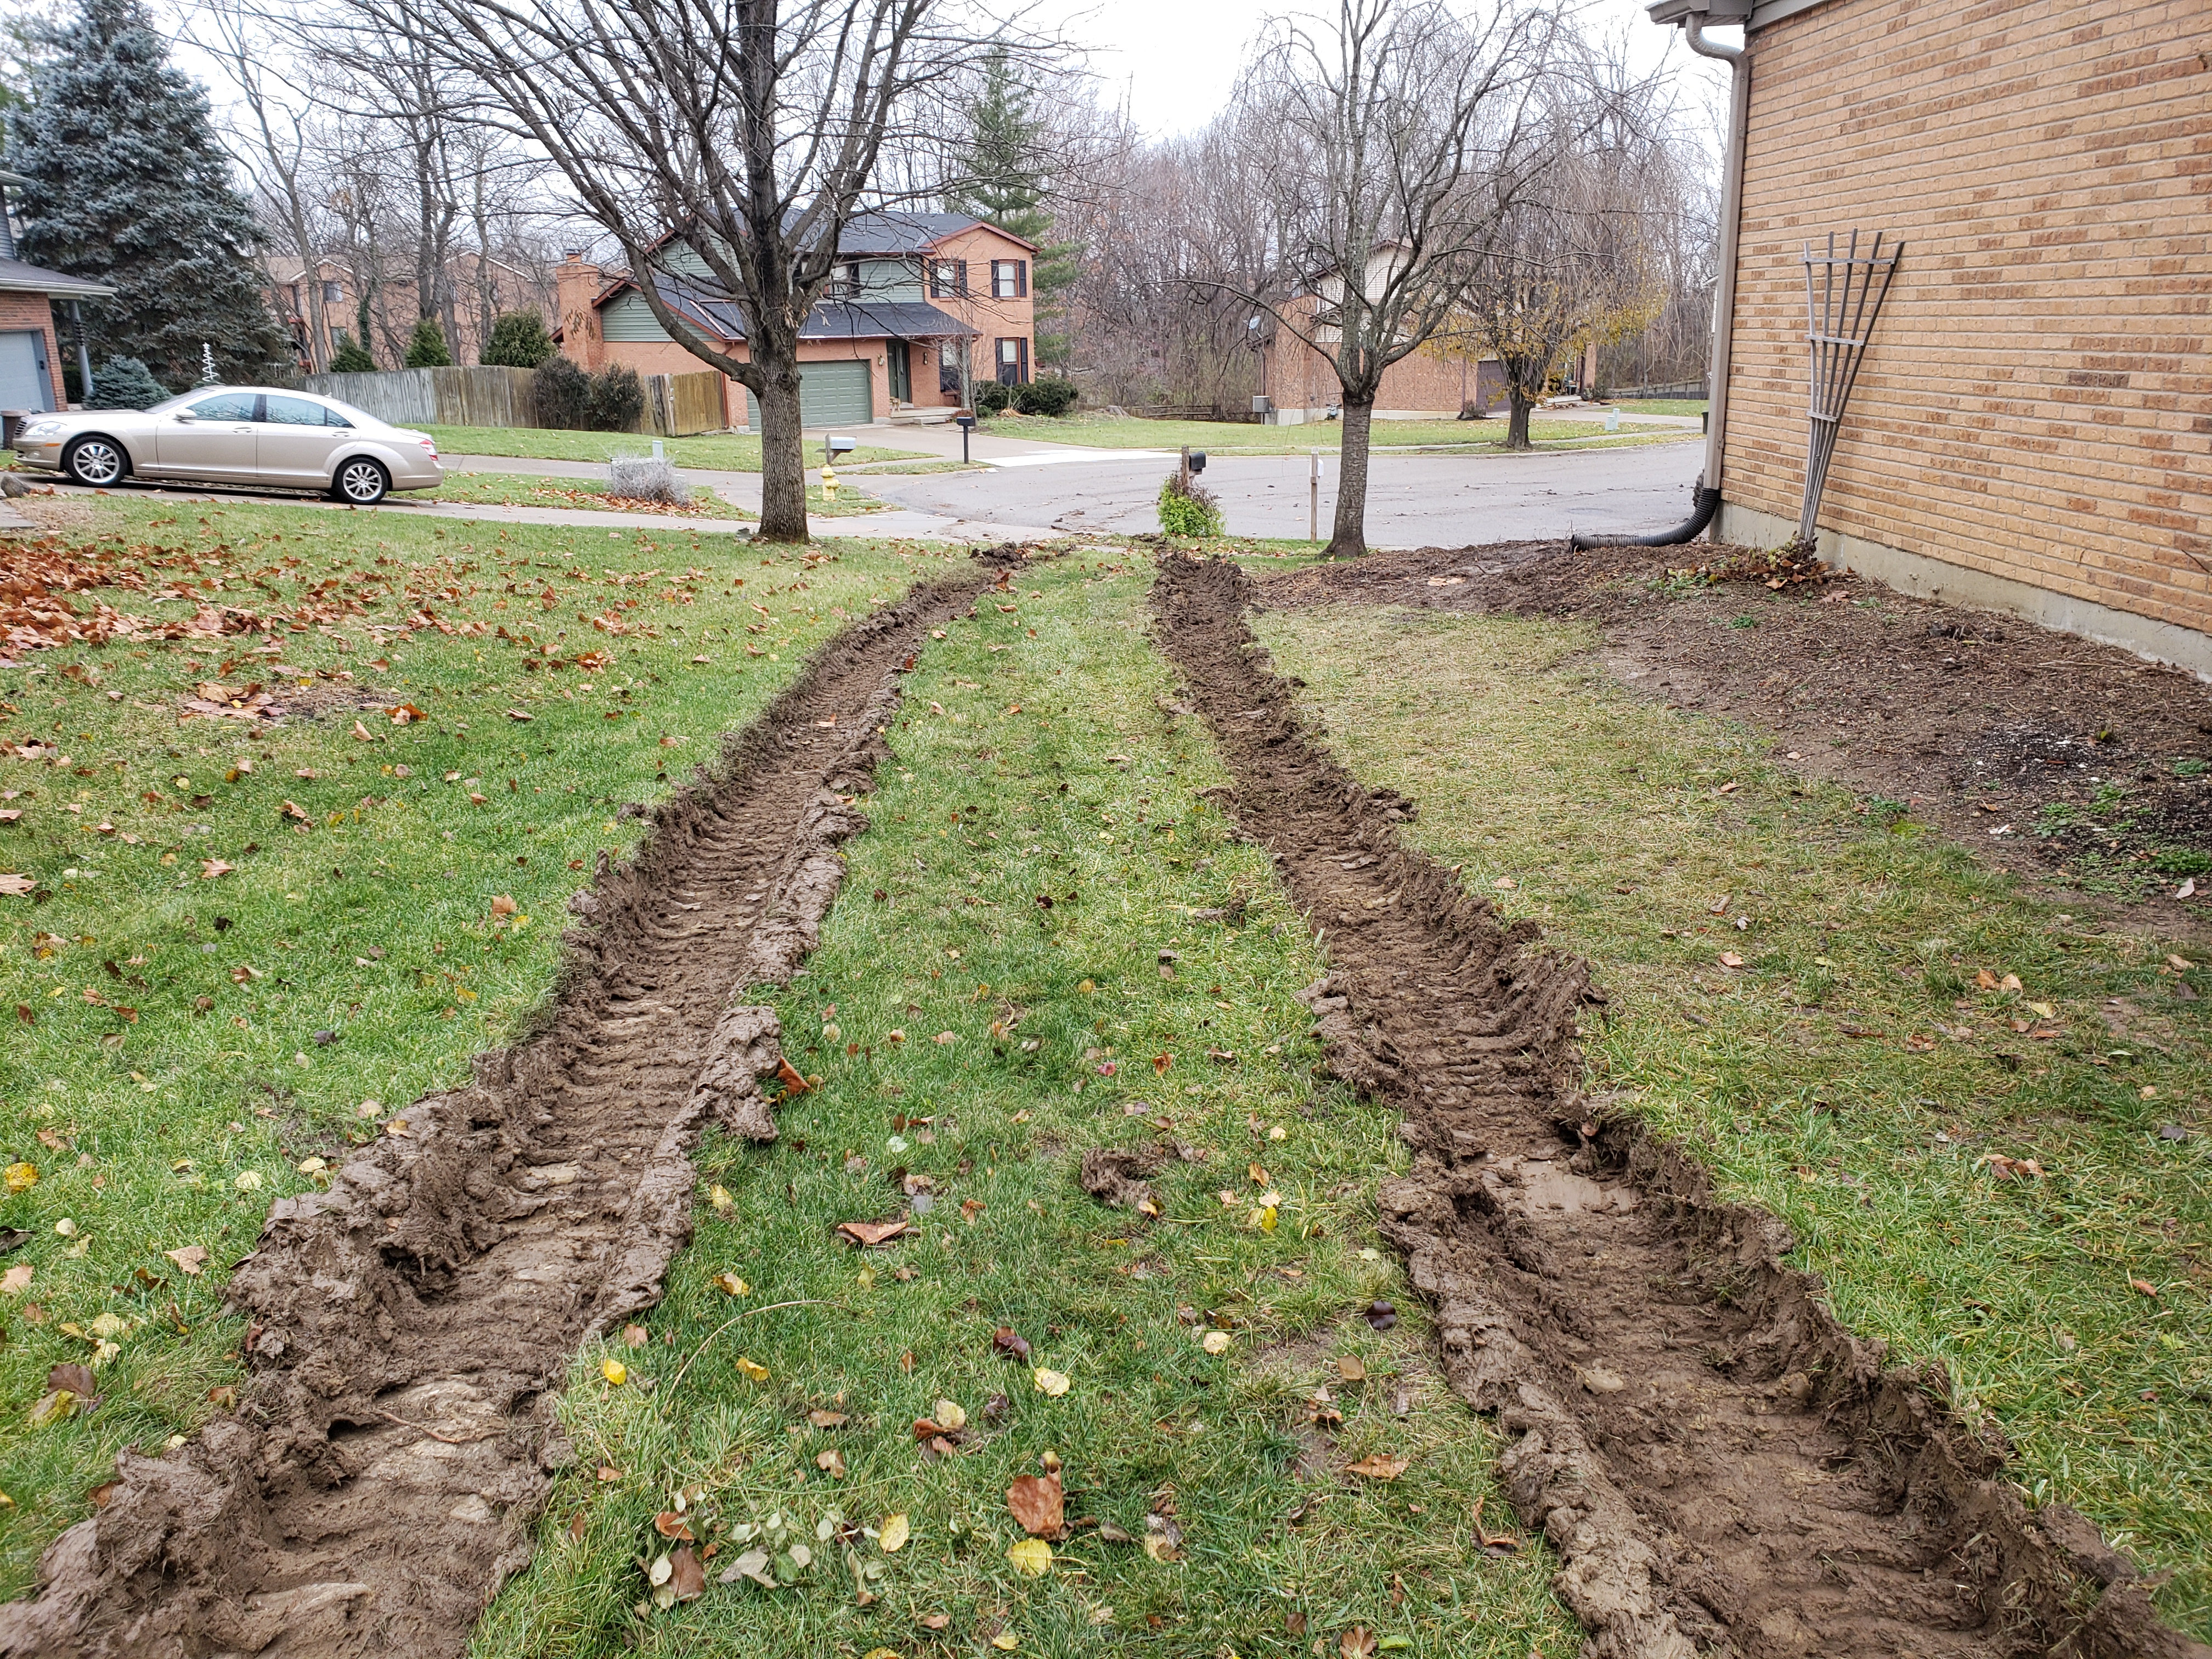
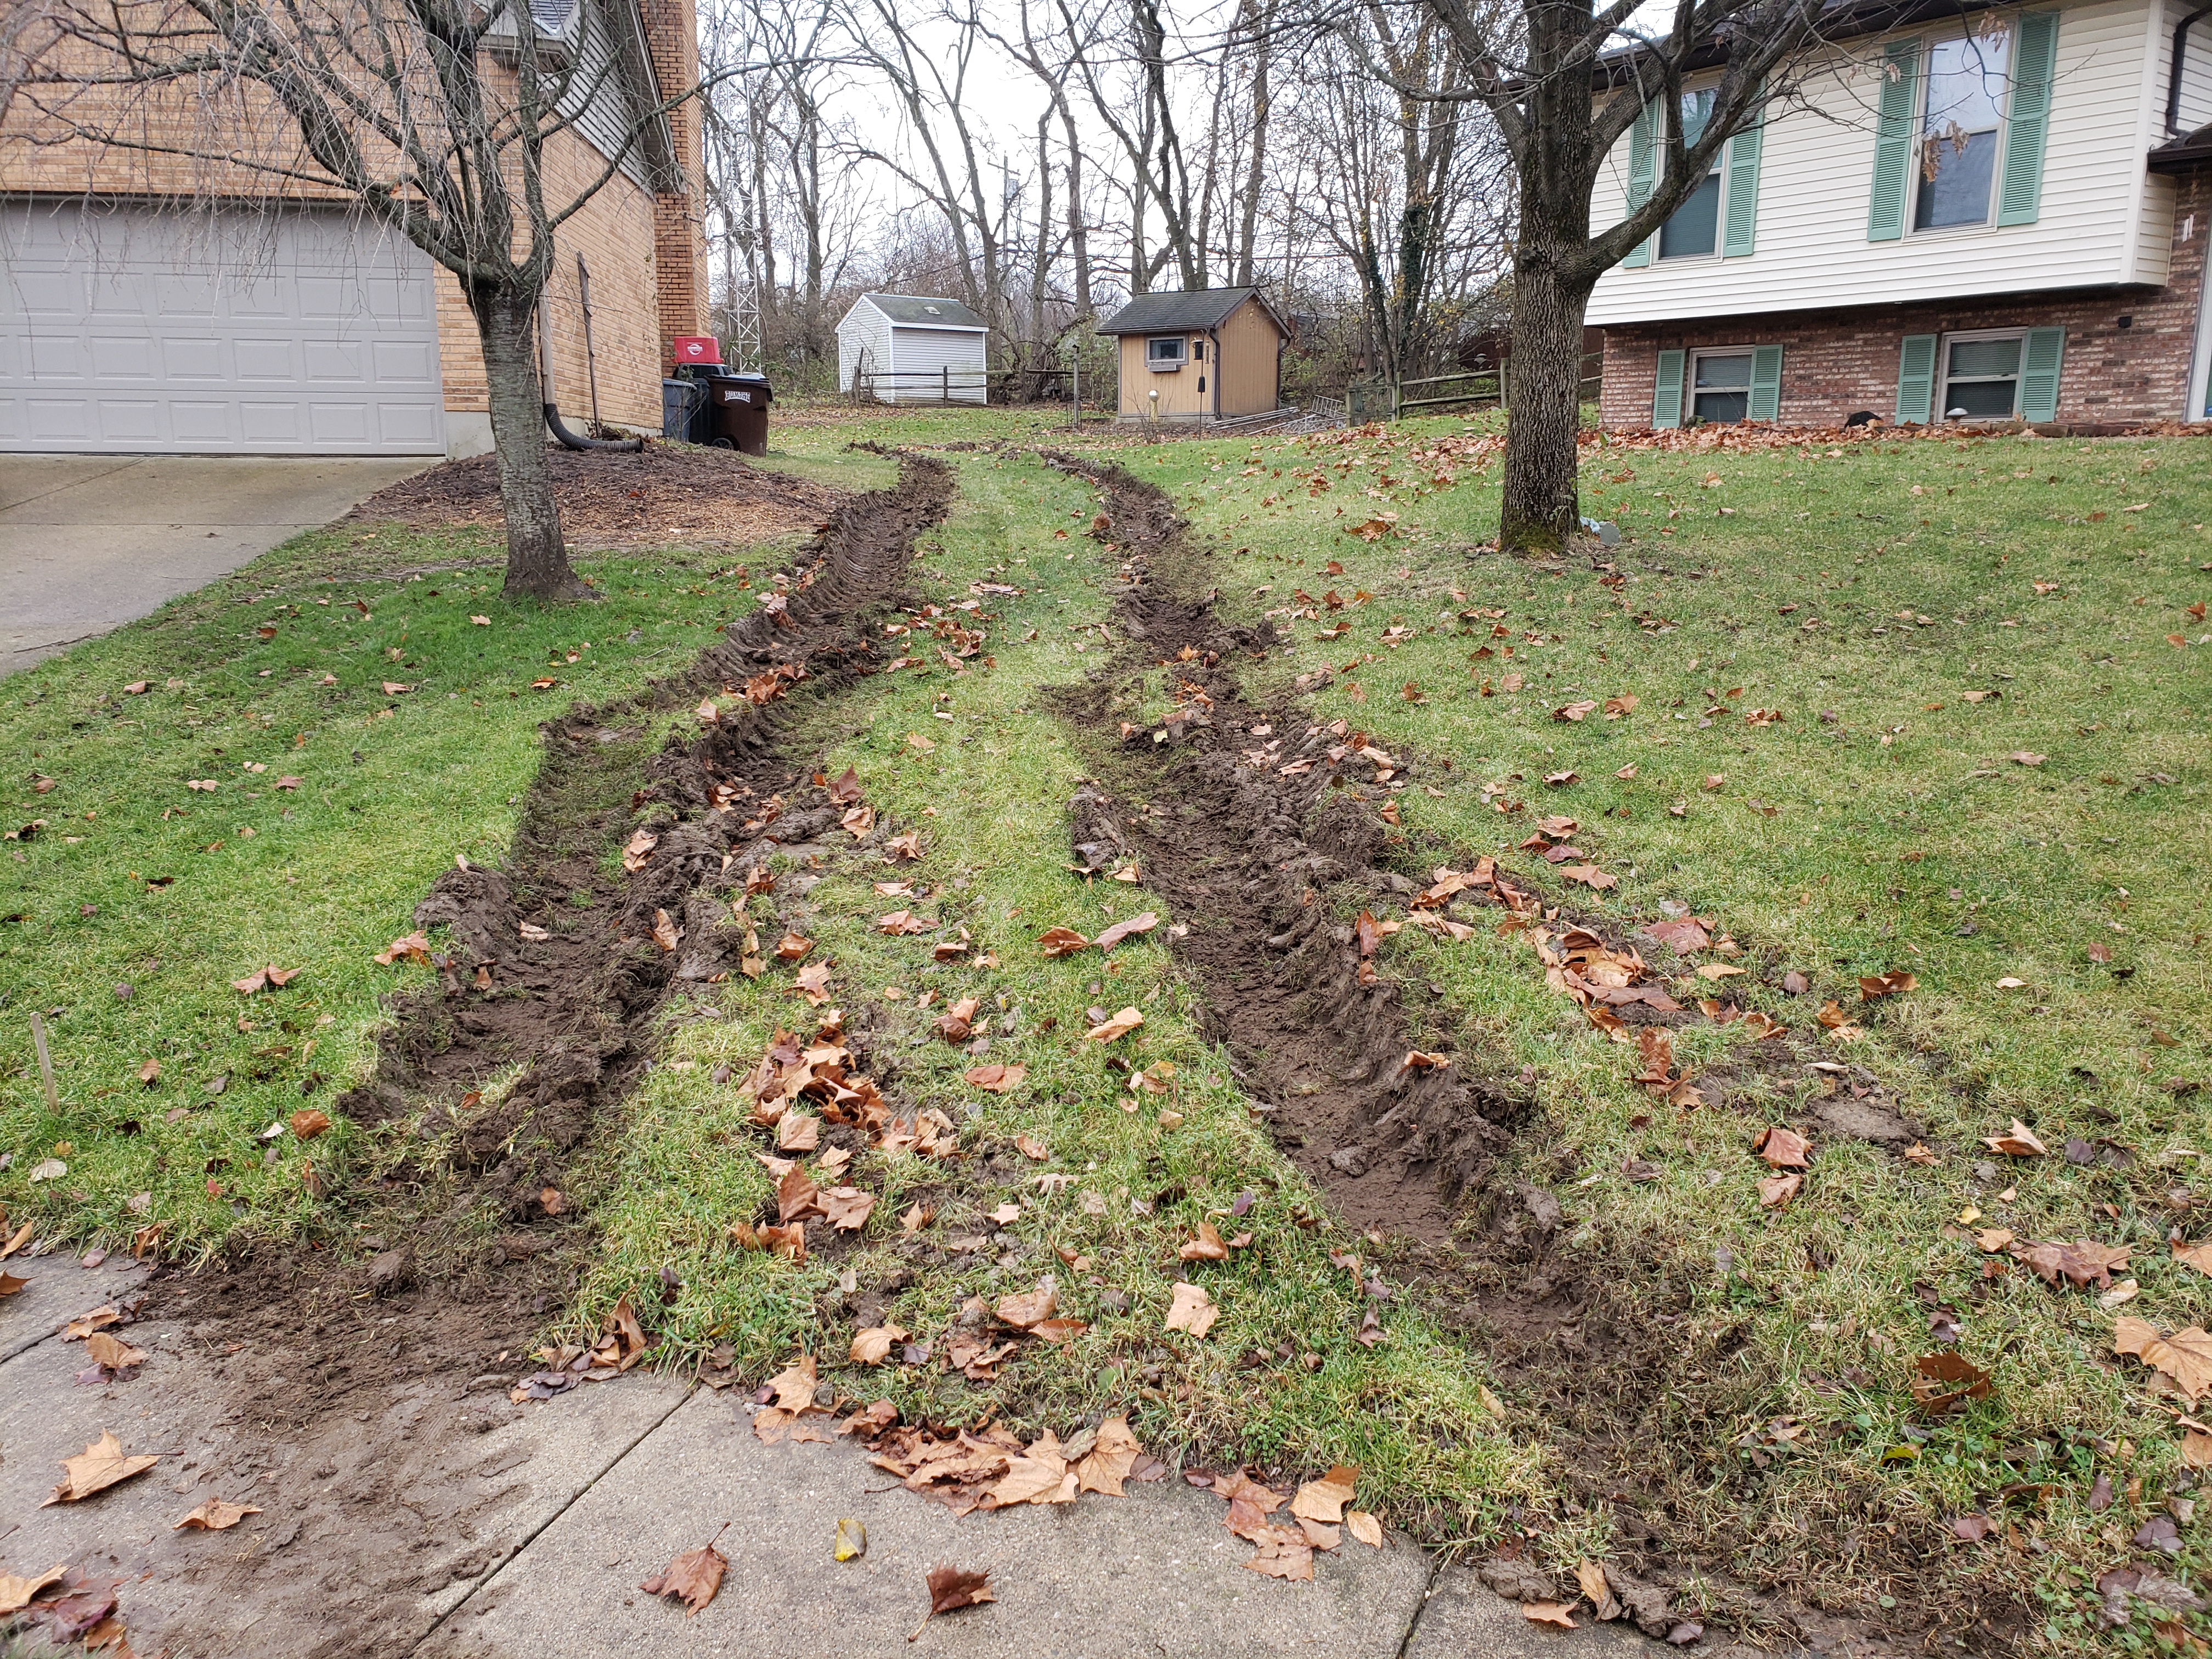
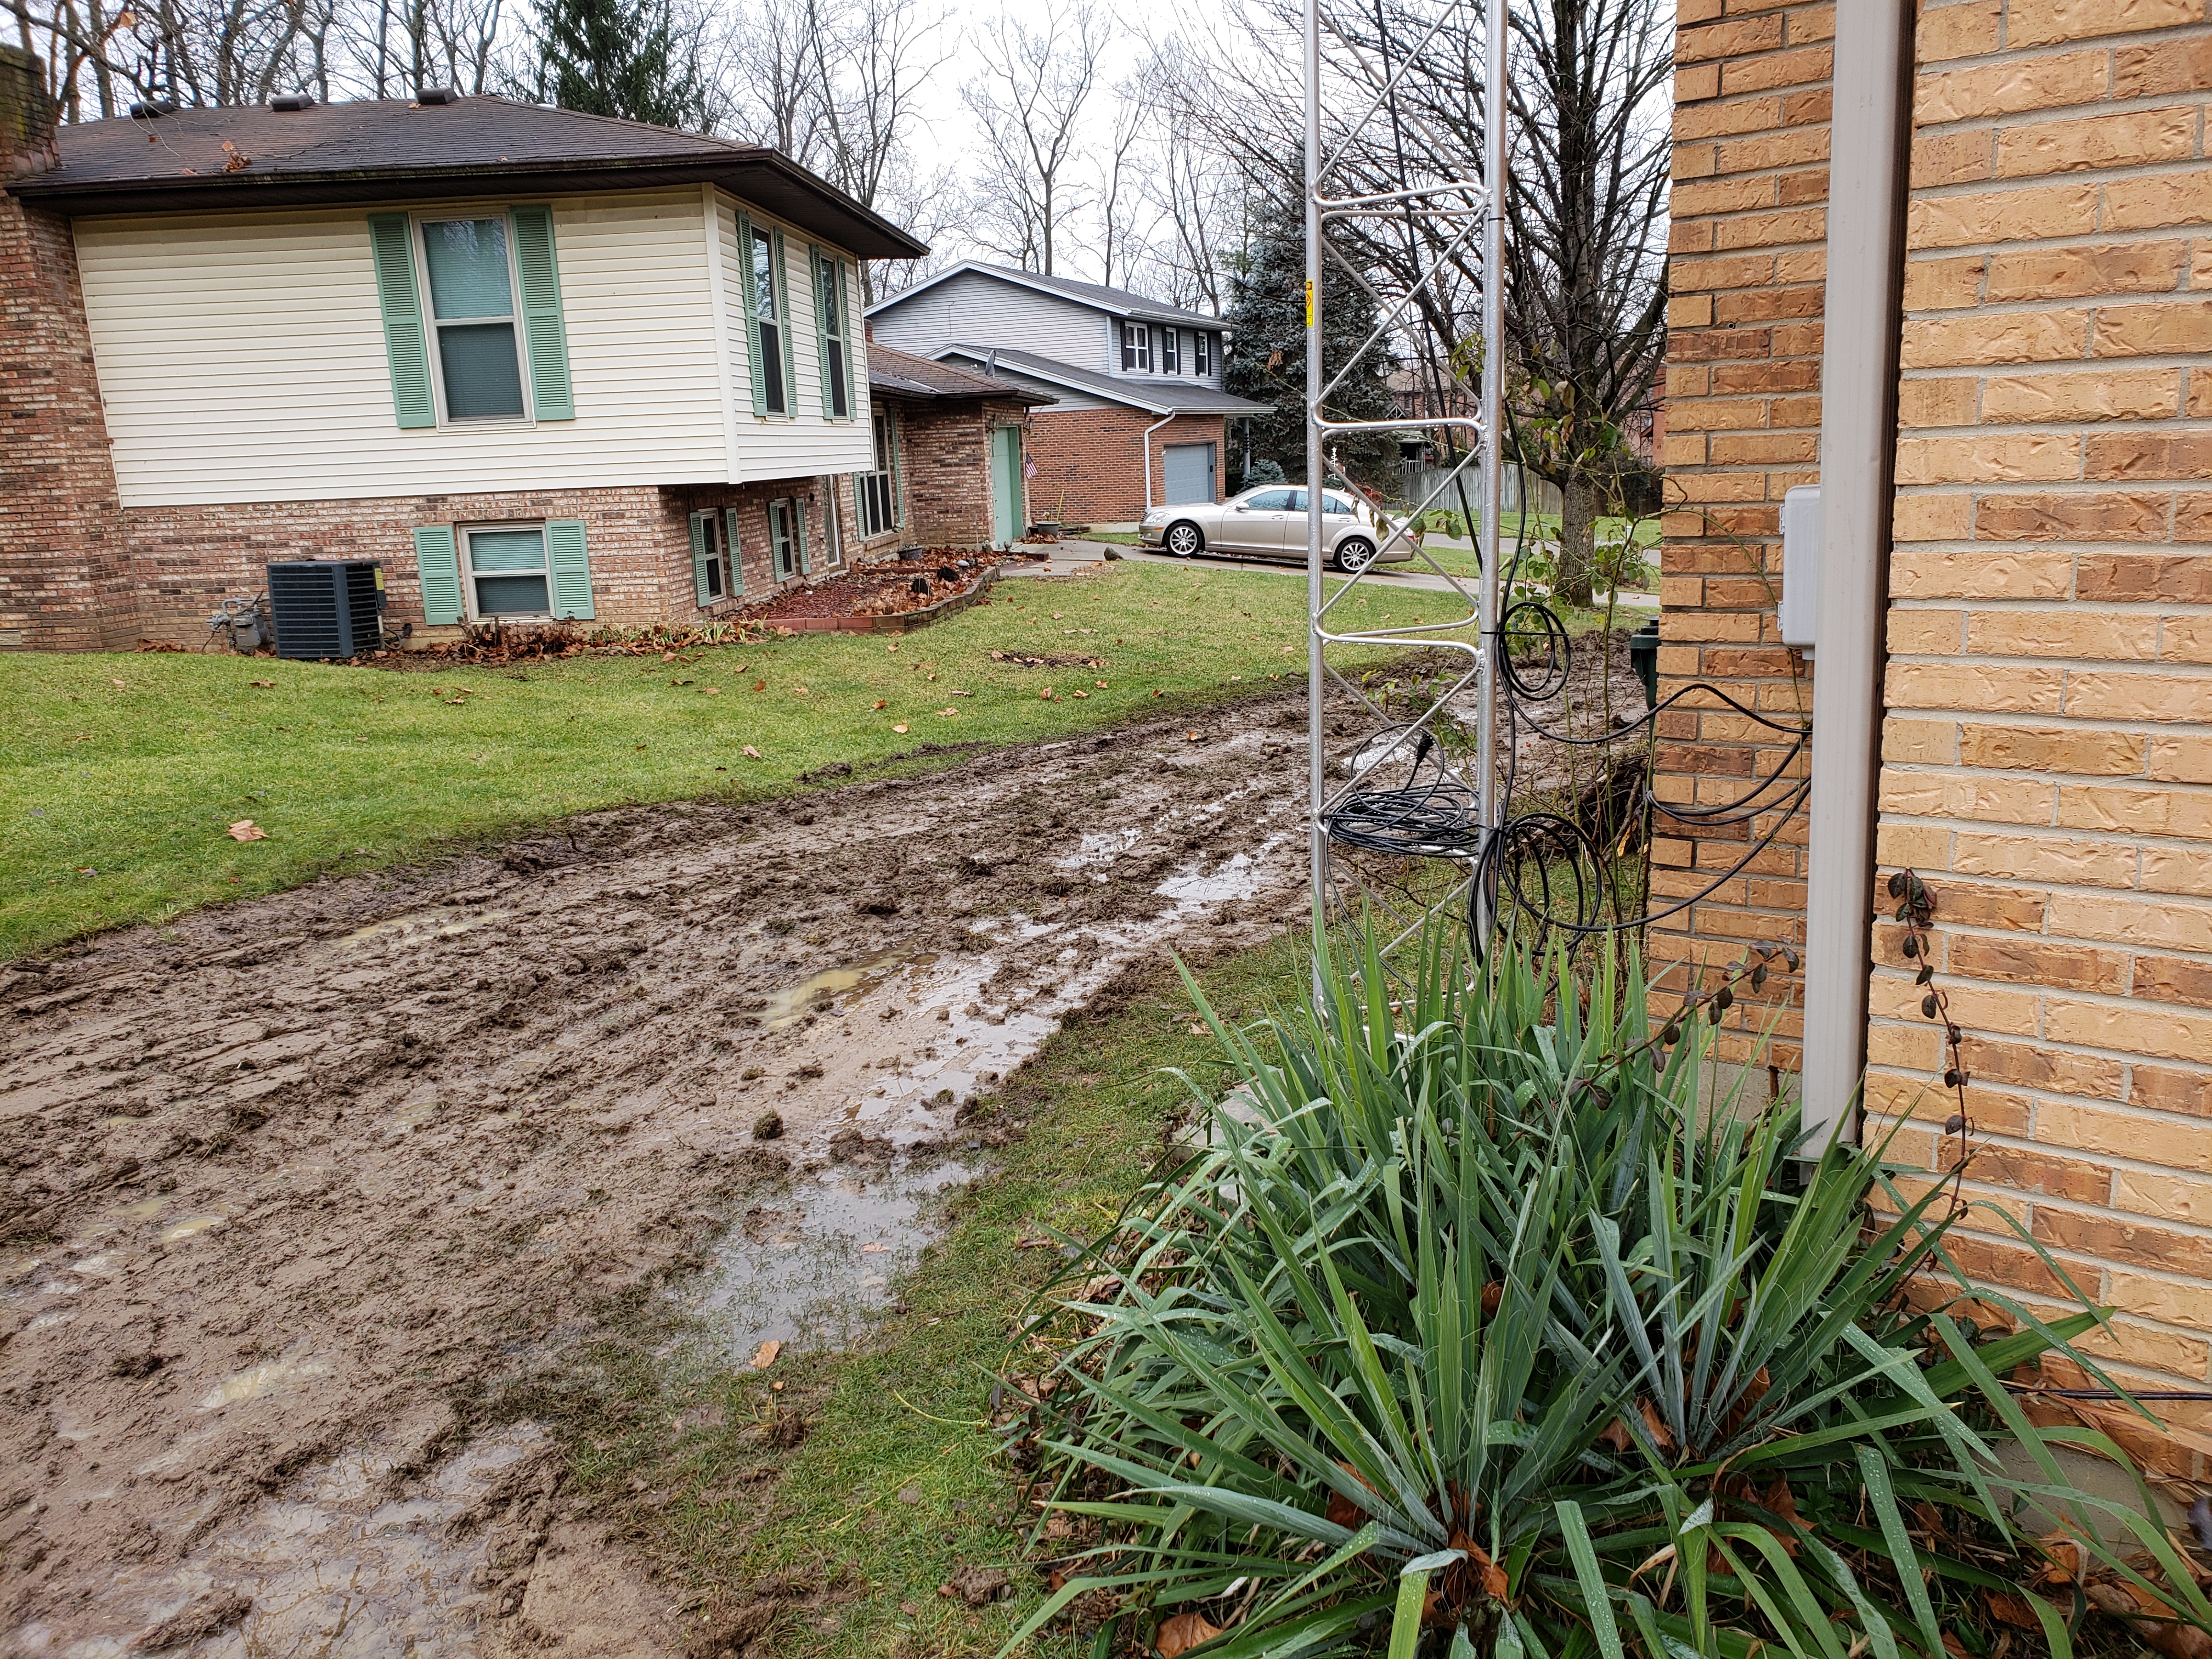
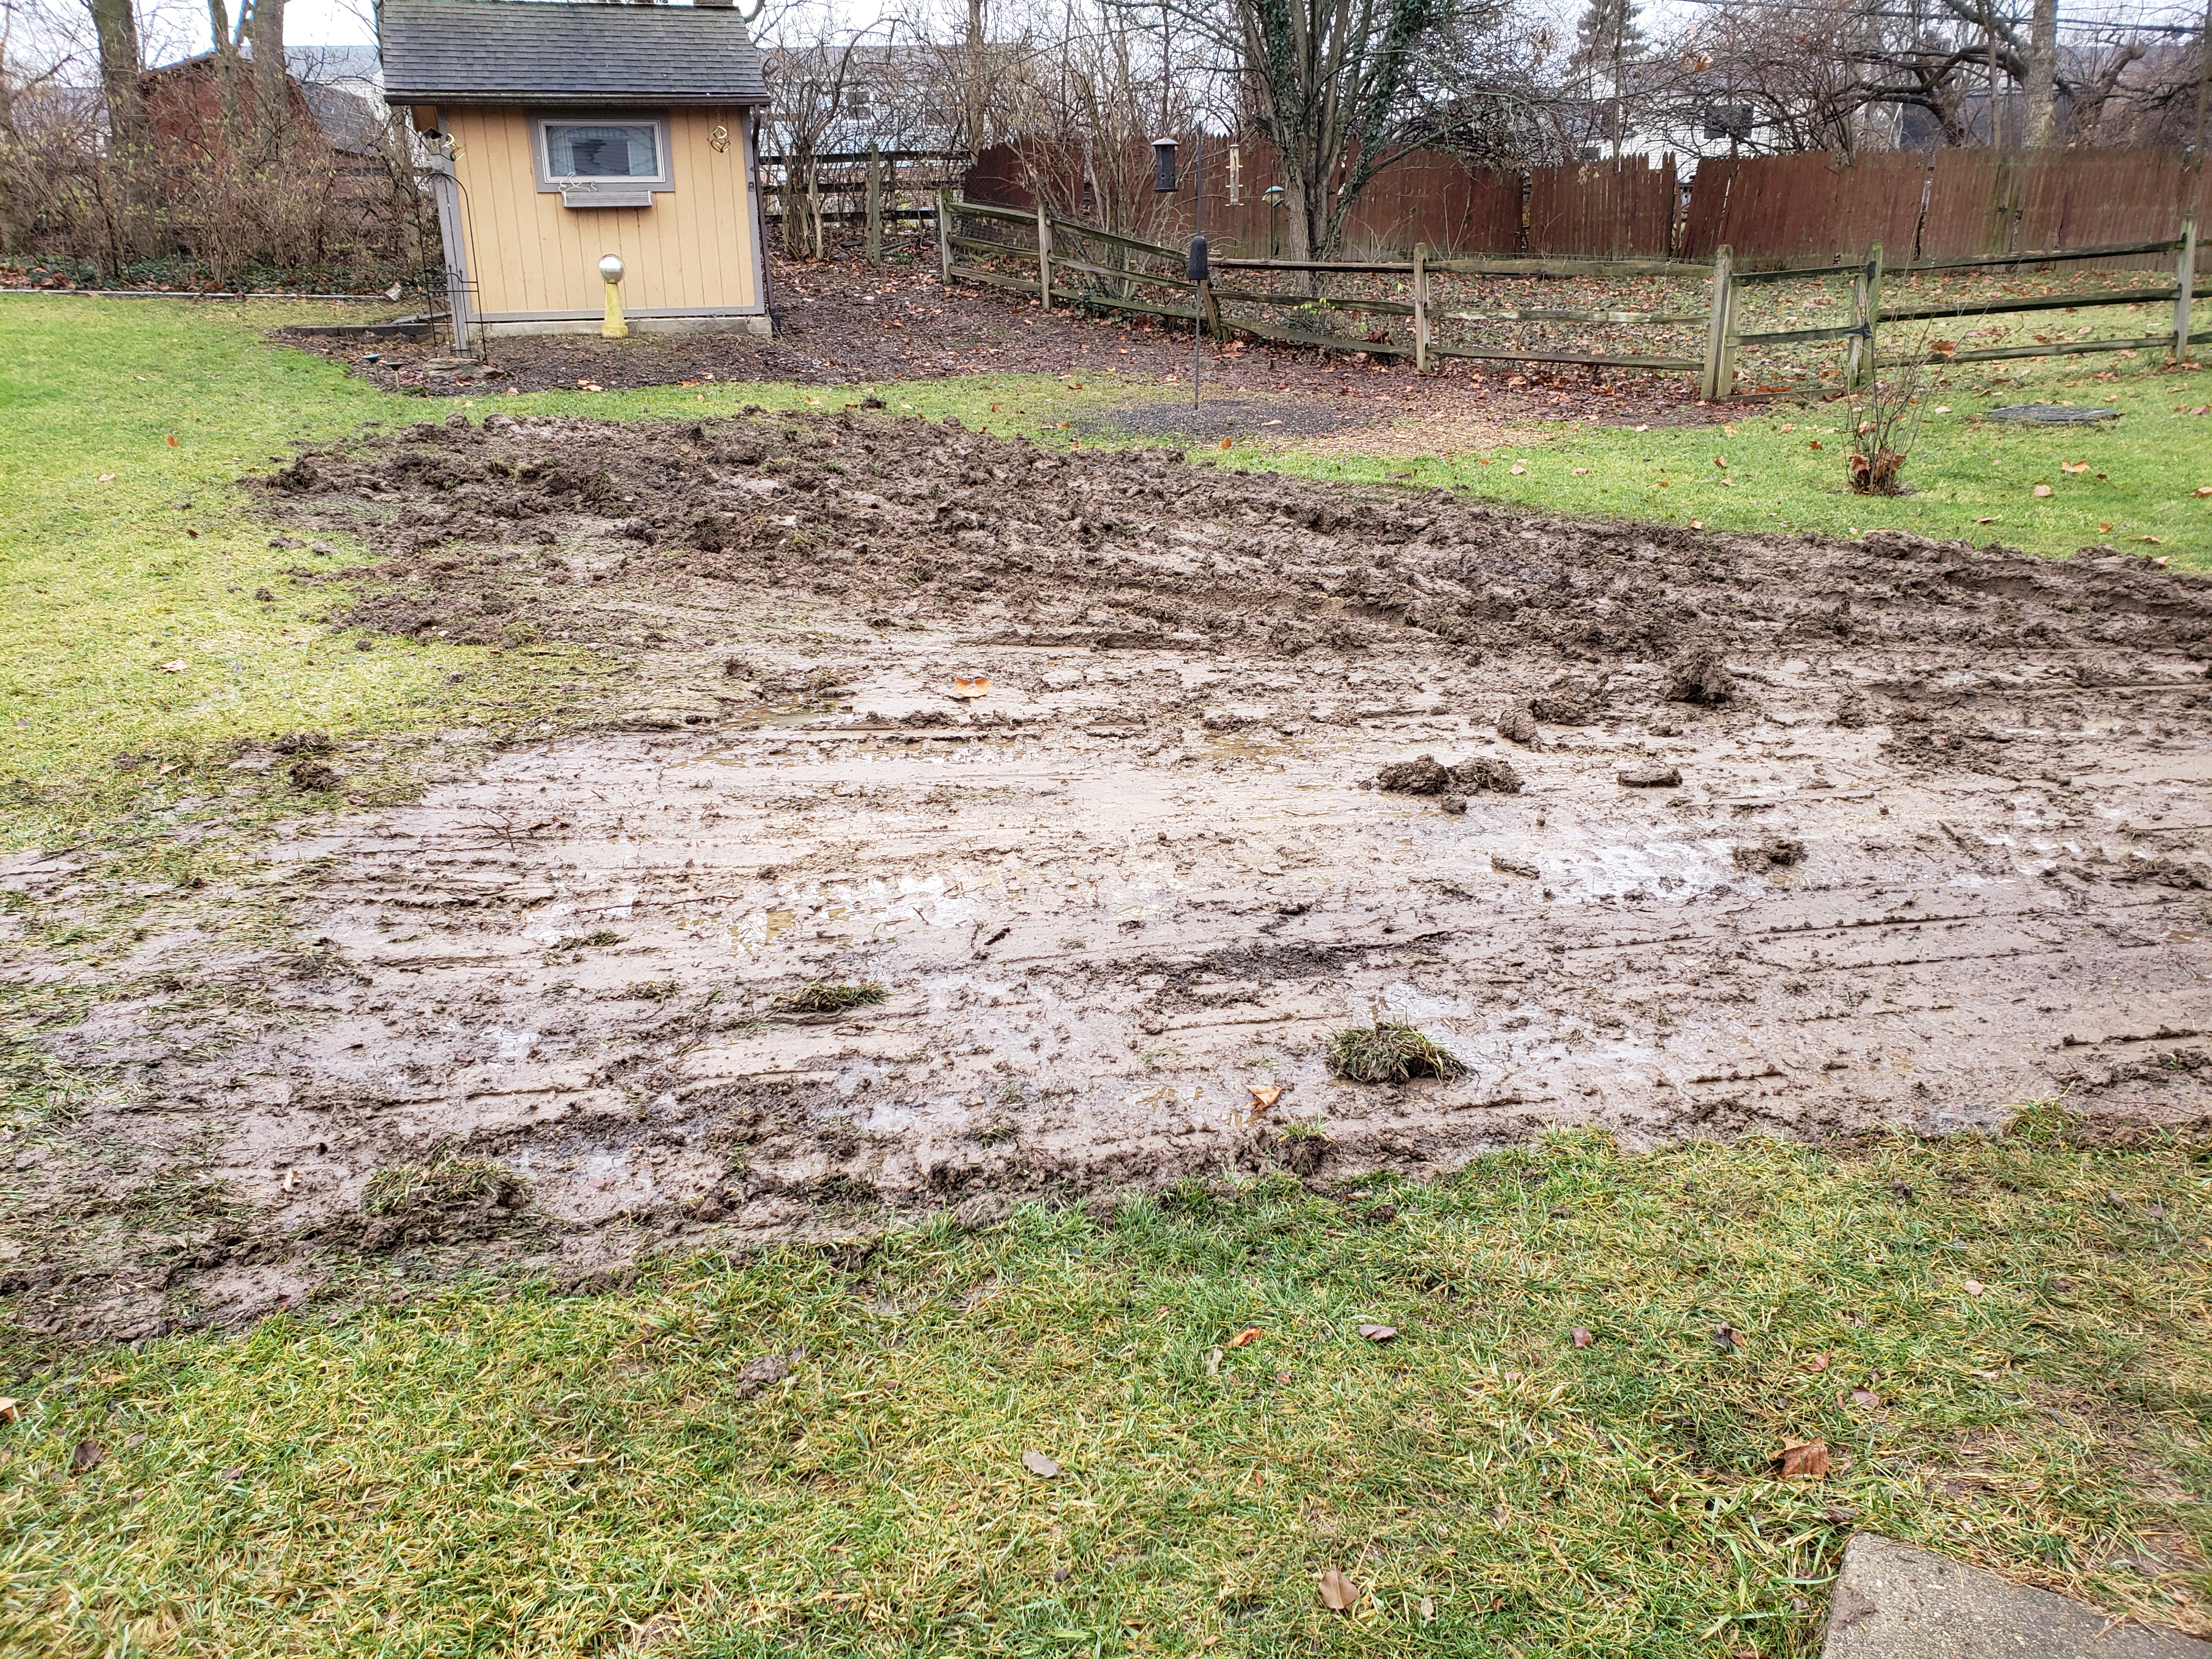
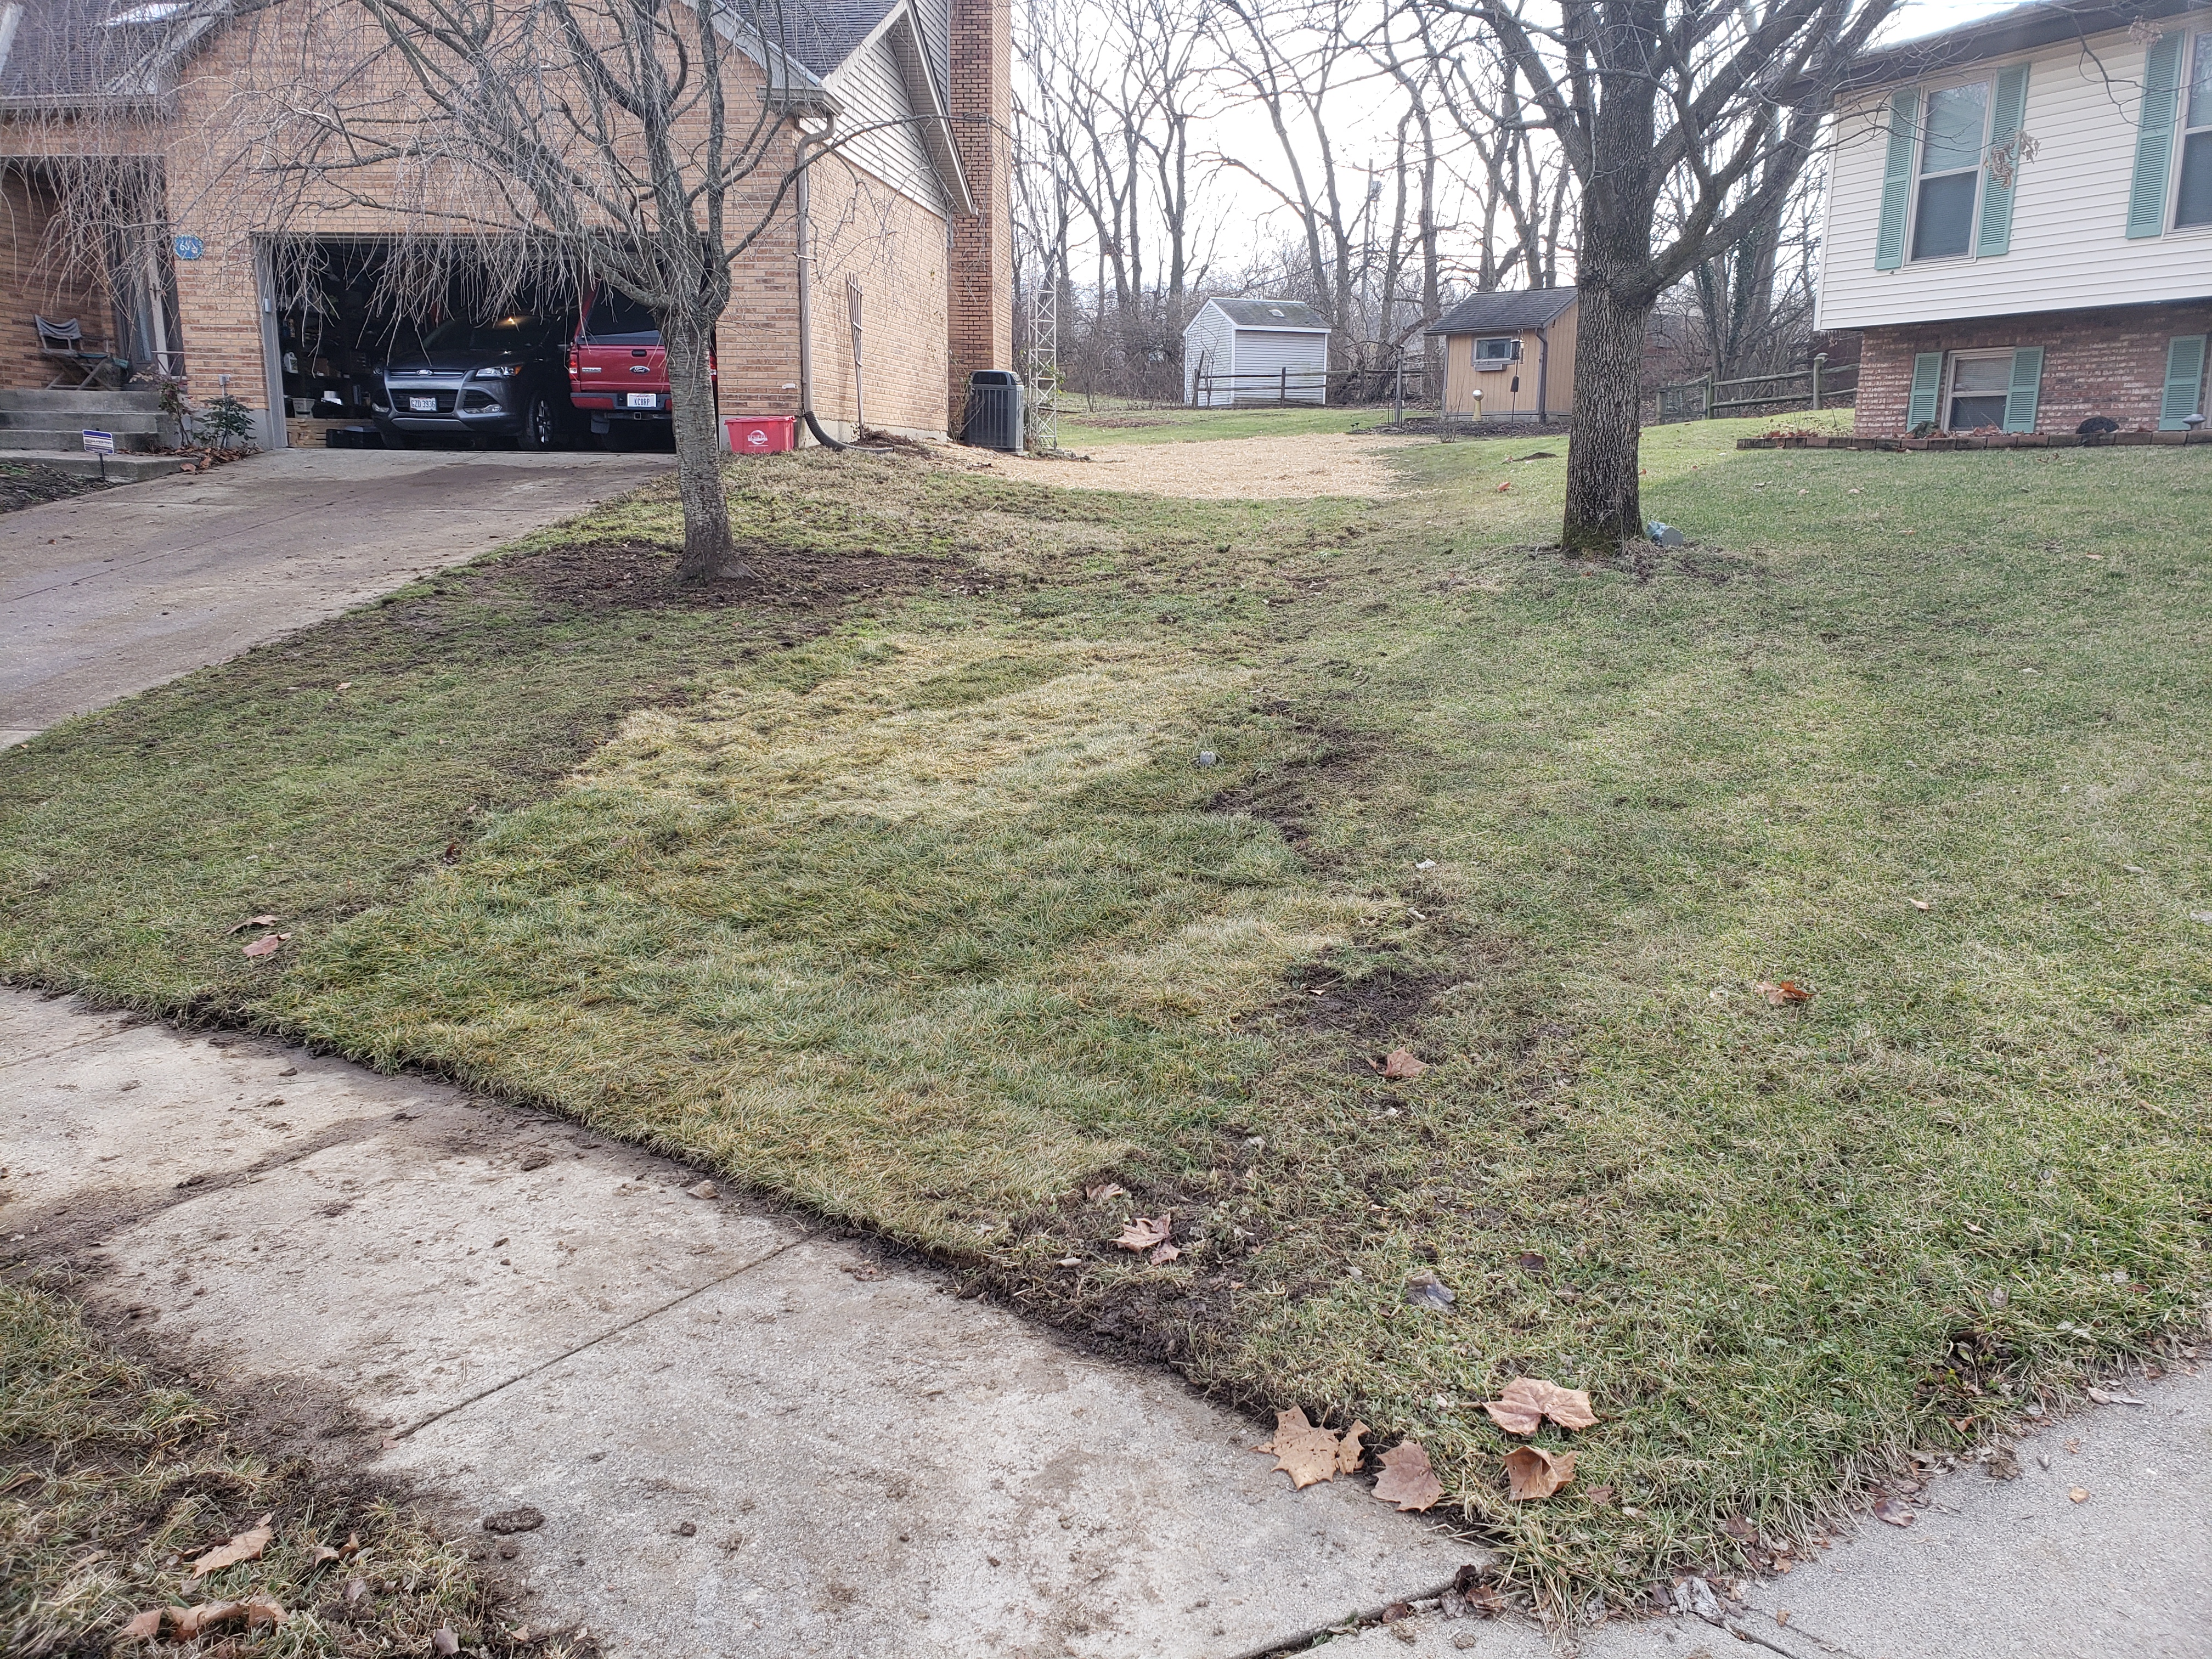
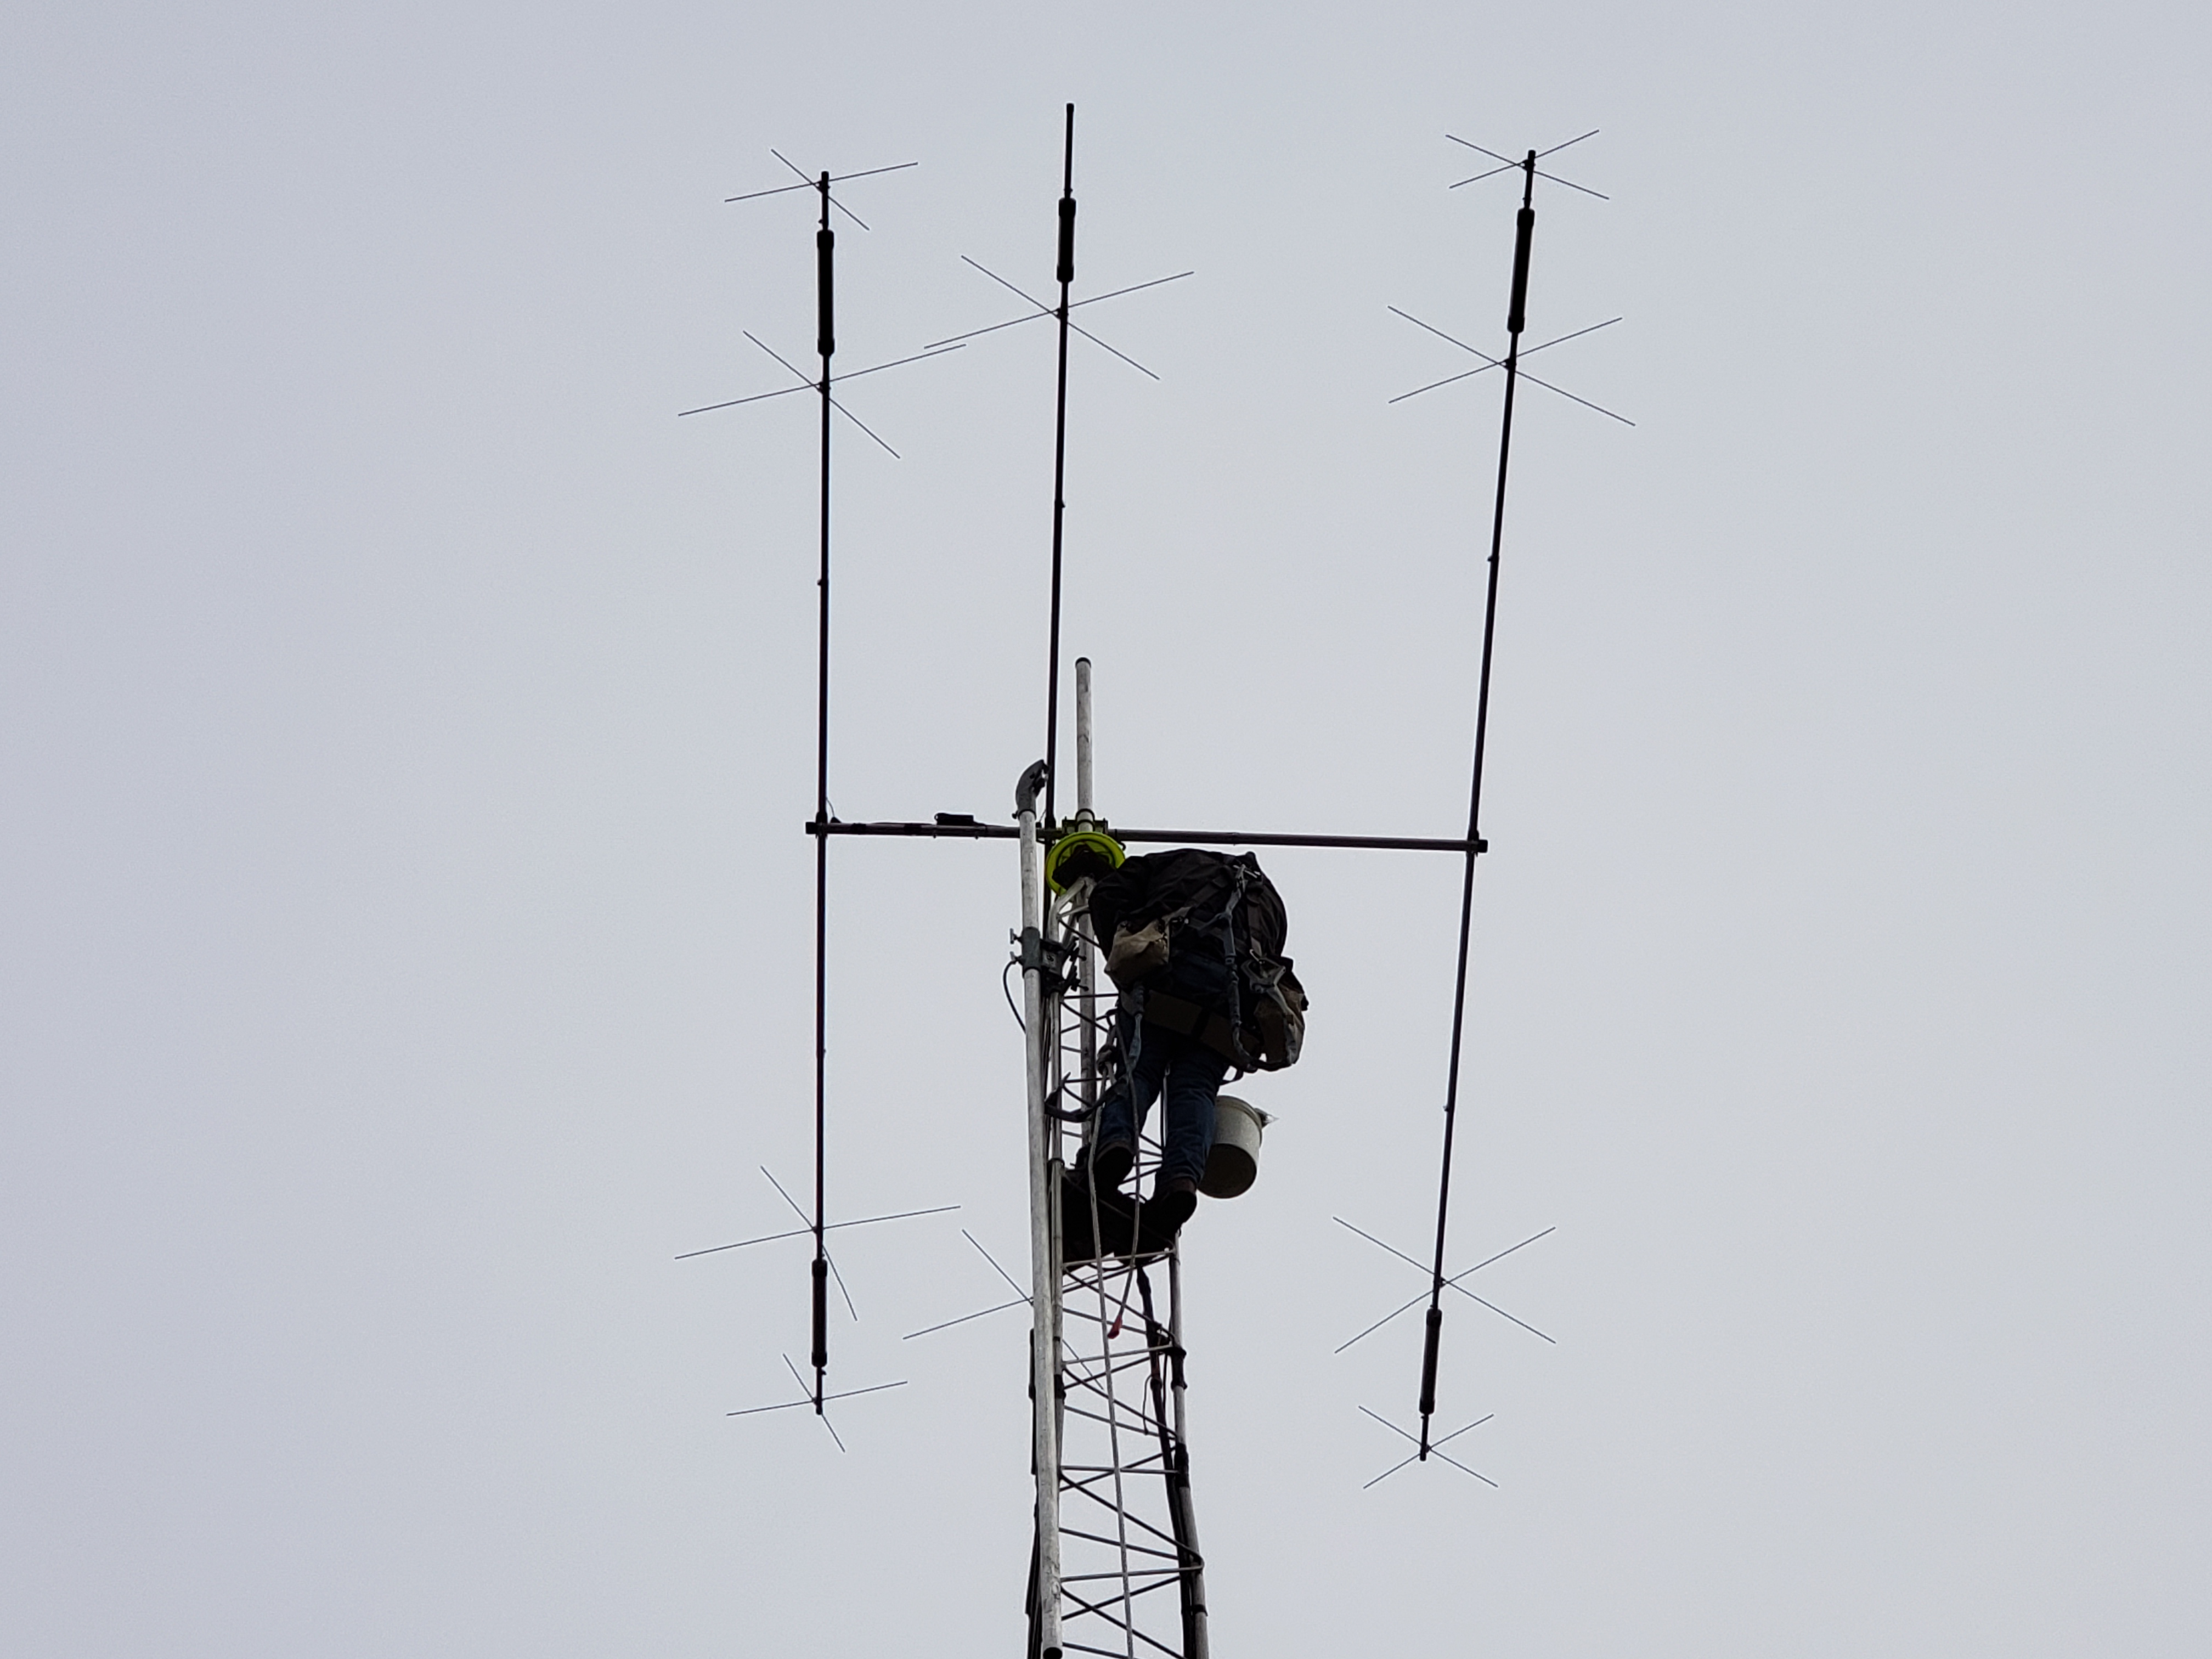
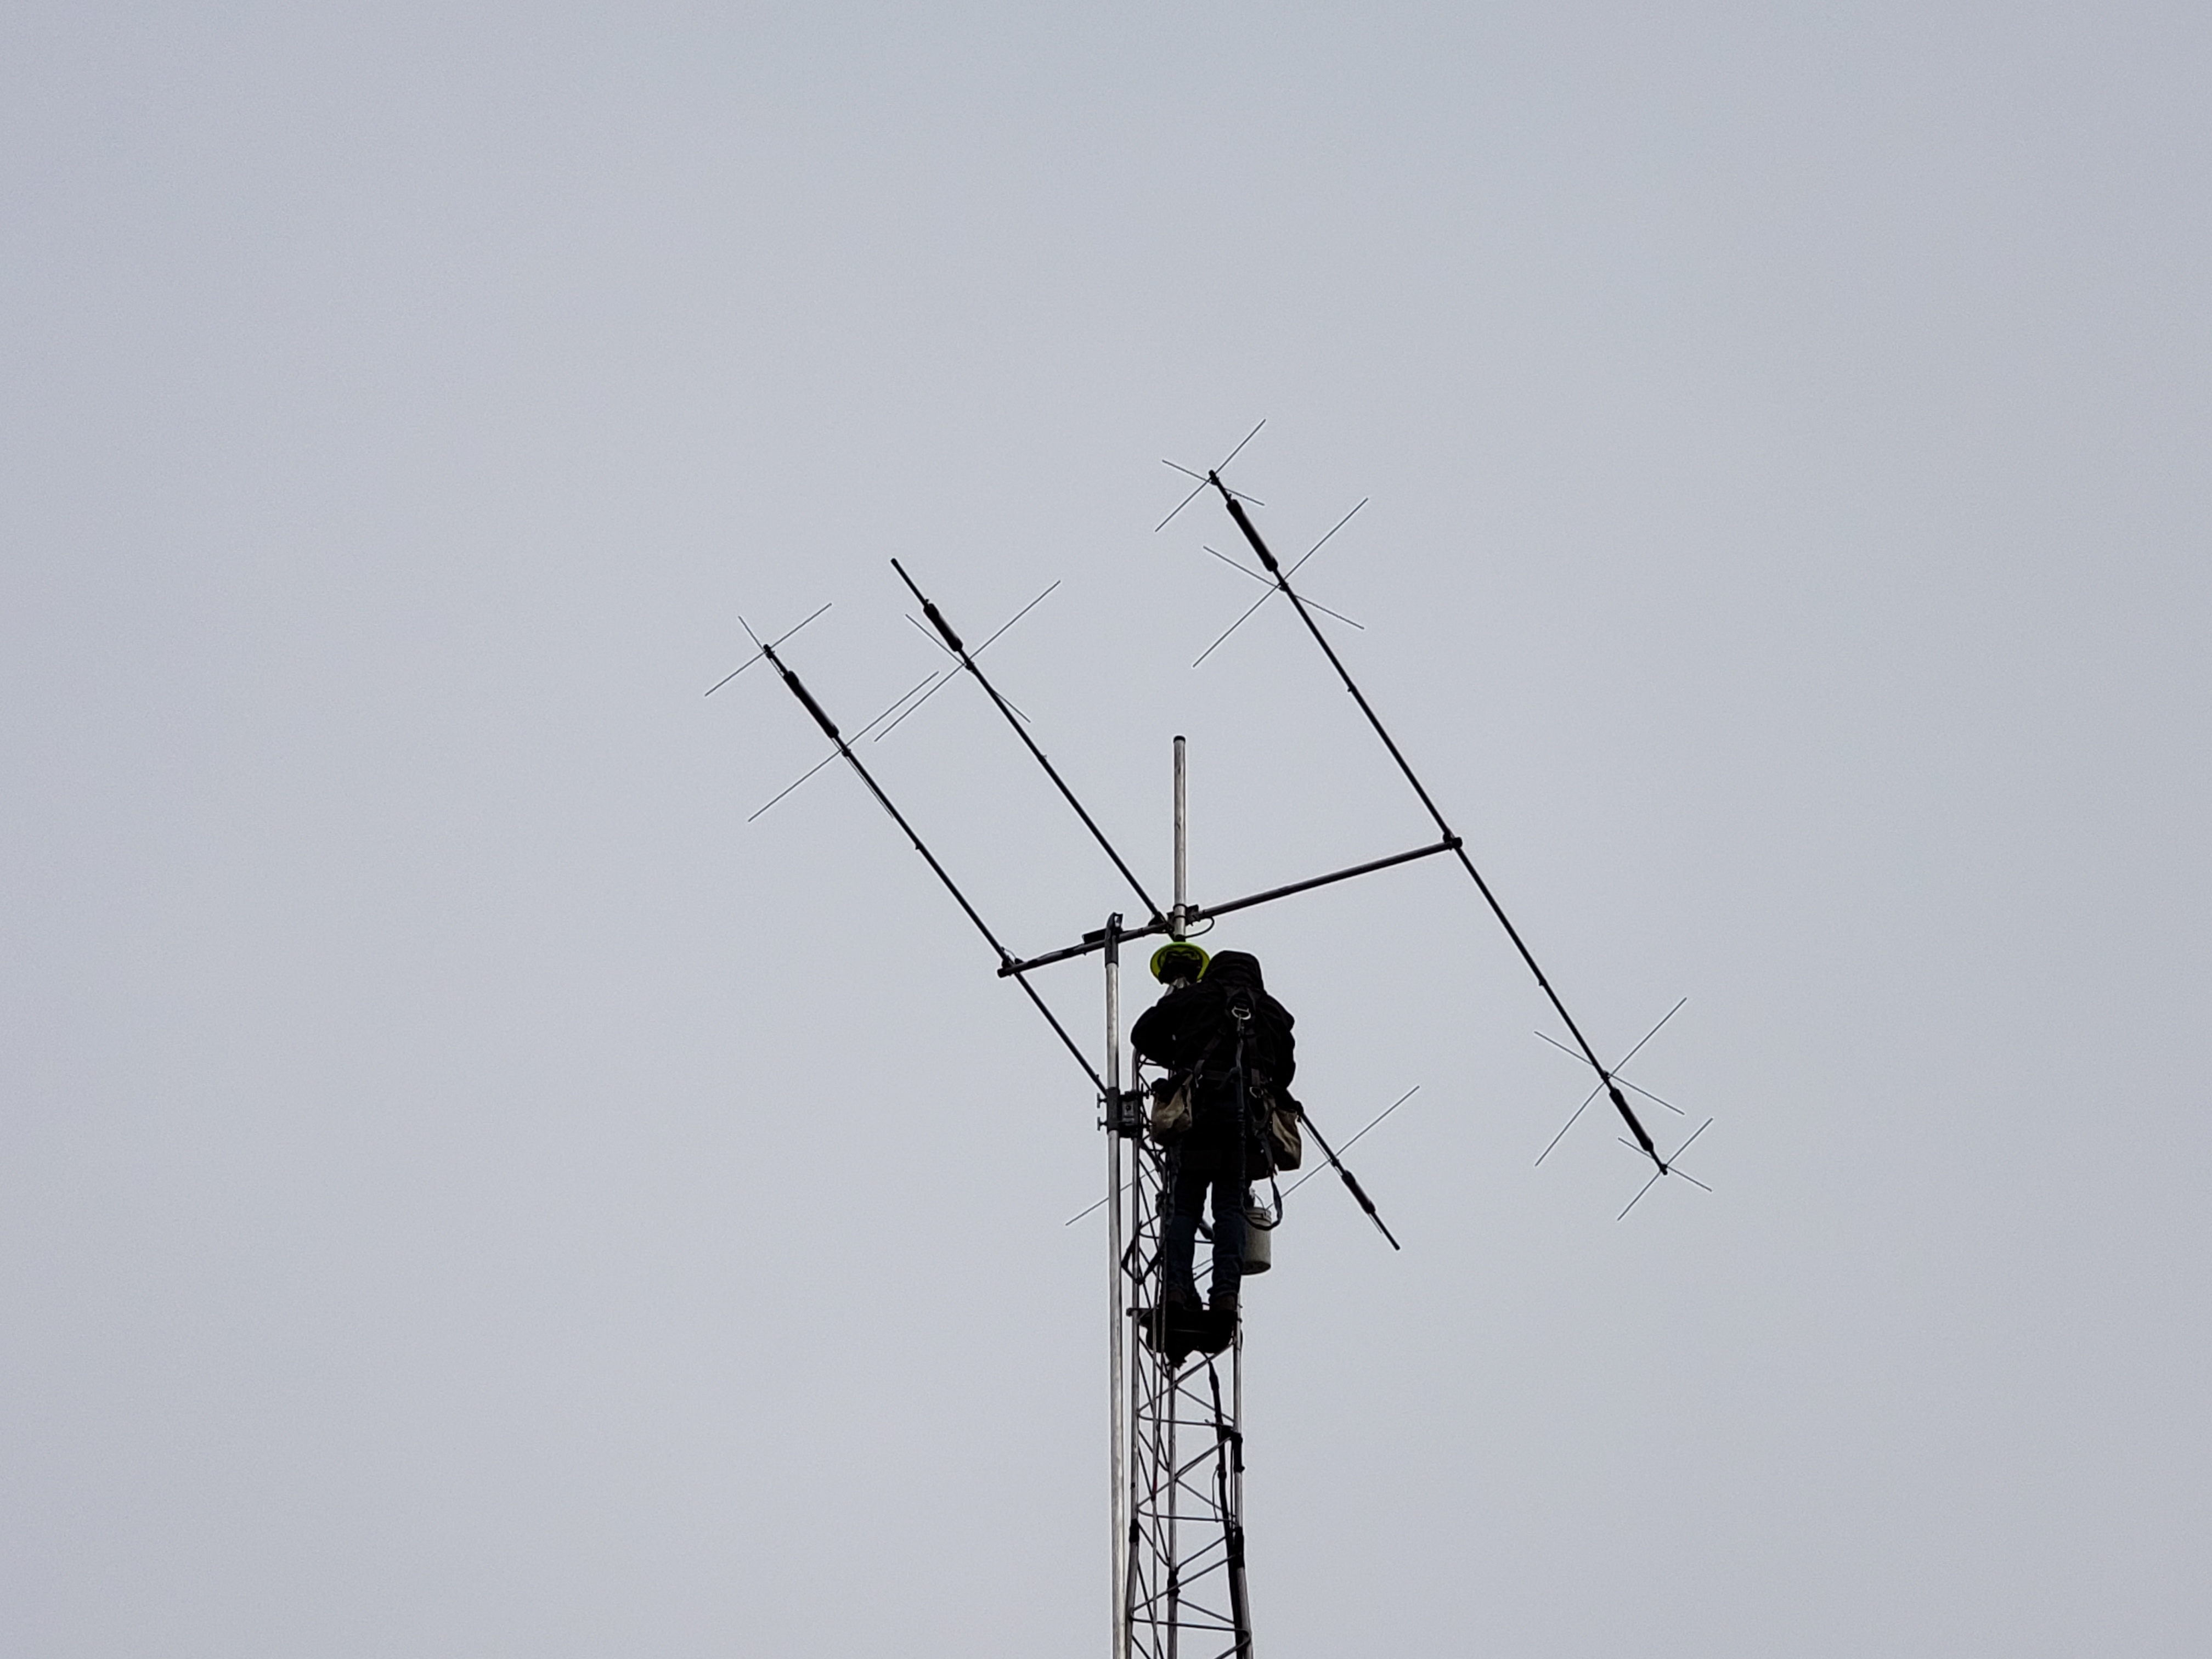
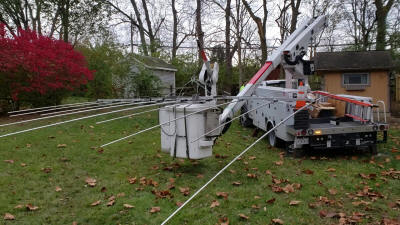
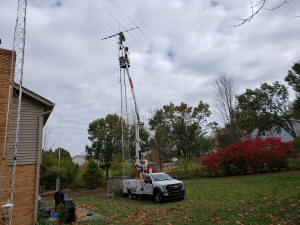
Time to call in the climber and crew and put this antenna where it belongs, 60’ up. My intention was to put the new 6 element 6M antenna above it, Mosley said that would be okay as long as there was 10’ or more of separation, I only had 6’. Plan B, Put the 6M on top of the new 50’ tower I will also be raising and use the MA5B for field day. The tower climber put the gin pole on the opposite side of the tower so when the antenna reached the top he could easily swing it in and lash it to the mast. Everything was rigged and the pulling began but the antenna was not moving much, when I looked up the aluminum gin pole was bowing, it was not able to take the weight. Time to go to plan C, order in a bucket lift. They delivered the bucket lift on Friday November 30th. I drove it into the back yard, the ground was not that hard so the ruts were a little messier but nothing 50 or 60 bags of top soil would not fix. The tower guy is coming Sunday so I had a chance to lower my 40’ tower on Friday, add the extra section and the new 6M antenna I built the day before, in a hurry! You can build it for best SWR in 3 frequency ranges, of course not thinking clearly I built it for 51 – 53 MHz range not the 50 – 51 where I normally operate. I had it all together and back up by late Friday but it was several days later I realized my mistake.
We had a 40 percent chance of rain
Saturday but rain almost always goes around us, not on December 1st,
my birthday, it rained all day, 1.75 inches to be exact. Sunday came, The before during and after
Its getting cold and I need an antenna, the big antenna isn’t going to make it up this year. I did a careful partial disassembly and stored it in my garage till spring, maybe? I decided to put the trusty 25 pound MA5B up for now, the hard-line cost more than the antenna:) The tower guy came over and in about 1 ½ hours it was done, tested and working well. I am set for the winter, 20-10M MA5B and a 6 element 6M tuned to the wrong frequency, fortunately my auto tuner compensates. I spent some time on FT8 and made a 17M contact with Rodriguez, St Helena and French Guiana, I’m good to go. It is a nice day, sitting on my back porch looking up at my effort and something did not look right. I went in and got my binoculars to verify what I feared, the balun was on top of the antenna, the antenna is up side down, all the trap holes are pointing up!!! I called the tower guy but before he could get to me we had 2 all day rains. When he arrived it took less than an hour to flip it over and let any water drain out, but I did not see any. I decided to let it set for a few days, drain and dry out, then it it should be okay. Three days had gone buy and that night I put my analyzer on it, great SWR but I decided to wait until the next day to operate. The following day before hooking it to my tuner I gave it a final SWR check, all SWRs were above 2, nothing was tuning, That night I checked it and the SWR was great, the next day above 2. It has been several weeks and the SWR at night is great and the daytime SWR is horrible. It makes no difference the temperature or if it is cloudy or sunny. I am calling it my vampire antenna since it only works at night. I have not put any power to it for fear of burning up the traps.
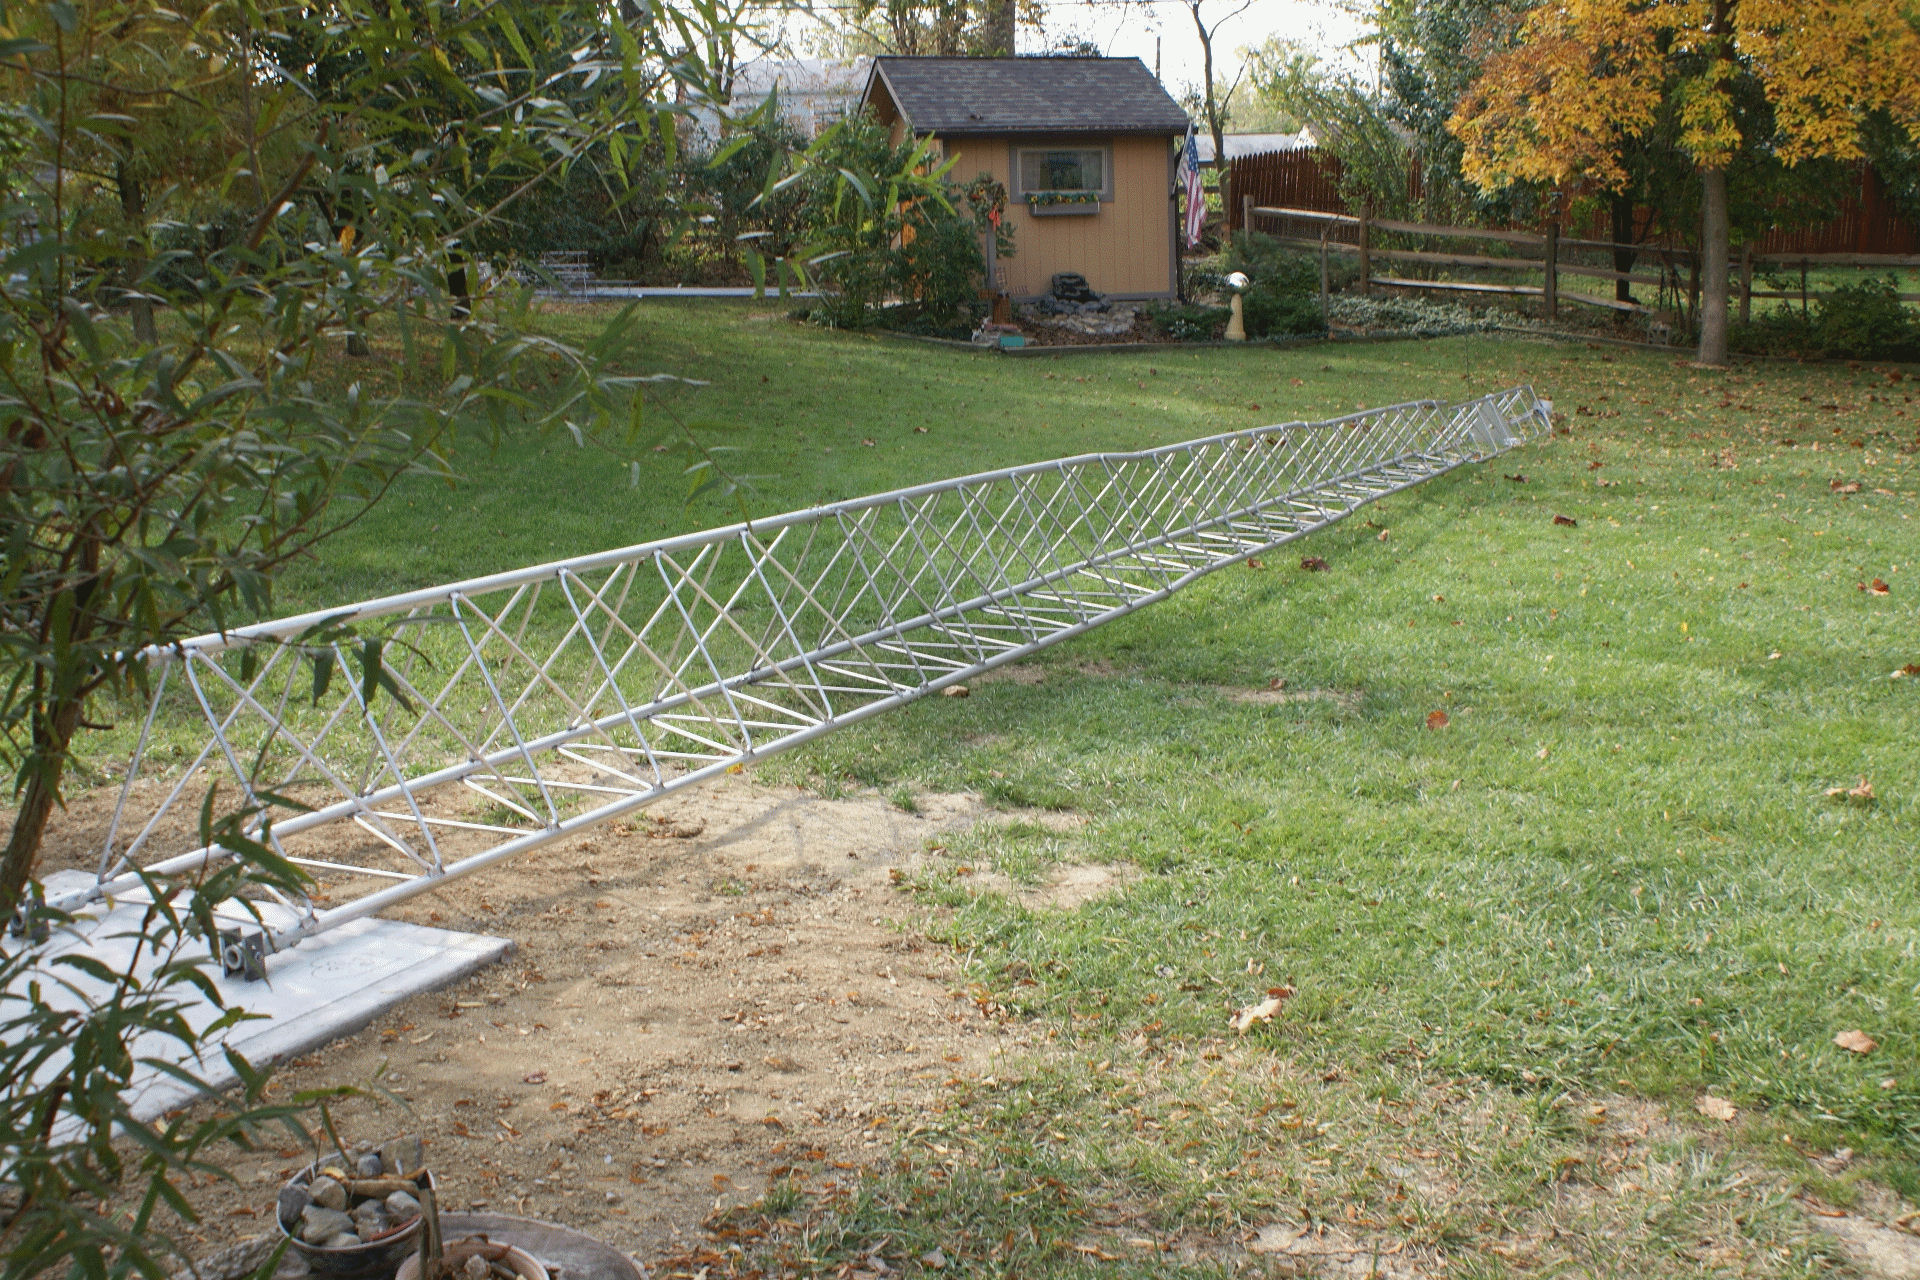
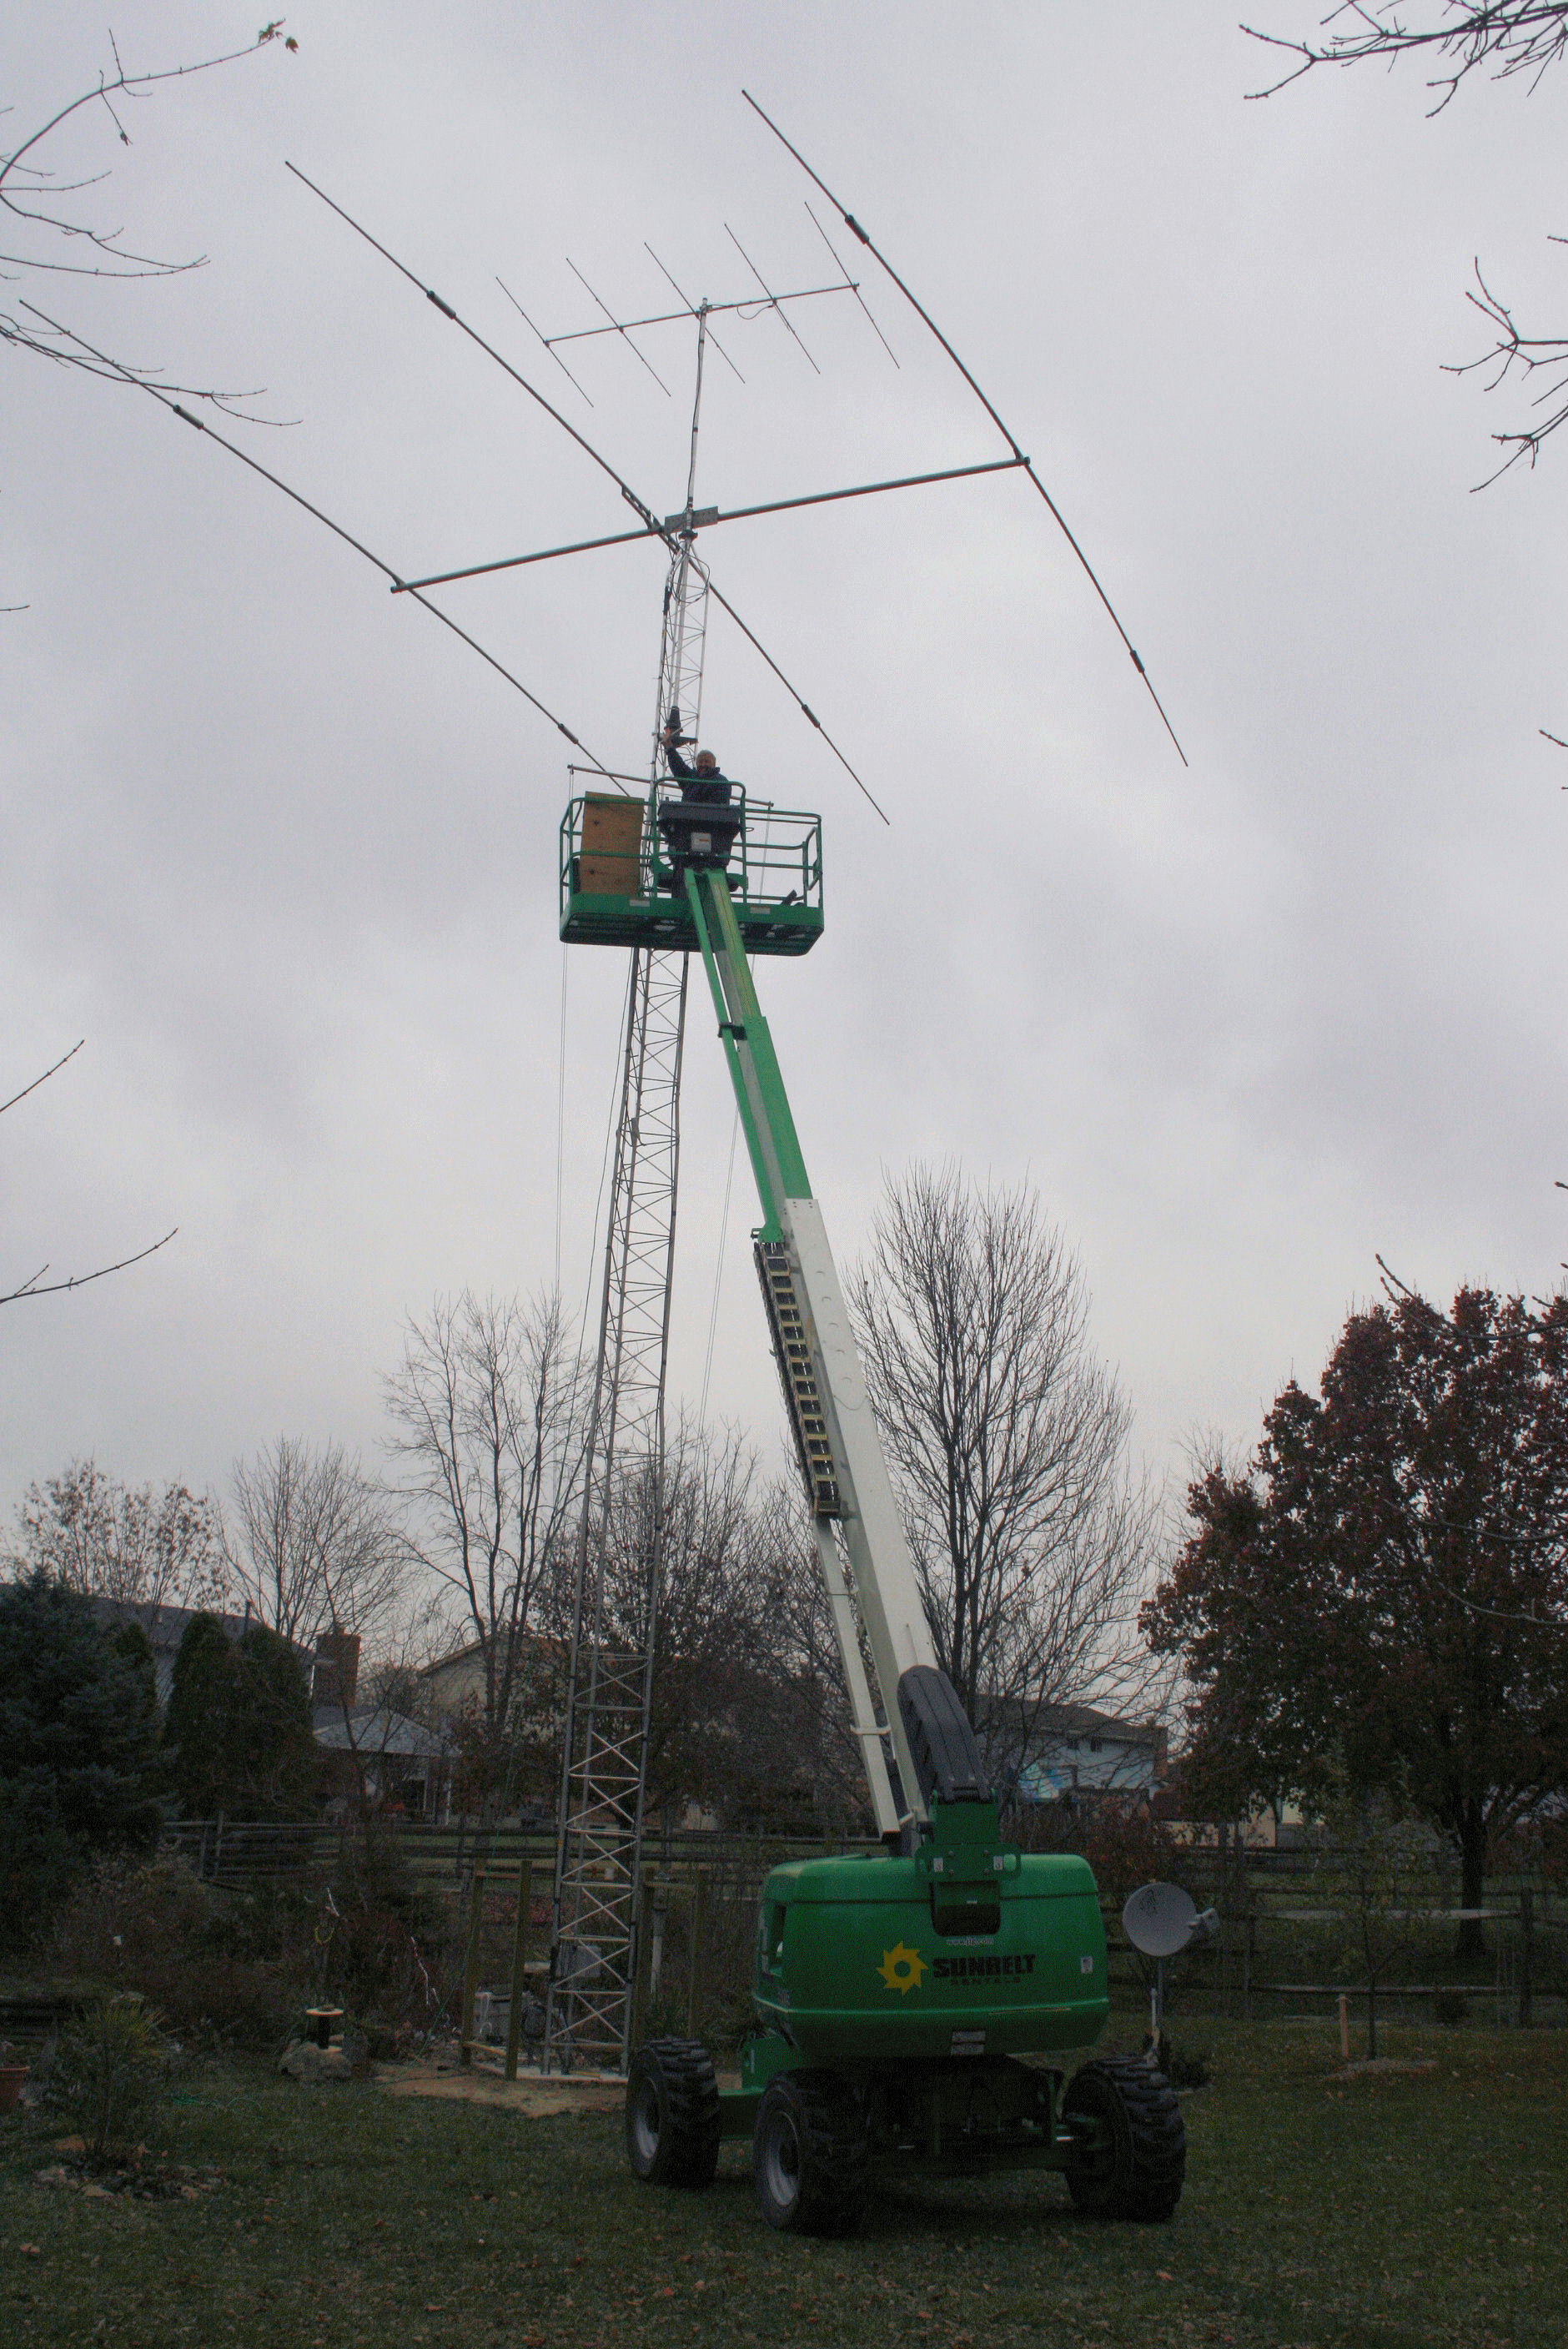
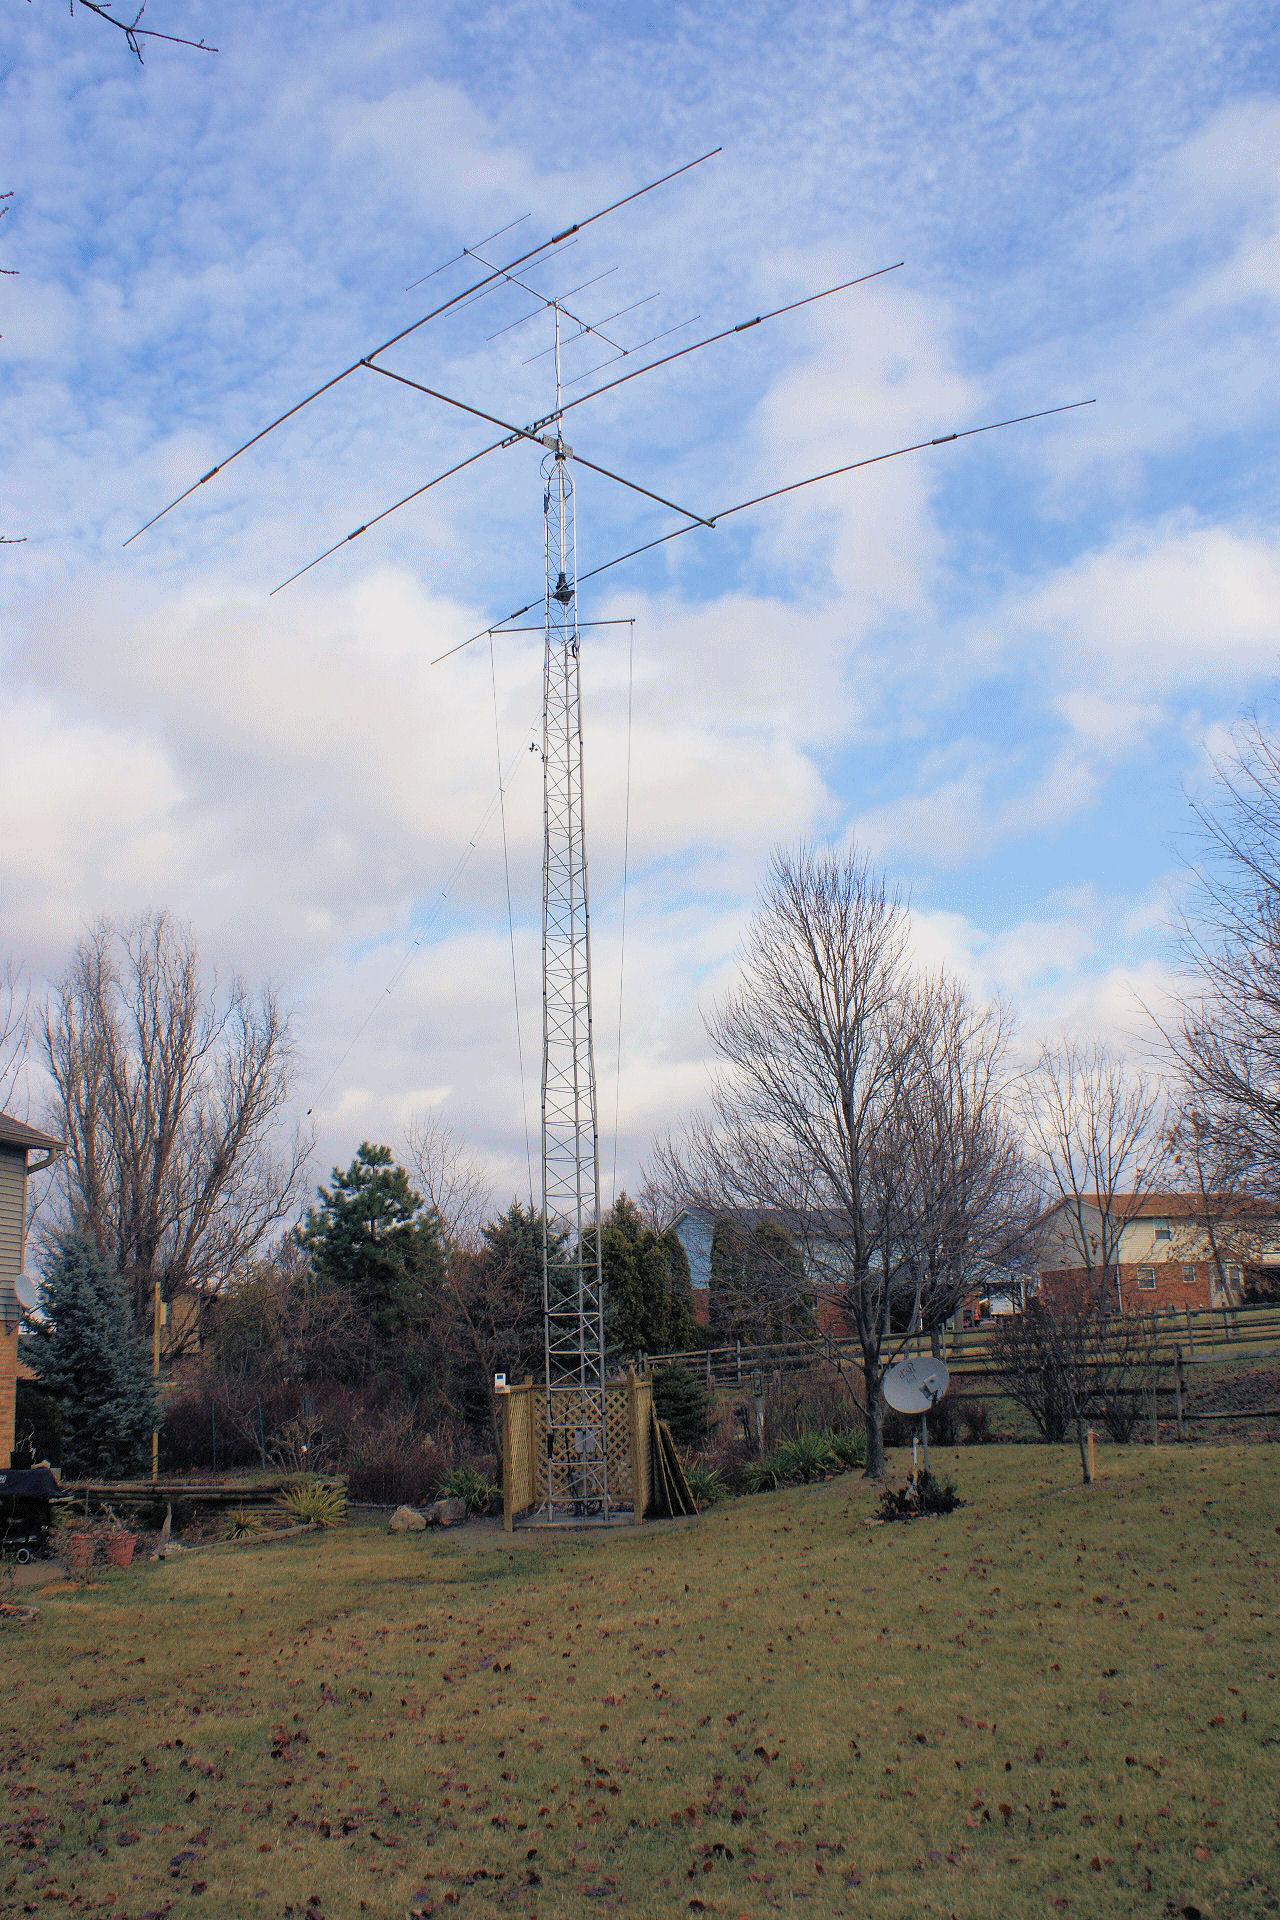
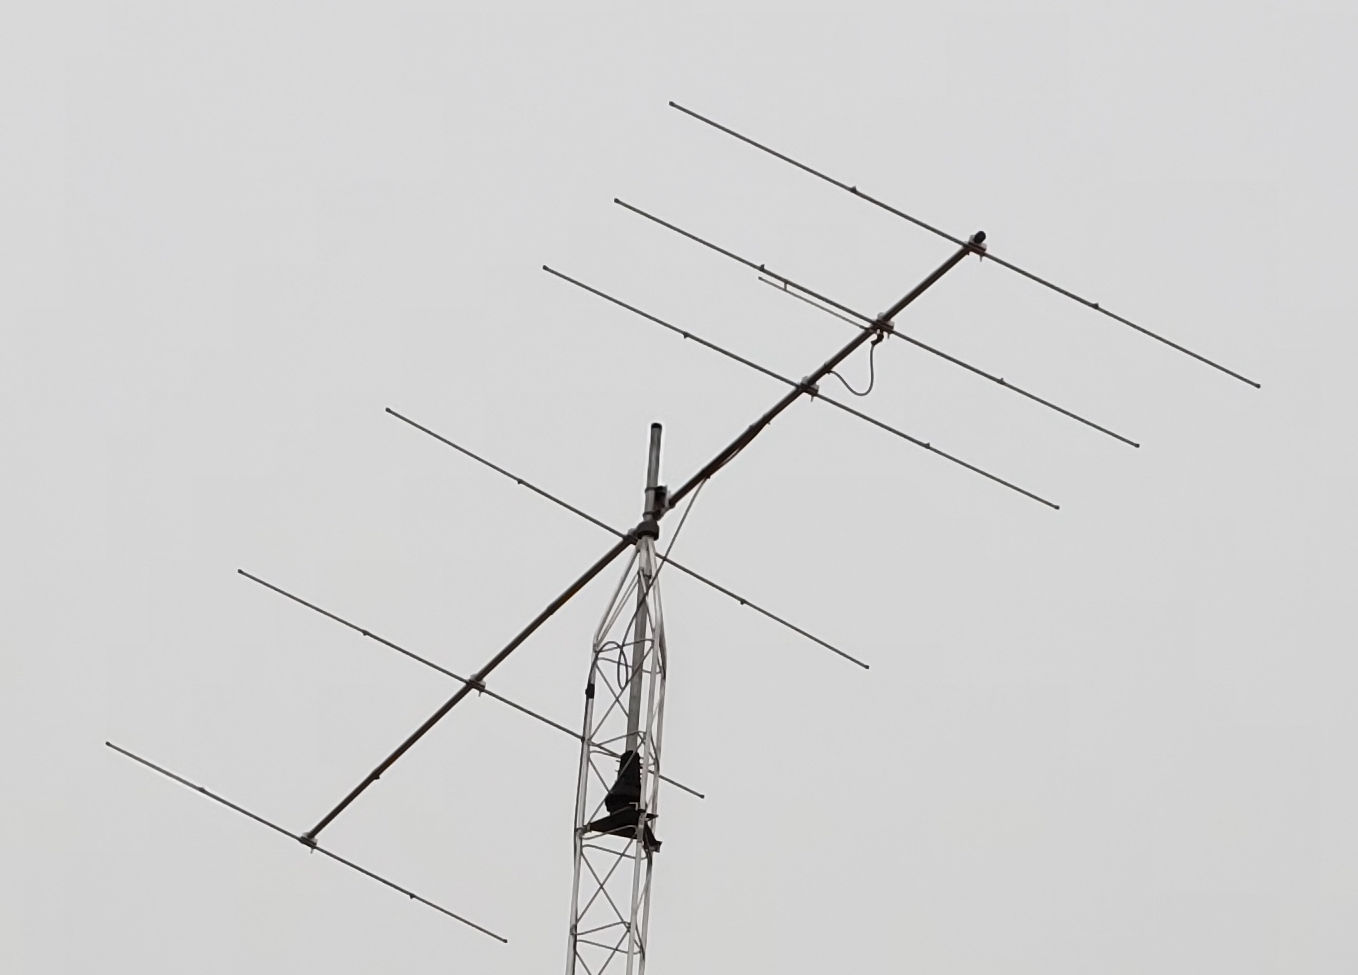
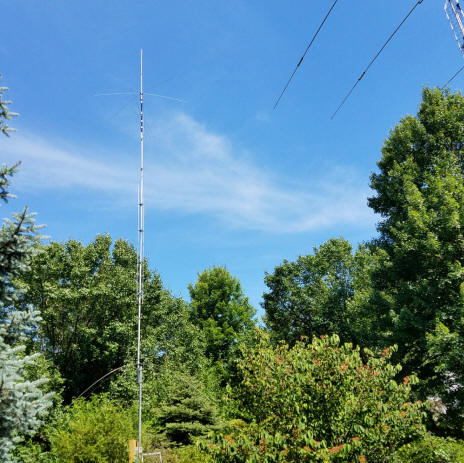
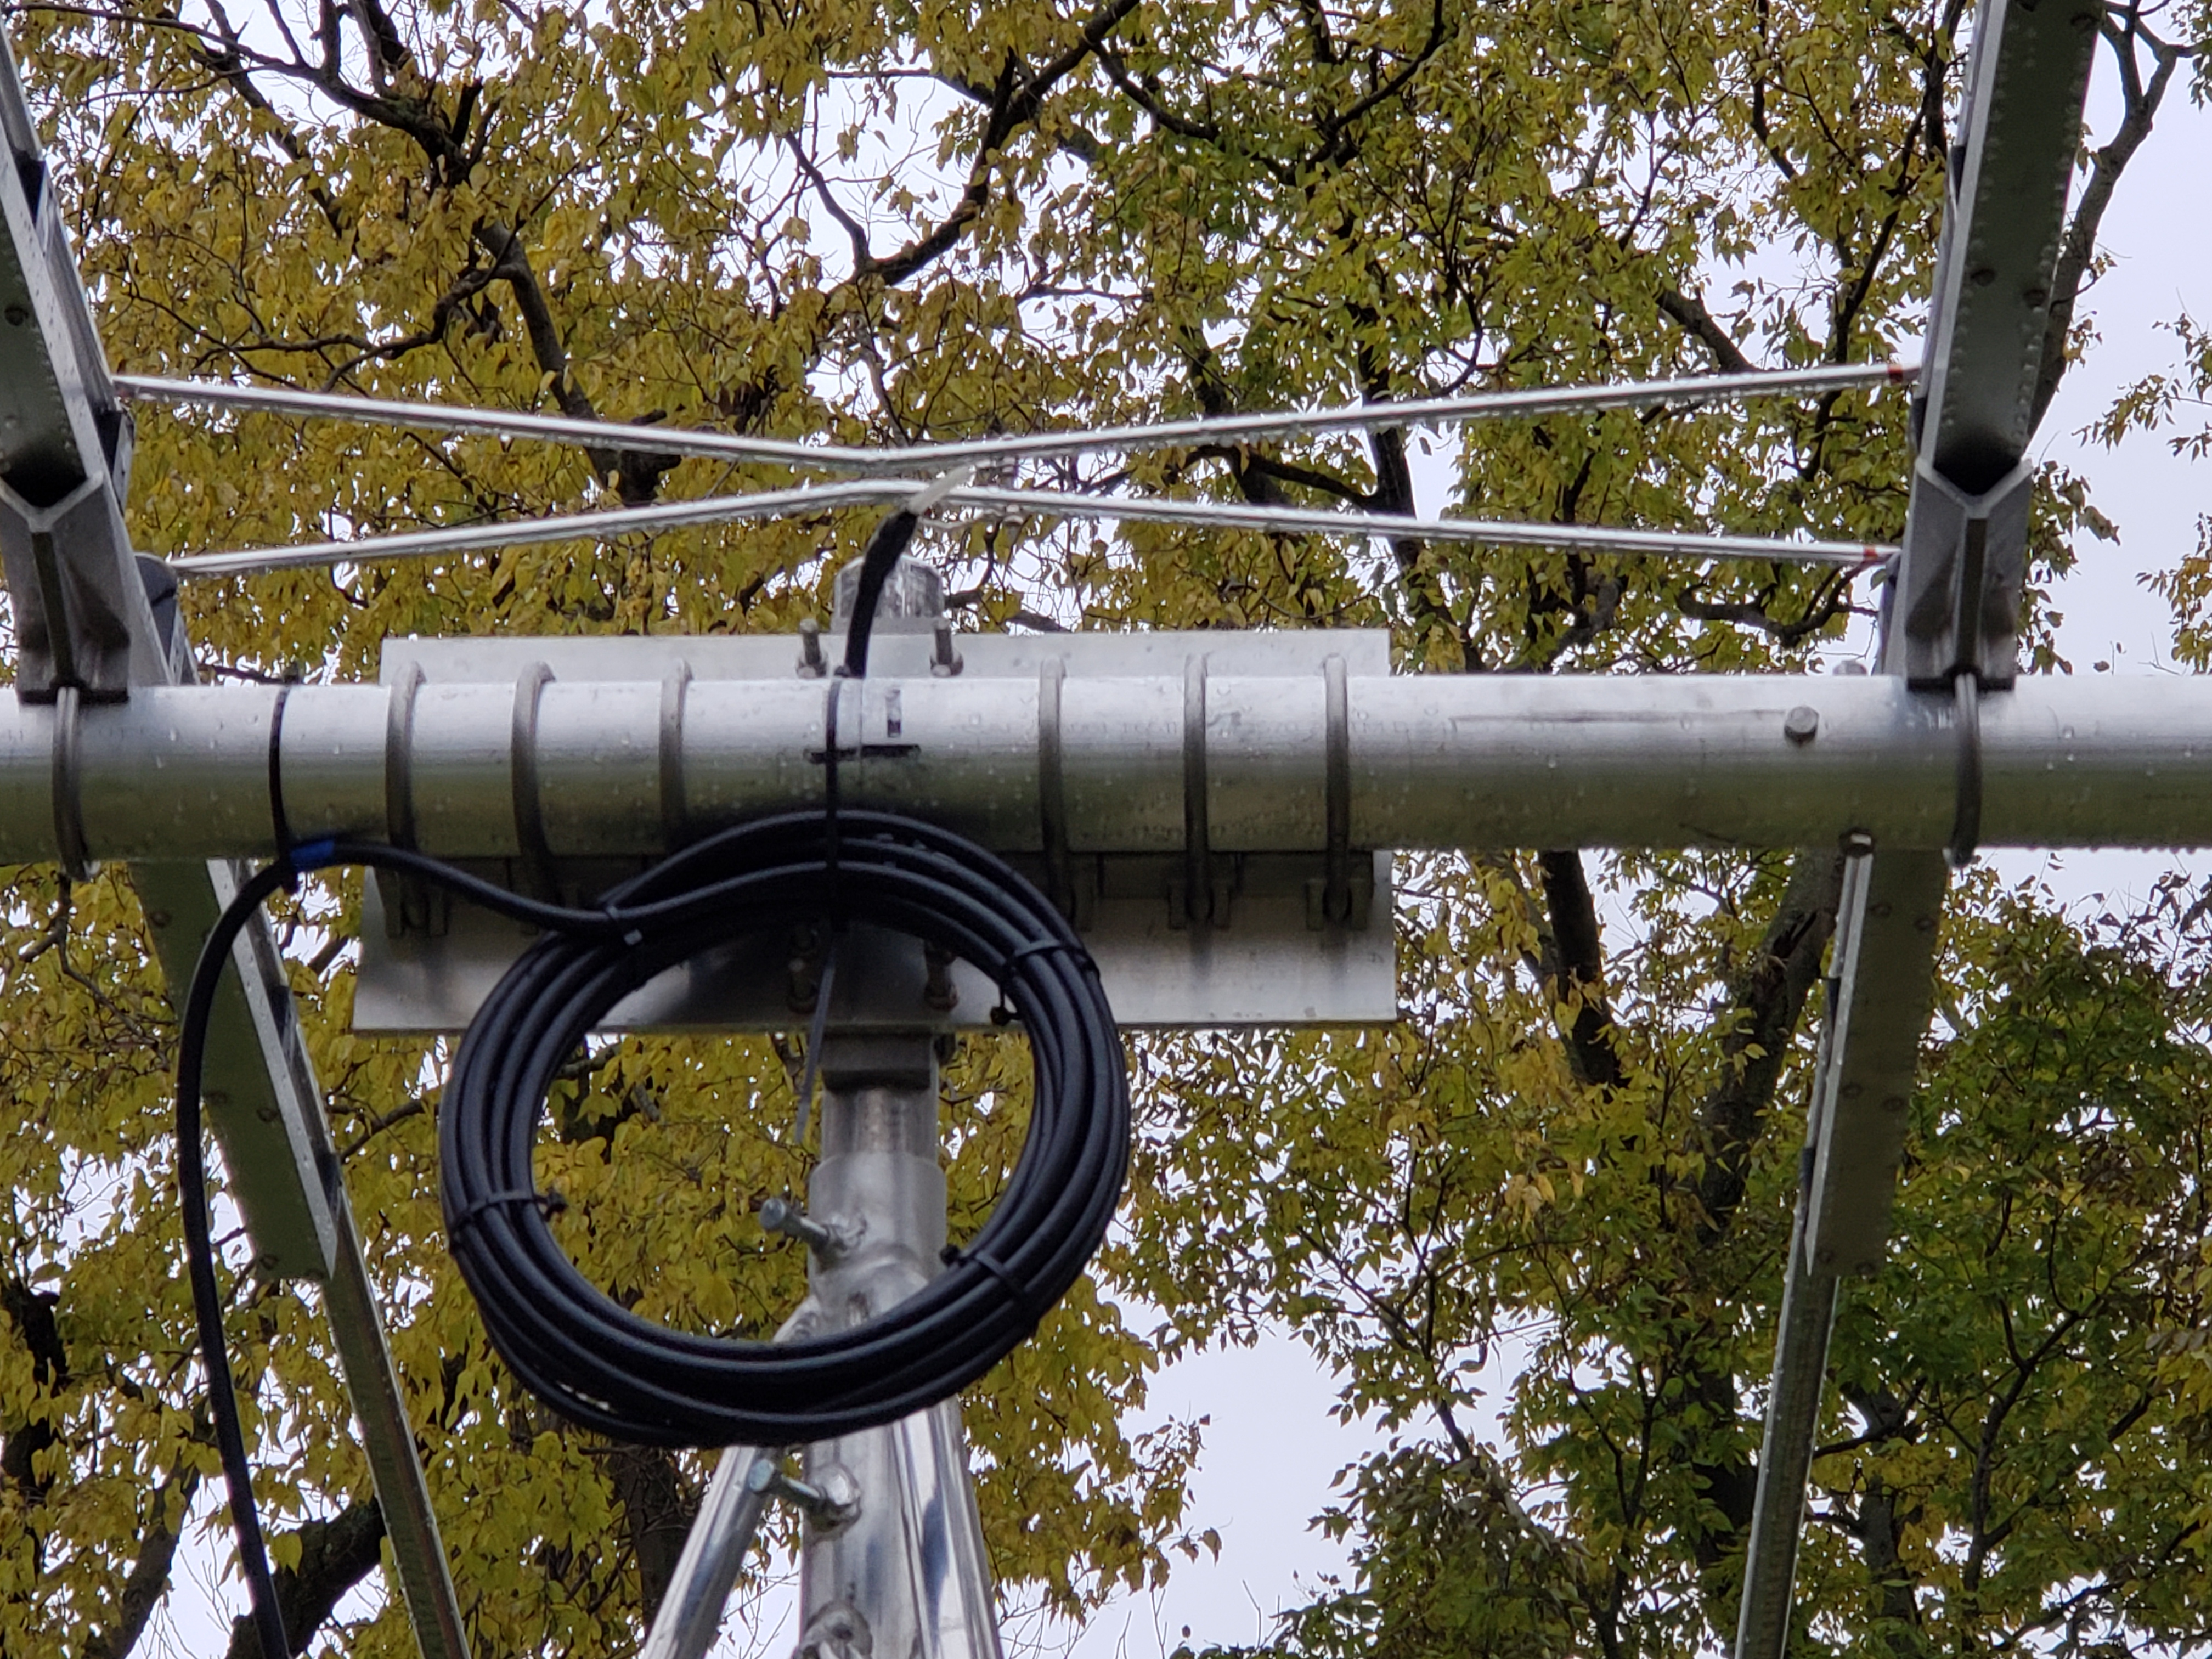
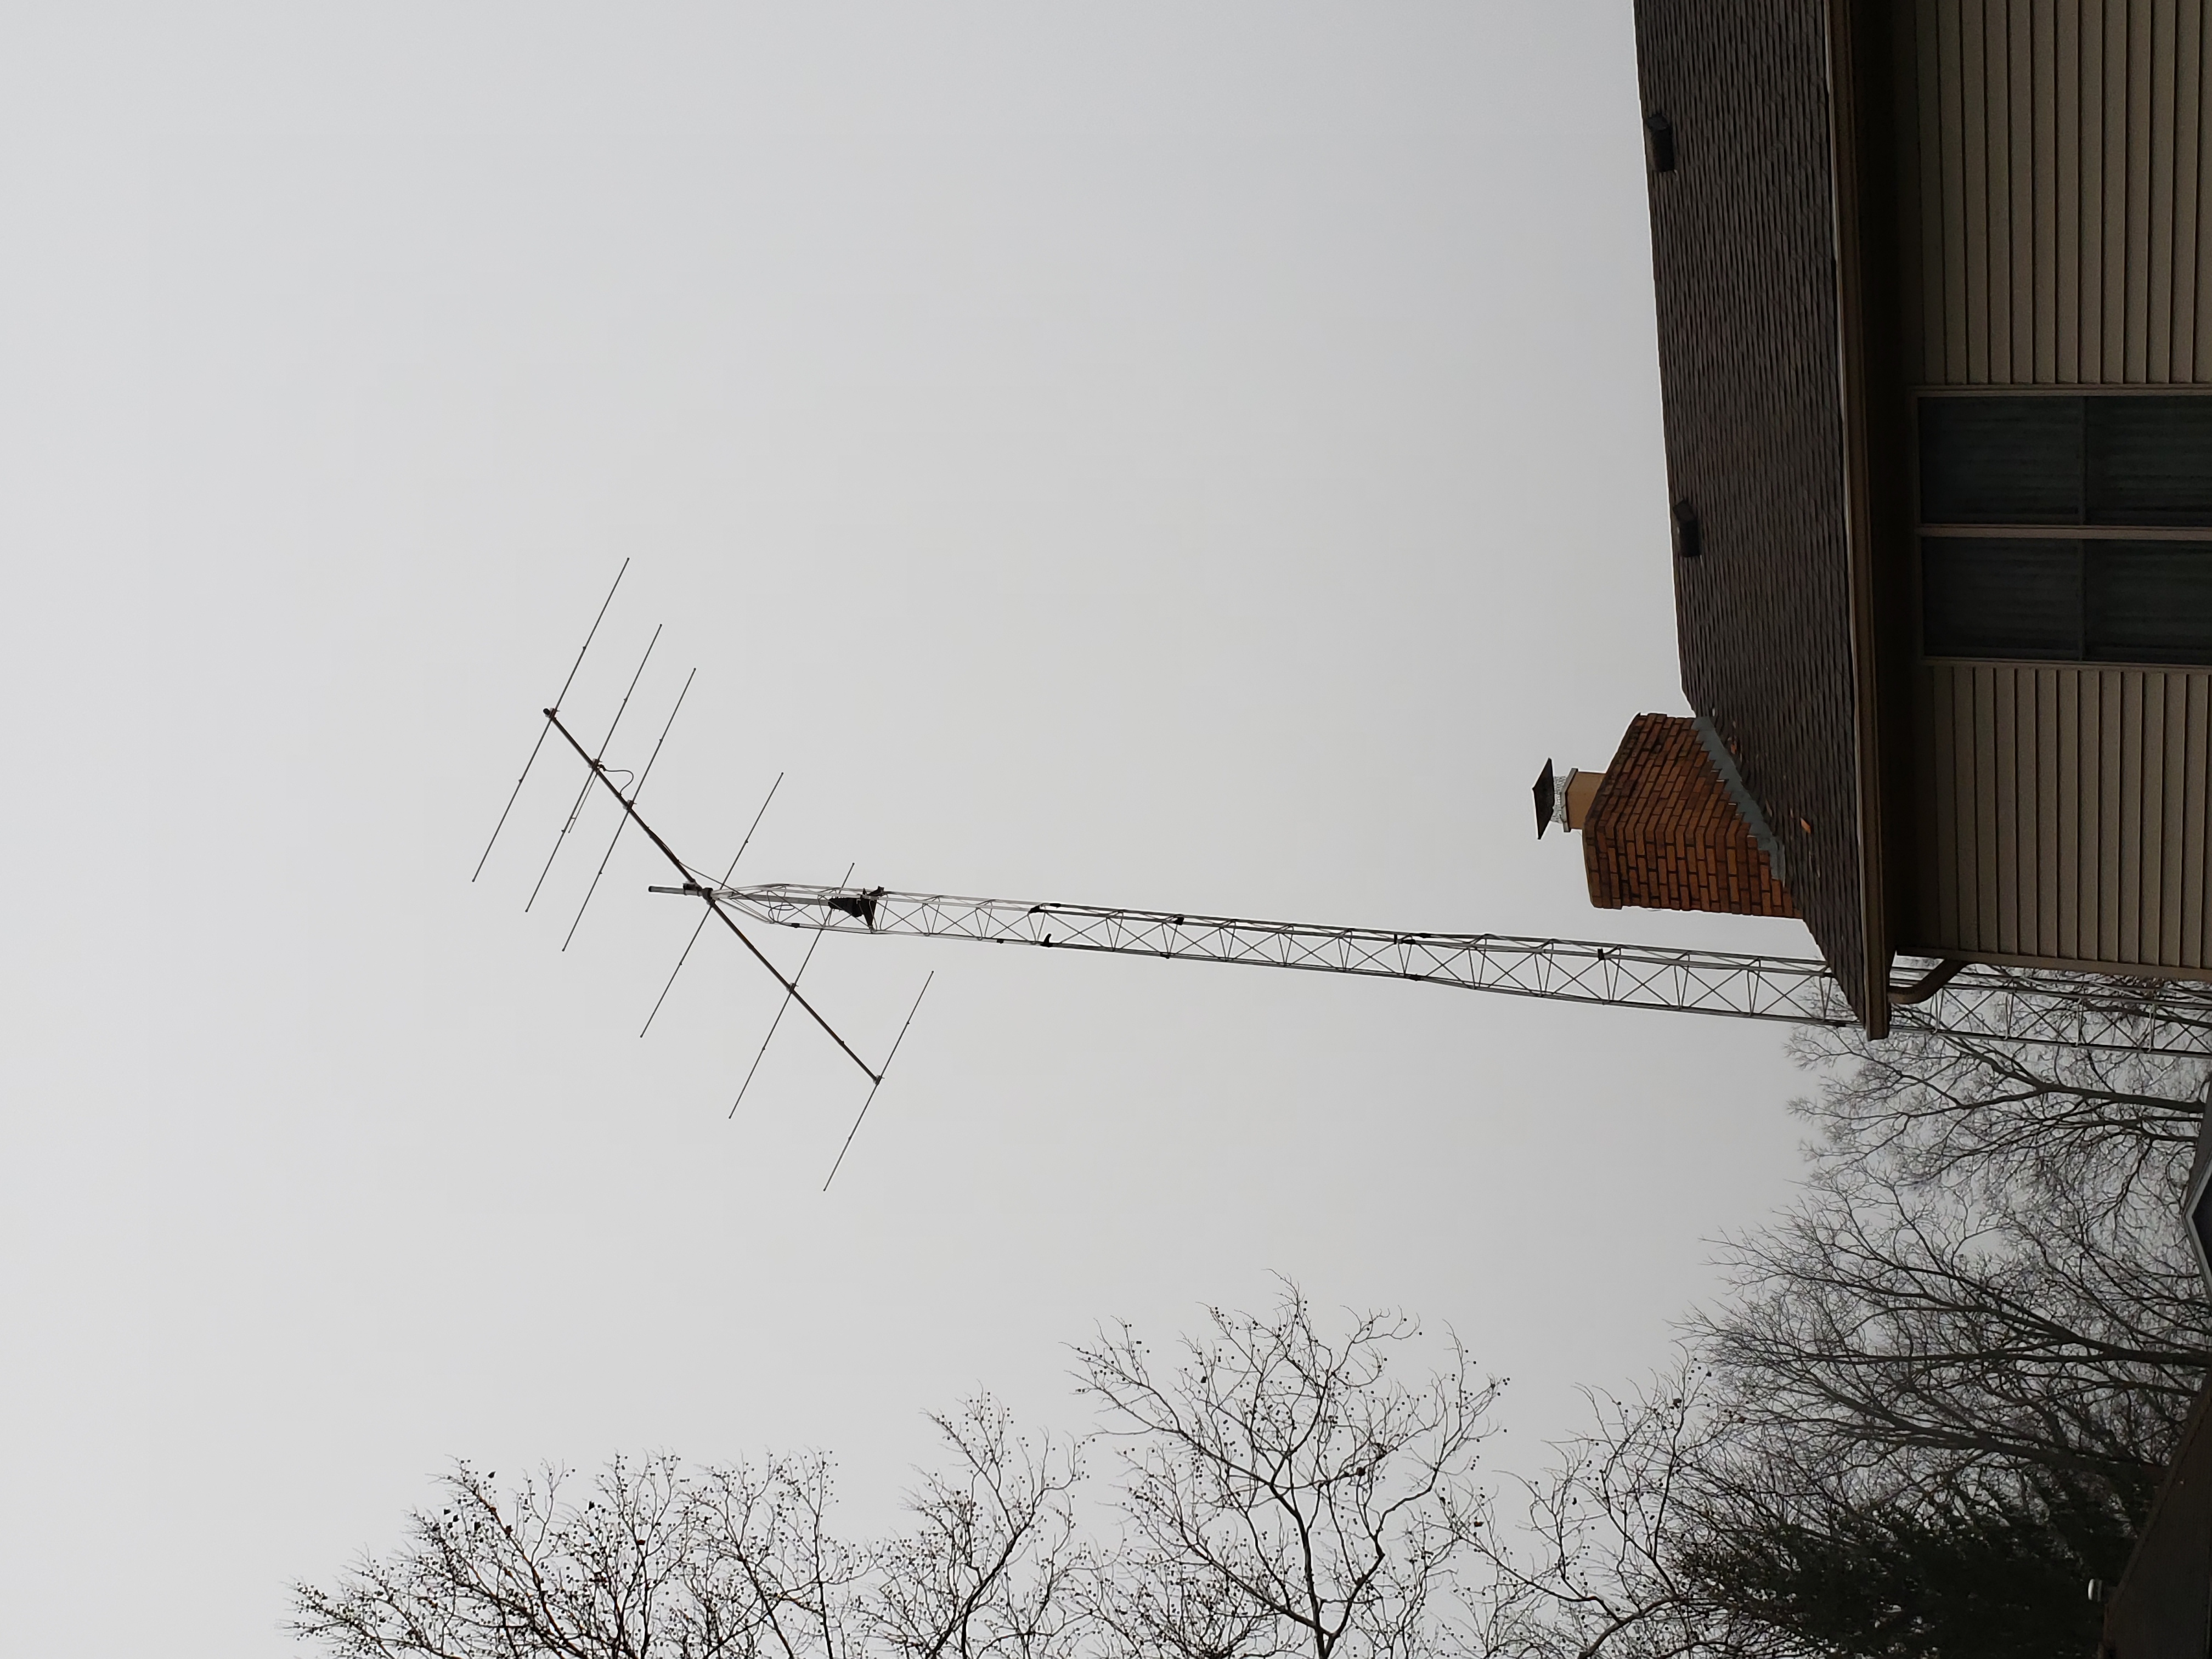
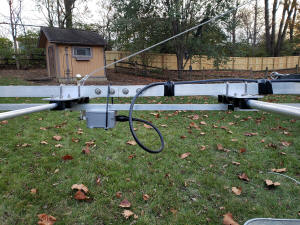
I sold the Mosley Pro 67C3, sad to say and bought an OptiBeam OB9-5 from DX Engineering, a 20 through 10M beam, it weighs 65 pounds. I am going to miss the 40M beam but at the time I did not see any way of getting the big beam to the top. I scheduled the install for a Saturday and my tower climber said he had a truck with a bucket lift on it that would get up to 50', 10' short of the top. The ground was hard so I said lets try it. When I assembled the beam I discovered early on that the spacing at the mast between elements was on 23", the first 3 sections of my tower are 30". It is not until you get to the 50' section that the antenna will slide in. The beam is an excellent piece of engineering but I do have a couple small complaints. The 10KW balun is out of reach so all coax had to be calculated in advance, also maintenance will be a problem. The second issue is how they mount it, with a tie wrap. The second picture shows how someone else did it but I found out too late to build a mount similar to it.
When you consider the quality of the rest of the antenna, this would have been the finishing touch, instead they use a cable tie to secure it! I was sent the photo too late, by DXEngineering, to fabricate the setup in the right photo above. It probably would be less than $20, finding the rectangular U-bolt would have been the biggest problem.
The above shows the antenna and the quality, no chance of the elements getting out of alignment.
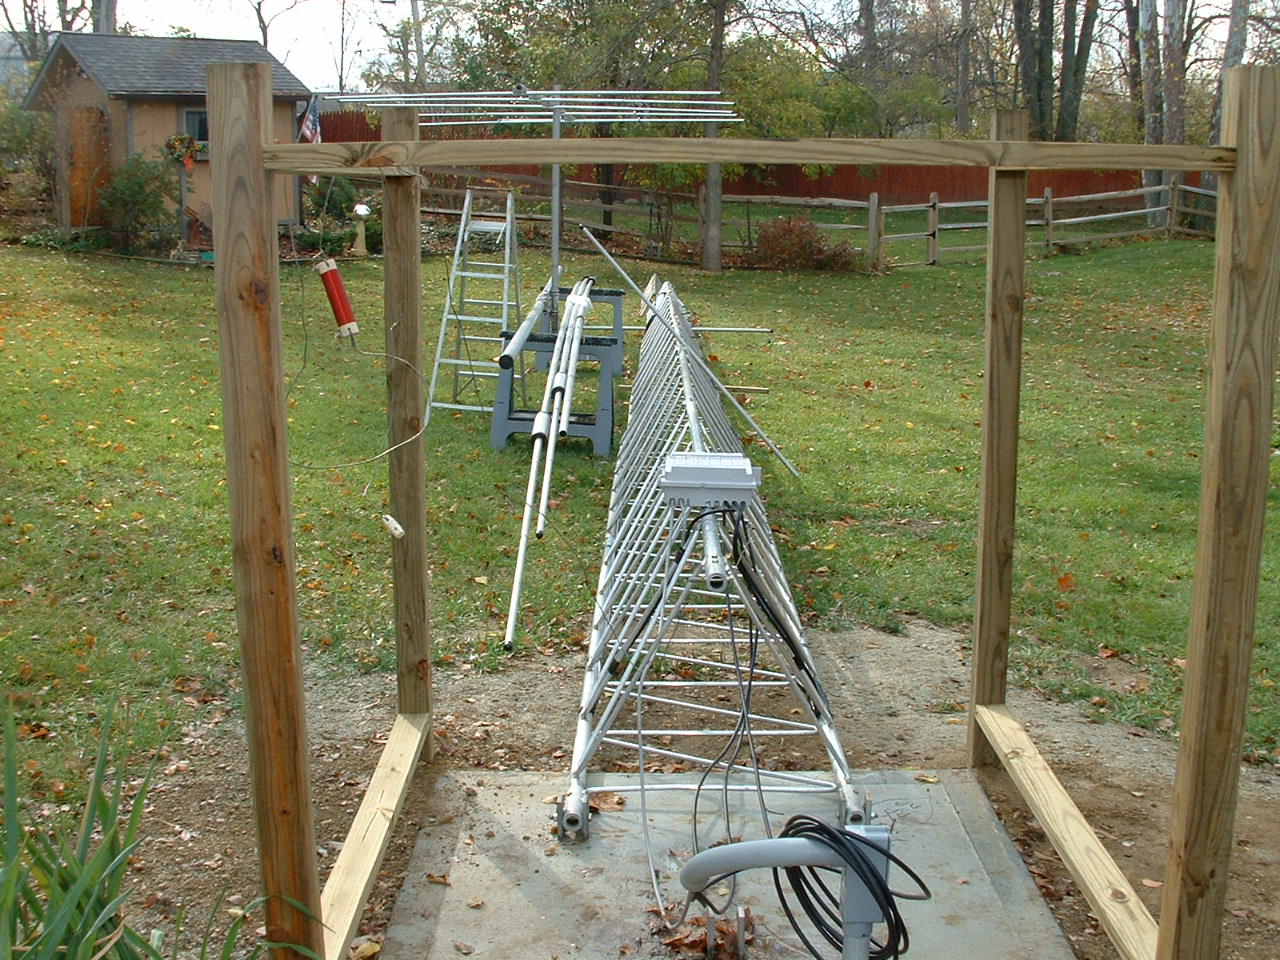
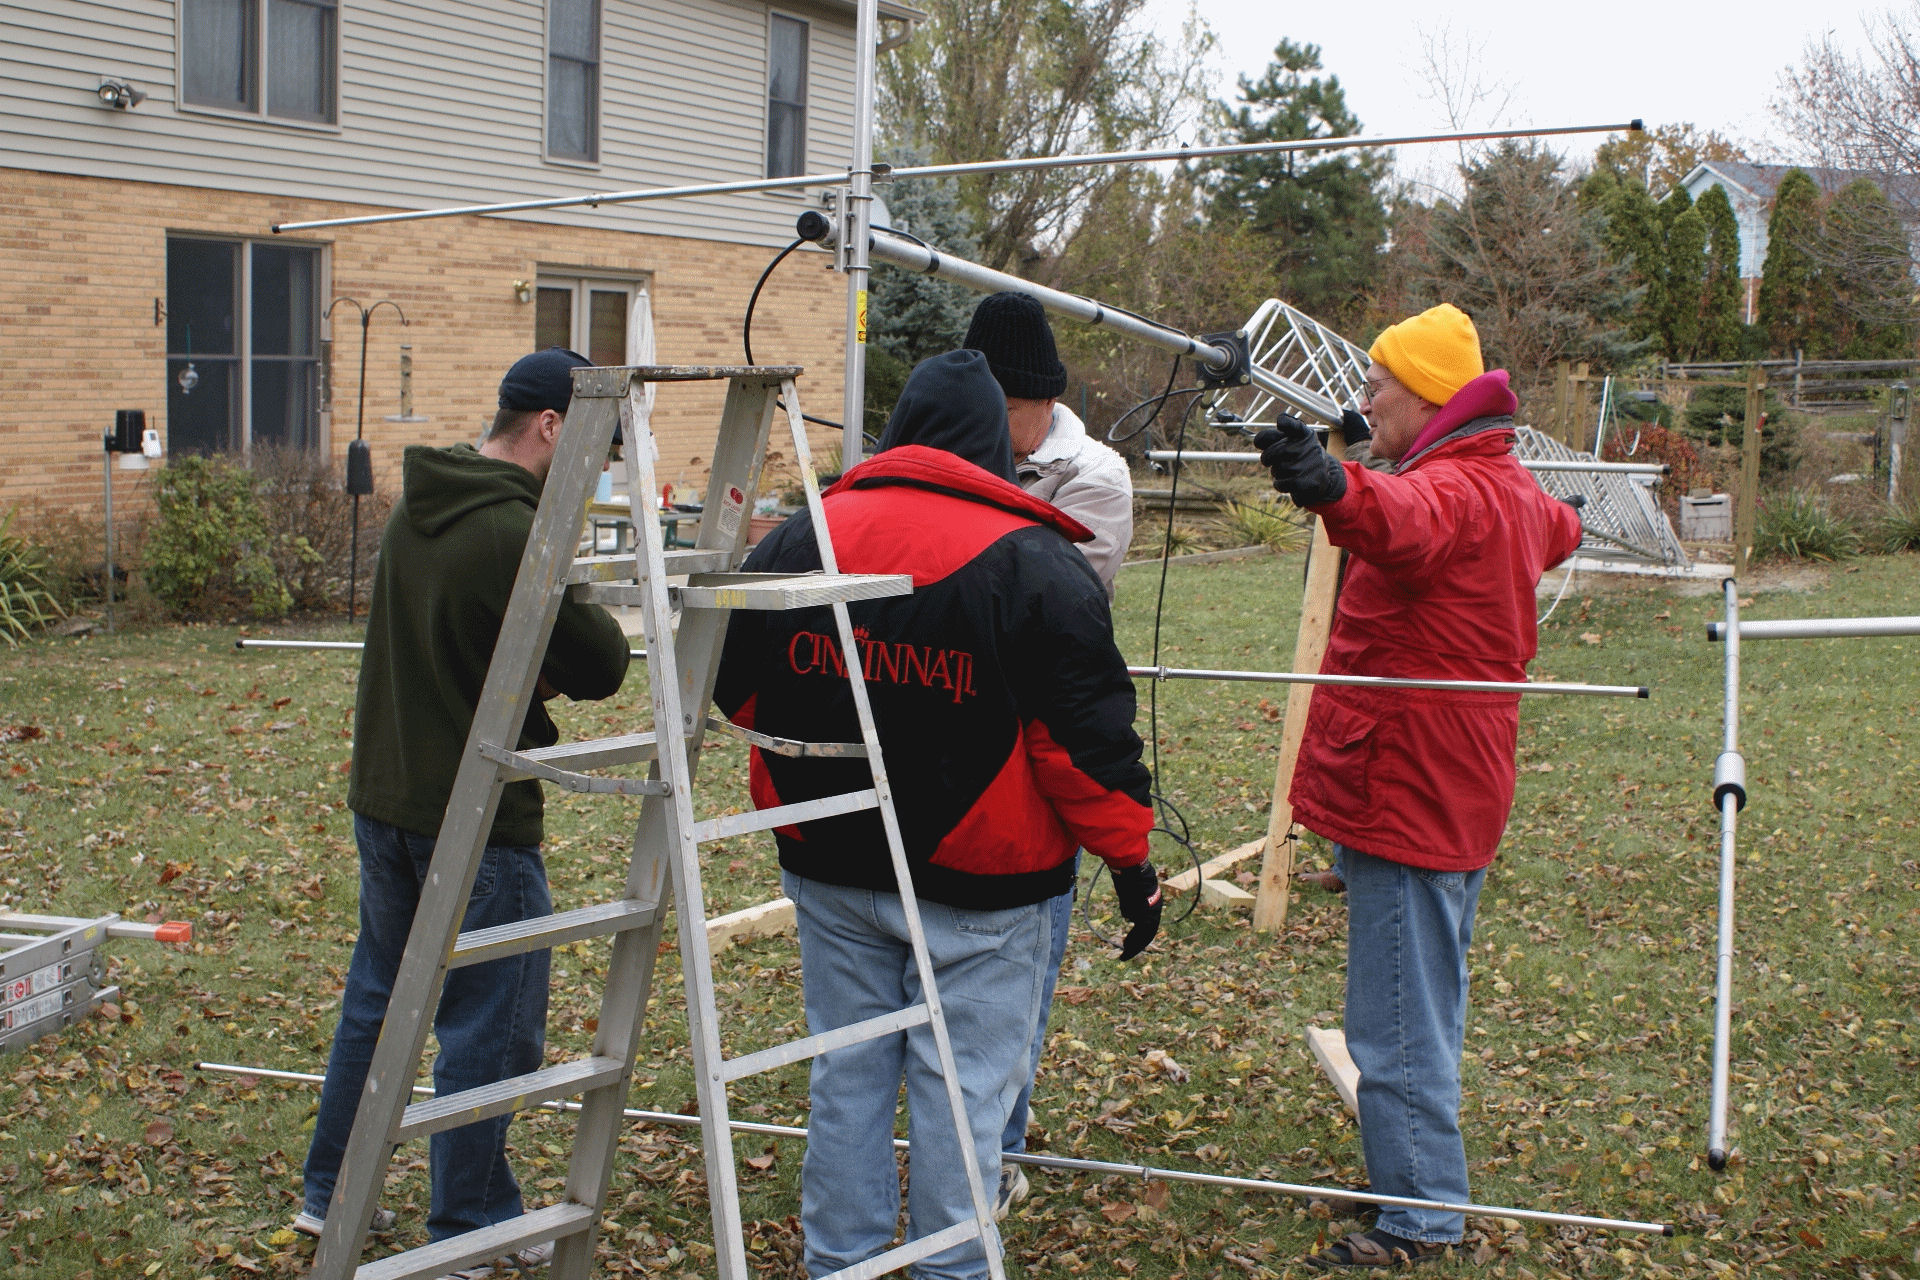
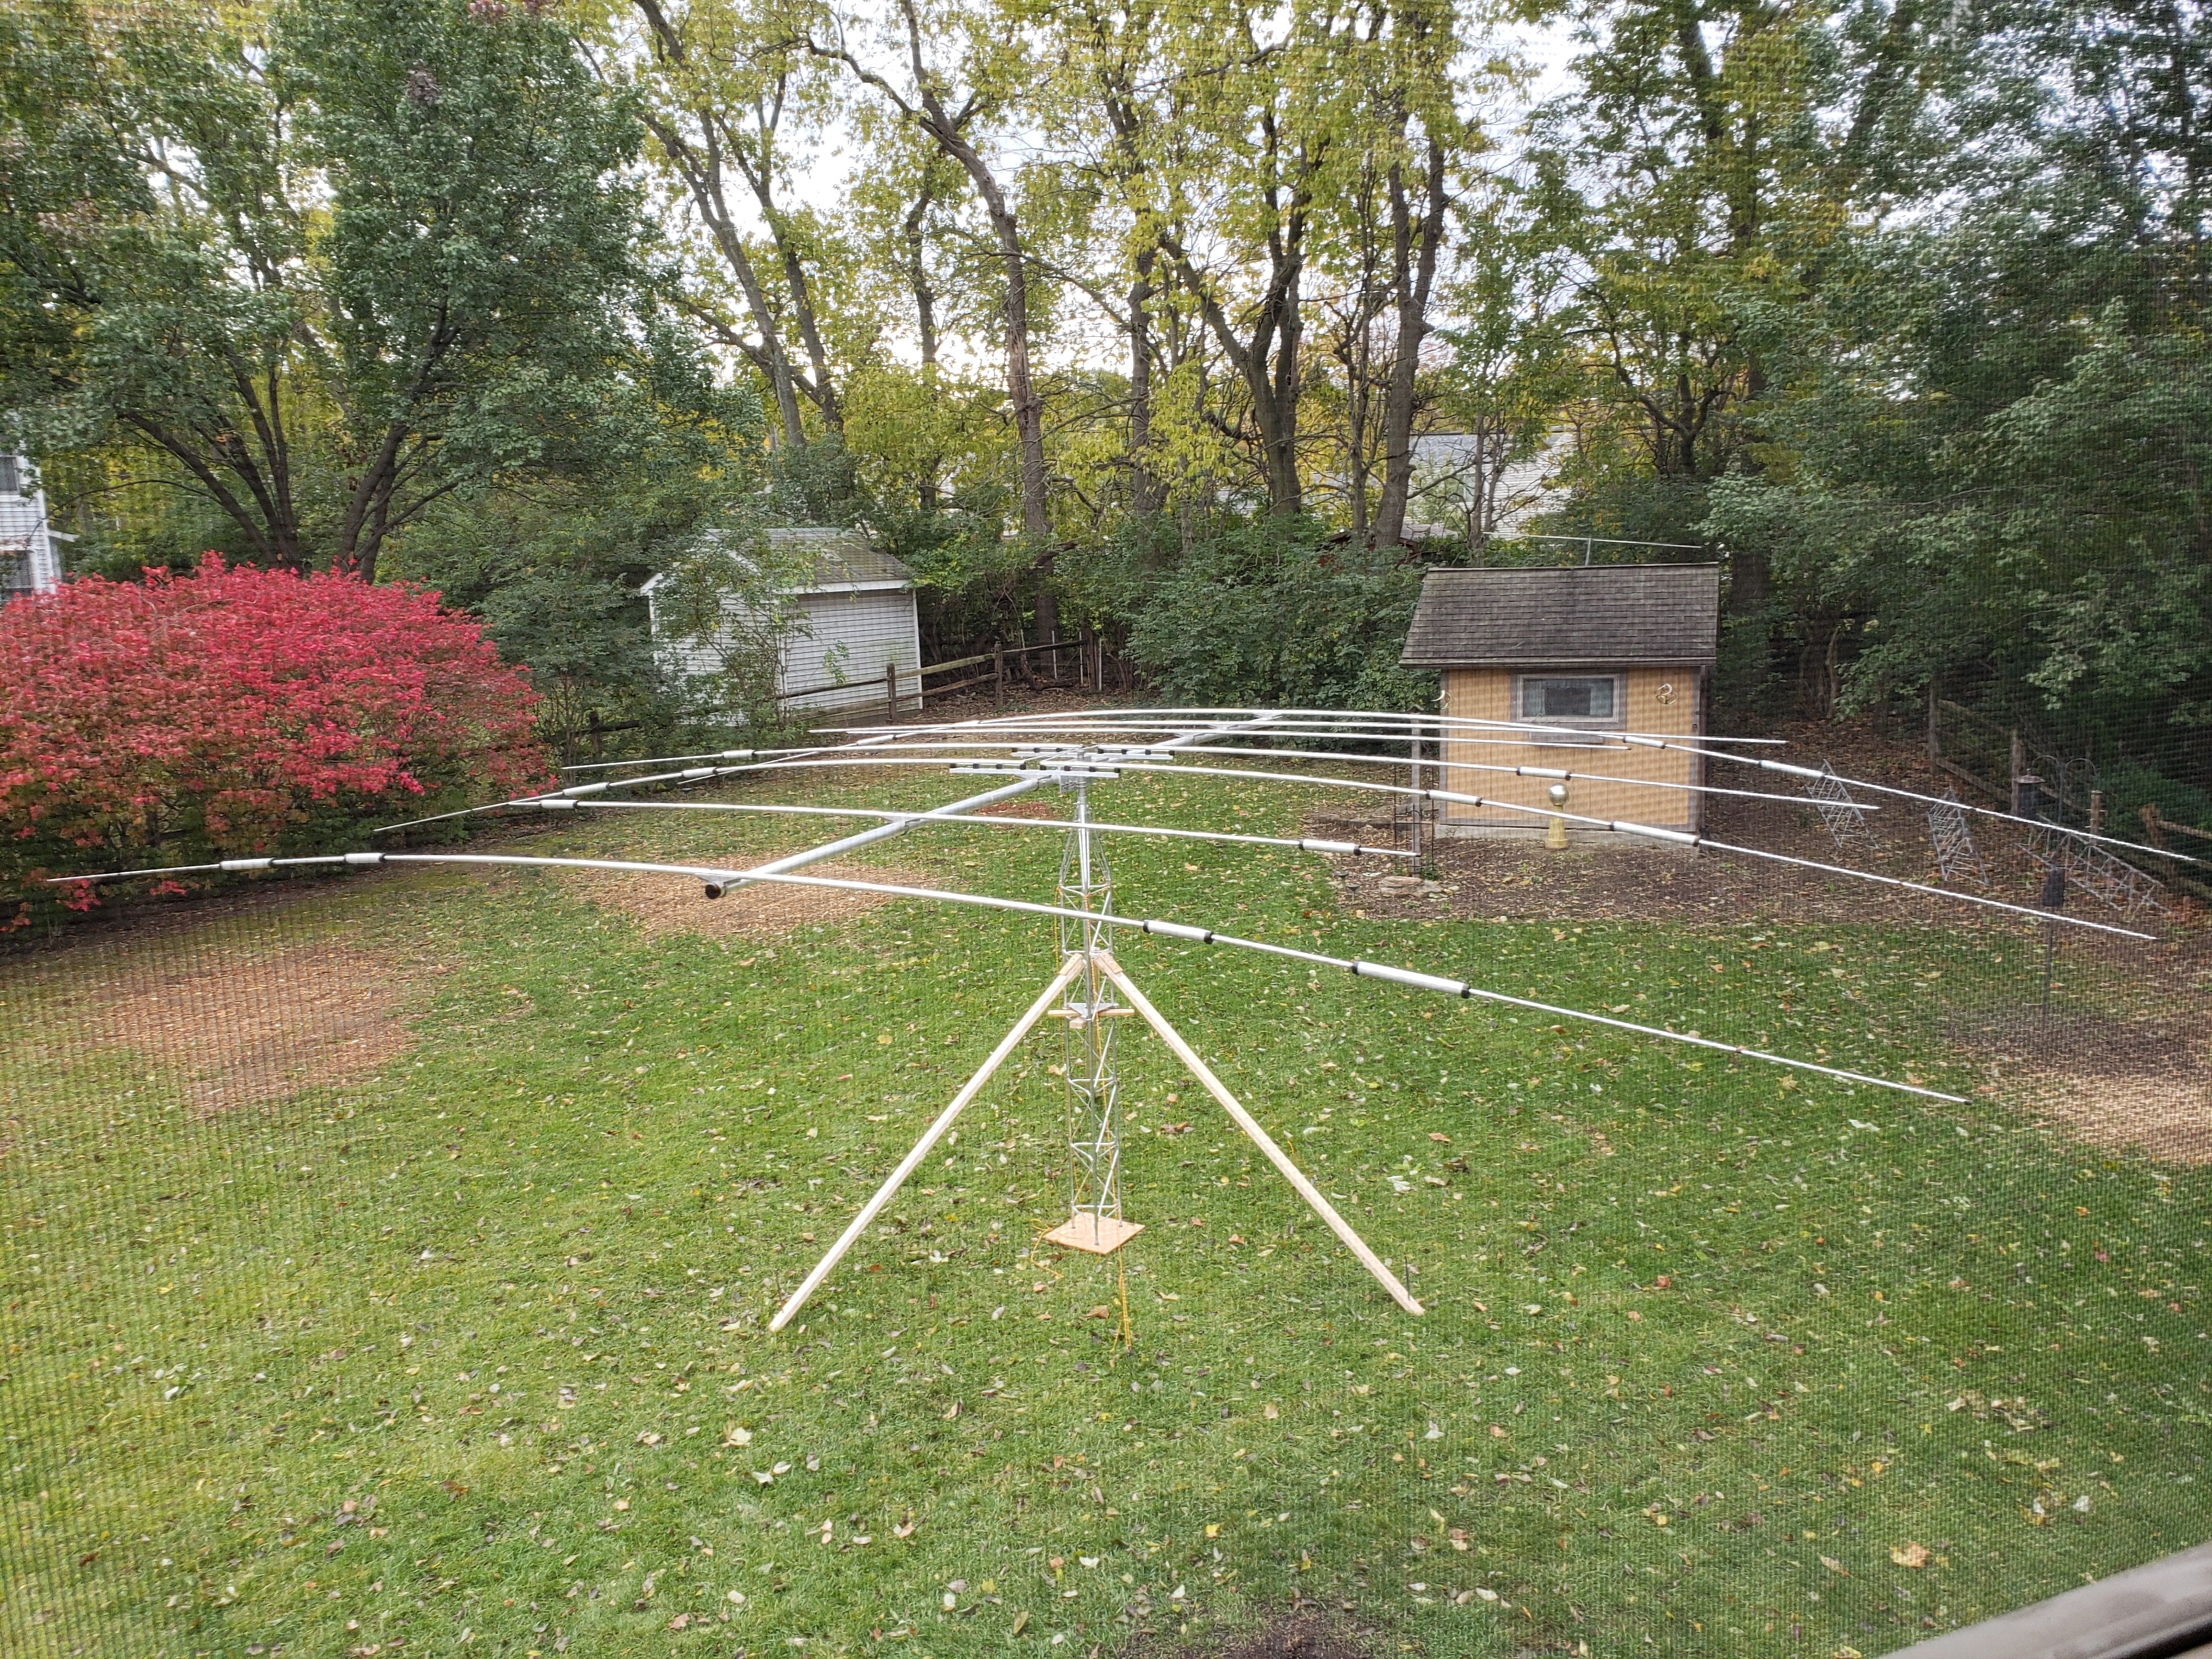
Termination stub, phasing lines and a picture from my bedroom window. Sorry for the screen effect but the only way I could get a picture from above. This was the most complicated antenna I have assembled but most everything was clearly marked, just needed to pay close attention to detail, a problem I seemed to have lately. The beam is big 33' element and a 16' boom. I built some boom stabilizer, rigging, bars to help with getting the antenna in position at the top. November 9th, antenna install day.
My gin pole setup, the bucket truck with the antenna ready to go up, the antenna up at 50' and ready to be hoisted the rest of the way by our ground crew.
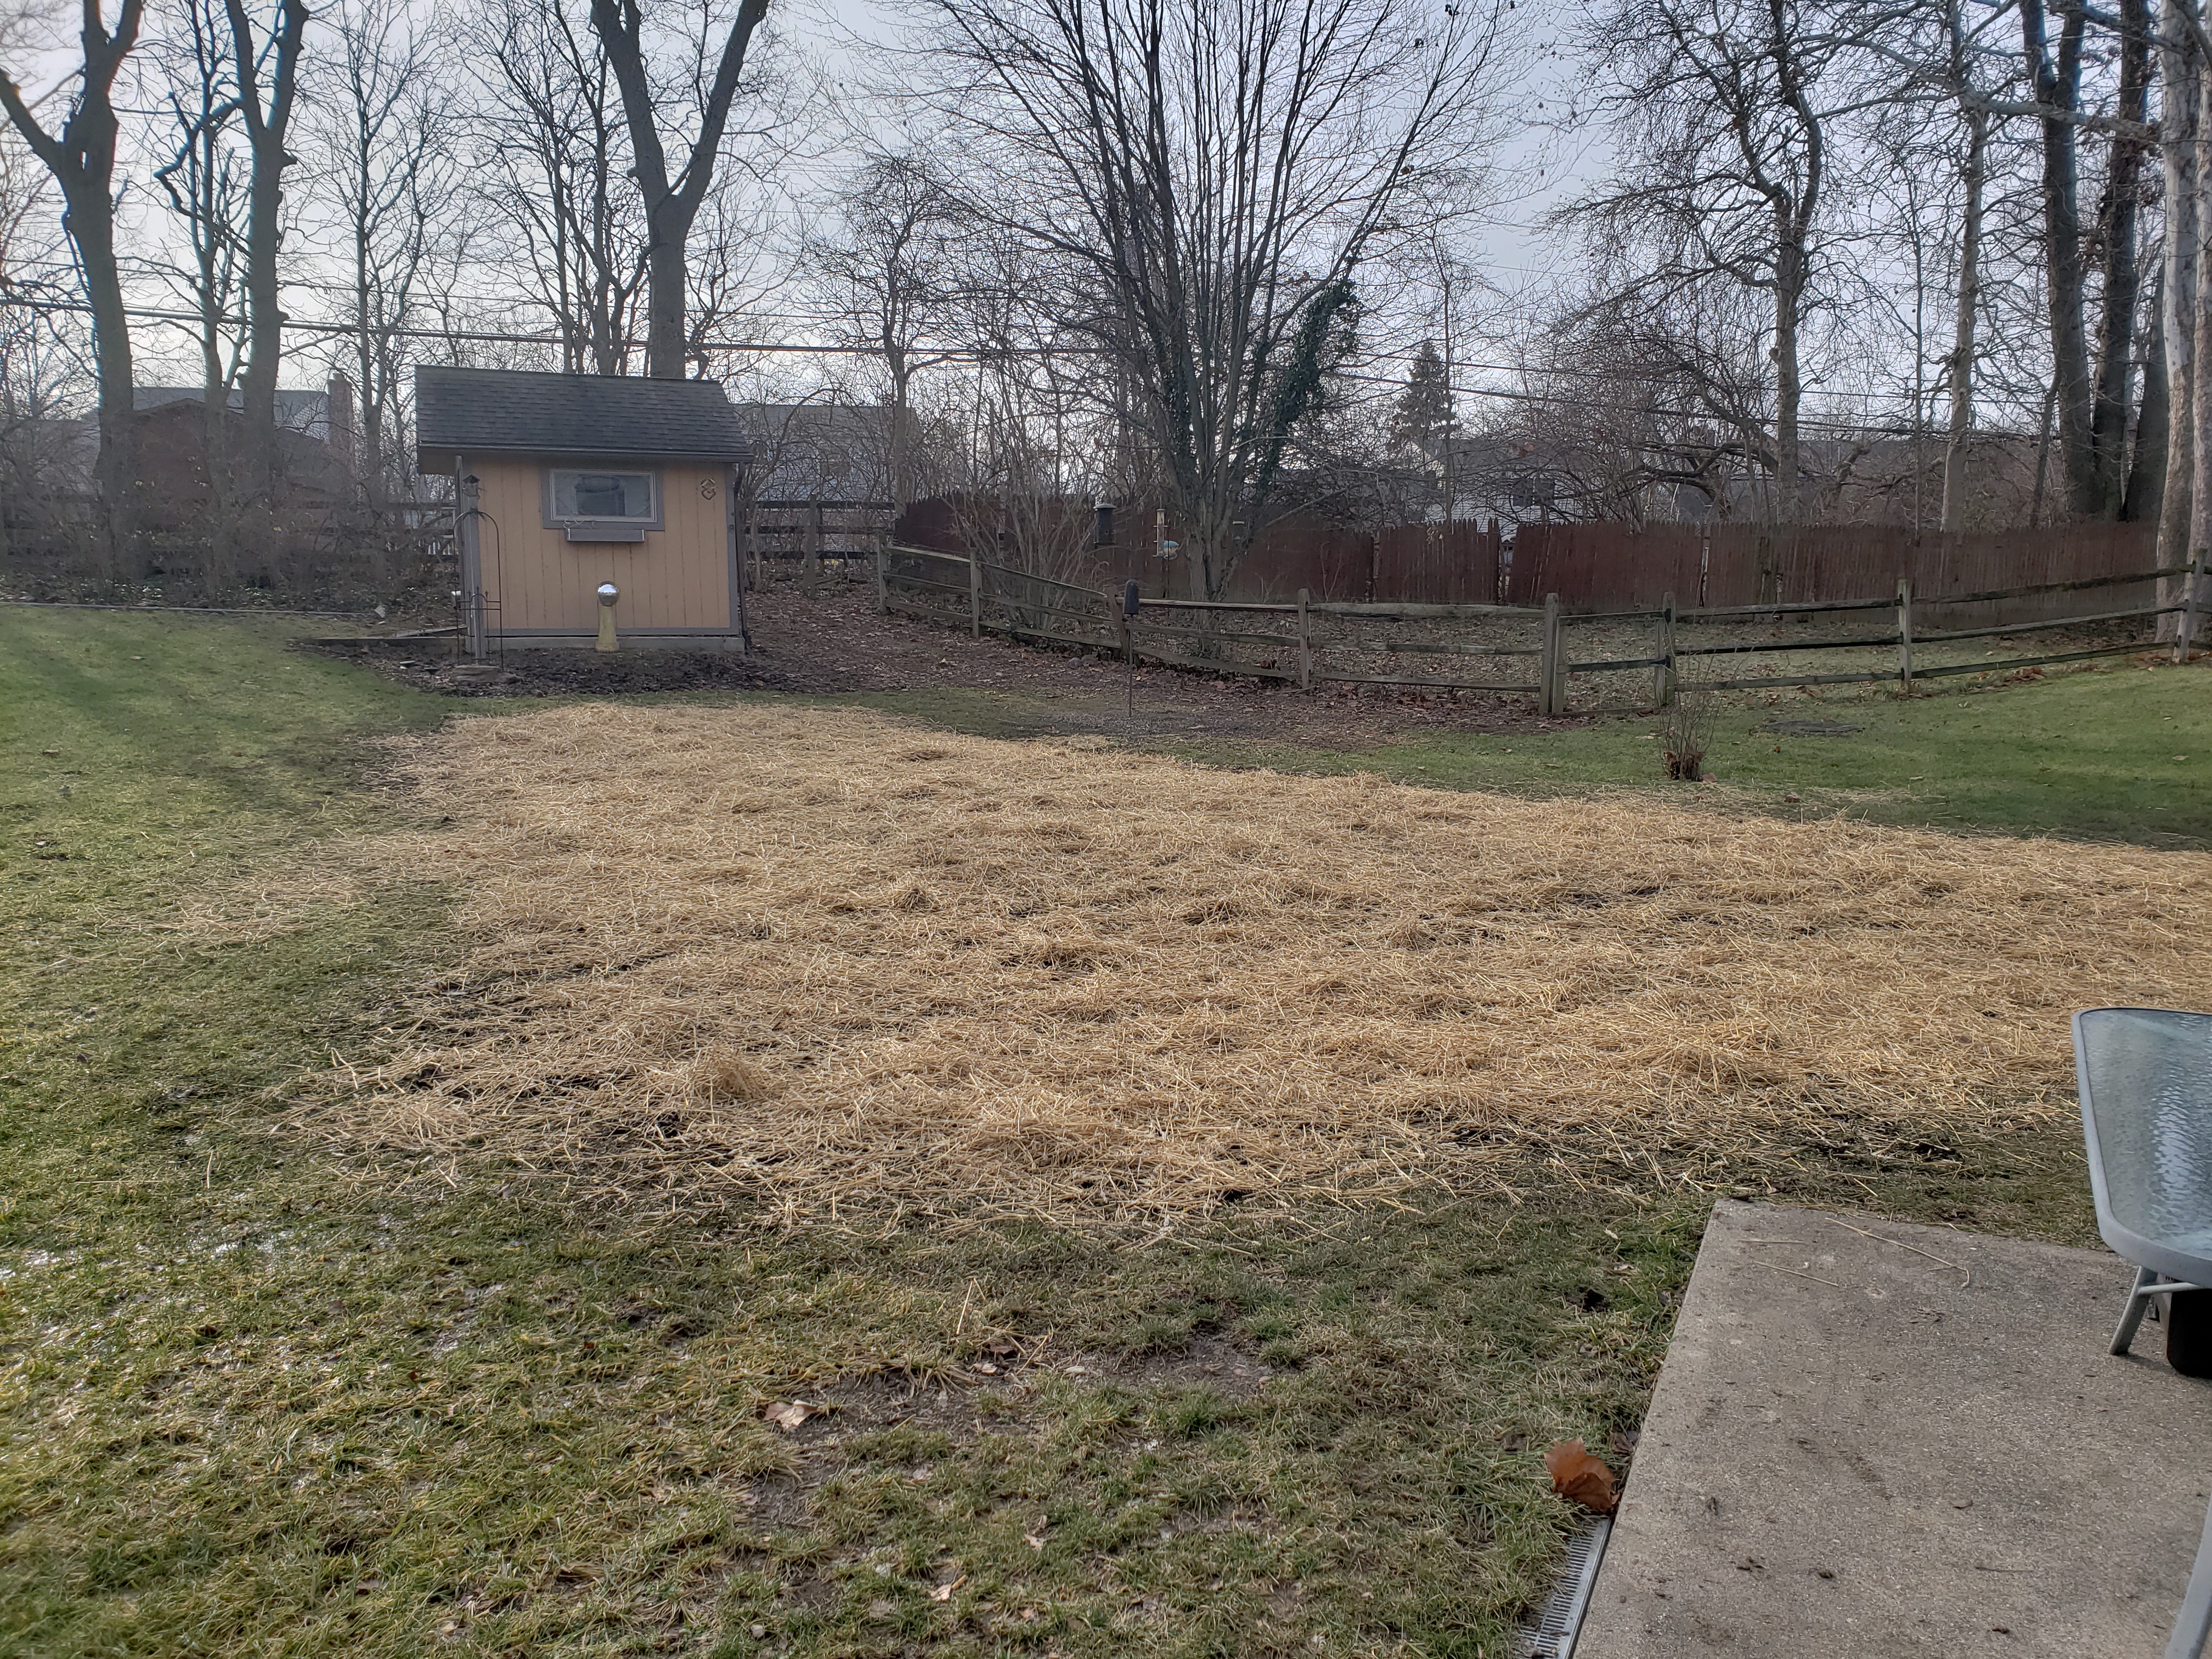
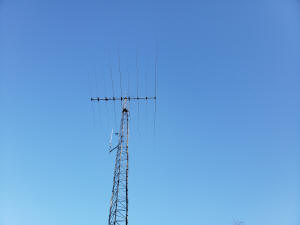
The final assembly and the final product. The truck did do some damage but most of the depressions will heal themselves and the few that will not can be easily filled with dirt and seeded in the Spring. I retrospect I have somewhat of a heavy heart that I did not stay with the Mosley, if I had only known the truck would be available by the install date. This is a good antenna with very good SWR across the bands, no tuner needed in most cases. With a 10KW balun I am pretty safe from accidentally blowing it out, especially since this antenna has no traps. There are 5 driver elements and each element has three positions on the end for final tuning, I chose the recommended middle position which seem to work for me. On the 20 & 15M band I have checked it against my vertical and as I would hope the beam hears stations that the vertical cannot, South Orkney will be my next entity that I need. While the truck was available we tilted over the 6M tower and I retuned the antenna to the correct band. I also installed a Hi-Def TV antenna at 40'. If there was 6M propagation I might be able to use it, someday! The TV antenna brings in over 25 different stations as far as 80 miles away, maybe one day I can cut the cord so to speak. I added two slopers to the tower and they are just hanging down from 50'. an Alpha Delta 160-40M and on the other leg just a 160M. When the fence is installed around my backyard I will put to 15' 4x4s in each far corner. I plan on tuning one of the 160 slopers for the digital CW and the other for SSB. I also installed a mesh antenna on the 60' tower at about the 50' mark.
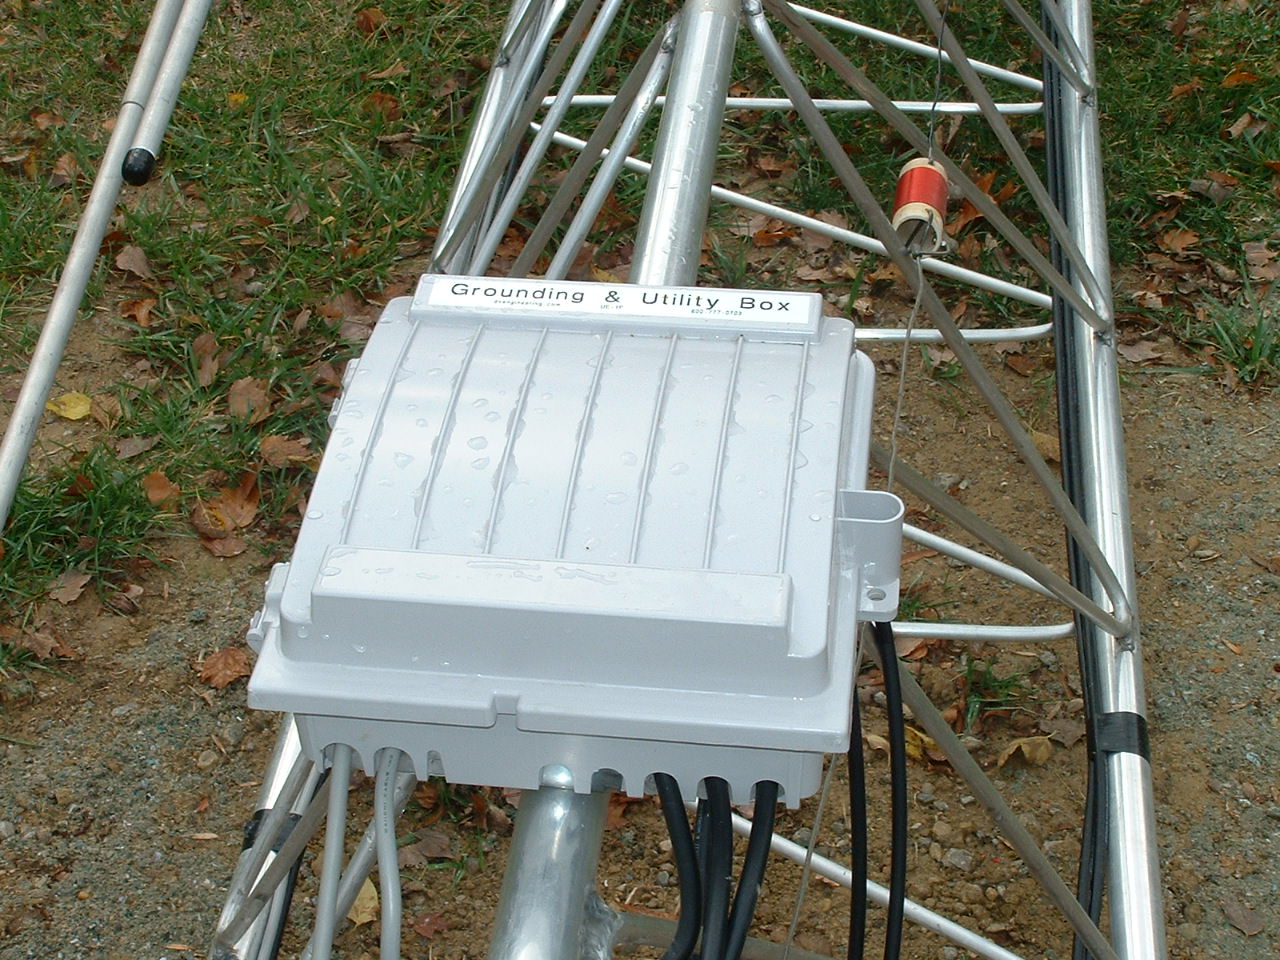
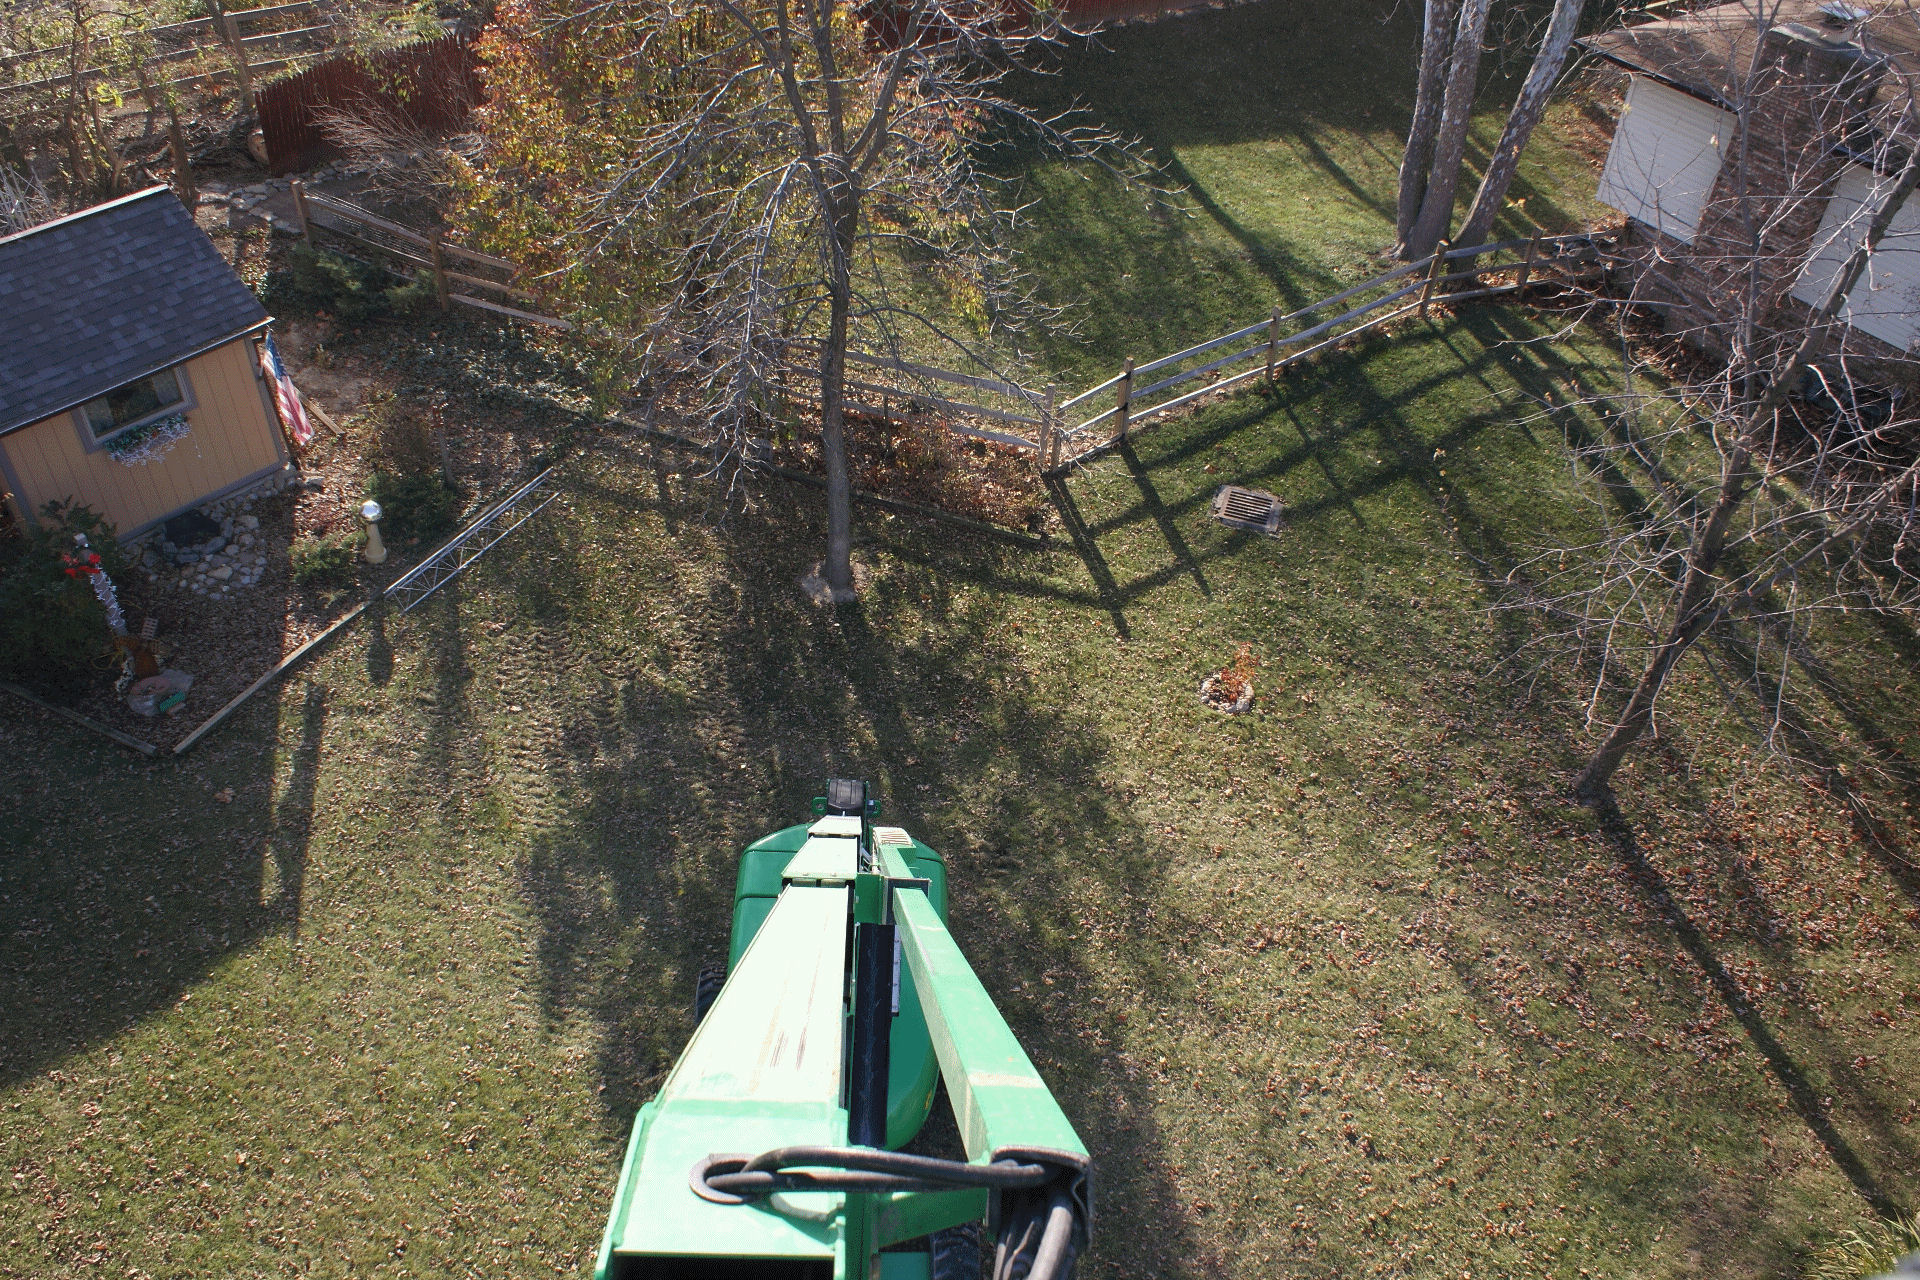
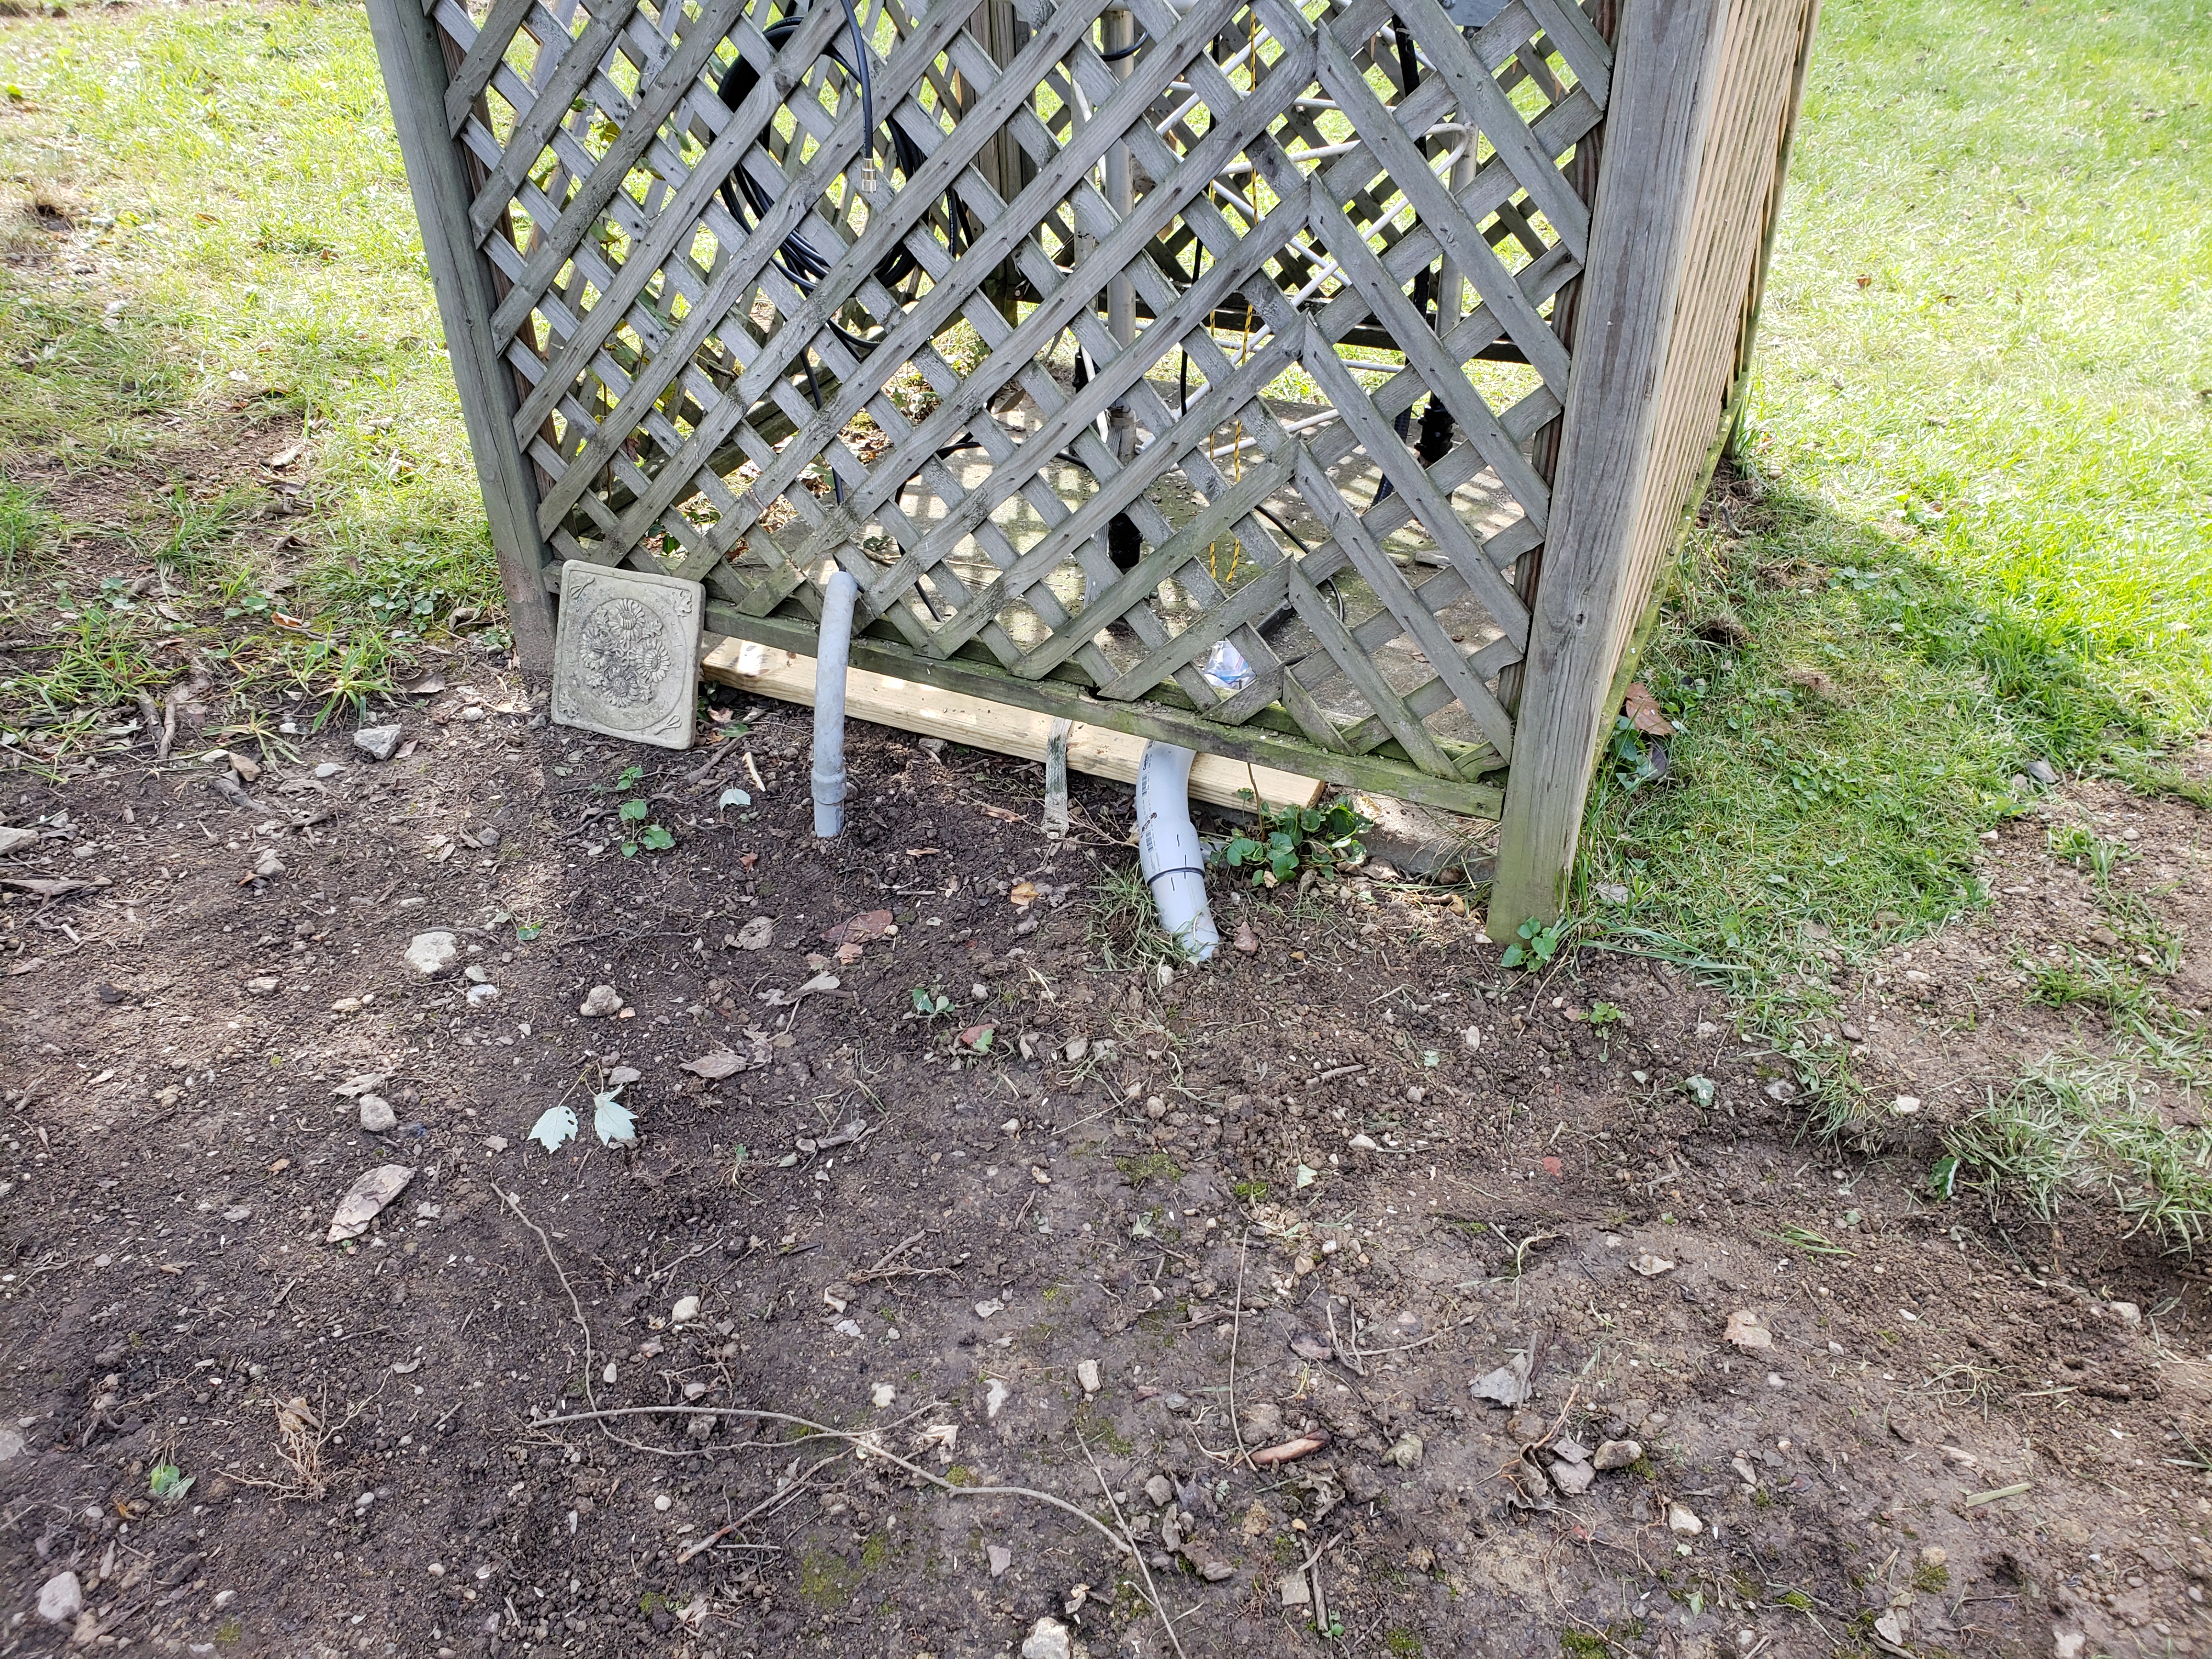
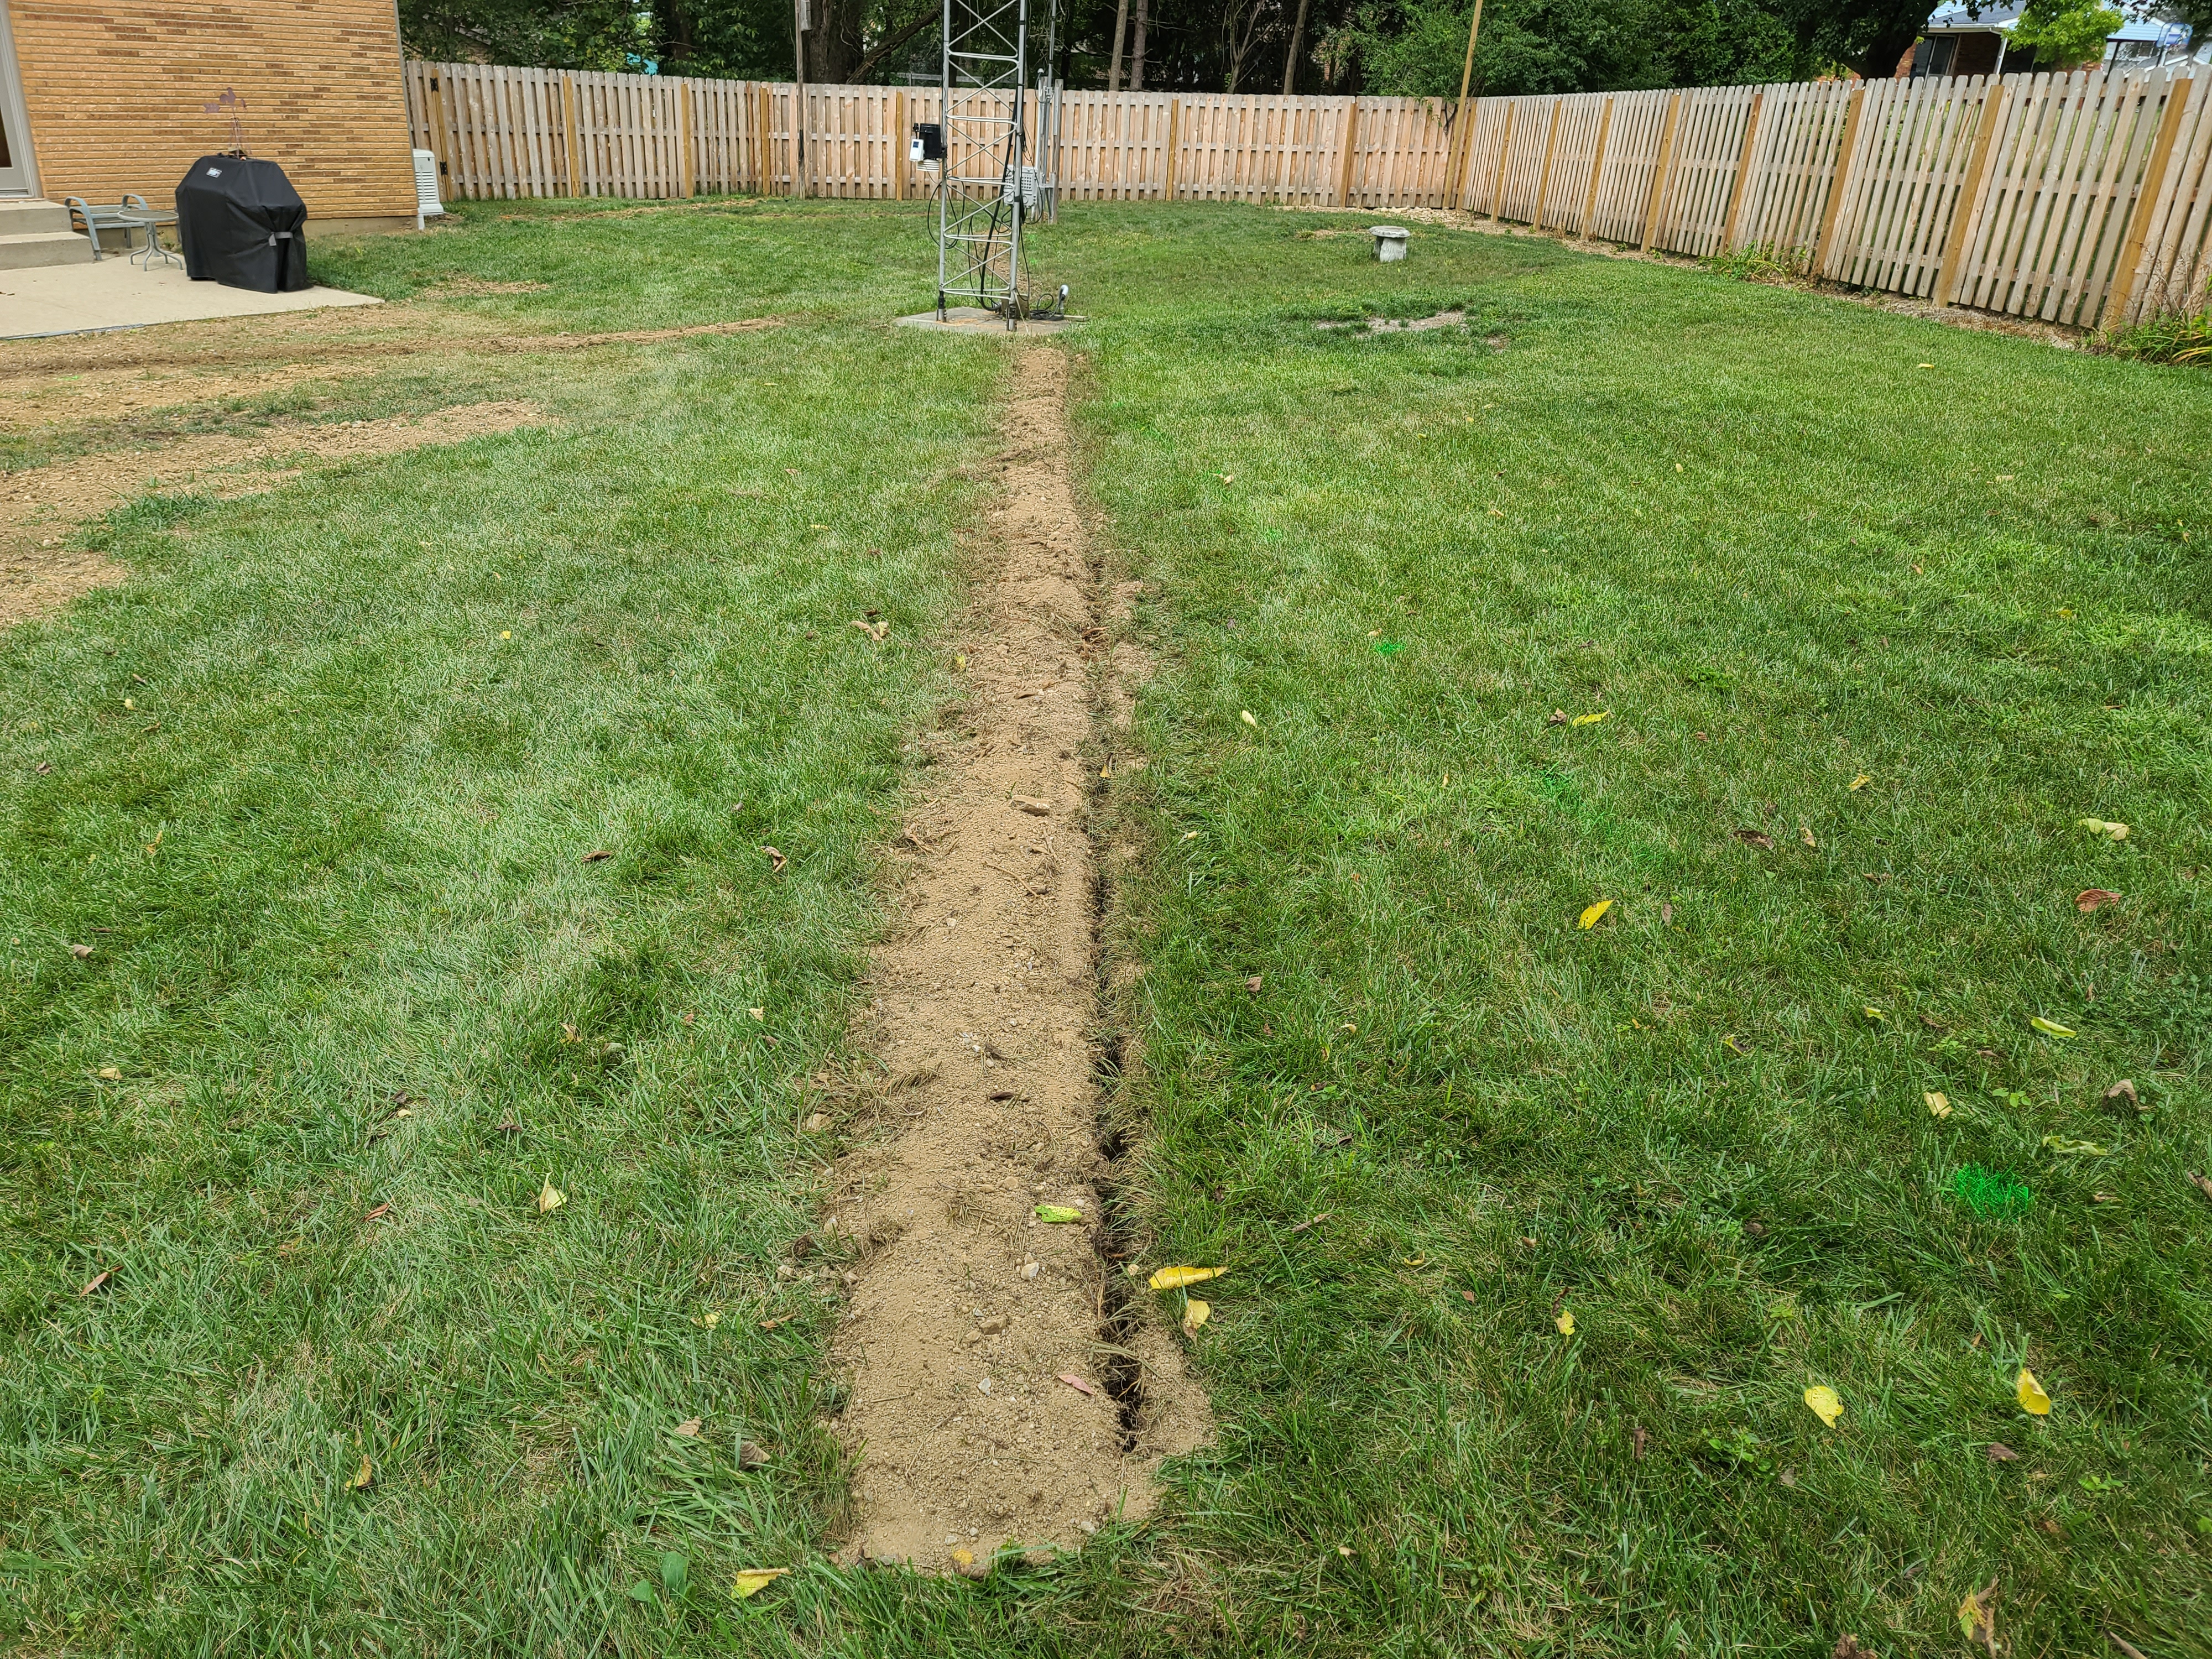
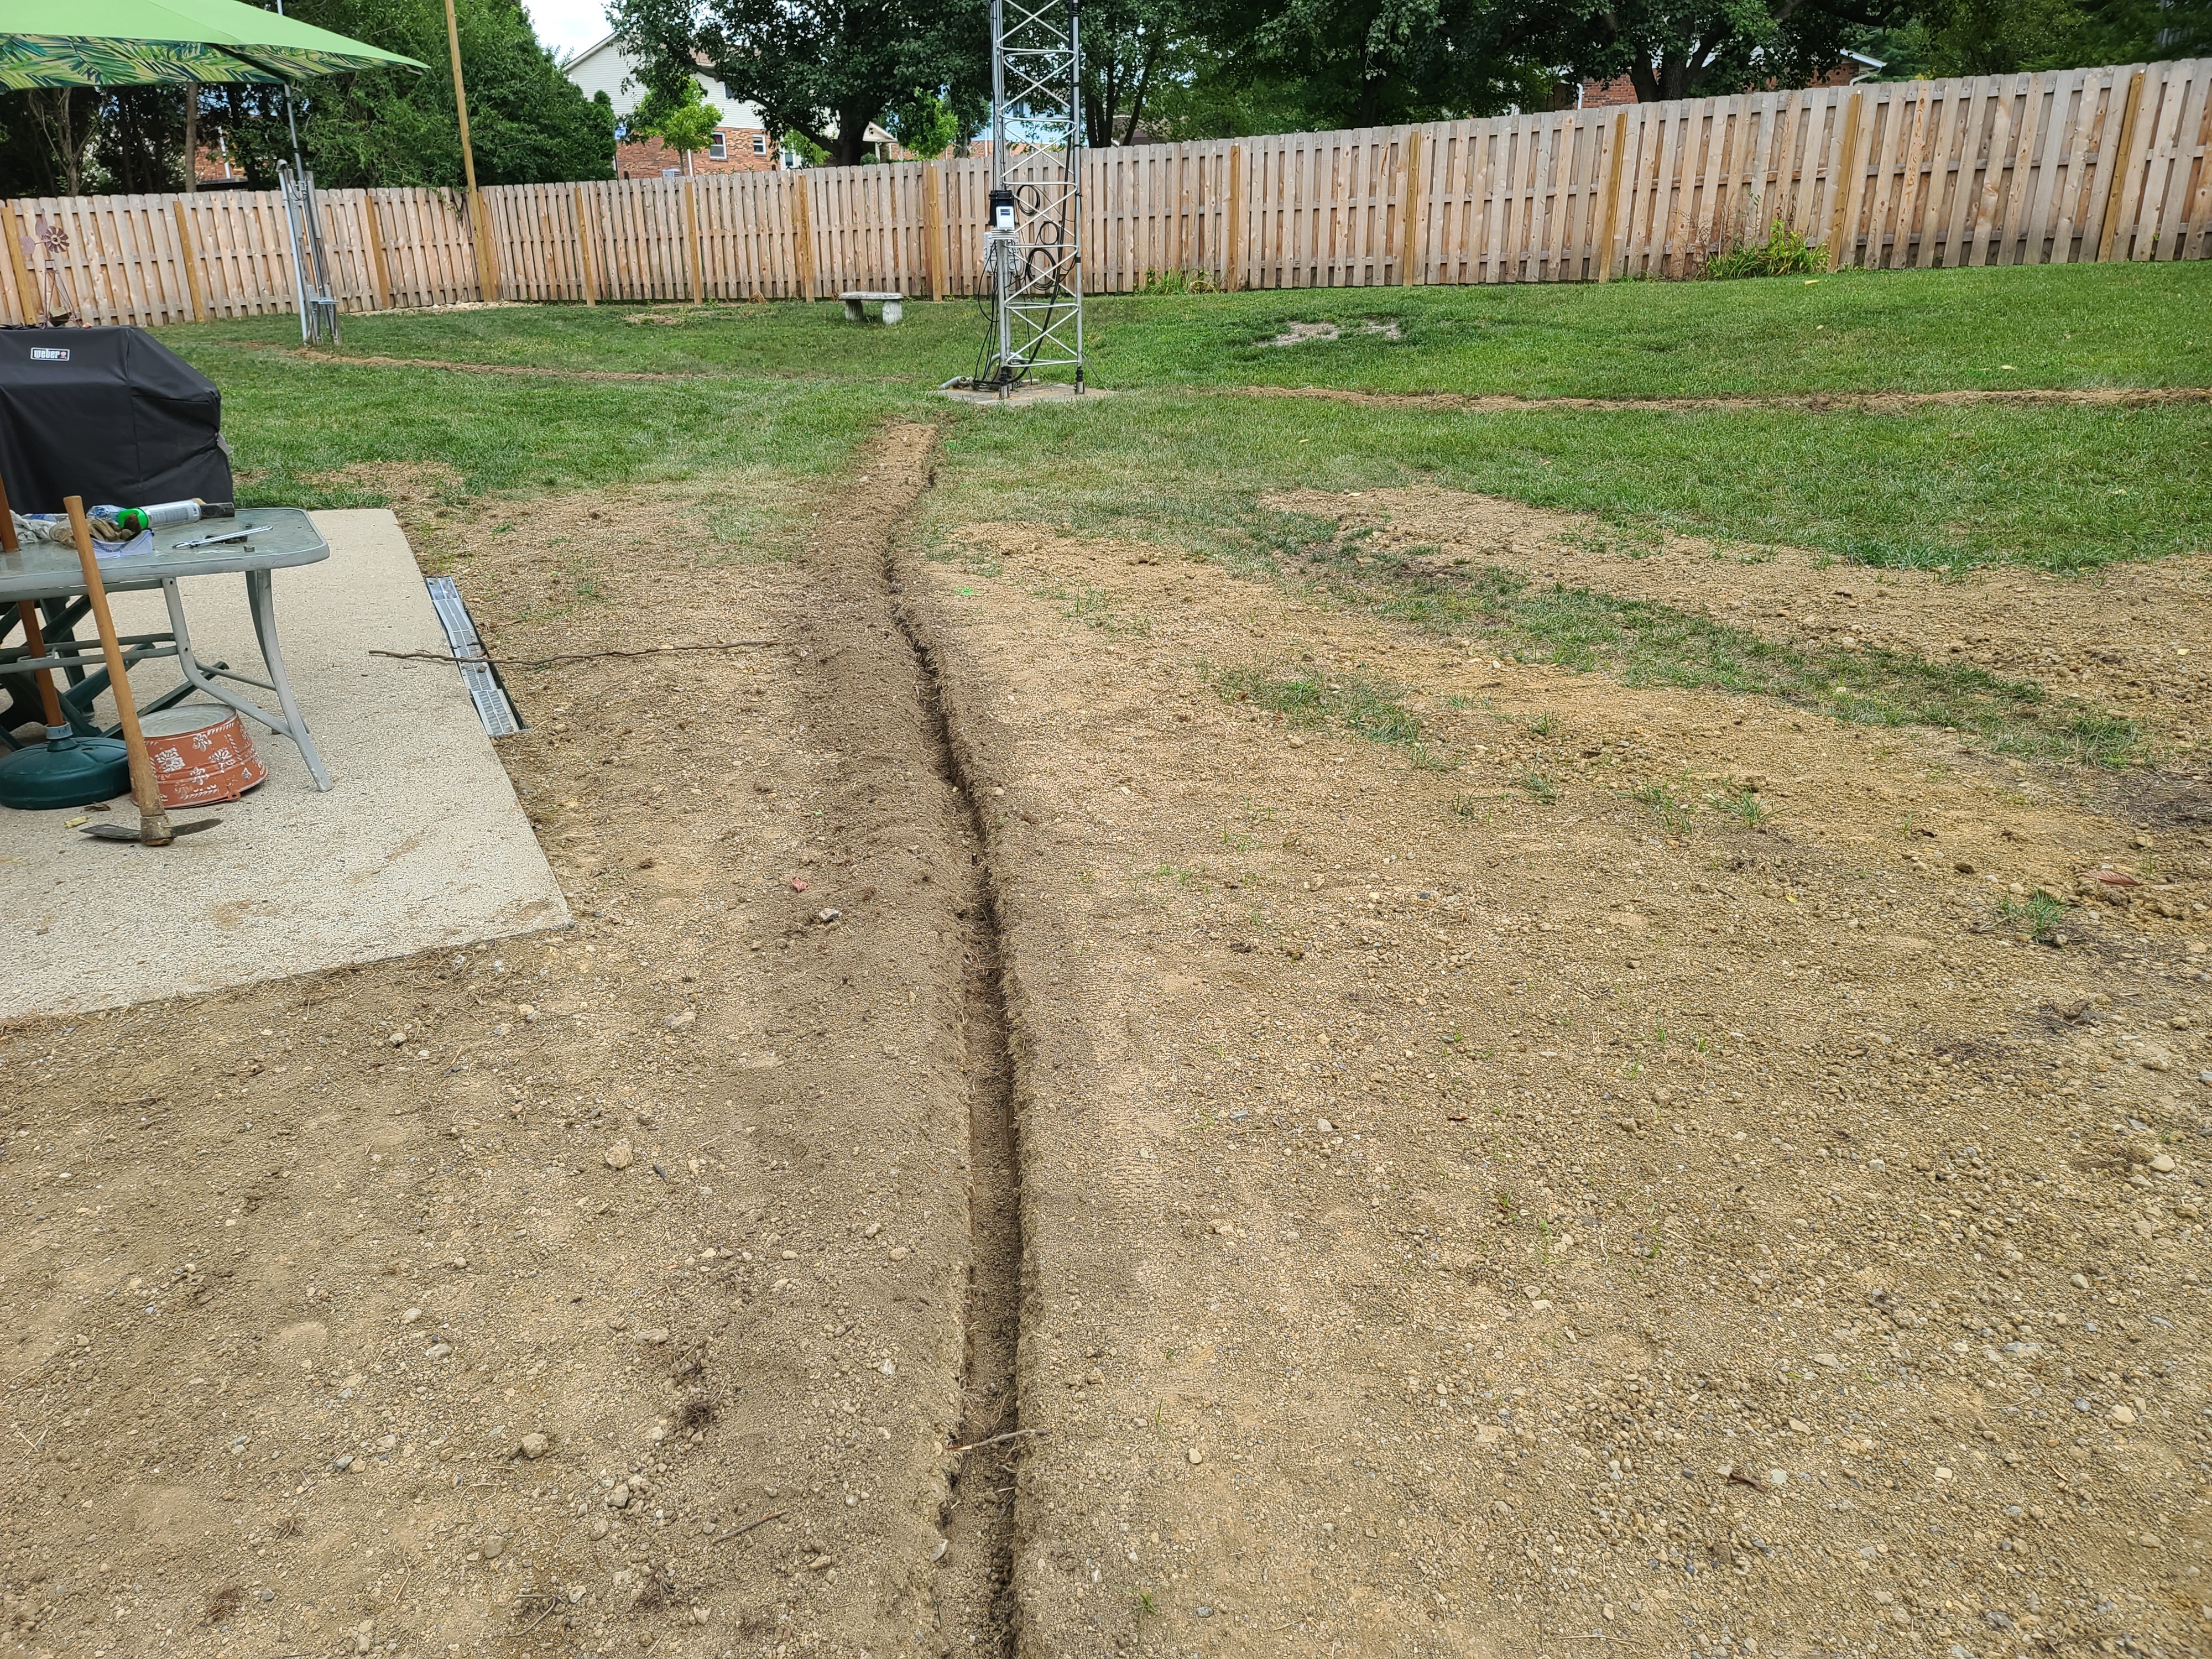
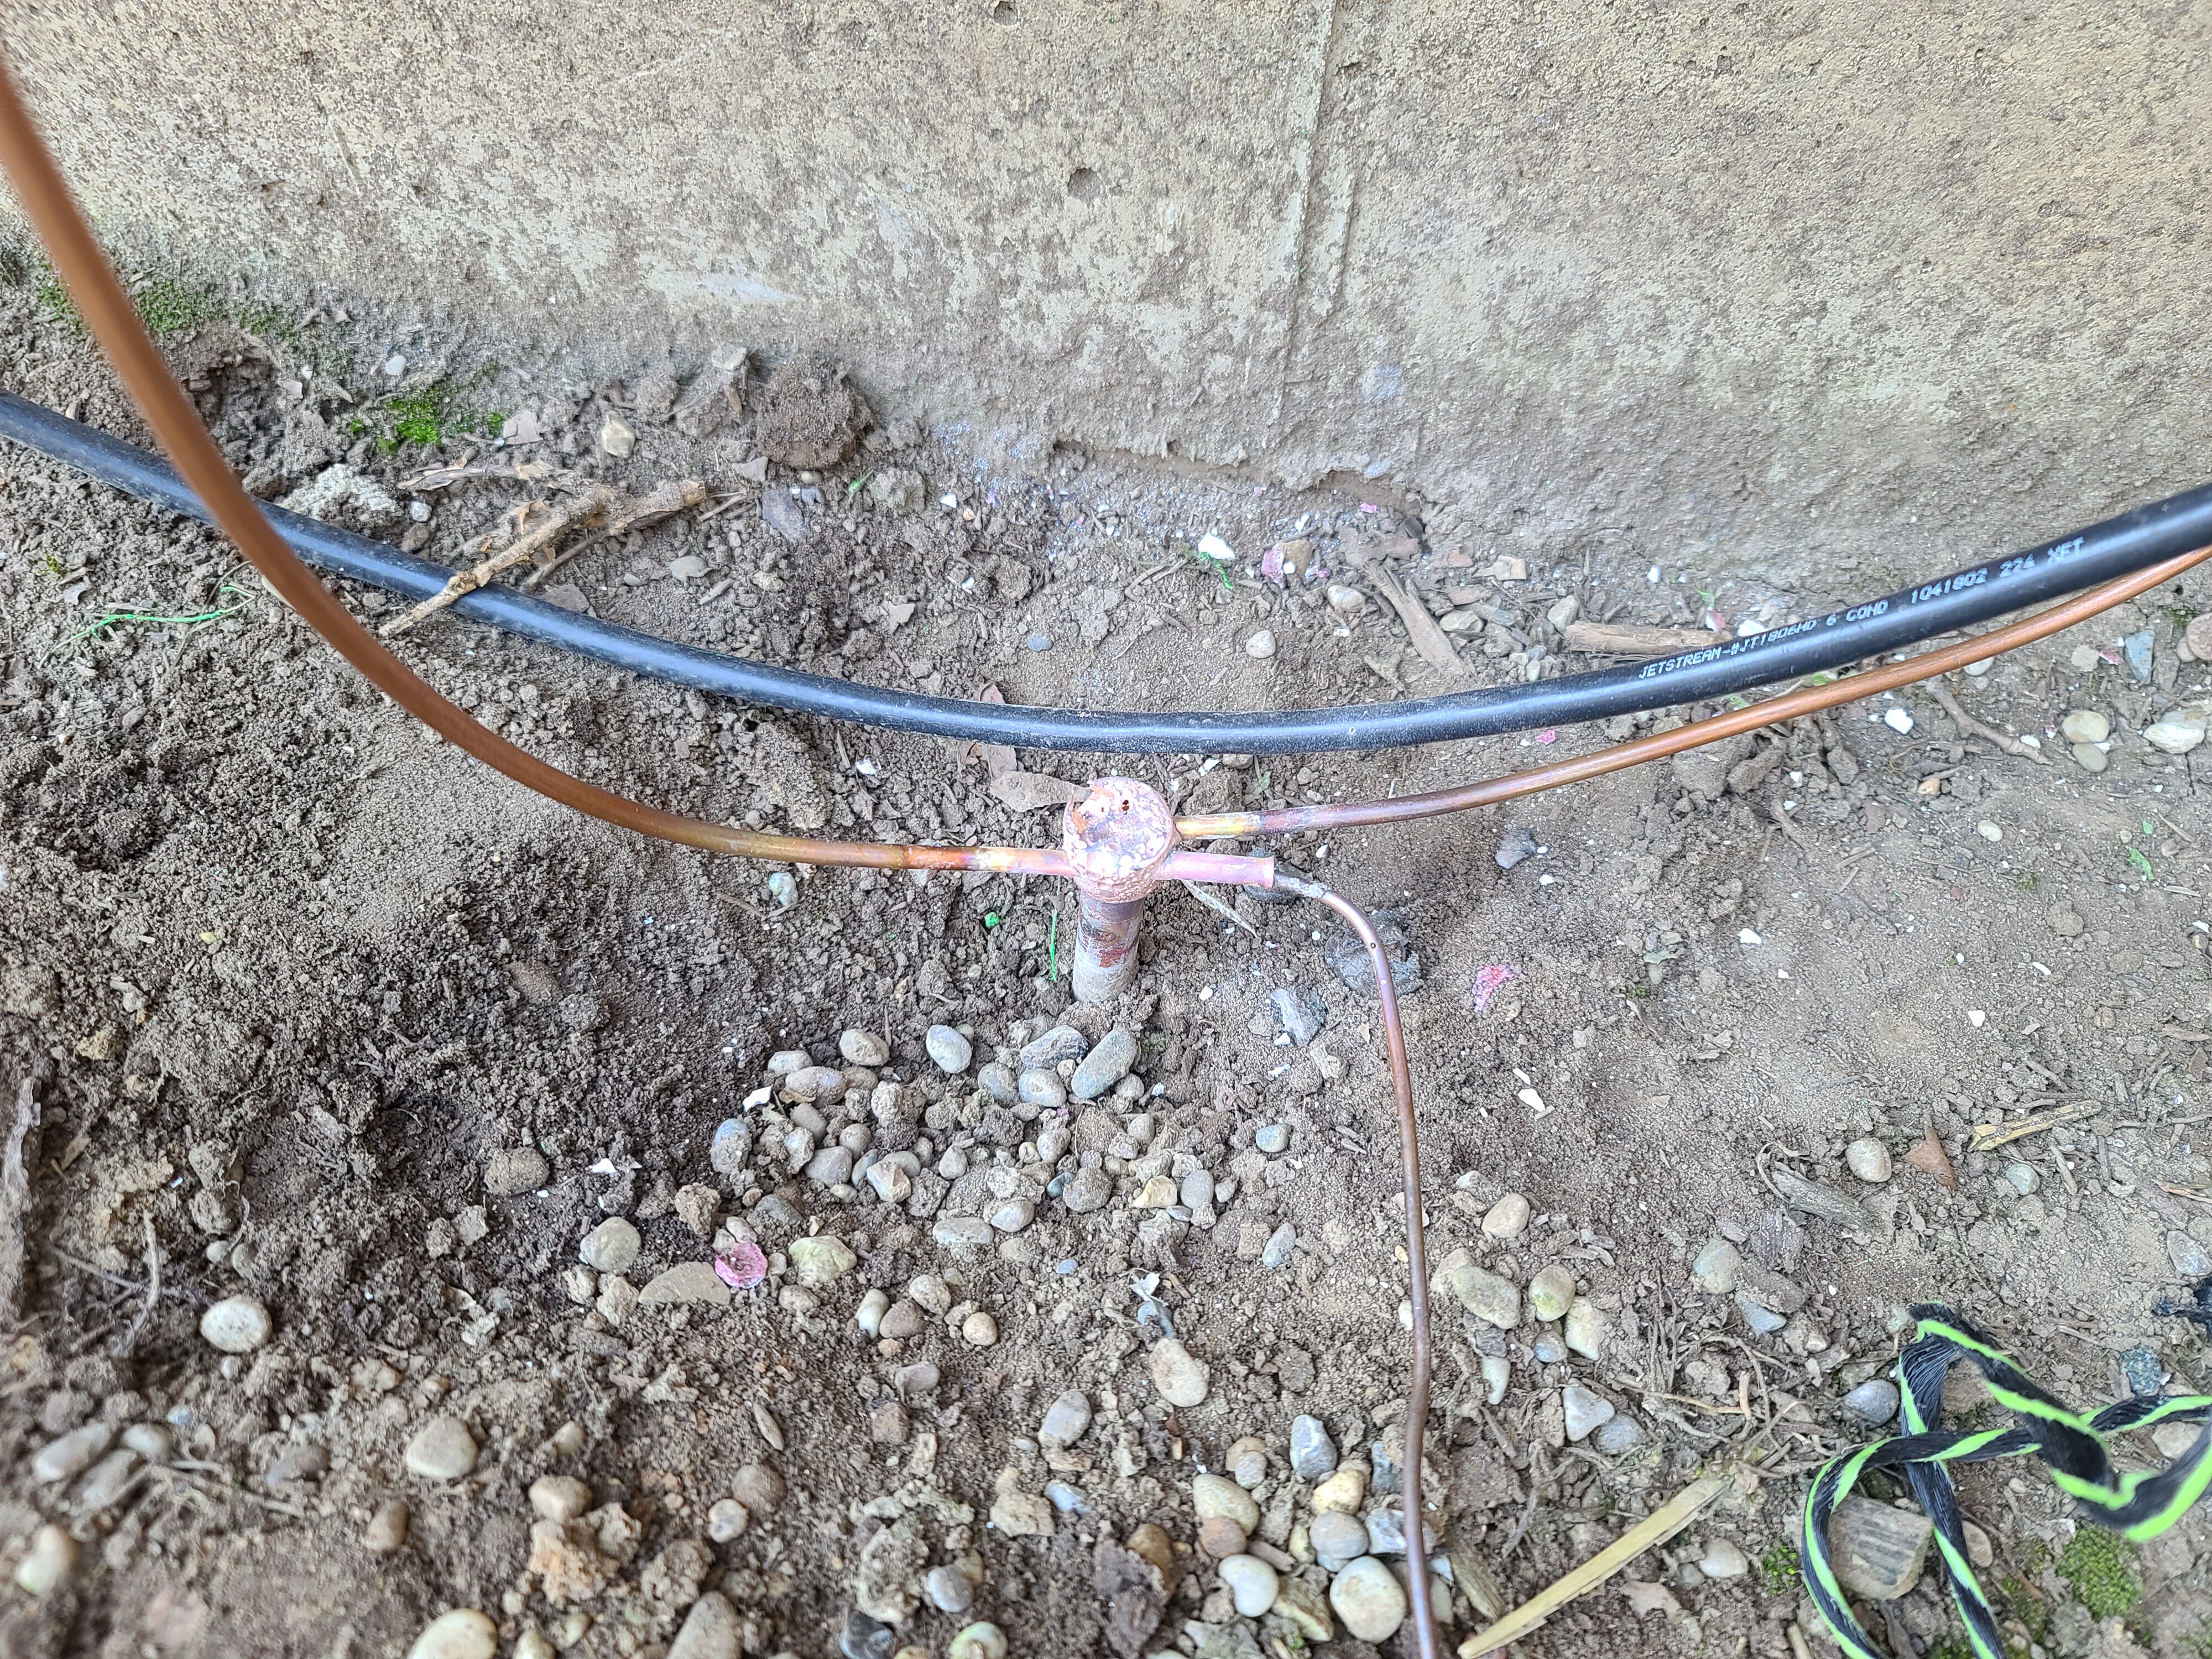
I have some nice antennas now, will work on the 80M vertical when some good weather occurs. Since I had a 40M beam I will probably always bemoan the fact that I do not have one anymore. If I had to do the tower over again I would only install a crank-up tower in the backyard. I have 3/4s of an acre but still tight since it is in a cul-de-sac. In the years prior I had worked hard to have a really nice yard and managed to destroy it in a weekend, expensive lesson learned. I have tore out most of the bushes and brush in the yard 2019, renovated the yard in 2020 and finished up in the spring of 2021. I spent a lot of time putting all downspouts and French drains underground as well as tower grounding. I have 300' of underground 8 gauge wire connecting all legs of my tower, vertical antenna and station ground. I used 8 gauge instead 6 or 4 because all my tower legs are grounded at the bottom of their pit. I use 8 gauge from my shack and the main breaker box. There are 32 8' ground rods spaced 8, apart, all connections are cad welded. Click on images for a larger picture
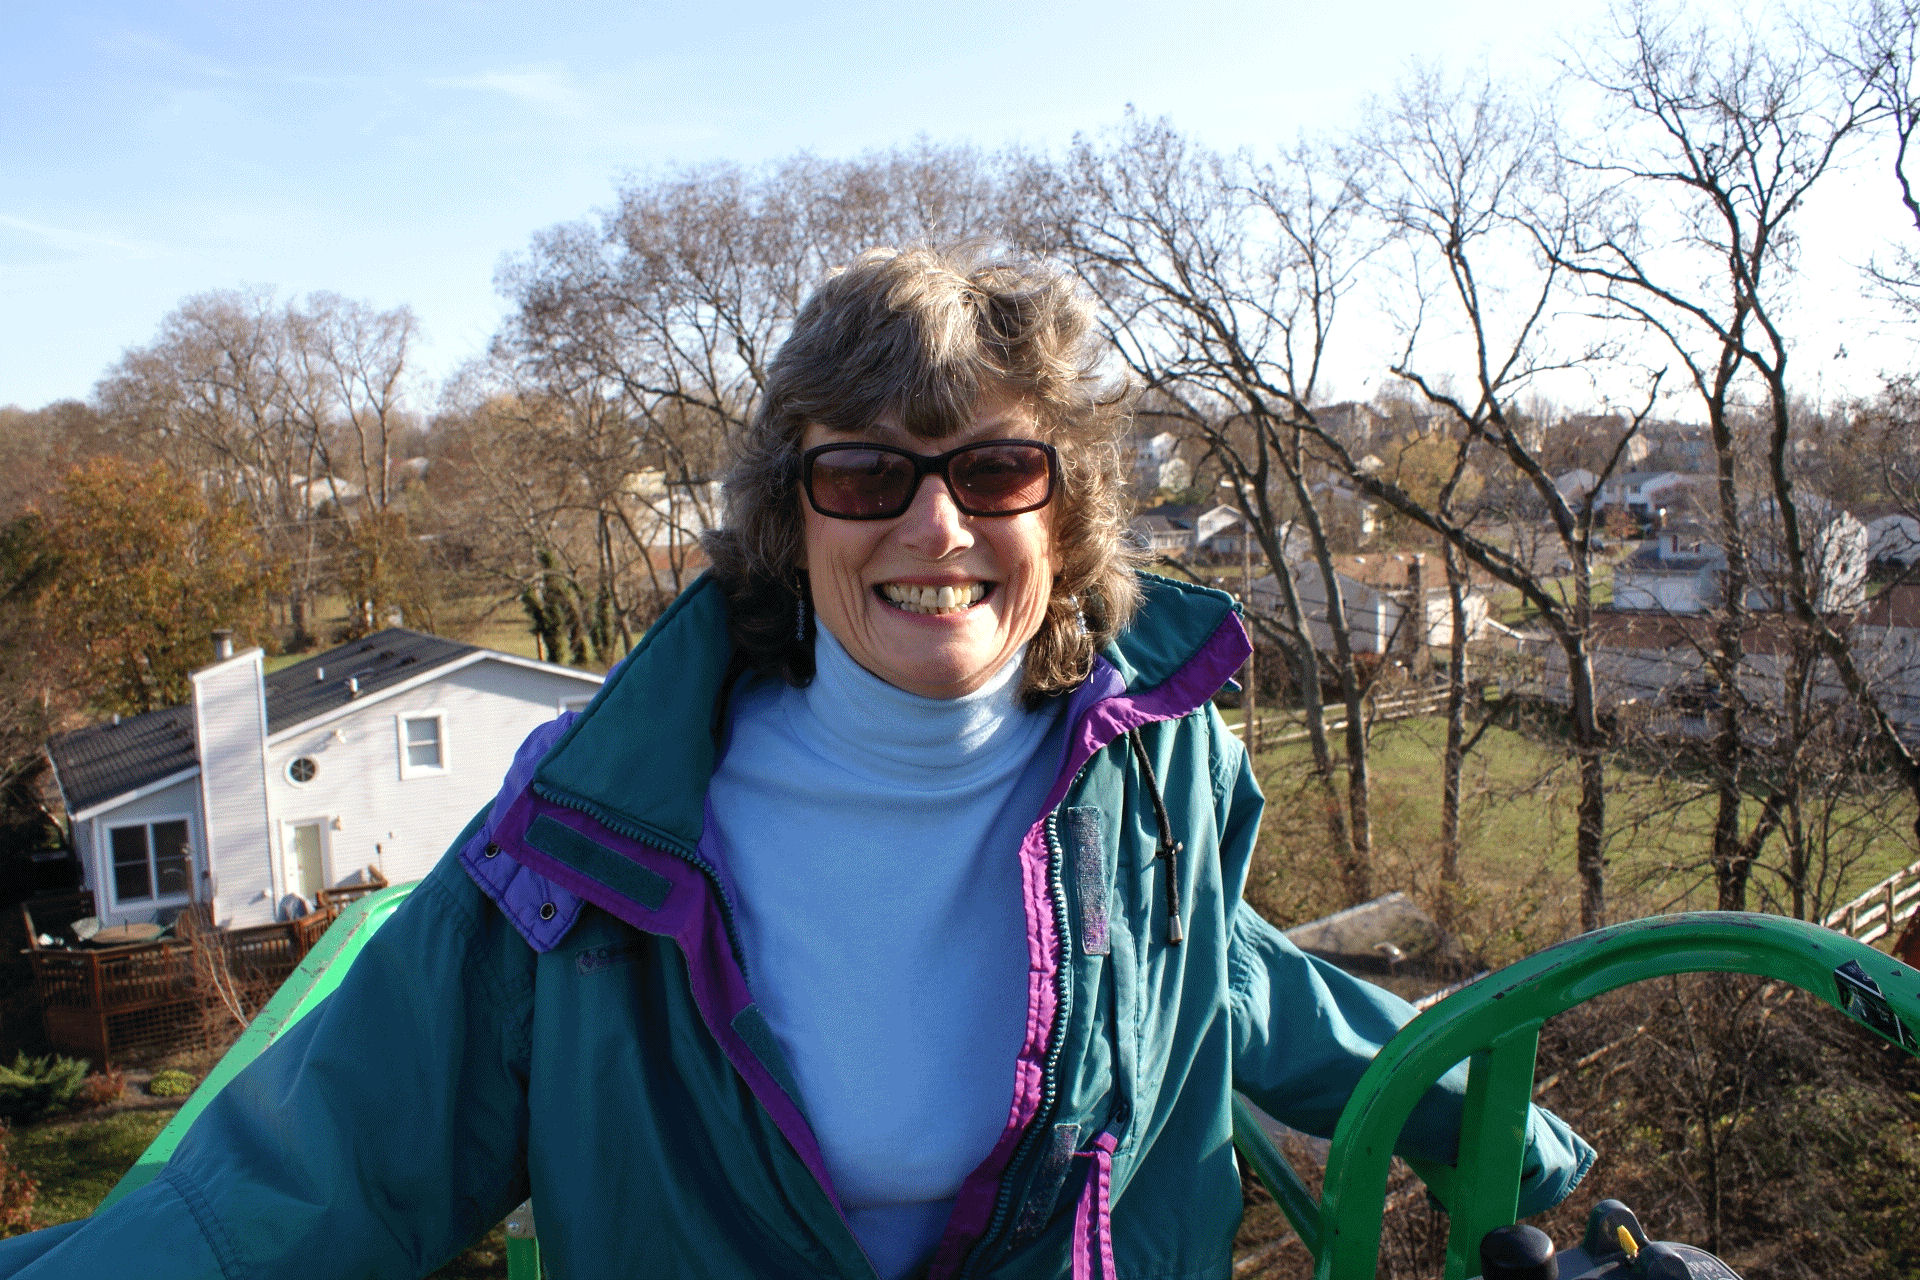
If you want to see more of the yard renovation follow the link to our house (coming soon) 73 Richard, KC8RP
| ||||||||||||||||||||||||||||||||||||||||||||||||||||||||||||||||||||||||||||||||||||||||||||||||||||||||||||||||||||||||||||||||||||||||||||||||||||||||||||||||||||||||||||||||||||||||||||||||||||||||||||||||||||||||||||||||||||||||||||||||||||||||||||||||||||||||||||||||||||||||||||||||||||||||||||||||||||||||||||||||||||||||||||||||||||||||||||||||||||||||||||||||||||||||||||||||||||||||||||||||||||||||||||||||||||||||||||||||||||||||||||||||||||||||||||||||||||||||||||||||||||||||||||||||||||||||||||||||||||||||||||


